How to Build a Metal Tool Rack to Organise Clutter (Guide)
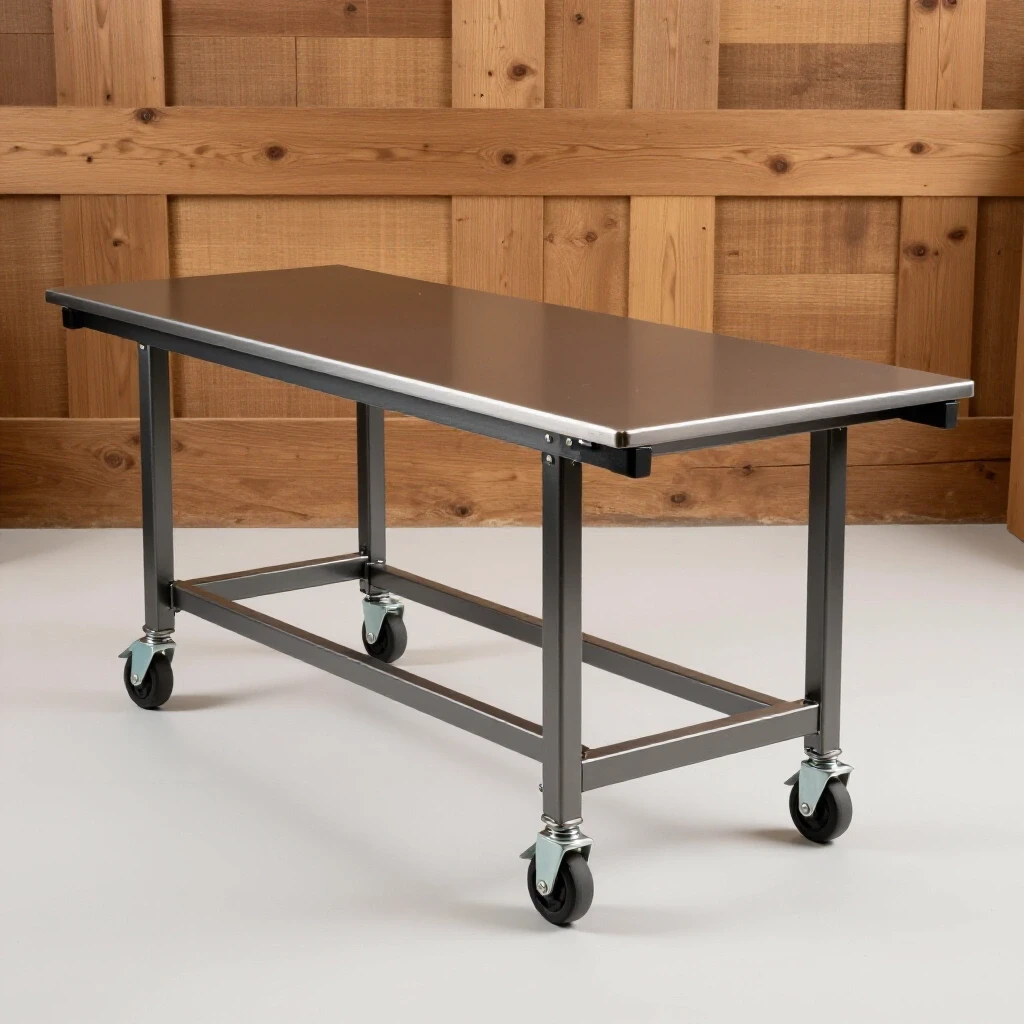
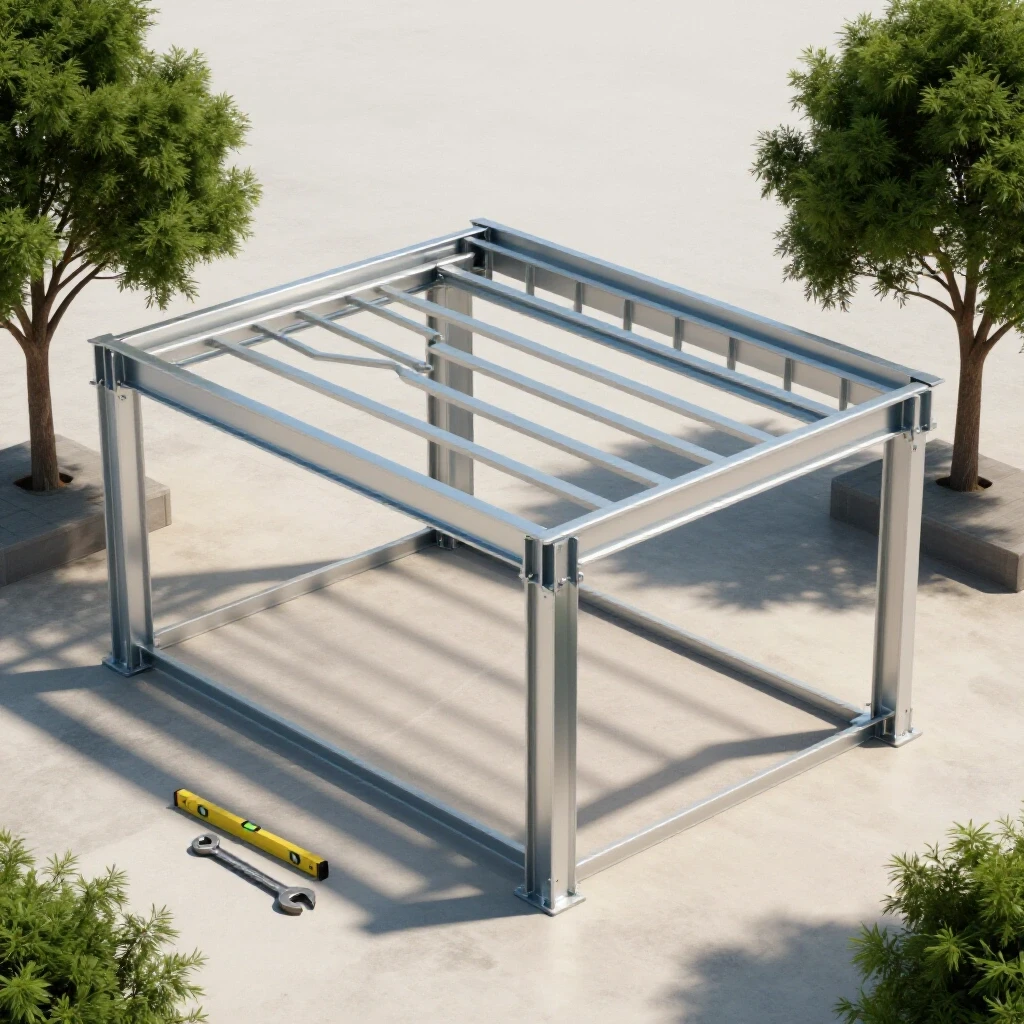
I’ve spent 13 years in fabrication shops, and if there is one thing I’ve learned, it’s that steel has a mind of its own. I remember early in my career as a prototype technician, I was building a simple frame for a shop cart. I had measured everything to the sixteenth of an inch. My cuts were clean, and my corners were square. But as soon as I finished running a beautiful, hot bead along the outside corners, the entire frame pulled into the shape of a diamond. I had ignored the physics of heat, and the metal punished me for it.
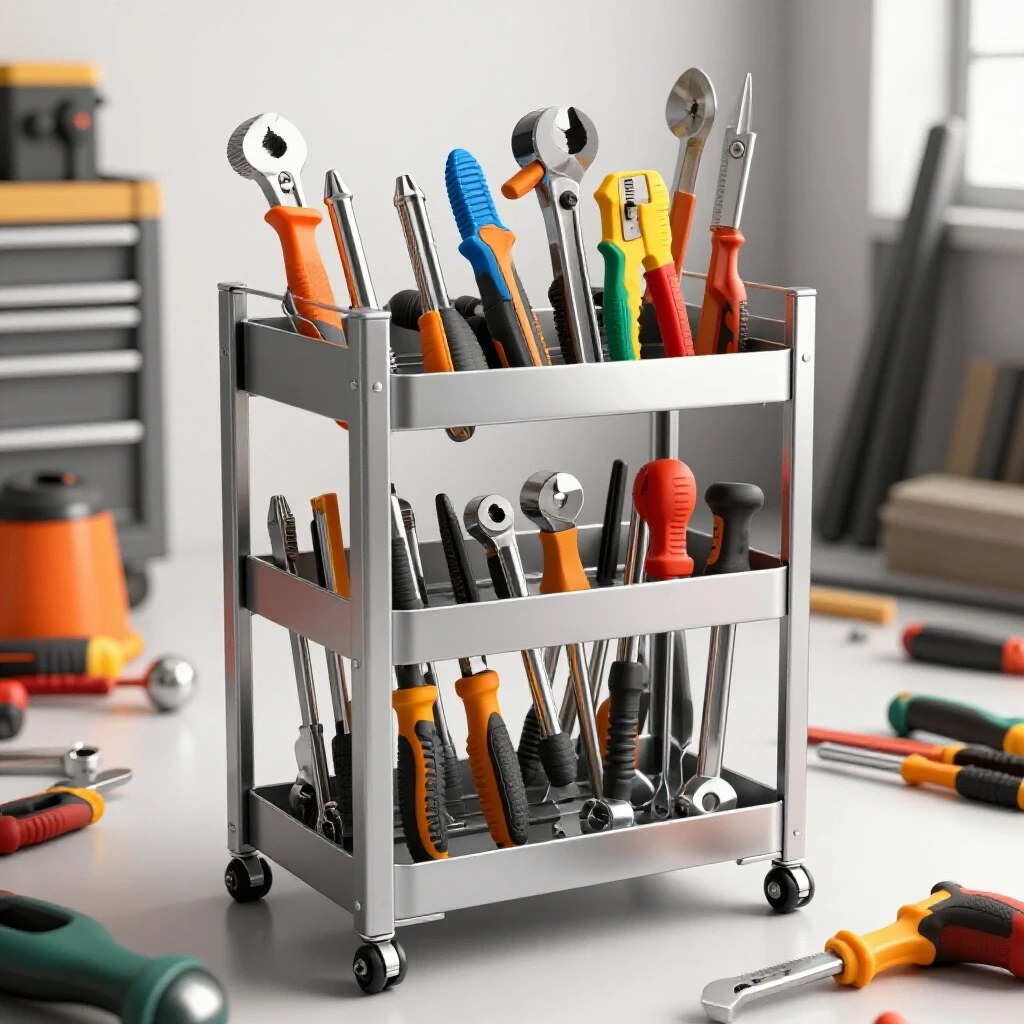
Building a custom steel storage system for your hand tools is one of the best ways to practice controlling these forces. Whether you are mounting a rack to a brick wall or a heavy workbench, the goal is the same: a straight, functional piece that doesn’t wobble or lean. When you are working with raw angle iron or square tubing, you aren’t just sticking pieces together. You are managing thermal expansion and contraction. This guide will walk you through the process of planning, cutting, and welding a robust metal organizer while keeping your project square and true.
Blueprinting and Material Planning for Steel Organizers
Planning involves creating a detailed roadmap of your project before the first spark flies. It includes selecting the right metal profiles, determining the dimensions based on your specific tool kit, and calculating the exact amount of material needed to minimize waste and ensure structural integrity.
Before I touch a saw, I always draw a 1:1 scale layout on my welding table using a soapstone marker. For a tool rack designed to hold heavy items like pipe wrenches and sledgehammers, I prefer 1-inch by 1/8-inch thick angle iron or 1-inch square tubing. These materials offer a great balance between weight and rigidity. If you are building a rack for lighter pliers and screwdrivers, 1/8-inch flat bar is often sufficient.
The most common mistake I see is failing to account for the thickness of the metal itself. If you want a rack that is exactly 24 inches wide and you are using 1-inch tubing, your internal cross-members cannot be 24 inches long. They must be 22 inches to fit between the outer rails. I keep a “Cut List” on a clipboard that breaks down every piece by length, quantity, and the angle of the cut.
- Load Considerations: A fully loaded tool rack can easily weigh 50 to 100 pounds. Ensure your mounting points are designed to transfer this weight into wall studs or a heavy frame.
- Spacing Metrics: For most hand tools, a spacing of 1.5 to 2 inches between hanging pegs or slots is ideal.
- Dimensional Tolerances: Aim for a tolerance of +/- 1/16th of an inch. Anything larger will lead to visible gaps that require more weld filler, which increases heat and causes more warping.
Managing Kerf and Cut Accuracy in Metal Projects
Kerf is the width of the material that is turned into dust or chips by your cutting tool. Understanding kerf is essential for maintaining accurate dimensions, as failing to account for it can result in a finished project that is shorter than intended.
When I’m planning my cuts, I always remember that the blade takes up space. If you use a standard abrasive chop saw, the blade is usually 3/32 or 1/8 of an inch thick. If you make ten cuts without accounting for that thickness, your final piece could be over an inch short. I always mark my line and then cut on the “waste side” of the mark.
Metal Kerf Allowances by Cutter Type
| Tool Type | Average Kerf Width | Best Use Case |
|---|---|---|
| Abrasive Chop Saw | 0.125″ (1/8″) | Rough structural cuts |
| Cold Saw (Carbide) | 0.075″ – 0.090″ | Precision, burr-free cuts |
| Portable Bandsaw | 0.025″ – 0.040″ | Versatile, thin kerf |
| Plasma Cutter | 0.040″ – 0.060″ | Curved or irregular shapes |
For custom fabrication projects, I recommend using a square or a dedicated layout template to ensure your marks are perfectly perpendicular to the material. A 1-degree error over a 12-inch span results in an offset of nearly 1/4 inch. I often use a “wrap-around” technique with a piece of straight-edged paper to mark tubing, ensuring the line meets perfectly on all four sides.
Utilizing Workshop Jigs and Fixtures for Alignment
Workshop jigs and fixtures are temporary structures or clamps used to hold workpieces in the exact position required during the assembly process. They act as a second pair of hands, ensuring that components remain square and stationary while they are being tacked or welded.
You cannot hold a piece of metal by hand and expect it to stay square once the arc starts. The heat of the weld creates a “pull” that is stronger than your grip. I use the “three-point contact” rule when setting up my layout. Every piece of the tool rack should be clamped against a known straight edge or a dedicated welding jig.
If you don’t have a professional 3D welding table, you can build a simple jig on your workbench. I often weld two pieces of scrap angle iron to my table at a perfect 90-degree angle. This creates a “nest” where I can drop my frame components. This setup ensures that every corner starts square before I ever strike an arc.
- Clean the surface: Ensure your table and your stock are free of mill scale and rust where they touch the jig.
- Clamp spacing: Place clamps within 3 to 5 inches of every joint. This limits the metal’s ability to expand upward or outward.
- Check for gaps: Use a feeler gauge or a thin piece of paper. If there is a gap between your metal and the jig, your frame will be crooked.
Weld Sequencing Layout to Prevent Structural Distortion
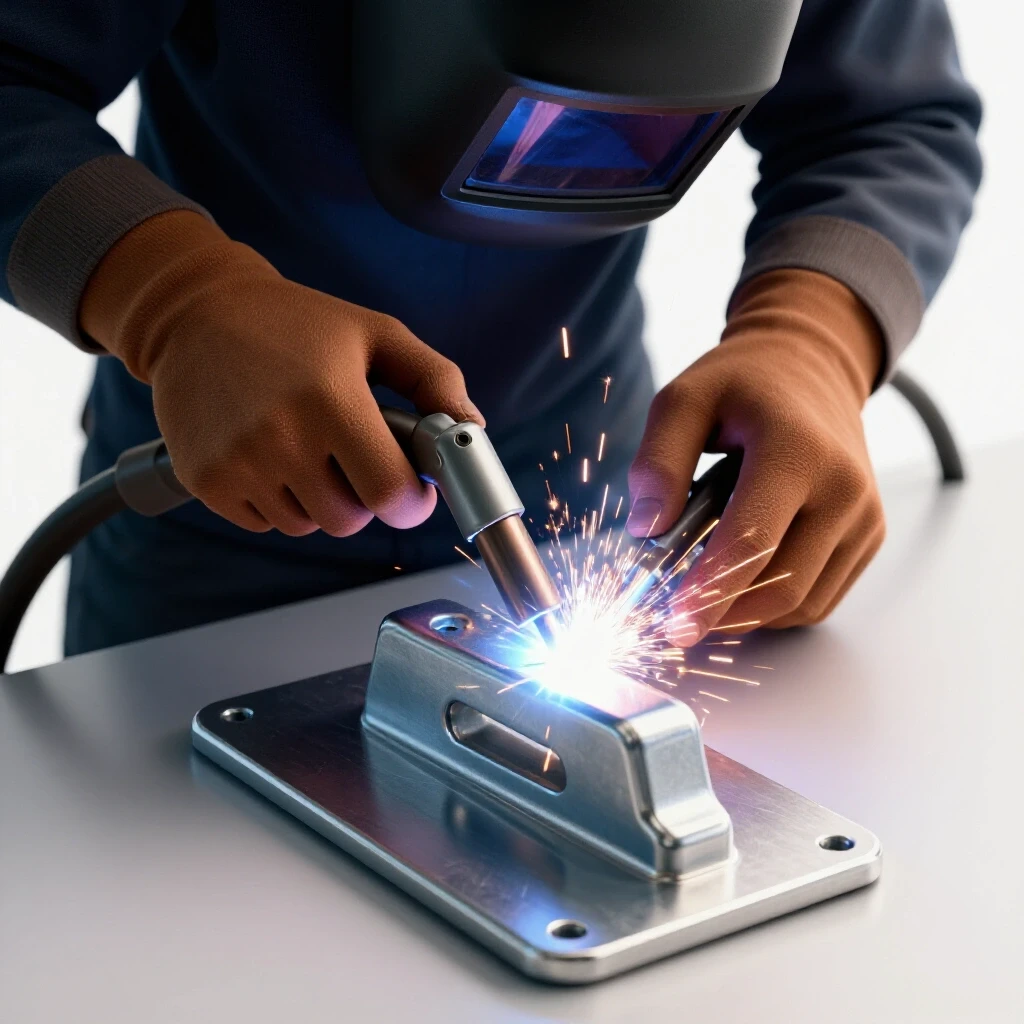
Weld sequencing is the strategic order in which you apply welds to a project to balance out the internal stresses caused by heating and cooling. By alternating sides and positions, you can use the “pull” of one weld to counteract the “pull” of another.
When metal gets hot, it expands. When it cools, it contracts—and it always contracts more than it expanded. This is called “angular distortion.” For a wall-mounted organizer, if you weld the entire front side of a joint first, the metal will pull toward that weld, bowing your frame. I use a specific sequence to fight this.
First, I apply small, strong tack welds at the corners. A tack should be about 1/4 inch long and have good penetration. I tack the “inside” corners first, then the “outside.” After tacking, I check the frame for squareness by measuring the diagonals. If the diagonal measurements are identical, the frame is square.
Weld Sequencing and Distortion Control
- The “Star” Pattern: Just like tightening lug nuts on a car wheel, move from one corner to the diagonally opposite corner.
- Back-Stepping: Instead of one long continuous bead, run short 1-inch beads, moving from the end of the joint back toward the start.
- Opposing Beads: If you weld the top of a joint, the next weld should be on the bottom of that same joint to pull the metal back into alignment.
In my experience, the most critical part of the weld sequencing layout is patience. If the metal becomes too hot to touch with a gloved hand, stop. Let it air cool. Forcing a project to stay square with clamps while it is glowing hot often results in “locked-in” stress that will cause the metal to crack or warp the moment you release the clamps.
Correcting Metal Warping After the Final Pass
Distortion correction is the process of straightening metal that has bent or bowed during the welding process. Even with perfect sequencing, some movement is inevitable, and techniques like mechanical force or localized heating are used to bring the piece back into tolerance.
Even the pros deal with warp. If your tool rack has a slight bow after welding, don’t panic. There are several ways to bring it back. One common method is “flame straightening.” By quickly heating the side of the metal opposite the weld and then cooling it with a wet rag, you can force the metal to shrink and pull the piece straight.
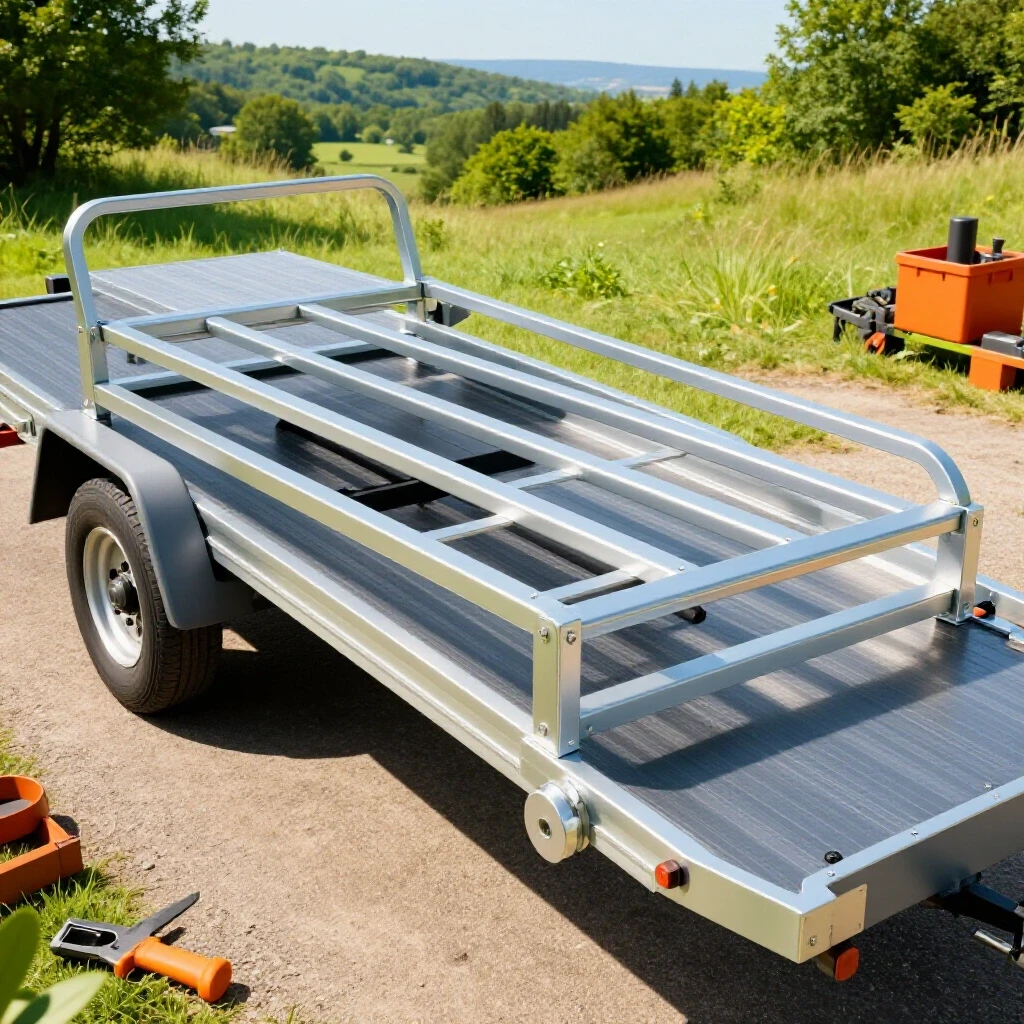
Another method is the use of a “strongback.” This is a heavy piece of straight steel that you clamp to your warped project. You then use wedges or additional clamps to pull the warped section toward the straight edge. I’ve used this technique on utility trailers and heavy workbenches with great success.
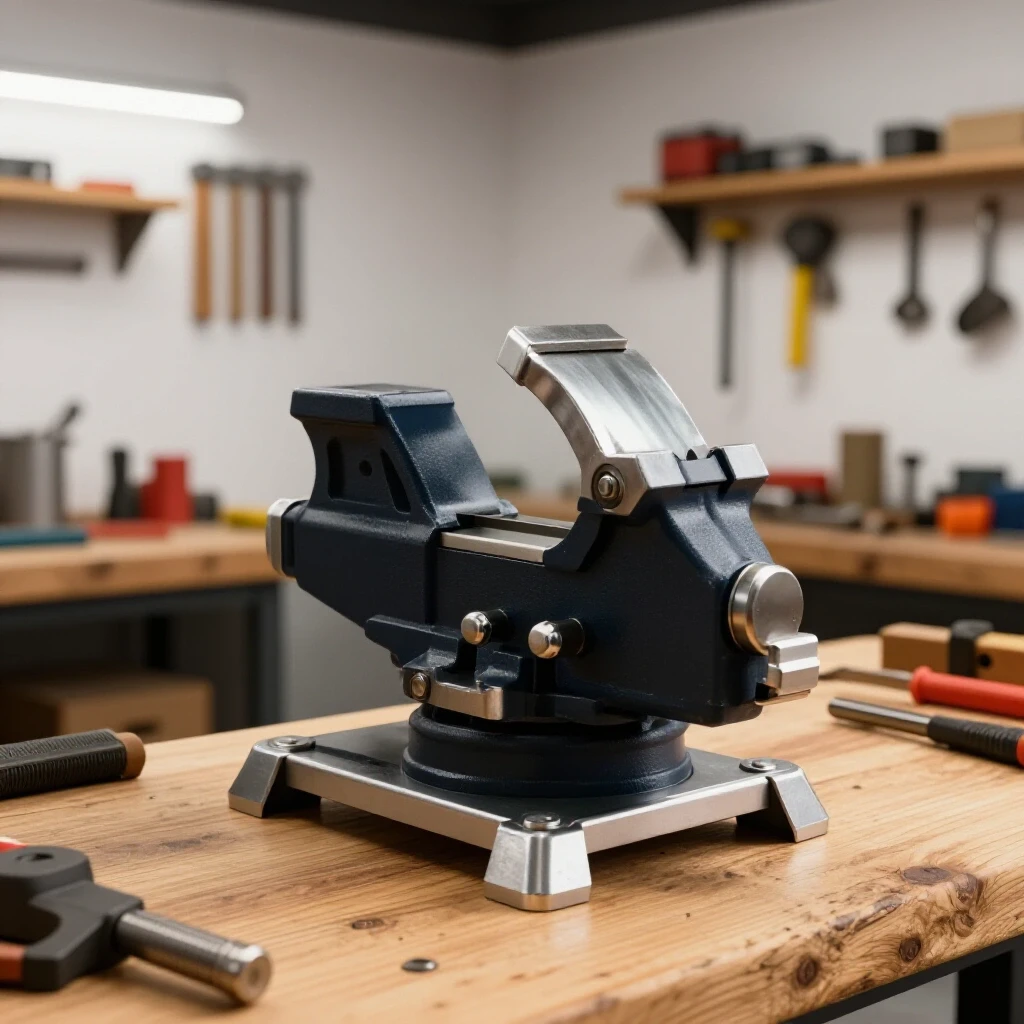
- Mechanical Force: A large vice or a hydraulic press can be used to “tweak” a frame back into shape.
- Heat Sinks: During the build, placing a thick block of copper or aluminum behind your weld area can help dissipate heat faster, reducing the total amount of warping.
- Cold Shrinking: Sometimes, a well-placed hammer blow on the weld bead itself (peening) can help relieve some of the internal tension.
Final Assembly and Finishing Steps
The finishing process involves removing sharp edges, cleaning up weld spatter, and applying a protective coating to prevent rust. This ensures the tool organizer is safe to handle and will last for years in a workshop environment.
Once the structure is square and the welds are cooled, I use a 4.5-inch angle grinder with a 40-grit flap disc to smooth out the joints. Be careful not to grind away too much material; you want the joint to be smooth, but you don’t want to weaken the structural bond. I focus on removing “spatter”—those tiny balls of metal that stick to the surface near the weld.
For a professional look, I wipe the entire rack down with acetone to remove oils and then apply a coat of self-etching primer. This is especially important for organizers that will hold heavy steel tools, as the constant metal-on-metal contact can easily chip standard spray paint.
- Deburr all holes: If you drilled holes for mounting, use a countersink bit to remove the sharp burrs.
- Check tool fitment: Before painting, place your wrenches and hammers in the rack to ensure the spacing is correct.
- Mounting: Use Grade 5 or Grade 8 bolts if mounting to a metal bench, or heavy-duty lag bolts if mounting to wall studs.
Frequently Asked Questions
Why does my metal rack always pull to one side when I weld it?
This is caused by angular distortion. As the weld pool cools, it shrinks and pulls the surrounding metal toward the bead. To fix this, use more robust tack welds and follow a weld sequence that alternates sides to balance the pulling forces.
How many tack welds should I use for a small tool holder?
For a standard joint (like two pieces of 1-inch tubing), I recommend four small tacks—one on each side. This locks the joint in three dimensions before you lay your final beads.
Can I use a magnet to hold my pieces square while welding?
Magnets are great for initial layout, but they are not strong enough to resist the pull of a cooling weld. Always use mechanical clamps (C-clamps or F-clamps) once you begin the actual welding process.
What is the best way to ensure my cut lengths are identical?
I use a “stop block” on my saw. Once I set the length for the first piece, I clamp a block of wood or metal to the saw table. Every subsequent piece is pushed against that block, ensuring they are all exactly the same length without re-measuring.
How do I calculate the weight capacity of my tool rack?
This depends on the thickness of your material and the strength of your welds. For 1/8-inch steel, a well-penetrated weld can hold hundreds of pounds. The weak link is usually the mounting point (the wall or the bench), not the steel itself.
Should I grind my welds flat?
For tool racks, it is mostly an aesthetic choice. However, if a weld is “proud” (sticking up) in a spot where a tool needs to sit flush, you should grind it down. Just ensure you don’t grind into the base metal and thin the joint.
What is the best material for a beginner to use?
I recommend 1/8-inch thick hot-rolled flat bar or angle iron. It is thick enough that you won’t easily burn through it with a welder, but thin enough to cut easily with a standard angle grinder or chop saw.
How do I prevent rust on my custom metal projects?
Steel will begin to rust almost immediately if exposed to moisture. After fabrication, clean the metal with a degreaser and apply a high-quality primer and paint. For a “raw” look, you can use a clear coat or paste wax, though these require more maintenance.
What is “mill scale” and do I need to remove it?
Mill scale is the dark, flaky surface layer found on hot-rolled steel. You must grind it off at the locations where you plan to weld. Welding over mill scale can cause arc instability and lead to weak, porous welds.
Why did my drill bit get dull so fast when making mounting holes?
You are likely running the drill too fast. For steel, use a slower speed and plenty of cutting oil. If the bit gets too hot, it loses its “temper” (hardness) and will stop cutting.
By following these steps and respecting the way metal reacts to heat, you can build a workshop storage system that is as straight and professional as any commercial product. The key is in the preparation—the cleaner your layout and the better your sequence, the less time you’ll spend trying to fix a warped project later. Keep your cuts accurate, your tacks strong, and your welds sequenced, and you’ll end up with a tool rack that lasts a lifetime.
(This article was written by one of our staff writers, Robert Kline. Visit our Meet the Team page to learn more about the author and their expertise.)