How to Build a Swivel Fire Pit Cooking Grate (DIY Plan)
I’ve spent over a decade in prototype shops and my own garage, and if there is one thing I’ve learned, it’s that steel has a memory and a temper. I remember building my first heavy-duty utility trailer; I had every piece cut to the exact sixteenth of an inch, only to watch the entire rear gate twist three-quarters of an inch out of square because I ran a long, hot bead in the wrong direction. It’s a sinking feeling that every fabricator knows. When you are working on a rotating grill assembly for an outdoor fire area, the stakes are just as high. If your pivot post isn’t perfectly plumb or your grate frame warps during welding, the whole mechanism will bind, and you’ll be fighting it every time you try to swing it over the flames.
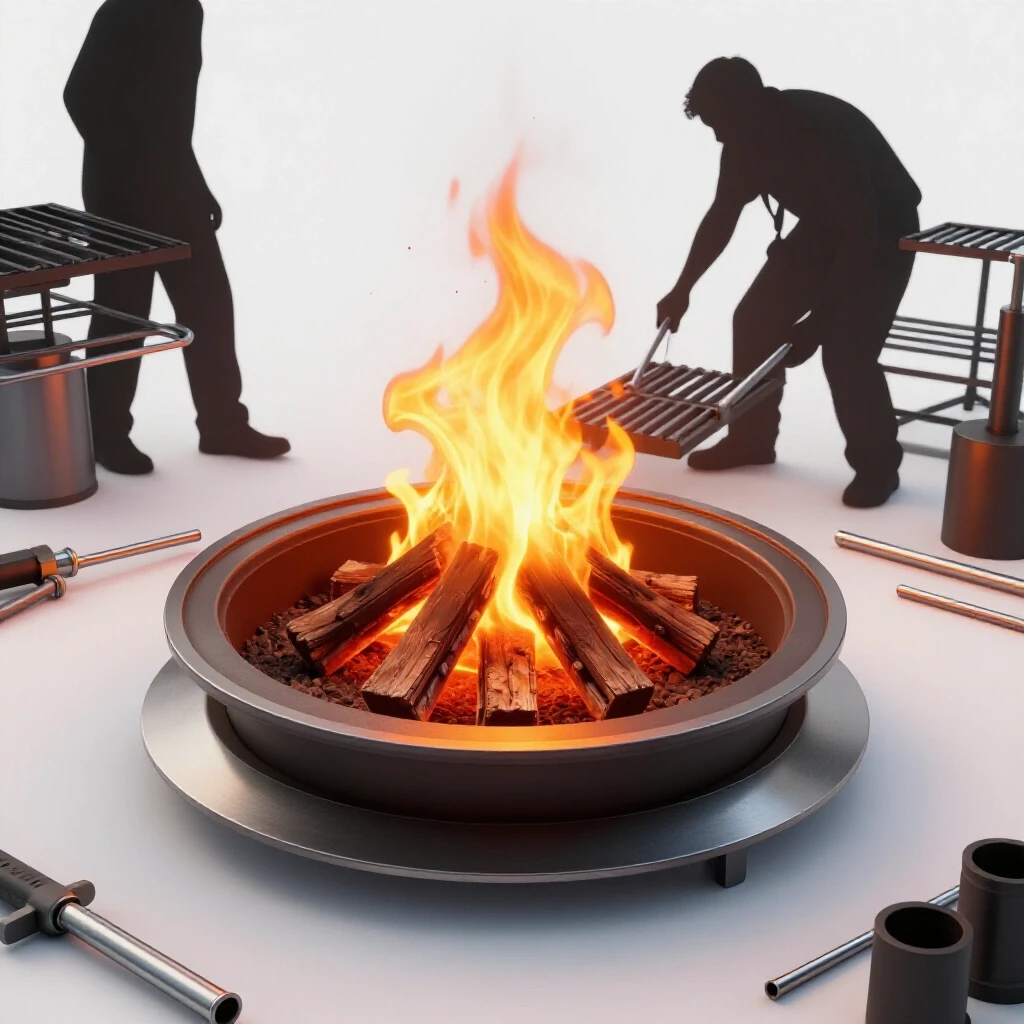
In this guide, I’m going to walk you through the process of building a durable, pivoting cooking surface. We aren’t just sticking metal together; we are managing heat, calculating kerf, and using sequencing to ensure the final product stays straight and functional. Whether you are a weekend builder or a seasoned hobbyist, these steps will help you maintain tight tolerances and avoid the common pitfalls of metal distortion.
Engineering the Pivot Mechanism and Material Layout
This phase involves creating a detailed roadmap for the project, including a bill of materials and a layout that accounts for the physical behavior of steel under heat. Proper planning ensures that the inner post and outer sleeve of the swivel have the necessary clearance to rotate without wobbling or seizing.
Before I spark the welder, I always start with a cut list. For a project like this, you’re looking at a vertical support post, a sliding sleeve, and the frame for the cooking surface itself. I prefer using 1.5-inch Schedule 40 pipe for the main post and a slightly larger pipe for the sleeve. This “pipe-in-pipe” design is a classic fabrication move, but you have to account for the internal weld seam inside the sleeve. If you don’t grind that out or choose a sleeve with enough clearance, your swivel will jam.
I also calculate my kerf allowances. Kerf is the width of the material removed by your cutting tool. If you’re using a standard 4.5-inch angle grinder with a 1/16-inch zip disc, you need to add that 1/16th back into your measurements. If you don’t, a frame meant to be 24 inches square will end up 23 and 7/8 inches, and suddenly your mesh doesn’t fit.
Metal Kerf Allowances by Cutter Type
| Cutting Tool | Typical Kerf Width | Best Use Case |
|---|---|---|
| Plasma Cutter | 0.040″ – 0.060″ | Rapid rough cuts and shapes |
| Angle Grinder (Zip Disc) | 0.045″ – 0.062″ | General shop fabrication |
| Cold Saw | 0.100″ – 0.125″ | Precision, burr-free square cuts |
| Horizontal Band Saw | 0.035″ – 0.050″ | Batch cutting long stock |
- Always measure from the same end of the stock to avoid “stacking errors.”
- Use a soapstone or a silver streak pencil for visible marks that won’t burn off immediately.
- Double-check the inner diameter (ID) of your sleeve against the outer diameter (OD) of your post.
Material Selection and Precise Cutting Strategies
Selecting the right steel profiles ensures the structure can handle the weight of heavy cast iron or large cuts of meat without sagging. Precise cutting is the foundation of a square project; if your base cuts are off by even a degree, the error multiplies as you move further from the joint.
For the grate frame, I recommend 1-inch by 1/8-inch angle iron or 1/2-inch solid square bar. Angle iron is easier to weld mesh into, but square bar offers a cleaner look. I’ve seen guys use rebar, but it’s often made of “mystery metal” and can be brittle or difficult to weld cleanly. Stick to A36 hot-rolled steel for predictable results.
When cutting your round stock for the pivot, getting a perfectly square end is tough with an angle grinder. I use a “wrap-around”—even a straight piece of paper wrapped around the pipe will give you a perfect guide line. If that cut is slanted, your sleeve will sit crooked, and the cooking surface will hang at an angle.
Why Accurate Square Cuts Matter
A square cut ensures that the load is distributed evenly across the weld joint. If you have a gap on one side of a butt joint because your cut was crooked, the weld will pull the metal toward the gap as it cools. This is known as angular distortion. In a pivoting mechanism, an off-square cut on the sleeve means the entire grate will tilt downward, putting unnecessary stress on the hinge point.
Building the Main Support Post and Swivel Sleeve
The support post is the backbone of the project, providing the vertical axis for the cooking surface to rotate upon. The sleeve acts as the bearing surface, and its alignment determines how smoothly the grate moves.
I start by prepping the main vertical post. This is usually a 36-inch to 48-inch piece of 1.5-inch Schedule 40 pipe. At the top, I like to weld a heavy-duty cap or a large nut to prevent the sleeve from sliding off if it’s ever lifted too high. The sleeve itself should be about 6 to 8 inches long. I’ve found that a longer sleeve provides more stability and prevents the grate from “diving” when it’s loaded with weight.
One trick I learned building custom chassis is to use a “slug” or a spacer. If your sleeve has too much play, you can weld small “tacks” of brass or bronze inside the sleeve and then file them down until the fit is snug but smooth. This acts as a primitive bushing.
- Clean all mill scale off the pipe where the sleeve will sit using a flap disc.
- Ensure the sleeve can rotate 360 degrees without catching on any burrs.
- Drill a hole through the sleeve to weld on a T-handle bolt for height adjustment.
Constructing the Grate Frame with Alignment Jigs
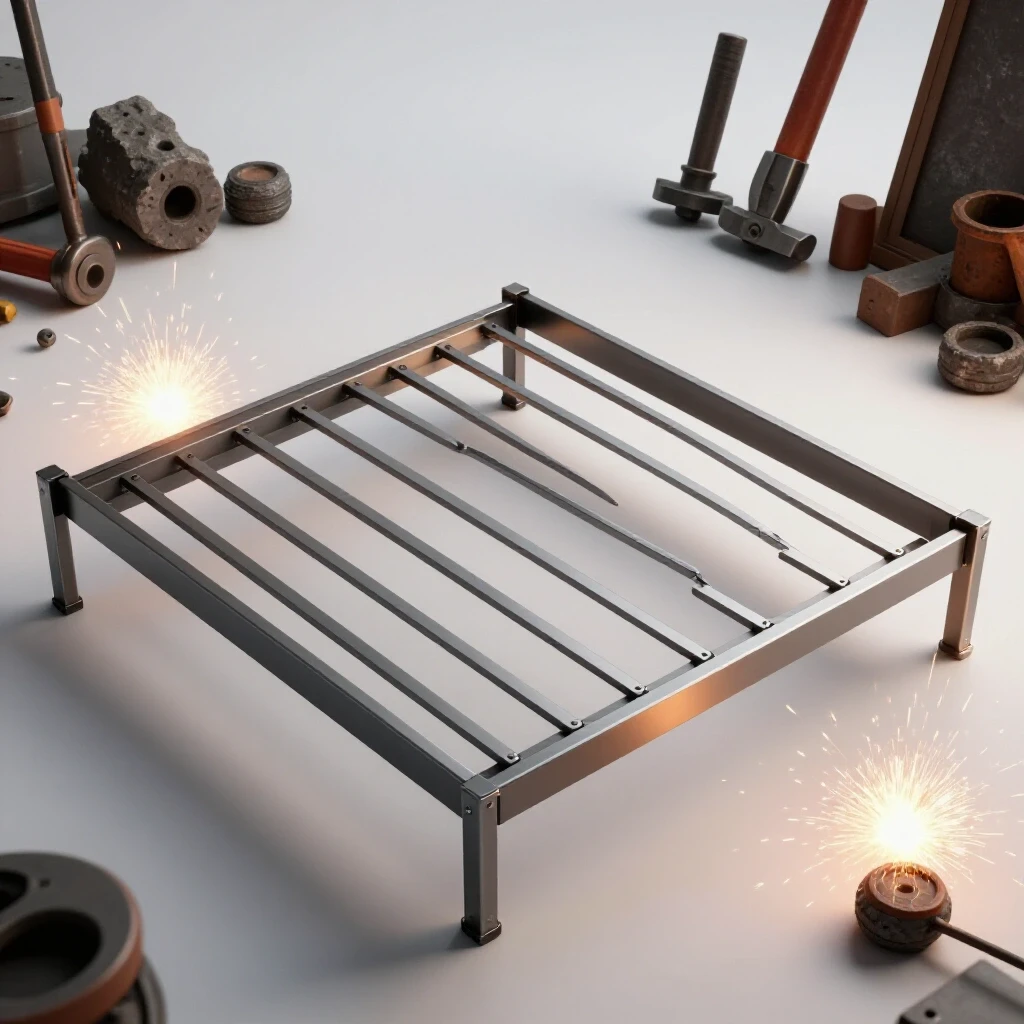
The grate frame is the horizontal surface that holds the cooking mesh, and it must remain flat to prevent items from sliding off. Using a layout fixture or a dedicated welding table helps keep the frame square and level during the tacking process.
Layout is where most DIY projects go sideways. I never trust a magnetic square alone; they are great for holding pieces, but the heat of a weld can actually overpower the magnet and pull the metal out of alignment. Instead, I use a “jig” by clamping scrap blocks of steel to my welding table to create a fixed corner.
For a circular grate, I’ll draw the diameter directly on the table with a compass and use small blocks to hold the curved segments in place. For a rectangular frame, I measure the diagonals. If the distance from the top-left corner to the bottom-right corner is exactly the same as the top-right to the bottom-left, your frame is square.
Dimensional Tolerance Benchmarks
| Feature | Target Tolerance | Method of Measurement |
|---|---|---|
| Frame Squareness | +/- 1/16″ | Diagonal measurements |
| Pivot Plumb | +/- 0.5 degrees | Digital protractor or level |
| Sleeve Clearance | 0.030″ – 0.060″ | Feeler gauges or “rattle test” |
| Tack Weld Size | 1/8″ – 3/16″ | Visual inspection vs. material thickness |
Controlling Heat Distortion During Final Welding
Weld distortion is the physical movement of metal caused by the expansion and contraction of the weld pool and surrounding area. Managing this requires a strategic sequence of welds to balance the pulling forces.
When you weld, the metal is at its most expanded state. As it cools, it shrinks. If you weld the entire top of a joint, it will pull the two pieces of metal toward the bead. To combat this on the cooking grate, I use a technique called “back-stepping” or “stitching.” Instead of one long bead, I place small 1-inch welds on opposite sides of the frame.
I also use a specific weld sequencing layout. If I’m welding the crossbars into the frame, I’ll start at the center and move outward, alternating sides. This distributes the heat evenly across the structure rather than concentrating it in one corner, which would cause the frame to “potato chip” or twist.
Weld Sequencing and Distortion Control
- Tack Weld Everything: Place small tacks at every corner. A tack should be strong enough to hold but small enough to grind out if you find an error.
- Check for Square: After tacking, re-measure your diagonals. The heat from the tacks alone can move a frame 1/8th of an inch.
- Opposing Beads: If you weld the “north” side of a joint, move to the “south” side next. This balances the pull.
- Allow for Cooling: Don’t rush. If the metal is glowing red, it’s losing its structural integrity and is more prone to warping. Let it air cool between passes.
Post-Weld Inspection and Mechanical Finishing
The final stage involves checking the assembly for any movement that occurred during welding and correcting it before the metal is put into service. Finishing also includes removing sharp edges and ensuring the swivel mechanism moves freely.
Once the welding is done, I let the project cool naturally. Never quench a weld in water; this makes the steel brittle and can cause the weld to crack. After it’s cool, I check the pivot one last time. If the heat pulled the sleeve out of alignment, I might need to use a “persuader” (a large dead-blow hammer) to make minor adjustments.
For the cooking surface, I use expanded metal or stainless steel round bars. If you are welding stainless to carbon steel, remember that stainless has a higher expansion rate and will pull even harder. I prefer to “float” the mesh inside the frame with small tacks every 4 inches to allow for some thermal movement when it’s over the fire.
- Grind all welds flush on the cooking surface to prevent snagging.
- Use a wire wheel to remove any weld spatter.
- Apply a high-heat resistant coating to the non-cooking surfaces to prevent rust.
Common Fabrication Pitfalls to Avoid
Even with a solid plan, things can go wrong in the shop. Recognizing these issues early can save you hours of rework.
- Over-welding: More weld is not always better. A massive bead carries more heat and causes more warping. For a cooking grate, a series of 1-inch stitches is often stronger and flatter than a continuous bead.
- Ignoring Mill Scale: That grey coating on hot-rolled steel is an insulator. If you don’t grind it off at your weld points, you’ll get poor penetration and a “cold” weld that might snap.
- Tight Tolerances on the Pivot: If you make the sleeve fit too perfectly, the heat from the fire will expand the inner post, and the grate will lock up. Always leave a little “rattle” in the fit to account for thermal expansion.
Actionable Framework for Success
To keep your project on track, follow this checklist during the build:
- Design Phase: Verify material thickness and pipe schedules.
- Cut Phase: Use a wrap-around for round stock; account for 1/16″ kerf.
- Jig Phase: Clamp a square corner to your table using scrap steel.
- Tack Phase: Four tacks per joint; check diagonals immediately.
- Weld Phase: Use the “cross-pattern” sequence; no beads longer than 2 inches.
- Finish Phase: Wire wheel for spatter; check sleeve rotation.
Building a pivoting grill assembly is a masterclass in managing metal movement. By focusing on the layout and controlling the heat, you can create a utility fixture that is both durable and easy to use. The key is patience—letting the metal cool and checking your square at every single step.
Frequently Asked Questions
Why did my grate frame warp even though I clamped it down?
Clamping helps, but it doesn’t stop the internal stresses of the metal. When you release the clamps, the metal “springs” to its new shape. To prevent this, use smaller welds and alternate sides to balance the heat pull.
What is the best clearance for a swivel sleeve?
For a fire-pit application, I recommend a clearance of about 1/16th to 1/8th of an inch. This allows for thermal expansion and prevents the sleeve from binding when the metal gets hot and soot builds up.
Can I use a MIG welder for this project?
Yes, a MIG welder is excellent for this. I recommend using .030 or .035 wire. Ensure your gas flow is correct (about 20 CFH) to get clean, strong tacks that won’t break during the assembly process.
How do I keep the vertical post from leaning?
The best way is to use a magnetic level or a digital protractor while you are tacking the base. Tack one side, check for plumb, then tack the opposite side. Never fully weld one side before the other is tacked.
What should I do if the sleeve is too tight on the post?
If the sleeve binds, check for an internal weld seam. You can use a half-round file or a small die grinder with a carbide burr to remove the “flash” inside the pipe.
Is it necessary to use stainless steel for the grate?
While not strictly necessary, stainless steel (like 304 grade) lasts much longer and resists rust. However, it is more expensive and warps more easily than mild steel, so your tacking and sequencing must be even more precise.
How do I calculate the weight capacity of the swivel?
This depends on the wall thickness of your pipe and the length of the arm. For a 24-inch arm, a 1.5-inch Schedule 40 pipe can easily handle 50+ lbs, but the longer the arm, the more it will “deflect” or sag.
What is the best way to cut expanded metal mesh?
I find that a 4.5-inch angle grinder with a thin zip disc is the most accurate. Wear a face shield, as expanded metal tends to throw small sparks and shards in every direction.
How can I stop the height-adjustment bolt from stripping?
Instead of just drilling a hole in the sleeve, weld a thick 1/2-inch nut over the hole. This gives the T-handle bolt more threads to grab onto, which prevents stripping under the weight of the grate.
My welds look “cold” and sit on top of the metal. What’s wrong?
You likely haven’t removed the mill scale. Steel has a protective coating that must be ground off to shiny silver metal before welding. Also, check that your voltage is high enough for the thickness of the steel you are using.
(This article was written by one of our staff writers, Robert Kline. Visit our Meet the Team page to learn more about the author and their expertise.)