How to Build a Wall Rack for Welding Wire Spools (DIY Plan)
I have spent a lot of years in my shop watching a frame I carefully measured and cut turn into a diamond shape the moment the welds cooled. It is a frustrating reality of custom fabrication projects. Whether I am building a custom chassis or a simple shop organizer, the physics of heat stays the same. Metal expands when it gets hot and shrinks as it cools. If you don’t account for that movement, your project will warp.
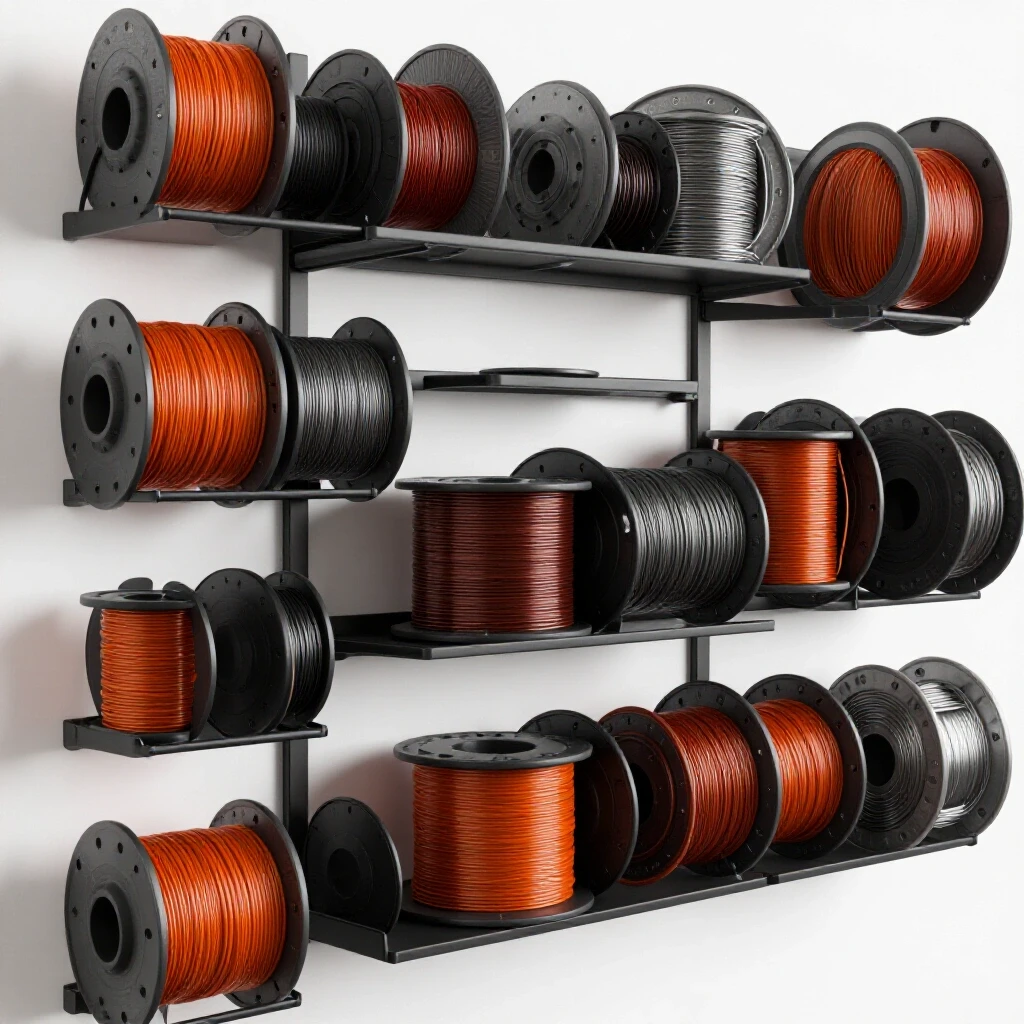
One of the most common issues I see in garage shops is the “spool pile.” We all have them—half-used 10-pound rolls of MIG wire or Flux-core sitting on the floor, collecting dust and rust. Building a dedicated storage system for these consumables is a great way to practice layout and heat control. In this guide, I will walk you through the process of fabricating a wall-mounted storage unit designed to hold 5 to 20-pound spools. We will focus on maintaining tight tolerances, managing weld shrinkage, and ensuring the final product stays square enough to mount flush against your shop wall.
Planning the Organizer Layout and Material Selection
Choosing the right steel profiles—like 1-inch square tubing or 1.5-inch angle iron—ensures the frame can support the weight of multiple 10-pound spools without sagging. Proper planning involves calculating the total span of the rack and ensuring the spool axles are spaced far enough apart for easy access and smooth rotation.
When I plan a project like this, I start with the weight. A standard 8-inch diameter spool of wire weighs about 10 to 12 pounds. If you plan to store six of them, your rack needs to hold 60 to 75 pounds of dead weight constantly. For this reason, I prefer 1-inch square tubing with a 1/8-inch wall thickness (11 gauge) for the main frame. It offers excellent torsional rigidity compared to thinner 14-gauge or 16-gauge materials, which tend to twist more easily during the welding process.
For the axles that hold the spools, 5/8-inch or 3/4-inch solid round bar is ideal. Most standard wire spools have a 2-inch center hole, so these diameters leave plenty of room for the spool to spin without binding. I generally aim for a capacity of six spools, which requires a frame roughly 30 to 36 inches wide. This width also happens to span across three wall studs if they are on 16-inch centers, giving you a very secure mounting foundation.
| Material Component | Specification | Quantity | Estimated Cost |
|---|---|---|---|
| Frame Rails | 1″ x 1″ x 1/8″ Square Tube | 12 Feet | $35.00 |
| Spool Axles | 5/8″ Solid Round Bar | 6 Feet | $18.00 |
| Mounting Tabs | 1.5″ x 1/8″ Flat Bar | 2 Feet | $8.00 |
| Hardware | 5/16″ Lag Bolts (3″) | 6 Pieces | $5.00 |
| Total Estimated Cost | $66.00 |
Calculating Kerf and Preparing Accurate Cut Lists
Kerf is the thickness of the material removed by the saw blade during a cut, typically 1/16 to 1/8 inch depending on the tool. Ignoring this leads to a frame that is shorter than intended, which can cause misalignment when trying to fit the spool axles into pre-drilled holes.
When I am prepping my cut list, I always mark my measurements and then cut on the “waste side” of the line. If you use a standard abrasive chop saw, your kerf might be nearly 1/8 of an inch. If you are using a dry-cut saw with a carbide-tipped blade, it is closer to 3/32 of an inch. Over a series of four or five cuts, failing to account for kerf can leave your final piece a half-inch shorter than your blueprint.
For this storage project, you will need: 1. Two horizontal rails (32 inches each). 2. Two vertical end caps (10 inches each). 3. Six axle pins (6 inches each).
I recommend cutting the two horizontal rails at the same time if your saw allows it. Clamping them together ensures they are identical in length. Even a 1/16-inch difference between the top and bottom rail will make it impossible to get the frame perfectly square during the assembly phase.
Accurate Square Cuts for Workshop Fixtures
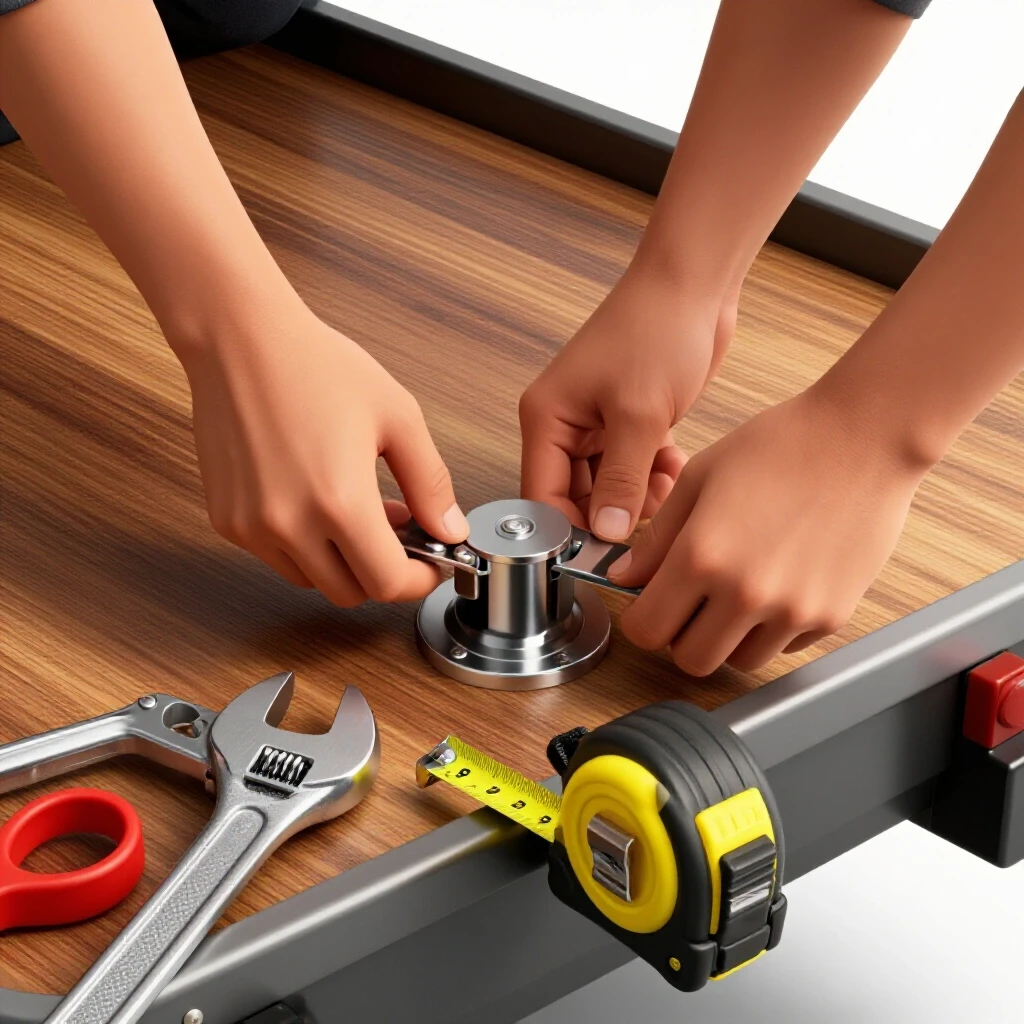
Achieving a true 90-degree angle starts with the saw, but it ends with how you clean the material. Burrs left behind by the blade can prevent the metal from sitting flush against your layout tools. I always spend five minutes with a flap disc or a file to deburr every end before I start my layout.
In custom fabrication projects, the “fit-up” is 90% of the work. If you have gaps in your joints, the weld will have to fill that space. As the weld pool cools, it will pull the metal toward the gap, causing the frame to bow. I aim for a “light-tight” fit, where no light passes through the joint when the pieces are held together. This minimizes the amount of filler metal needed and reduces the total heat input, which is the primary driver of metal warping.
- Use a speed square to check the saw blade’s vertical and horizontal alignment before cutting.
- Measure twice, but also “scribe” your lines with a sharp carbide scriber rather than a thick soapstone marker.
- A soapstone line can be 1/16-inch thick, which is too wide for high-precision workshop jigs and fixtures.
Constructing Workshop Jigs for Frame Alignment
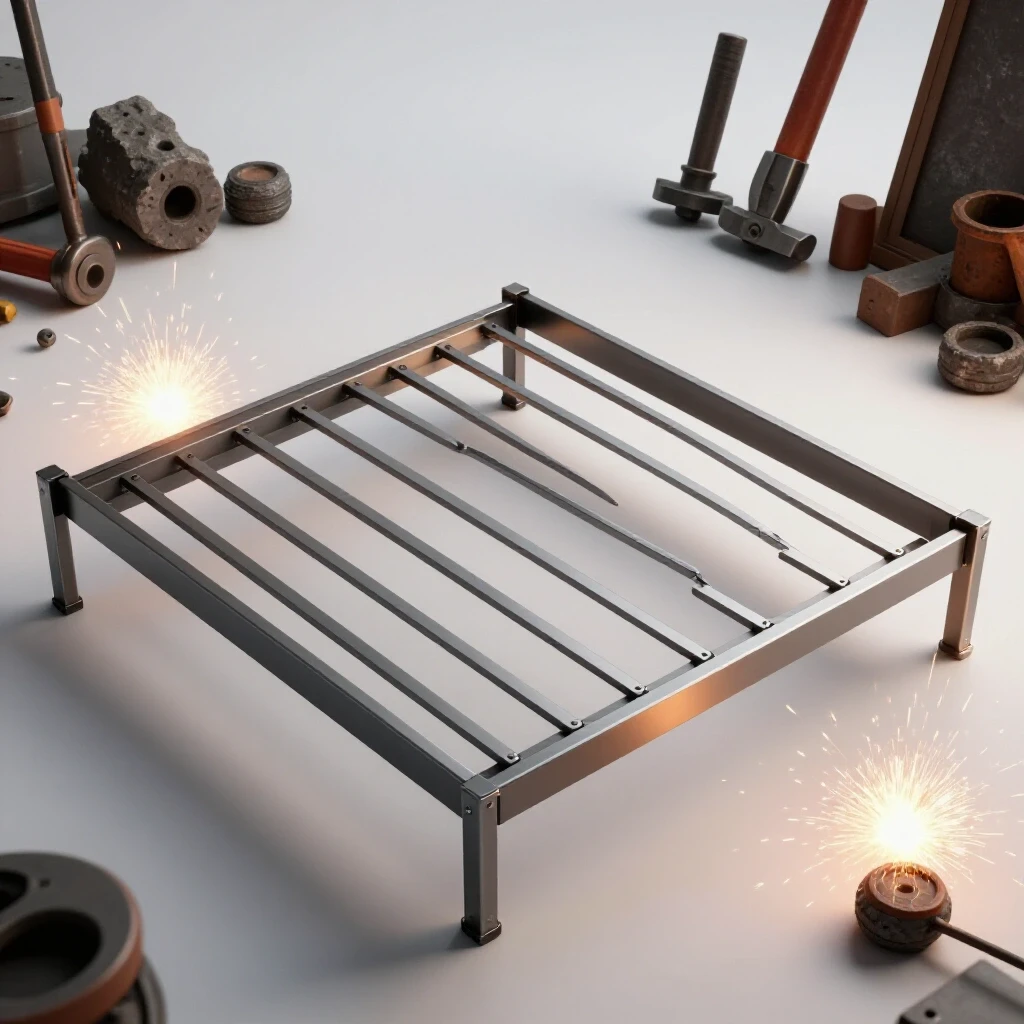
A fabrication jig is a temporary fixture used to hold metal components in the correct orientation while they are tacked and welded. For a wall-mounted spool rack, a simple 90-degree corner jig prevents the frame from pulling out of square as the heat from the welder is applied.
I don’t always have a professional 3D welding table, so I often build my own “flat-back” jigs using scraps of heavy angle iron. By clamping your square tubing into the corner of a known-square piece of angle iron, you create a physical barrier that resists the pull of the weld.
For this project, I lay the two horizontal rails and two vertical ends on my cleanest, flattest work surface. I check the diagonals. If the measurement from the top-left corner to the bottom-right corner is exactly the same as the top-right to the bottom-left, the frame is square. I then use heavy C-clamps or F-clamps to lock the pieces down to the table. This physical restraint is your first line of defense against distortion.
Weld Sequencing Layout to Prevent Frame Twist
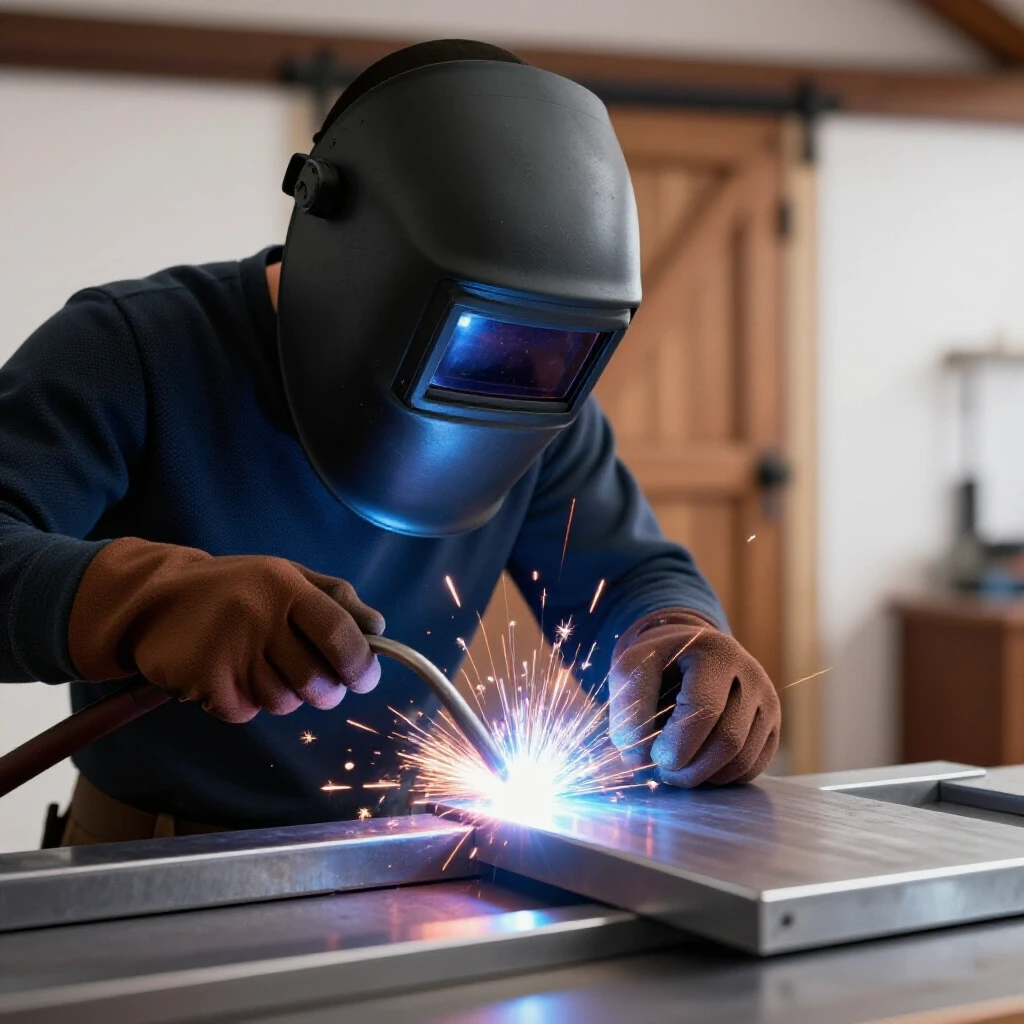
Weld sequencing is the specific order in which you apply beads to distribute heat evenly across a joint. By alternating sides and moving between different corners of the spool rack frame, you counteract the natural tendency of the metal to “pull” or warp toward the cooling weld.
If you weld the entire front face of one corner and then move to the next, that first corner will pull inward, and you will never get it back to square without a torch and a lot of muscle. Instead, I use a “staggered” approach. I start with small tack welds—about 1/8-inch in diameter—at each of the four corners. I check the squareness again after the tacks are set. If it moved, I can easily break a tack and reset.
Once the tacks are confirmed, I follow a sequence that balances the heat: 1. Weld the outside corner of the top-left joint. 2. Move to the outside corner of the bottom-right joint (the diagonal opposite). 3. Weld the outside corner of the top-right joint. 4. Weld the outside corner of the bottom-left joint.
By jumping across the frame, you allow the heat to dissipate rather than concentrating it in one area. This is one of the most effective metal warping solutions for light-gauge tubing.
Managing Material Warping in Custom Fabrication Projects
Thermal expansion is a physical law: as the weld pool solidifies, it occupies less volume than the liquid metal. This contraction creates “angular distortion,” where the two pieces of metal are pulled toward the side of the weld bead.
To combat this, I often “pre-set” my joints. If I know a weld is going to pull a piece 2 degrees inward, I might clamp it 2 degrees “proud” or outward. However, for a simple rectangular frame, the best method is solid fixturing and small, fast weld beads. Avoid “weaving” the torch on thin-wall tubing; a straight stringer bead puts less heat into the base metal and results in less overall movement.
| Weld Type | Heat Input | Potential Distortion | Recommended Fix |
|---|---|---|---|
| Heavy Weave Bead | High | Severe | Use stringer beads instead |
| Large Tack Welds | Moderate | Minor | Keep tacks small and balanced |
| Continuous Bead | High | Moderate | Use “back-stepping” technique |
| Intermittent Weld | Low | Minimal | Best for non-structural storage |
Axle Placement and Spool Rotation Mechanics
Positioning the rods or tubes that hold the wire spools requires precise vertical spacing to allow for the diameter of a 20-pound roll. Ensuring these axles are level and parallel is critical for smooth payout and to prevent the spools from binding against the wall or each other.
A standard 10-pound spool is about 8 inches in diameter. To give yourself enough “finger room” to grab a spool, I space the axle centers at least 9 inches apart. If you are building a single-row rack, the axles should be welded to the front face of the square tubing.
I use a drill press to create holes in the front face of the tubing for the 5/8-inch round bar axles to sit in. This is much stronger than “butt-welding” the rod to the surface of the tube. By inserting the rod 1/4-inch into the tube, you create a mechanical connection that is much easier to keep straight. I use a magnetic square to hold the axle at a 90-degree angle to the frame while I tack it into place.
Secure Mounting Strategies for Heavy Consumables
Since a fully loaded rack can weigh over 100 pounds, mounting must be tied directly into the wall studs using lag bolts or heavy-duty fasteners. This section covers the layout of mounting holes relative to standard 16-inch or 24-inch stud spacing to ensure long-term structural integrity.
I prefer to weld 1.5-inch flat bar “tabs” to the top and bottom of the frame. I drill 5/16-inch holes in these tabs. I never trust drywall anchors for shop storage that holds heavy steel wire. I use a stud finder to locate the center of the wooden studs and then pre-drill the studs with a 3/16-inch bit to prevent the wood from splitting when I drive in the 3-inch lag bolts.
If your shop has metal studs, you will need to use toggle bolts or specialized self-tapping metal stud screws. However, for most garage builds, the wooden stud is the gold standard. I mount the rack at eye level so I can easily read the labels on the wire spools to check for diameter and alloy type.
Finishing and Post-Weld Alignment
Even with the best sequencing, you might find a slight twist in the frame after it cools. This is where “cold-working” comes in. If the frame is slightly bowed, I place it on the floor with the high side up and apply controlled pressure (sometimes just stepping on it) to bring it back into alignment.
Before painting, I use a flap disc to grind the welds flush on the back side of the frame. This ensures the rack sits flat against the wall. I then wipe the entire assembly down with acetone to remove the mill scale and oils. A coat of self-etching primer followed by a durable enamel paint will prevent the rack from rusting in a humid garage environment.
- Grind: Smooth out the mounting surfaces and any sharp edges on the axles.
- Clean: Remove all oils, grease, and dust using a solvent.
- Prime: Use a high-quality primer to provide a base for the paint.
- Topcoat: Apply two thin coats of shop-grade enamel.
Build Log: Lessons from the Shop Floor
I recently built a version of this rack for a friend who was tired of his welding wire rolling under his workbench. I tracked my time and found that I spent 45 minutes on the layout and 30 minutes on the actual welding. The rest of the time was spent prepping the material and waiting for the paint to dry.
The biggest obstacle I faced was a slight bow in the 32-inch horizontal rails. Most steel from the local supplier isn’t perfectly straight; it often has a “mill sweep.” I made sure to orient the rails so the sweep was facing the same direction, which prevented the frame from looking twisted once it was assembled. This is a small detail, but it makes a huge difference in the professional look of the final project.
FAQ: Common Questions About Fabricating Storage Racks
How do I prevent the round bar axles from sagging? If you are using 5/8-inch solid bar and only extending it 6 inches out, sagging won’t be an issue for a 10-pound spool. However, if you use thinner rod or longer spans, you might need to weld a small gusset (a triangular piece of flat bar) underneath the axle where it meets the frame.
What is the best way to ensure the mounting holes line up with my studs? Measure the distance between your studs first. If they are exactly 32 inches apart, make your frame 34 inches wide so the mounting tabs have plenty of room to catch the center of the wood.
Can I build this out of wood instead of steel? You can, but wood is much bulkier and can warp significantly with humidity. Steel allows for a much slimmer profile, which is important in a crowded shop. Plus, it’s a great project to hone your metal layout tips and welding skills.
How do I stop the wire from unspooling on the rack? I usually leave the plastic “keeper” on the wire spool, or I use a small piece of bungee cord wrapped around the spool to keep the end of the wire tucked in.
What if I don’t have a drill press for the axle holes? You can butt-weld the axles to the face of the tube, but you must be very careful with your heat. Use a heavy magnetic square to keep the axle perpendicular to the frame while you tack all four sides of the rod.
How much weight can a 5/16-inch lag bolt hold? A single 5/16-inch lag bolt driven 2 inches into a solid Douglas Fir stud has a shear strength of several hundred pounds. Using four to six of them for a 100-pound rack provides a very high safety margin.
Should I weld all the way around the axle pins? Yes. A full fillet weld around the circumference of the rod ensures it can handle the constant downward pressure of the spool without fatiguing the joint over time.
How do I handle “mill scale” before welding? Mill scale is the dark grey coating on hot-rolled steel. It is an insulator and will make your arc unstable. Always grind it back to shiny metal at every joint where you plan to weld.
Is 11-gauge tubing overkill for this? Maybe, but 11-gauge (1/8″) is much easier to weld without burning through than 14 or 16-gauge. For a shop fixture that needs to last decades, the extra few dollars in material is worth the ease of fabrication.
What if my wall isn’t flat? If your shop wall is wavy (common in older garages), you can use washers behind the mounting tabs as shims to keep the frame from being pulled out of square when you tighten the lag bolts.
How do I keep the spools from falling off the ends of the axles? I usually drill a small 1/8-inch hole near the end of each axle and insert a cotter pin or a R-clip. This acts as a safety stop so the spool can’t slide off if the rack is bumped.
Can I use a flux-core welder for this project? Absolutely. Just be prepared for more cleanup. Flux-core produces more spatter than MIG, so you will spend more time with the wire brush and grinder before you can paint.
By following these steps and focusing on your sequencing and layout, you can turn a pile of raw steel into a functional piece of shop equipment. It’s not just about storage; it’s about mastering the control of the metal and the heat, which are the core skills of any successful builder.
(This article was written by one of our staff writers, Robert Kline. Visit our Meet the Team page to learn more about the author and their expertise.)