How to Choose the Best Flooring for a Welding Shop (Guide)
When I first started setting up my own fabrication space, I spent weeks agonizing over which welder to buy. I tracked every penny for a multi-process machine and a decent auto-darkening helmet. However, I completely ignored the surface beneath my feet. Within the first month, I realized that molten metal spatter and heavy steel stock are incredibly unforgiving. I watched as hot slag pitted my untreated floor and oil leaks from an old cold saw created permanent, slippery stains.
Establishing a functional workshop requires more than just buying tools. It involves preparing a foundation that can handle the specific rigors of metalwork. We are talking about temperatures exceeding 2,500 degrees Fahrenheit, heavy impact from dropped parts, and the constant presence of conductive grinding dust. My background in industrial maintenance taught me that a shop is only as safe as its walking surface. If the floor fails, your safety and your equipment’s precision are both at risk.
In this guide, we will look at how to prioritize your spending to get a durable, fire-resistant surface without blowing your entire startup budget. We will focus on practical solutions that align with safety standards while keeping your initial costs manageable.
Evaluating the Load-Bearing Capacity of Concrete Slabs
Analyzing the structural strength of a concrete floor involves measuring its thickness and PSI rating to ensure it can support heavy machinery like ironworkers or welding tables. It also includes checking for moisture vapor transmission, which can cause coatings to delaminate or peel away over time.
Most industrial-grade concrete slabs are poured to a thickness of four to six inches. For a beginner fabrication space, a standard 3,000 PSI (pounds per square inch) slab is usually sufficient. However, you must inspect for “spalling,” which is when the surface begins to flake or chip. If you plan on moving a heavy welding table or a 50-gallon air compressor, the floor must be level to prevent equipment from “walking” or vibrating excessively.
I once consulted on a shop where the owner ignored a hairline crack. After he installed a heavy power hacksaw, the vibration widened that crack until the machine was no longer level. This led to inaccurate cuts and eventually a costly floor repair that required moving every tool out of the shop.
Identifying Moisture and Contamination Issues
Moisture testing is a critical first step before applying any sealant or coating to your workshop floor. High moisture levels can trap water vapor under a coating, leading to bubbles and total failure of the bond. You can perform a simple “poly test” by taping a square of plastic to the floor for 48 hours to see if condensation forms.
Calculating Equipment Footprint and Point Loads
Point loading refers to the amount of weight concentrated on a small area, such as the four legs of a welding table. If your table weighs 600 pounds and has one-inch legs, each leg exerts 150 PSI. While this is well within the limits of concrete, adding a heavy project on top can increase that pressure significantly.
| Equipment Type | Estimated Weight (lbs) | Floor Impact Level |
|---|---|---|
| Mobile Welding Cart | 150 – 250 | Low (Distributed by casters) |
| Heavy-Duty Welding Table | 500 – 1,200 | High (Concentrated point loads) |
| Bench Grinder Pedestal | 75 – 150 | Medium (Vibration risk) |
| Vertical Band Saw | 400 – 800 | Medium (Static load) |
Selecting Fire-Resistant Industrial Coatings
Industrial coatings are chemical applications designed to protect the concrete from thermal shock and chemical penetration. These systems, ranging from simple silane sealers to high-build epoxies, provide a barrier against the hot sparks and grinding swarf common in metal fabrication environments.
When you are working on a budget, it is tempting to buy a cheap “garage floor kit” from a big-box store. In my experience, those products are rarely rated for the thermal stress of welding. Molten spatter will burn right through thin, water-based coatings. You need a product with high solids content that can withstand the heat without off-gassing toxic fumes.
High-Solids Epoxy Systems
High-solids epoxy is a two-part coating that creates a thick, durable plastic-like shell over your concrete. It is excellent for resisting oil and chemicals. However, you must be careful with the “hot tire” or “hot slag” effect. If a large glob of molten metal lands on epoxy, it can char the surface. I recommend choosing a light gray color; it makes finding dropped hardware much easier than a dark floor.
Polyaspartic and Polyurea Alternatives
Polyaspartic coatings are often preferred in professional shops because they cure much faster than epoxy and have higher heat resistance. While they are more expensive, they are less likely to yellow over time. For a beginner on a strict budget, this might be an area where you save money by choosing a high-quality sealer instead, unless you plan on doing heavy production work.
Implementing Sacrificial Flooring for High-Heat Zones
Sacrificial flooring consists of secondary materials placed over the primary floor to absorb the brunt of thermal and physical damage. This strategy allows a shop owner to protect a large area with a basic sealer while using specialized materials only where the most intense welding and cutting occur.
I have found that the most cost-effective way to manage a shop floor is to protect the areas where you actually work. You don’t need a $2,000 coating across the entire room if 90% of your sparks land in a 5-foot radius around your table. I use “sacrificial” zones to save money and keep the main floor clean.
Using Steel Plate Inserts
In areas where you are doing heavy TIG or MIG welding, laying down a 1/8-inch or 1/4-inch steel plate can be a lifesaver. Not only does it protect the floor from spatter, but it also provides a convenient place to “tack” jigs or ground your welder. Just ensure the edges are beveled so you don’t trip over them.
Industrial Rubber and Vinyl Welding Mats
Anti-fatigue mats are essential if you spend hours standing at a workbench. However, standard foam mats are a fire hazard in a welding shop. You must look for mats specifically rated by the American Welding Society (AWS) or similar bodies for spark resistance. These are usually made of heavy-duty SBR rubber or specialized vinyl that self-extinguishes.
- Safety Check: Never use “puzzle-piece” foam gym mats. They melt instantly and can stick to your boots or skin.
- Maintenance: Regularly sweep under mats to prevent the buildup of conductive grinding dust, which can become a fire hazard.
Budget Allocation for Workshop Surfacing
Allocating funds for workshop surfacing requires balancing the cost of materials against the long-term expense of floor repairs or safety incidents. A well-planned budget prioritizes essential fireproofing and slip resistance in the primary work zones while utilizing more affordable treatments in storage or assembly areas.
When I built my first shop for under $2,000, I allocated about 10% of my budget to floor prep and sealing. It felt like a lot at the time, but it saved me from having to grind out oil stains later. Here is how I suggest breaking down your initial surfacing costs.
| Item | Budget Percentage | Estimated Cost (Small Shop) |
|---|---|---|
| Concrete Cleaner/Degreaser | 1% | $20 – $40 |
| Penetrating Silane Sealer | 3% | $60 – $100 |
| High-Heat Welding Mat | 4% | $80 – $150 |
| Floor Patching Compound | 2% | $30 – $50 |
| Total Estimated Spend | 10% | $190 – $340 |
Enhancing Safety Through Slip Resistance and Visibility
Slip resistance and visibility are critical components of a safe welding environment, where floors can become hazardous due to metal dust or coolant spills. Incorporating non-slip additives and clear safety demarcations helps prevent falls and organizes the workspace to comply with basic industrial safety principles.
Grinding dust is surprisingly slippery. It acts like tiny ball bearings under your feet. OSHA standard 1910.22 requires that floors be maintained in a clean and, so far as possible, dry condition. In a metal shop, this means you need a floor that is easy to sweep but isn’t a skating rink when a little oil or water hits it.
Adding Grit to Your Coatings
If you decide to paint or coat your floor, always stir in a non-slip additive. Aluminum oxide grit is the standard for industrial shops. It provides a sandpaper-like texture that gives your boots grip even if there is fine dust on the floor. I usually use a “medium” grit—enough for traction, but not so much that it tears up my broom bristles.
Marking Safety Zones and Clearances
Using floor tape or paint to mark “stay clear” zones around stationary tools is a professional touch that costs almost nothing. I mark a 36-inch perimeter around my band saw and my welding station. This reminds me (and anyone else in the shop) to keep that area free of scrap metal and tripping hazards.
- Identify High-Traffic Paths: Keep these paths clear of cords and hoses.
- Mark Tool Clearances: Use yellow tape to define the swing area of long metal stock.
- Define Fire Extinguisher Stations: Ensure the floor below your extinguisher is always accessible.
Maintaining Your Shop Floor for Longevity
Maintaining a workshop floor involves regular cleaning routines and periodic inspections to remove abrasive metal shavings and corrosive chemicals. Consistent upkeep prevents the degradation of protective coatings and ensures that the surface remains safe for heavy equipment and high-temperature fabrication tasks.
I have seen many beginners let their floors go after the first few projects. They stop sweeping, and the grinding dust starts to grind into the sealer. Eventually, the floor looks like raw concrete again. A simple maintenance schedule is the best way to protect your investment.
Managing Grinding Dust and Swarf
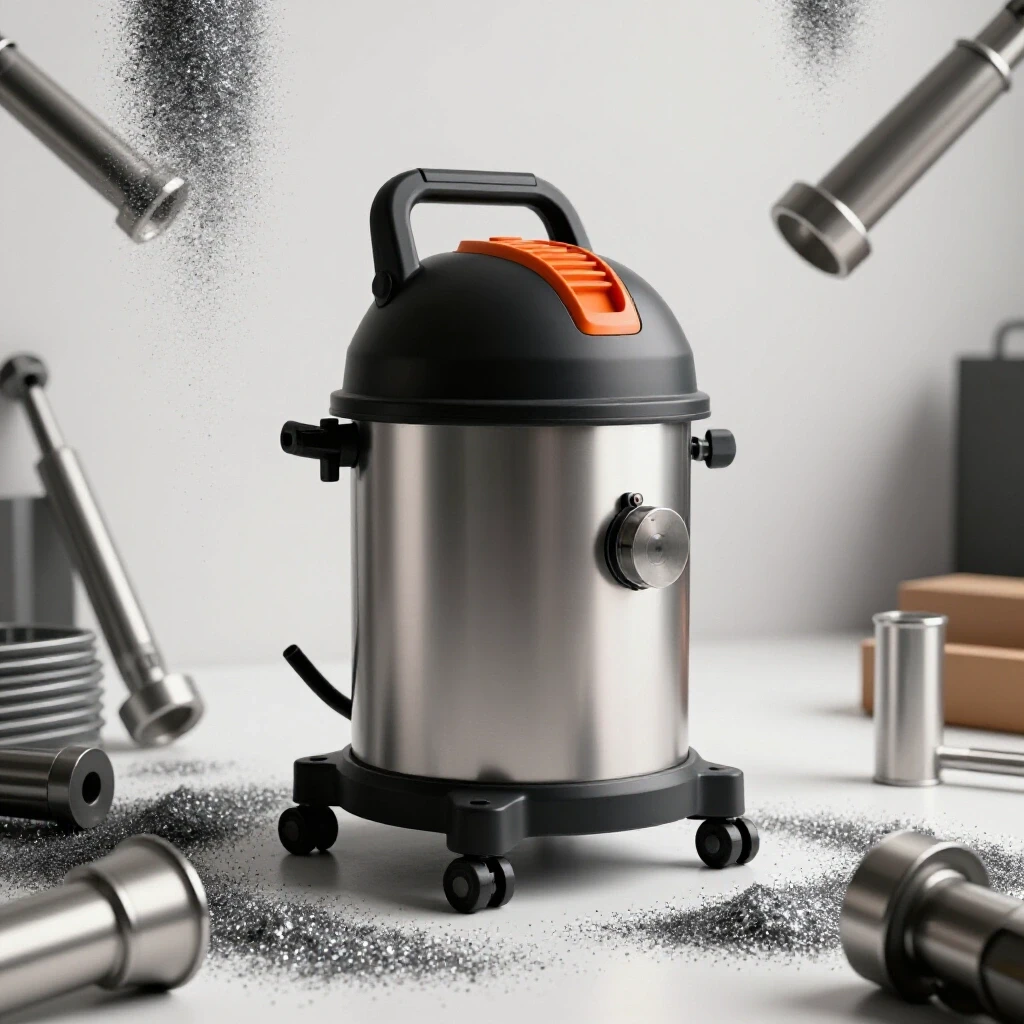
“Swarf” is the fine chips and dust created by cutting and grinding metal. It is abrasive and can be magnetic. If you don’t clean it up, it will act like sandpaper on your floor coating. I recommend using a magnetic floor sweeper once a week to pick up the invisible bits that a broom might miss.
Chemical Spill Response
Even in a small shop, you will deal with cutting fluids, degreasers, and acetone. If these sit on a coated floor, they can soften the finish. I keep a bucket of floor dry (oil absorbent) and a dedicated metal trash can for oily rags. This prevents permanent staining and reduces fire risks.
Essential Tools for Floor Preparation and Maintenance
Preparing and maintaining a workshop floor requires a specific set of tools designed to clean, repair, and protect industrial surfaces. These items ensure that any applied coatings bond correctly and that the workspace remains free of hazardous debris and chemical buildup over time.
Before you apply a single drop of sealer, the floor must be “surgically” clean. Any oil left in the pores of the concrete will cause your coating to peel. I followed a strict three-step process in my shop that has held up for over five years.
- Heavy-Duty Degreaser: Use an industrial-strength cleaner to pull oil out of the concrete.
- Acid Etching or Grinding: This opens the “pores” of the concrete so the sealer can bite in.
- Pressure Washing: Remove all chemical residues and let the floor dry for at least 24 to 48 hours.
- Magnetic Sweeper: A 24-inch wide magnetic broom is the fastest way to clear metal debris.
- Shop Vacuum with HEPA Filter: Essential for picking up fine dust that a broom just pushes around.
Tracking Your Shop Setup Progress
I highly recommend keeping a “Shop Log.” I use a simple spreadsheet to track my costs and the dates I performed maintenance. This helps me remember when I last sealed the floor or when I need to inspect my fire extinguishers.
- Date of Floor Sealing: Track the product used and the number of coats.
- Equipment Weight Log: Record the weight of new tools to ensure you aren’t overloading specific slab sections.
- Maintenance Schedule: Set reminders for deep cleaning and magnetic sweeping.
Troubleshooting Common Flooring Failures
Troubleshooting flooring failures involves identifying the root causes of issues like peeling coatings, cracking concrete, or excessive heat damage. Understanding why a surface failed allows for more effective repairs and helps prevent the recurrence of similar problems in a heavy-duty fabrication environment.
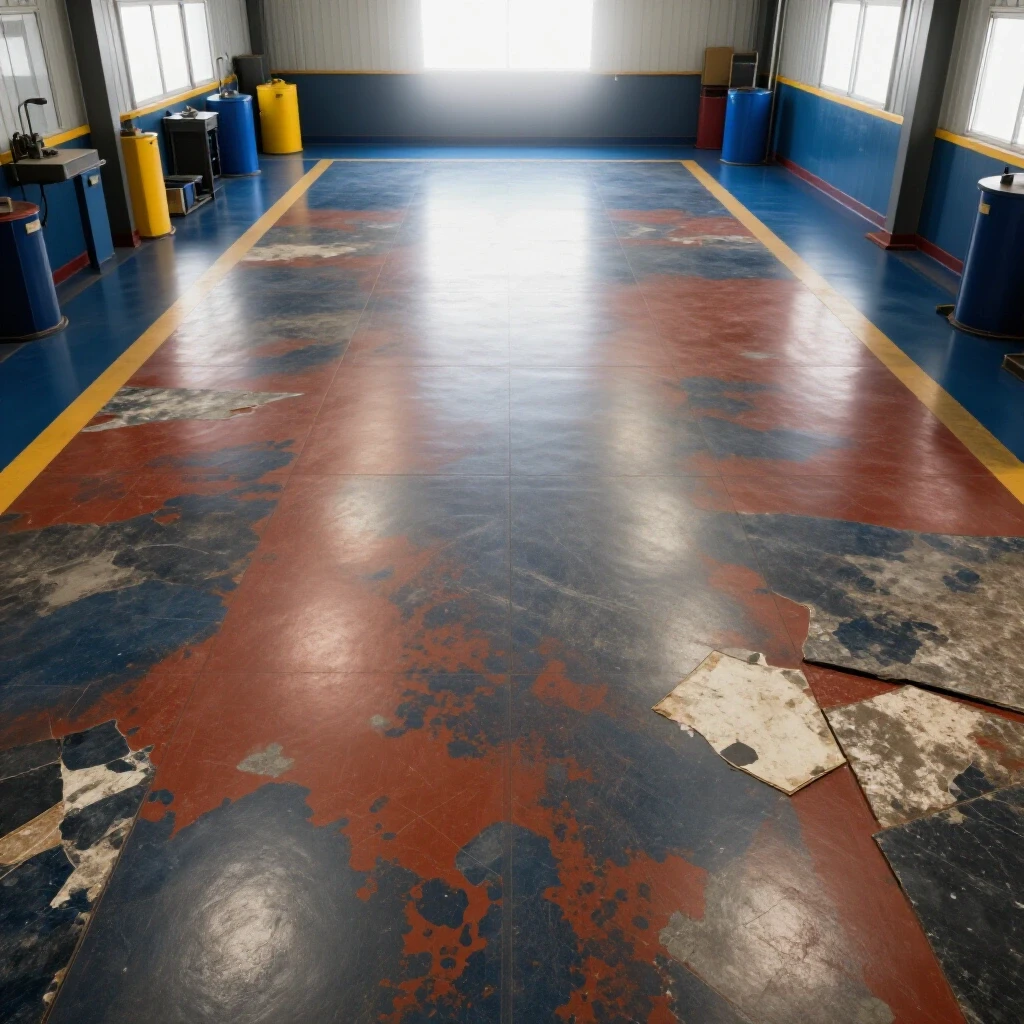
If you notice your floor coating is bubbling or “flaking” where you park your welding cart, it is usually a sign of poor preparation. I’ve seen this happen when someone tries to paint over a floor that was still damp or had traces of oil.
- Delamination: If the coating peels off in large sheets, the concrete wasn’t etched properly. You will likely need to grind the surface and re-apply.
- Cracking: Hairline cracks are normal as slabs settle, but “spiderweb” cracking can indicate a structural issue or a slab that is too thin for the load.
- Burn Marks: If you see dark charring from sparks, your coating lacks sufficient heat resistance. Consider placing a sacrificial steel plate in that specific spot.
Frequently Asked Questions
Can I use standard outdoor deck paint for my welding shop floor?
No, you should never use standard deck or porch paint. These products are not designed to handle the thermal stress of molten metal or the chemical exposure of a fabrication shop. They will peel quickly and can even be flammable if they are oil-based. Always use a dedicated concrete sealer or industrial epoxy.
How do I know if my concrete is too thin for a heavy welding table?
Most modern garage and shop slabs are at least 4 inches thick, which is enough for a standard 500-to-1,000-pound welding table. If you are unsure, look for existing cracks; if the floor is already cracking under its own weight, it may be too thin. You can also use a hammer drill in an inconspicuous corner to check the depth.
Is a polished concrete floor good for welding?
Polished concrete is extremely durable and looks professional, but it can be very slippery when dusty or wet. If you choose polished concrete, ensure it is treated with a high-quality “densifier” and maintain a strict cleaning schedule to remove slippery grinding dust.
What is the cheapest way to protect my floor from sparks?
The most budget-friendly method is to use a penetrating silane/siloxane sealer to prevent oil stains, combined with a sacrificial 1/8-inch steel plate or a fire-rated welding mat in your primary “spark zone.” This protects the most vulnerable areas without the cost of a full-room coating.
How long should I wait for a new concrete slab to cure before coating it?
The industry standard is 28 days. Concrete needs this time to “hydrate” and release excess moisture. If you coat it too early, the moisture will be trapped, and your coating will likely bubble and peel within months.
Are interlocking PVC tiles safe for a welding environment?
Standard PVC tiles will melt if they come into contact with hot slag or sparks. If you want to use interlocking tiles, you must purchase those specifically rated for welding environments. These are usually made of high-density rubber or specialized fire-retardant polymers.
Do I need to ground my floor if I am welding?
You do not need to ground the floor itself, but your welding table must be properly grounded to your machine. However, having a steel plate on the floor can act as a secondary ground if your work is touching it, which can be a safety benefit if managed correctly.
How do I remove old oil stains before I seal the floor?
Use a dedicated concrete degreaser and a stiff scrub brush. For deep stains, you may need to apply a “poultice” (a mix of absorbent powder and solvent) to draw the oil out of the pores. If the oil remains, the sealer will not bond.
Can grinding dust cause a fire on the floor?
Yes, if grinding dust (especially from aluminum or certain steels) is allowed to accumulate in a pile, a hot spark can ignite it. This is why regular sweeping and the use of a magnetic sweeper are essential for shop safety.
What is the best color for a welding shop floor?
A light to medium gray is generally considered the best. It reflects light well, making the shop brighter, and makes it much easier to see small parts, screws, or cracks in the floor compared to black or dark brown surfaces.
How often should I re-apply a floor sealer?
A high-quality penetrating sealer usually lasts 3 to 5 years in a low-volume hobby shop. If you notice water or oil is no longer “beading” on the surface and is instead soaking into the concrete, it is time for a new coat.
Should I use a gloss or matte finish?
A matte or satin finish is usually better for a workshop. High-gloss finishes can create distracting glares from your welding arc and are often more slippery than matte surfaces. Safety and functionality should always come before a “shiny” look.
(This article was written by one of our staff writers, Michael Thompson. Visit our Meet the Team page to learn more about the author and their expertise.)