How to Set Up Digital Readouts on a Manual Mill (DIY Guide)
After twenty years of refining my home-based fabrication shop, I have learned that the transition from a hobbyist to a professional-grade operator is rarely about buying a single piece of expensive equipment. Instead, it is about the incremental removal of human error. For many of us, the manual mill is the heart of the shop, yet it is also a significant source of frustration. Relying on handwheel graduations and manual turn-counting leads to scrapped parts and mental fatigue. When I first integrated electronic position tracking onto my primary milling machine, the shift in productivity was immediate.
The stress of scaling a fabrication business often comes down to the “re-work” rate. If you are constantly double-checking your dials or second-guessing if you accounted for backlash, you are losing money. Integrating a digital feedback system allows you to focus on material flow and part quality rather than basic arithmetic. This guide focuses on the technical and strategic steps required to equip your manual machine with precision electronic scales, ensuring your workshop moves closer to a high-efficiency manufacturing cell.
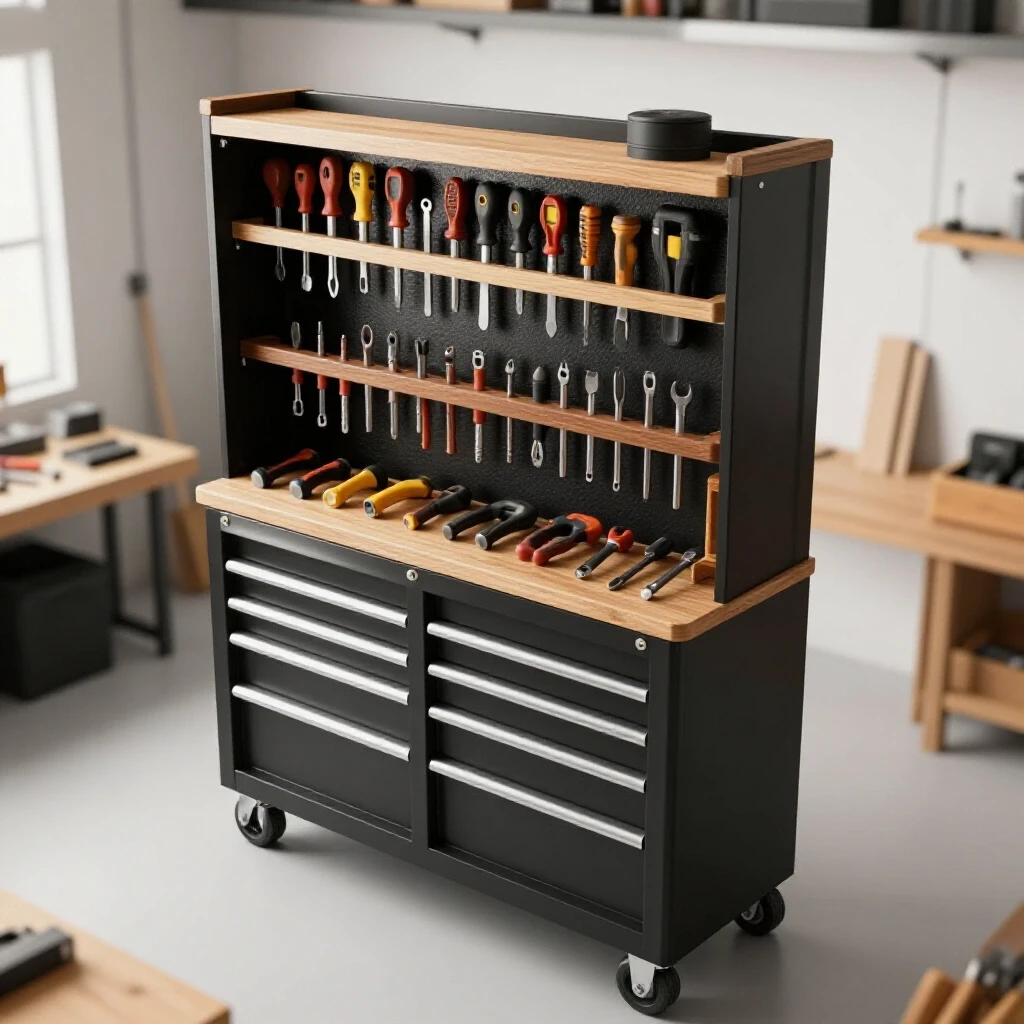
Evaluating the Shop Layout for Precision Machining
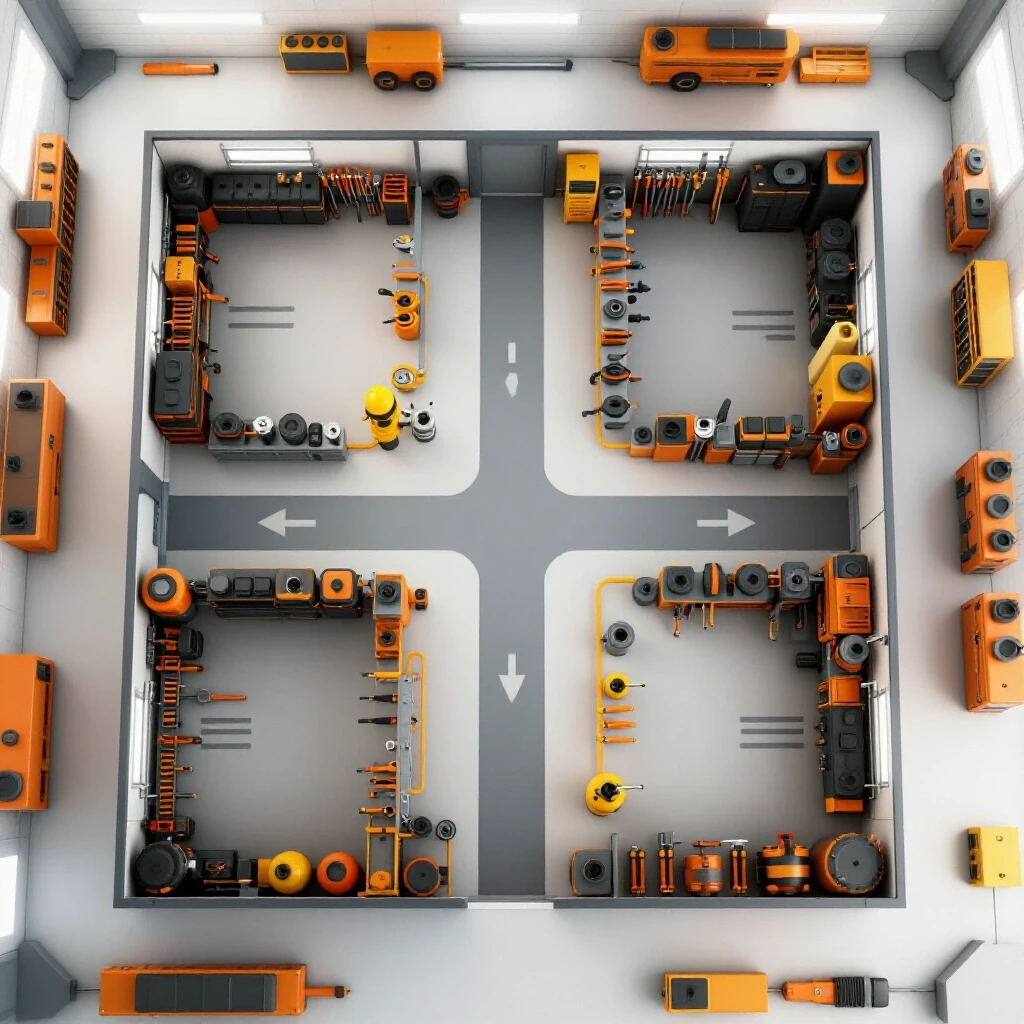
This phase involves analyzing the physical footprint of your manual mill to ensure there is adequate clearance for scale covers and reader head travel. Proper machine zoning prevents physical interference with other equipment and ensures that the operator has a clear line of sight to the digital display during complex operations.
When I redesigned my shop layout, I realized that my mill was positioned too close to a welding station. This caused two problems: grinding dust fouled the precision surfaces, and the lack of space made mounting the X-axis scale nearly impossible. For a successful installation, you need at least 24 inches of clearance around the table ends. This allows for the full travel of the longitudinal axis without the new scale covers striking nearby benches or walls.
Workflow optimization tips often start with minimizing movement. Place your mill in a “clean zone” away from the CNC plasma table or heavy grinding areas. If your floor space is limited, consider a modular layout where the mill sits at a 45-degree angle to the wall. This often provides the necessary clearance for the long X-axis scale while keeping the operator’s path clear.
| Layout Factor | Requirement | Impact on Precision |
|---|---|---|
| Machine Clearance | 24″ at table ends | Prevents scale impact and allows maintenance. |
| Lighting | 500-700 Lux at spindle | Reduces eye strain when reading the display. |
| Floor Stability | Level within 0.002″ per foot | Prevents machine twist, which affects scale alignment. |
| Vibration Isolation | Isolated from compressors | Prevents “ghost” readings on sensitive scales. |
Power Requirements and Electrical Stability for Electronics
Electrical stability is critical when adding sensitive digital components to heavy industrial machinery. Standard shop power can be “noisy,” characterized by voltage spikes and electromagnetic interference that can cause digital displays to flicker or lose their position memory during a heavy cut.
Most manual mills in advanced home shops run on 3-phase power, often provided by a 3-phase power converter. While these converters are excellent for driving motors, they can create electrical noise that interferes with the low-voltage signals in your new digital readout. I always recommend a dedicated, surge-protected circuit for the display console. If you are using a rotary phase converter, ensure your electronics are tapped into the two “clean” legs of the power rather than the manufactured third leg.
In my experience, grounding is where most installers fail. The scale cables act like antennas for electrical noise. To prevent this, ensure the display console is grounded to the machine frame and the frame itself is tied to a verified earth ground. This simple step can save hours of troubleshooting “drifting” numbers that seem to change for no reason.
- Use a high-quality surge protector specifically for the display unit.
- Route signal cables away from high-voltage motor leads.
- Verify that your shop’s neutral and ground are not bonded at the sub-panel if your local code prohibits it.
- Install ferrite chokes on the scale cables to suppress high-frequency noise.
Selecting the Right Linear Scale Technology
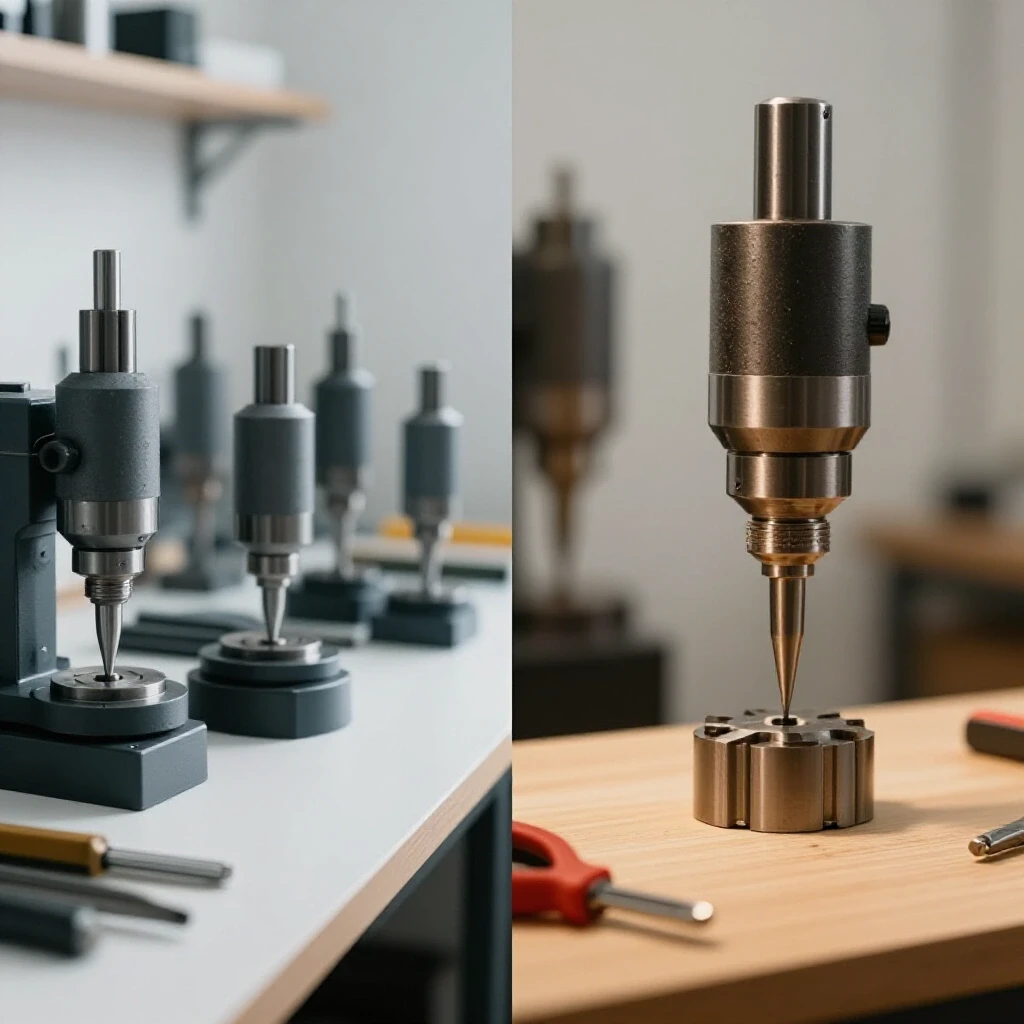
Choosing between glass and magnetic scales is a fundamental decision that impacts both the cost and the long-term reliability of your machine. Glass scales use optical sensors to read etched lines, offering high precision, while magnetic scales use a magnetized ribbon that is more resistant to shop contaminants.
For most advanced shop owners, 5-micron (0.0002″) resolution is the standard. While 1-micron scales are available, they are often overkill for a manual mill and can be frustratingly sensitive to machine vibration. I typically suggest glass scales for the X and Y axes because of their proven accuracy. However, if your shop environment involves heavy flood coolant or high-volume cast iron machining, magnetic scales might be the more durable choice.
The “why” behind this choice is simple: glass scales are susceptible to “fogging” if coolant or oil gets inside the housing. Magnetic scales are immune to this, but they can attract fine steel chips if not properly shielded. In my shop, I use glass scales with heavy-duty aluminum covers, which provides the best balance of precision and protection.
- Glass Scales: Best for high-precision environments; require careful shielding from fluids.
- Magnetic Scales: Excellent for dirty environments; easier to cut to custom lengths.
- Resolution Selection: Choose 5-micron for general work; 1-micron for high-tolerance tool making.
- Physical Size: Ensure “slim” scales are used for the Y-axis if space between the knee and column is tight.
Strategic Mounting of X and Y Axis Scales
The physical installation of the scales is the most labor-intensive part of the process, requiring precision drilling and tapping into the machine’s castings. The goal is to mount the scale perfectly parallel to the axis of travel to avoid “cosine error,” where the scale reads less than the actual distance moved.
When I mounted the scales on my bridge-style mill, I spent four hours just on the X-axis alignment. You cannot trust the “as-cast” surfaces of the machine. I used a dial indicator to sweep the mounting surface, using thin brass shims to ensure the scale was parallel to the table travel within 0.001″ over the entire length. If the scale is tilted, it will bind the reader head and eventually destroy the internal sensors.
The Y-axis presents a different challenge. Space is usually at a premium between the knee and the column. I often fabricate a custom offset bracket to move the scale away from the saddle lock levers. This ensures that you don’t lose any of your machine’s original functionality while gaining the benefit of digital tracking.
- Step 1: Clean and stone the mounting surfaces to remove burrs or paint.
- Step 2: Use a dial indicator to verify the scale is parallel to the ways in both the horizontal and vertical planes.
- Step 3: Mount the reader head so it is centered within the scale housing to allow for “float.”
- Step 4: Install the protective aluminum cover immediately to prevent damage from dropped tools or chips.
Establishing Z-Axis and Quill Feedback
Monitoring the vertical dimension on a mill involves two distinct movements: the knee travel and the quill stroke. For a comprehensive setup, you need to decide if you want to track the heavy movement of the knee or the precision depth of the quill, or both through a summed input.
In my workshop, I found that tracking the quill is more critical for most operations, such as drilling to a specific depth or milling pockets. Mounting a scale to the quill requires a compact, “slim-line” scale. The bracketry here is delicate; it must move perfectly with the quill without adding significant drag to the return spring. I prefer a “summing” display that adds the knee and quill movements together, providing a true Z-axis position relative to the workpiece.
The knee scale is usually a larger, more robust unit. Because the knee is heavy, the mounting brackets must be rigid enough to prevent the scale from vibrating during heavy cuts. I recommend using 1/4-inch steel plate for these brackets rather than the thin aluminum ones often included in budget kits.
| Axis | Typical Travel | Scale Type | Mounting Priority |
|---|---|---|---|
| X (Longitudinal) | 30″ – 42″ | Standard Glass | Parallelism to ways |
| Y (Cross) | 12″ – 16″ | Slim Glass | Clearance for locks |
| Z (Knee) | 16″ – 20″ | Standard Glass | Rigidity of brackets |
| Z-Quill | 5″ | Slim/Mini Scale | Weight and drag |
Calibration and Verification Protocols
Once the hardware is installed, the system must be calibrated to ensure the digital output matches the physical movement of the machine. Even the best scales can have slight manufacturing variances, and the display unit needs to be “taught” exactly how many pulses correspond to an inch of travel.
I use a high-quality 12-inch gaged bar or a set of long Jo-blocks for this process. Move the table to a starting point, zero the display, and then move the table exactly 10 or 12 inches according to your physical standard. If the display shows 10.002″, you must enter the correction factor into the console’s settings. This “linear error compensation” is what separates a professional installation from a hobbyist one.
Verification should be performed at multiple points along the scale. I check the beginning, middle, and end of the table travel. If the error is inconsistent, it usually indicates a mounting issue—likely that the scale is bowed or twisted. Don’t skip this step; a DRO that is off by a few thousandths is worse than no DRO at all, as it gives you a false sense of security.
- Zeroing: Use a dial indicator against a fixed stop to establish a repeatable “home” position.
- Comparison: Move the axis and compare the display to a known physical standard (not the handwheels).
- Inputting Compensation: Access the “Parameter” menu on your console to adjust the linear scale factor.
- Repeatability Test: Move the axis away and back to the stop ten times; the display should return to 0.0000″ every time.
Operational Workflow Optimization with Digital Feedback
The real value of an electronic tracking system is not just seeing the numbers; it is using the built-in functions to eliminate manual layout work. Features like bolt-hole patterns, centerline calculations, and tool offsets can reduce your setup time by 50% or more.
Before I had digital feedback, laying out an eight-hole bolt circle required a rotary table or complex trigonometry. Now, I simply input the center point, the diameter, and the number of holes. The display guides me to each coordinate. This “scaling fabrication shop” mindset is about moving from “measuring and marking” to “positioning and cutting.” It reduces the cognitive load on the operator, which is vital during long production runs.
Another bottleneck I solved was “center finding.” Finding the center of a workpiece used to involve edge finding both sides and dividing by two on a calculator. With a modern display, you touch one side, hit the “1/2” button, touch the other side, and the machine tells you exactly where the center is. This eliminates math errors and speeds up the transition between different workpieces.
- Bolt-Hole Circles: Program flange patterns in seconds without a rotary table.
- Tool Library: Store offsets for different end mills to maintain Z-axis accuracy after tool changes.
- Sub-Datums: Use multiple “Zero” points for parts with complex features.
- Shrinkage Factors: Apply a percentage scale for pattern making or foundry work.
Managing Shop Environment and Maintenance
A precision measurement system is an investment that requires ongoing care to maintain its accuracy. In a micro-manufacturing environment, the “advanced workshop layout” must include provisions for keeping the scales clean and the electronics cool.
I have seen many shops where the scale covers are caked in dried coolant and chips. Over time, this debris can work its way past the rubber seals and scratch the internal glass. I make it a habit to wipe down the scale covers every week and check the rubber seals for any signs of tearing. If you use a mist or flood coolant system, ensure your air filtration is adequate. High-volume clean air filtration prevents fine oil mist from settling on the electronics and causing premature failure of the display’s membrane buttons.
Maintenance also includes checking the mounting bolts. Vibration from heavy milling can loosen the brackets over time. Every six months, I put a wrench on every mounting bolt and re-verify the alignment with a dial indicator. This proactive approach ensures that the “high-output fabrication” remains consistent year after year.
- Weekly: Wipe down scale covers and clear chips from reader head paths.
- Monthly: Inspect cables for abrasion or “pinch points” in the machine’s travel.
- Bi-Annually: Re-verify axis calibration using a physical standard.
- Annually: Clean the display console filters and check for loose internal connections.
Conclusion
Transitioning a manual mill into a high-precision instrument is a defining step for any advanced shop owner. It bridges the gap between traditional craftsmanship and modern manufacturing efficiency. By carefully selecting your components, ensuring a stable electrical environment, and being meticulous with your physical alignment, you create a system that pays for itself in reduced scrap and faster throughput.
The journey doesn’t end with the installation. The true gain comes from mastering the interface and integrating its functions into your daily workflow. As you move toward more complex projects, the confidence provided by a verified digital feedback system allows you to push your machine—and your skills—to their absolute limits. Start with the X-axis, prove the concept, and then build out the rest of your machine to create a truly professional fabrication environment.
Frequently Asked Questions
What is the difference between a 2-axis and a 3-axis display for a mill? A 2-axis display tracks the X (longitudinal) and Y (cross) movements. A 3-axis display adds a third scale, usually for the Z-axis (either the knee or the quill). For most milling work, a 3-axis system is preferred as it allows for precise depth control, which is critical for pocketing and blind-hole drilling.
Can I cut linear scales to a custom length if they are too long? Magnetic scales can usually be cut to length with a standard hacksaw or shears. Glass scales, however, cannot be cut easily because the internal glass strip will shatter. If you use glass scales, you must order the specific “travel length” required for your machine’s axes.
How do I handle “backlash” with a digital readout? One of the biggest advantages of a scale-based system is that it ignores backlash. Because the scale is mounted to the table and the reader head to the saddle, the display shows the actual movement of the table, regardless of how much “slop” is in the lead screws. This allows older machines to produce highly accurate parts.
What is “Cosine Error” and why should I care? Cosine error occurs when the scale is not mounted perfectly parallel to the axis of travel. If the scale is at an angle, the distance it “sees” is the hypotenuse of a triangle rather than the actual distance moved. This results in the display reading less than the actual travel, leading to undersized parts.
Do I need a professional to calibrate my new system? No, most advanced shop owners can calibrate their own systems using a dial indicator and a known standard like a 1-2-3 block or a long gage bar. The key is to use a standard that is more accurate than the resolution of the scale you are testing.
How do I protect the cables from being pinched or cut? Cable management is vital. Use flexible plastic conduit or “drag chains” to protect the cables as the table moves. Ensure there is enough slack for the full range of motion but not so much that the cables can get caught in the lead screws or under the table.
Is a 1-micron scale worth the extra cost? For a manual mill, usually not. A 1-micron (0.00004″) scale is so sensitive that it will show “flicker” just from the operator leaning on the machine or the heat from a nearby light. A 5-micron (0.0002″) scale is the “sweet spot” for manual machining accuracy and stability.
Will a digital display work with a phase converter? Yes, but you must be careful. Electronic displays are sensitive to the “dirty” power often found on the manufactured leg of a rotary phase converter. Always plug the display into a surge-protected outlet that is tied to the utility-provided power legs.
How long does a typical installation take? For an experienced fabricator, a 3-axis installation usually takes between 8 and 12 hours. This includes the time needed to fabricate custom brackets, drill and tap the machine castings, and perform the final calibration.
What should I do if the numbers on the screen are jumping around? This is usually caused by electrical noise or a loose reader head. Check your grounding first. If the problem persists, ensure the reader head is not vibrating against the scale housing and that the cables are shielded from the motor’s electromagnetic field.
(This article was written by one of our staff writers, Edward Sinclair. Visit our Meet the Team page to learn more about the author and their expertise.)