How to Choose the Right Tool to Cut Structural Steel (Tips)
I have spent 14 years in the world of heavy metal, moving from the loud, sparking floors of fabrication shops to the quiet, high-stakes environment of structural inspection. My journey began with a mechanical engineering degree, but my real education happened when I saw a poorly cut I-beam fail under a load it should have easily carried. That failure was not due to a math error; it was due to a micro-crack caused by the wrong cutting method. In my workshop, I treat every cut as a structural event because I know that the way you separate a piece of steel determines how it will perform under stress for years to come.
Many intermediate fabricators feel a sense of anxiety when approaching a heavy structural project. You might worry about the frame warping, the joints not lining up, or, worse, the structure failing after it is put into service. This fear is actually a good sign—it means you respect the physics at play. Structural steel is unforgiving. When we work with mild steel like A36, we are dealing with a material that has a yield strength of 36,000 PSI. This is the point where the metal starts to permanently deform. If we introduce defects during the cutting phase, we lower that threshold before we even strike an arc.
Why Material Integrity Starts with the Initial Cut
The method used to section a steel beam or plate sets the stage for the entire build. Choosing the right equipment ensures that the edges remain clean, the dimensions stay accurate, and the internal grain structure of the metal is not compromised by excessive heat or mechanical stress.
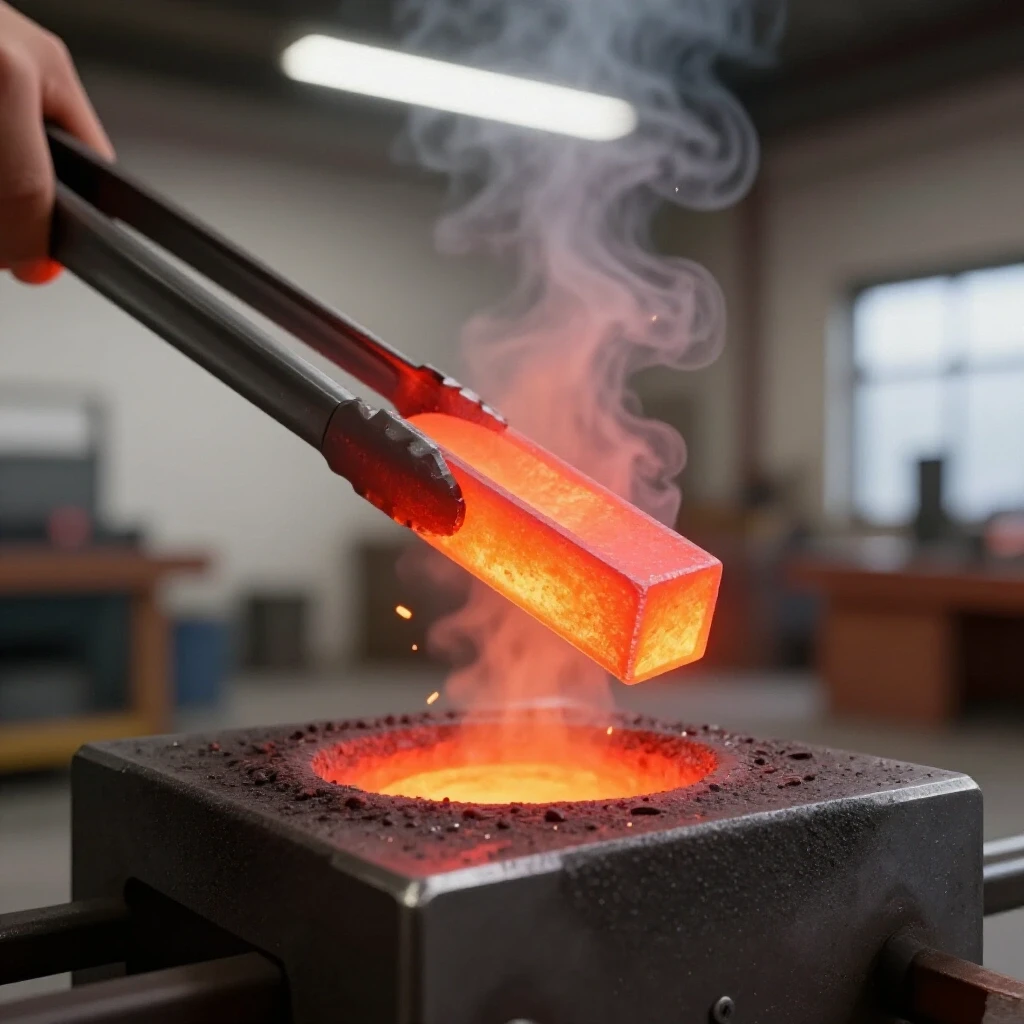
When we talk about structural integrity, we are discussing the ability of a component to carry a load without breaking or bending permanently. In a home shop, the goal is to maintain the original properties of the steel as much as possible. Every time you cut metal, you are either using mechanical force or thermal energy. Mechanical force, like a saw blade, physically shears the metal. Thermal energy, like a plasma torch, melts it. Both have specific effects on the “Heat Affected Zone” (HAZ), which is the area of the metal that did not melt but had its properties changed by the heat.
Understanding the Heat Affected Zone (HAZ)
The Heat Affected Zone is a thin strip of metal along the cut edge that undergoes a chemical and structural change due to high temperatures. This zone can become harder and more brittle than the rest of the steel, making it prone to cracking under a heavy load.
In structural applications, a large HAZ is a liability. If you use an oxy-fuel torch to cut a thick plate, the heat penetrates deep into the material. This can create a “brittle fracture” point. If the project involves high-stress loads, such as a crane gantry or a vehicle trailer, that brittle edge can fail suddenly. I always recommend grinding away at least 1/16th of an inch of material from a thermally cut edge to reach the “parent metal” that hasn’t been altered by heat.
Analyzing Mechanical Stress and Yield Strengths
Yield strength is the maximum stress a material can handle before it stays bent. Tensile strength is the point where it actually pulls apart. For structural mild steel, these numbers are the foundation of your safety margins.
When you choose a cutting tool, you must consider how much stress you are introducing into the part. A dull saw blade or a high-speed abrasive disc can create friction heat that mimics a torch’s HAZ. Furthermore, mechanical cutting can leave “burrs” or jagged edges. These act as “stress risers,” which are tiny points where force concentrates. In my inspection work, I have seen cracks start at a single jagged tooth mark on the bottom flange of a beam.
| Material Property | A36 Mild Steel Value | Importance for Fabrication |
|---|---|---|
| Yield Strength | 36,000 PSI | The limit before permanent bending occurs. |
| Tensile Strength | 58,000 – 80,000 PSI | The point of total structural failure. |
| Ductility | 20-23% elongation | The ability of the steel to stretch before breaking. |
| Carbon Content | 0.25 – 0.29% | Determines how easily the steel hardens during cutting. |
Comparing Cold-Cutting and Thermal Methods for Heavy Sections
Deciding between a saw and a torch depends on the thickness of the steel and the required precision. Cold-cutting tools keep the metal at a low temperature, while thermal tools use extreme heat to move through the material quickly.
For most garage-based structural projects, cold-cutting is the safer bet for maintaining material properties. However, as the steel gets thicker—think over 1/2 inch—mechanical saws often struggle. This is where you have to balance the speed of a torch with the precision of a saw. I have found that for beams and channels, a horizontal band saw provides the best mix of safety and accuracy, provided the blade speed is calibrated correctly.
The Benefits of Horizontal Band Saws
A horizontal band saw uses a continuous serrated blade to move through the metal. It is a staple in structural shops because it can be set to cut automatically, ensuring a straight, square edge that is vital for load-bearing joints.
The key to a successful band saw cut is the “Downfeed Rate.” If the saw drops too fast, the teeth will strip or the blade will wander, creating a crooked cut. A crooked cut in a structural column means the load won’t sit centered, which introduces “eccentric loading.” This can cause a column to buckle at much lower weights than it was designed for. Always aim for a slow, steady feed that produces consistent metal chips rather than fine dust.
Using Cold Saws for High-Precision Joints
A cold saw uses a circular blade with carbide tips and runs at a very low RPM, often around 50 to 100 RPM. It uses a flood of coolant to keep the blade and the steel cold to the touch throughout the process.
I prefer cold saws for projects where the joint fit-up must be perfect, such as a precision machine base. Because the metal stays cool, there is zero distortion or warping. The edge finish is often as smooth as a milled surface. The downside is the cost of the blades and the machine itself, which are significantly higher than standard abrasive chop saws.
- Pros: No HAZ, perfectly square cuts, no sparks.
- Cons: High initial cost, limited to smaller profiles, heavy equipment.
The Role of Abrasives and Friction in Metal Separation
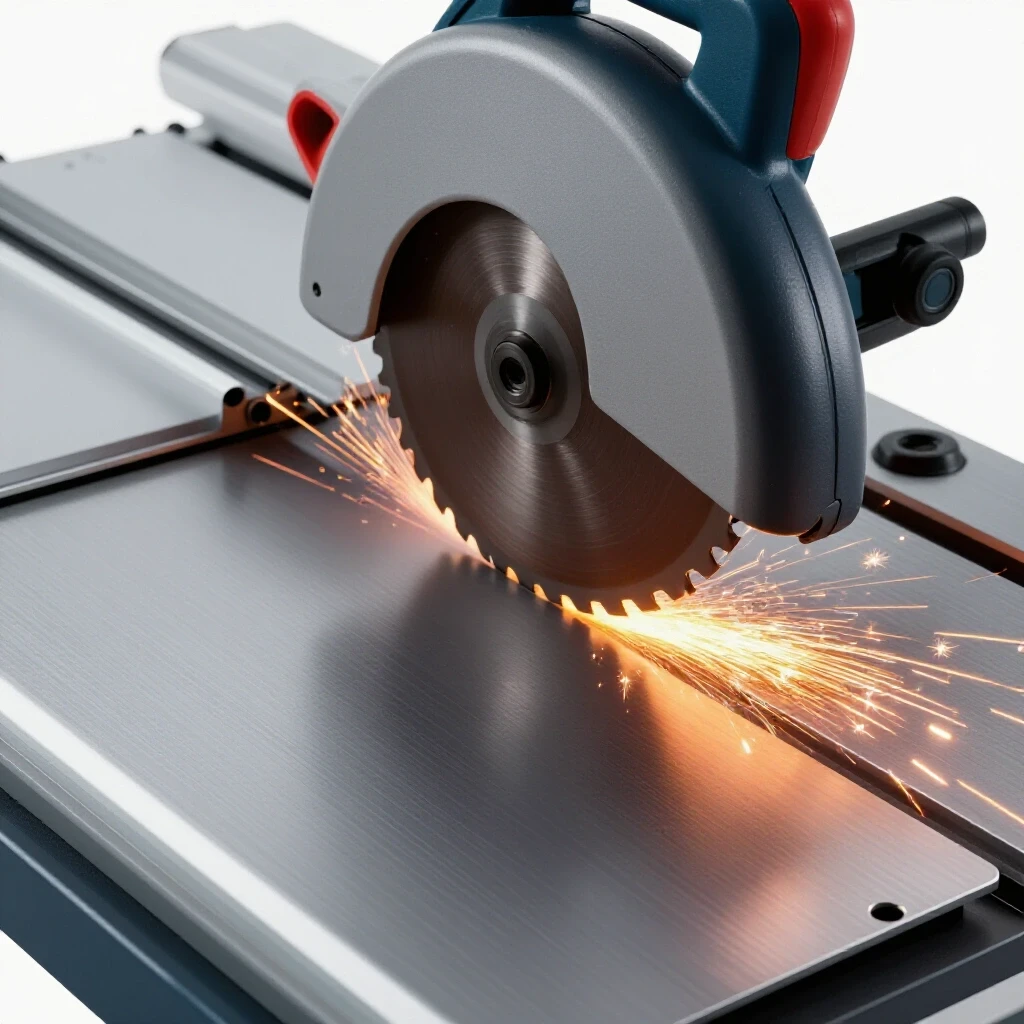
Abrasive tools, like chop saws and angle grinders, use a spinning disc made of grit and resin to wear through the steel. These are the most common tools in home shops due to their low price and versatility.
While convenient, abrasive cutting is a “high-friction” method. It generates a massive amount of sparks and localized heat. For structural work, the biggest risk with abrasives is the “glazing” of the cut surface. This happens when the metal gets hot enough to create a hard, shiny skin that welding wire cannot easily penetrate. If you see a blue or purple tint on the edge of your steel after cutting, you have reached temperatures over 500°F, and that surface needs to be cleaned before welding.
Safety Protocols for Abrasive Cutting
Workshop safety is paramount when using high-speed discs. An abrasive disc spinning at 10,000 RPM can shatter if it binds in the cut, turning into dangerous shrapnel.
- Check for cracks: Always “ring test” or visually inspect a new disc for chips before mounting it.
- Guard position: Never remove the safety guard to gain more “reach.”
- Fire safety: Clear all flammable materials within a 35-foot radius, as sparks can smolder in sawdust or rags for hours.
- PPE: Use a full face shield over your safety glasses. I have seen sparks bounce off a cheek and go right under a standard pair of glasses.
High-Heat Cutting Methods: Plasma and Oxy-Fuel
When the steel is too thick for a saw, or the shape is complex, thermal cutting is the only option. Plasma cutting uses an ionized arc of gas, while oxy-fuel uses a chemical reaction between iron and oxygen to burn through the metal.
Thermal cutting requires a high degree of control over the gas flow rate. For a plasma cutter, clean, dry air is essential. Moisture in the air line will cause the arc to sputter, leaving a jagged edge that is full of “dross” (hardened slag). For oxy-fuel, the balance of oxygen and acetylene (or propane) determines if the cut is clean or if it leaves a wide, melted mess that ruins the structural dimensions.
Managing Plasma Cutter Gas Flow and Settings
Most modern plasma units in the 40-60 amp range can handle up to 5/8 inch structural steel. To get a clean cut, you must maintain a steady hand and the correct air pressure, usually between 60 and 80 PSI.
- Gas Flow Rate: Ensure your compressor can provide at least 4 to 5 CFM at the required pressure.
- Travel Speed: If you move too slowly, the kerf (the width of the cut) gets too wide. If you move too fast, the arc won’t penetrate, and sparks will blow back at you.
- Standoff Distance: Keep the torch tip about 1/16th of an inch from the metal to prevent “double arcing” which destroys the nozzle.
Why Oxy-Fuel is Still a Structural Standard
Oxy-fuel cutting is unique because it doesn’t just melt the metal; it oxidizes it. This allows it to cut through incredibly thick beams—up to several feet thick—that a plasma cutter could never touch.
However, the heat input is massive. When I inspect oxy-fuel cuts on structural plates, I look for “drag lines.” These are the ripples on the cut face. If the drag lines are vertical, the cut was made at the right speed. If they curve sharply, the torch was moving too fast, likely leaving “uncut” sections at the bottom. For a structural joint, these imperfections must be ground smooth to prevent “crack initiation points.”
| Tool Type | Max Thickness (Typical) | Cut Quality | Heat Affected Zone (HAZ) |
|---|---|---|---|
| Band Saw | 10″ + | Excellent | None |
| Cold Saw | 4″ | Superior | None |
| Abrasive Saw | 3″ | Fair | Moderate |
| Plasma Cutter | 1″ | Good | Small |
| Oxy-Fuel | 12″ + | Poor to Fair | Large |
Essential Workshop Safety and PPE for Heavy Metal Separation
Cutting structural steel is a violent process. It involves high heat, sharp metal chips, and heavy weights. A safe workshop layout is the first line of defense against fabrication accidents.
I organize my shop into “Hot Zones” and “Cold Zones.” The cutting and welding happen in the Hot Zone, which has non-flammable floors and high-capacity ventilation. Structural steel is heavy; a 10-foot section of 4-inch I-beam can weigh over 70 pounds. If that falls on your foot, a standard sneaker offers zero protection. I never step into the shop without steel-toed boots and a high-quality welding apron.
PPE Shade and Safety Ratings
Your eyes are your most valuable tool. When using a plasma cutter or an oxy-fuel torch, you need specific light filtration to prevent “arc eye” or permanent retinal damage.
- Plasma Cutting: Use a shade 5 to 8 depending on the amperage.
- Oxy-Fuel Cutting: Shade 3 to 5 is usually sufficient for the flame.
- Abrasive Cutting: Clear impact-rated lenses (Z87+ rating) are mandatory.
- Hearing Protection: Structural cutting often exceeds 100 decibels. Use earplugs or muffs to prevent long-term hearing loss.
Ventilation and Air Quality
Cutting steel releases metal dust and, in the case of thermal cutting, hazardous fumes. Mild steel is often coated in “mill scale,” which is a layer of iron oxide that can pop and fly when heated.
I use a localized fume extractor for thermal cutting. If you don’t have one, ensure you have a cross-breeze in the garage. Never cut steel that has been galvanized (zinc-coated) without a respirator, as the fumes can cause “metal fume fever,” a miserable flu-like condition that results from zinc poisoning.
Preparing Joints for Structural Welding Success
A cut is rarely the final step. To ensure a structural joint is sound, the edges must be prepared to allow the weld to penetrate deep into the metal. This is the difference between a weld that sits on top of the metal and one that becomes part of it.
For steel thicker than 3/16ths of an inch, a square edge is not enough. You must create a “bevel.” A bevel is an angled grind on the edge of the metal that creates a “V” shape when two pieces are put together. This “V” allows the welding electrode to reach the bottom of the joint, ensuring “Full Root Penetration.” Without this, the center of the joint remains hollow, creating a massive weak point.
The Science of Beveling and Fit-Up
I use a 30 to 37.5-degree angle for most structural bevels. This creates a total included angle of 60 to 75 degrees when the pieces are joined.
- Clean the edge: Use a flap disc to remove all mill scale, rust, and oil within 2 inches of the cut.
- Land thickness: Leave a tiny flat spot at the very bottom of the bevel, about 1/16th of an inch thick. This is called the “root land,” and it prevents the weld from “blowing through” the bottom.
- Root gap: Leave a small space between the two pieces, roughly the thickness of your welding wire. This allows the heat to pull the metal together as it cools.
Identifying Internal Weld Defects from Poor Prep
If the cut was messy or the bevel was uneven, the weld will likely have “porosity” or “lack of fusion.” Porosity looks like tiny bubbles in the metal and is usually caused by dirt or gas trapped in the weld pool. Lack of fusion happens when the weld metal doesn’t actually bond to the side of the cut.
In my years as an inspector, I’ve used “dye penetrant testing” to find these flaws. You can do a basic version of this by cleaning the weld and looking for tiny red lines that indicate a crack. If you find a defect, you must grind it out entirely and re-weld it. Never just “cap” a bad weld with another layer; the internal flaw is still there, waiting to fail.
Structural Load Testing and Verification Benchmarks
Once the project is cut and welded, how do you know it is safe? In the professional world, we use complex math and non-destructive testing. In the home shop, we use “Safety Factors.”
A safety factor is a multiplier used to ensure a structure can handle more than its intended load. For a general utility project, a 2:1 safety factor is common. For anything overhead or carrying people, I never go below a 4:1 safety factor. This means if you expect a shelf to hold 500 pounds, it should be designed and tested to hold 2,000 pounds without failing.
A Practical Checklist for Structural Verification
Before you put a load on your fabrication, walk through this checklist. It is a simplified version of what I use during industrial inspections.
- Visual Alignment: Are the columns perfectly vertical (plumb) and the beams horizontal (level)? Use a machinist’s level for accuracy.
- Weld Profile: Are the welds slightly convex (bulging out)? A concave (sunken) weld is often under-sized and weak.
- Undercut Inspection: Look at the edges of the weld. Is there a “groove” eaten into the parent metal? This is called “undercut,” and it is a major structural failure point.
- Squareness: Measure the diagonals of your frame. If the measurements are the same, the frame is square. If they are off, the load won’t distribute evenly.
Lessons from the Field: The “Ping” of Failure
I once watched a load test on a large steel frame where the fabricator had used a standard chop saw but didn’t check the squareness of his cuts. As the hydraulic press applied pressure, we heard a loud “ping.” That sound was a weld snapping because the load was “point-loading” on one corner of an uneven cut rather than spreading across the whole joint.
That incident taught me that the tool you choose to cut the steel is the first safety decision you make. If he had used a band saw and verified the squareness, the load would have distributed evenly, and the frame would have passed. Precision isn’t just about aesthetics; it is the foundation of structural safety.
Conclusion: Taking the Next Step in Your Fabrication Journey
Building with structural steel is a rewarding challenge that requires a blend of mechanical knowledge and manual skill. By selecting the right cutting method—whether it’s the precision of a cold saw or the raw power of oxy-fuel—you are taking responsibility for the safety of your project.
Start small. Practice your beveling on scrap pieces of A36 steel. Record your gas flow rates and saw settings in a shop notebook. Treat every cut as if a life depends on its accuracy, because in structural work, that is often the reality. As you gain experience, you will find that the anxiety of “doing it wrong” is replaced by the confidence of “doing it right,” backed by data and proven shop practices.
Frequently Asked Questions
What is the most accurate way to cut a 4-inch steel channel at home? A horizontal band saw is the best choice for accuracy. It provides a square cut with no heat distortion. If you don’t have one, a cold saw is even more precise but more expensive. Avoid using a handheld angle grinder for the main structural cuts if you need them to be perfectly square for load-bearing.
How do I prevent my steel from warping when I use a plasma cutter? Warping is caused by uneven heat. To minimize it, use the fastest travel speed possible that still achieves a full cut. You can also use “stitch cutting,” where you cut a small section, let it cool, and then move to another area. Clamping the steel to a heavy welding table during the cut also helps.
Can I use a standard wood miter saw with a metal blade? No. Wood saws spin at much higher RPMs (usually 3,000+) than metal-cutting cold saws. Using a metal blade on a wood saw can cause the blade to shatter or the motor to burn out. Only use saws specifically rated for metal cutting.
Why is my oxy-fuel cut so rough and jagged? This is usually due to incorrect gas pressure or a dirty torch tip. For 1/2-inch steel, your oxygen should be around 25-30 PSI and your fuel gas around 5-7 PSI. If the tip is clogged with soot, the flame will be uneven, resulting in a poor cut.
How much mill scale do I really need to remove before welding? You should remove mill scale at least 1 to 2 inches back from the cut edge. Mill scale is an insulator and can cause arc instability and “slag inclusions” in your weld, which significantly weakens the structural joint.
What is the “Safety Factor” I should use for a home-built car trailer? For a trailer, which faces dynamic loads (bumps and vibrations), a safety factor of at least 3:1 or 4:1 is recommended. This accounts for the extra stress of road travel that a static shelf wouldn’t experience.
How do I know if I have “undercut” in my weld? Undercut looks like a small ditch or groove melted into the base metal right at the “toe” (edge) of the weld. If it is deeper than 1/32nd of an inch, it can act as a stress riser and should be repaired by adding a small “stringer” bead of weld to fill the gap.
Is a 40-amp plasma cutter enough for structural beams? A 40-amp unit can usually cut up to 1/2-inch steel effectively. However, for structural beams that are often 5/8-inch or thicker at the flanges, a 60-amp unit is a safer and more efficient choice for clean, deep penetration.
(This article was written by one of our staff writers, James Harlan. Visit our Meet the Team page to learn more about the author and their expertise.)