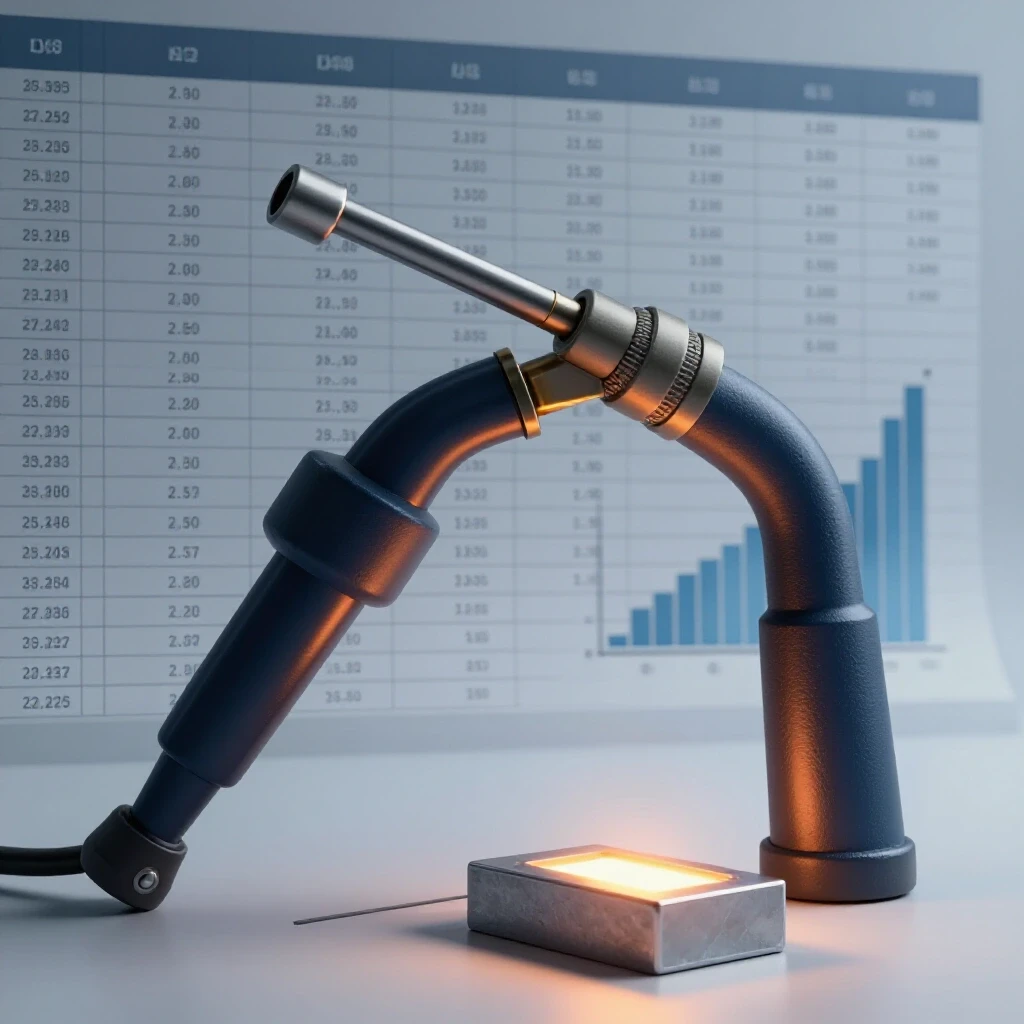
How to Clean and Extend MIG Welder Contact Tip Life (DIY Fix)
I spent the first decade of my manufacturing career chasing big contracts, thinking the large checks were the only way to build a sustainable business. I eventually learned that profit isn’t found in the gross revenue but in the tiny gaps between your operational costs and your bid price. One of the most common places small shop owners lose money is in the “miscellaneous” category. We often ignore the cost of shielding gas, wire, and those small copper components at the end of the torch. However, when you are running a side-hustle metalworking business, these consumables represent a significant percentage of your overhead. If you are constantly tossing out parts that could have been salvaged, you are effectively lowering your hourly take-home pay.
Understanding Your True Fabrication Shop Rate
A shop rate is the total dollar amount you must charge per hour to cover all expenses while leaving room for profit. It includes your rent, electricity, insurance, and the gradual wearing out of your machinery. Most part-time fabricators guess this number, often landing too low around $30 or $40 per hour.
When I talk to shop owners about fabrication job costing, I start with a reality check. If you aren’t accounting for every minute of trigger time and every inch of wire, you aren’t running a business; you’re subsidizing your customers’ projects. A healthy rate for a small, well-equipped shop typically falls between $65 and $120 per hour. This range allows you to pay yourself a fair wage while also funding the replacement of tools and supplies.
Building a shop rate requires looking at your “burdened labor.” This isn’t just what you want to earn. It is the cost of the lights being on, the heat in the winter, and the depreciation of your welder. If you bought a machine for $2,000 and expect it to last 2,000 hours, every hour you weld costs you $1 in machine life. These small numbers seem trivial until you realize they apply to every single job you quote.
Why Consumable Tracking Protects Small Shop Profits
Consumable tracking is the process of measuring how quickly you use up items like welding wire, shielding gas, and torch components. By monitoring these levels, you can accurately apply a “consumable burden factor” to your quotes. This ensures that the customer pays for the wear and tear on your equipment.
In my experience, the copper tip at the end of your MIG gun is a leading indicator of shop efficiency. These parts are designed to transfer current to the welding wire, but they are subject to extreme heat and mechanical wear. Most hobbyists treat them as disposable the moment the arc becomes unstable. In a professional side-hustle, however, knowing when to perform maintenance on these parts can save you hundreds of dollars over a year.
If you are replacing a tip every time you see a bit of spatter, you are increasing your project costs. On the other hand, if you use a worn-out tip for too long, you risk poor weld quality and increased cleanup time. The goal is to find the “sweet spot” where you maximize the life of the part without compromising the integrity of the fabrication work.
Techniques for Maintaining Torch Component Integrity
Maintaining torch components involves removing built-up debris and ensuring the internal diameter remains consistent for smooth wire feeding. This practice prevents common issues like “burn-back,” where the wire fuses to the copper, or “erratic arc,” caused by poor electrical contact. Regular cleaning can double or triple the useful life of these parts.
When I mentor new shop owners, I show them how to use a small set of needle files or a dedicated tip reamer. These tools allow you to gently clear out the oxidation and metal spray that accumulates inside the bore. For wire diameters ranging from 0.6 mm to 1.2 mm, even a tiny amount of buildup can cause friction. This friction leads to “bird-nesting” at the drive rolls, which wastes an incredible amount of expensive wire.
- Remove the nozzle and the copper tip after every two hours of heavy welding.
- Use a wire brush to clean the exterior threads and the gas diffuser holes.
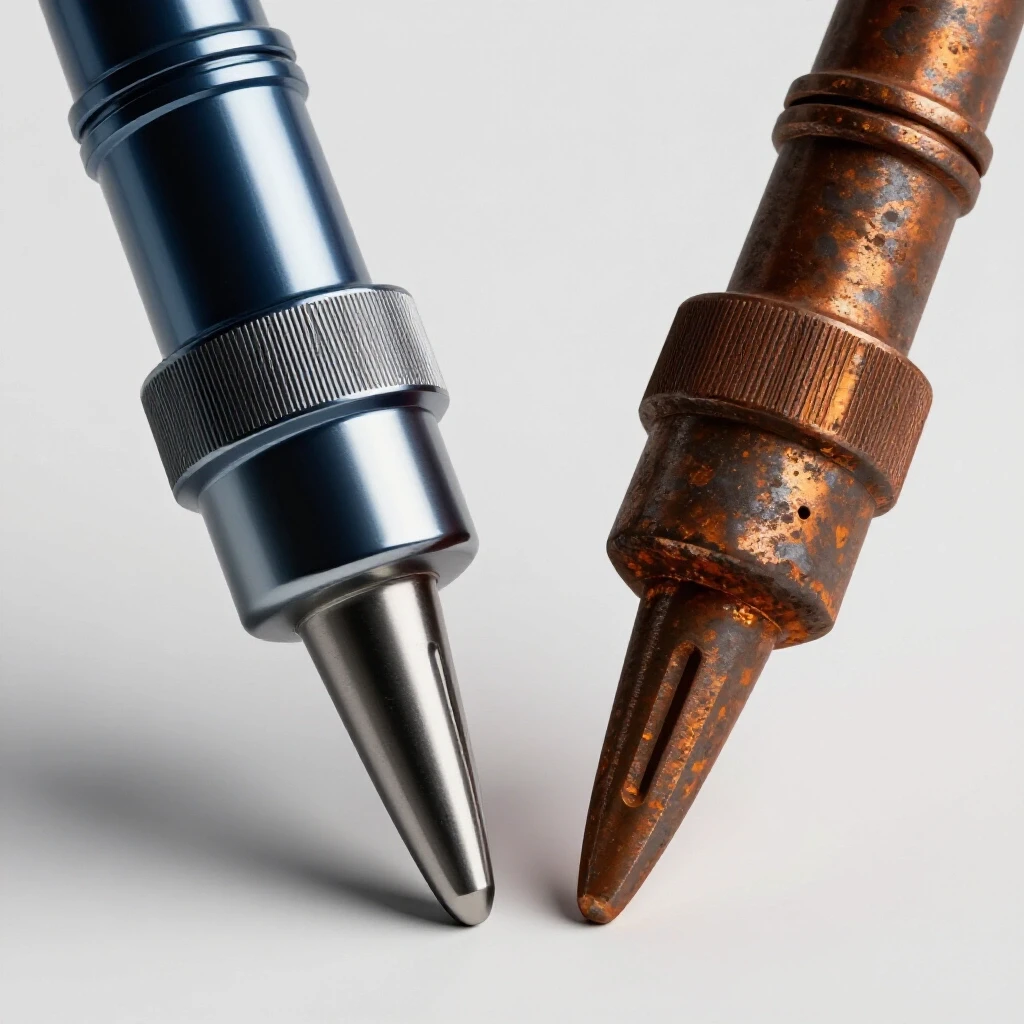
- Inspect the tip orifice for “ovality,” which is when the round hole becomes egg-shaped from wire friction.
- If the hole is still round, use a tip cleaner to remove internal residue.
By spending three minutes on maintenance, you avoid a ten-minute teardown later when the wire gets stuck. In a shop where you charge $85 per hour, those saved minutes are worth about $14 in labor value.
Optimizing Machine Settings to Reduce Component Wear
Machine settings directly impact how quickly your torch parts degrade. Proper gas flow, drive-roll tension, and voltage settings create a stable environment that minimizes the “spatter” that clogs your equipment. When your machine is tuned correctly, your consumables last longer, and your post-weld cleanup time drops significantly.
I’ve found that many side-hustlers set their shielding gas flow way too high, thinking “more is better.” In reality, excessive flow can create turbulence that pulls in atmospheric oxygen, causing more spatter. I recommend staying within the 15–25 CFH (cubic feet per hour) range for most indoor fabrication. This protects the weld pool and keeps the copper tip cleaner for longer periods.
| Setting Category | Recommended Range | Impact on Consumable Life |
|---|---|---|
| Shielding Gas Flow | 15–25 CFH | Reduces spatter buildup and oxidation. |
| Drive-Roll Tension | Minimum required for feed | Prevents wire shavings from clogging the tip. |
| Wire Diameter | 0.6 mm – 1.2 mm | Matches tip size to prevent excessive friction. |
| Contact-to-Work Distance | 3/8″ to 1/2″ | Reduces heat soak and “burn-back” risk. |
Another often-overlooked factor is the drive-roll tension. If the tension is too tight, it can deform the wire or shave off tiny bits of metal. These shavings travel through the liner and eventually jam the contact tip. I always tell my clients to set the tension just tight enough that the wire feeds consistently but will slip if you hold it between your gloved fingers.
Calculating the ROI of Consumable Maintenance
The Return on Investment (ROI) for maintenance is a calculation of how much money you save by spending time on upkeep versus buying new parts. For a small shop, this calculation helps you decide if you should be cleaning your equipment or simply replacing it and moving on to the next billable hour.
Let’s look at the math. If a new copper tip costs $1.50 and it takes you 5 minutes to clean it properly, you need to look at your shop rate. At $90 per hour, your time is worth $1.50 per minute. Spending 5 minutes ($7.50 in labor) to save a $1.50 part doesn’t make sense. However, maintenance usually happens during “non-billable” time or as part of a quick transition between tasks.
The real ROI isn’t just the price of the copper tip; it’s the prevention of “arc-out” failures during a critical weld. If a tip fails in the middle of a long pass, you might spend 20 minutes grinding out a bad weld. That is a $30 loss in labor time. In this context, a 30-second cleaning during a break is a massive financial win.
- Track your monthly spend on tips, nozzles, and liners.
- Compare this to your total welding hours.
- Aim to reduce consumable spend by 15% through better cleaning habits.
- Reinvest those savings into higher-quality raw materials or better safety gear.
Why Hidden Consumables Bleed Small Shop Profits
Hidden consumables are the items that don’t show up on a bill of materials but are used up during the fabrication process. This includes grinding wheels, flap discs, anti-spatter spray, and torch parts. Because these items are small, many owners fail to factor them into their small metal shop pricing.
I once consulted for a shop that was losing $400 a month simply because they weren’t charging for “shop supplies.” They were quoting jobs based on the price of steel and their estimated hours. They forgot that every hour of welding uses about $3 worth of gas and $2 worth of wire and tips. Over a 40-hour work week, that’s $200 of profit literally vanishing into thin air.
To fix this, I recommend adding a “Consumable Burden” percentage to every quote. This is typically 5% to 10% of the total material cost. If a project requires $500 in steel, you add a $50 line item for shop supplies. This covers your shielding gas, wire, and the wear on your torch components. It ensures that your side-hustle metalworking remains profitable even when supply prices fluctuate.
Building a Custom Job Quote with Maintenance in Mind
A professional quote should reflect the reality of your workshop’s efficiency. If you know you have a disciplined maintenance schedule, your “machine uptime” will be higher. This allows you to bid more competitively because you aren’t padding the quote to cover potential equipment failures or wasted materials.
When I build a quote, I use a three-tier system: * Tier 1: Direct Materials. The actual cost of the steel, aluminum, or hardware. * Tier 2: Labor and Overhead. My hourly shop rate multiplied by the estimated time. * Tier 3: Consumables and Markup. The 10% burden for supplies plus a 20% markup on materials for sourcing and handling.
By breaking it down this way, you can show the customer exactly what they are paying for. It also helps you identify where you can improve. If your “Consumables” line item is consistently higher than your estimate, you know you need to look at your machine settings or your cleaning habits.
Advanced Sourcing and Stocking Strategies
As your business grows, how you buy your supplies becomes just as important as how you use them. Bulk sourcing allows you to lower the “unit cost” of your consumables, which directly increases your profit margin on every job. However, buying in bulk requires having the cash flow and the storage space to manage the inventory.
For a side-hustle, I recommend “stair-stepping” your purchases. Start by buying 10-packs of tips and nozzles. Once your monthly revenue is stable, move to 50-packs or 100-packs. The goal is to get your cost per unit as low as possible. When you combine bulk buying with a solid maintenance routine, your “cost per weld-hour” drops significantly.
- Inventory Tracking: Use a simple spreadsheet to record when you open a new box of supplies.
- Lead Time Management: Order new supplies when you are down to 20% of your stock to avoid emergency trips to the local welding supply store, which often has the highest prices.
- Sourcing Diversity: Keep a list of at least two suppliers to ensure you aren’t caught off guard by supply chain issues.
Analyzing Post-Job Profits to Refine Estimates
The most important part of the business cycle is the “post-mortem” analysis. After a job is finished and the customer has paid, you must sit down and look at the numbers. Did you use more wire than expected? Did you go through three contact tips because the metal was dirty?
I call this post-job cost reconciliation. If I estimated a job would take 10 hours and it took 12, I need to know why. If the extra time was spent fixing equipment or cleaning the torch, that is a sign that my maintenance routine is failing. If the extra time was spent on actual fabrication, my estimation formula needs to be adjusted for the next quote.
Consistent profitability comes from this feedback loop. By tracking your consumable usage and your actual labor hours, you can refine your metal business ROI calculators. You will eventually reach a point where your quotes are accurate within a 5% margin. This level of precision is what separates a struggling hobbyist from a successful shop owner.
Tools for Tracking and Estimating
In the modern shop, you don’t have to rely on a pen and paper. There are several digital tools that can help you manage the financial side of your fabrication work. These tools help you track expenses, generate professional invoices, and monitor your shop’s health.
- QuickBooks or FreshBooks: Excellent for tracking general overhead and invoicing customers.
- Custom Excel Spreadsheets: I still prefer a custom sheet for job costing because it allows me to input specific variables like gas flow rates and wire costs.
- Evernote or Google Keep: Use these to snap photos of receipts and take notes on how much material was used for specific projects.
- Toggl Track: A simple time-tracking app that helps you realize exactly how much time you spend on “non-welding” tasks like grinding and prep.
Using these tools consistently will give you the data you need to make smart decisions. For example, if you see that you are spending $50 a month on contact tips, you might decide it’s time to invest in a higher-quality wire feeder or a better cleaning kit. Data removes the guesswork from your business.
Final Thoughts on Workshop Economics
Running a small fabrication shop is a balancing act between technical skill and financial discipline. You can be the best welder in the world, but if you don’t understand your shop rate and your consumable burden, you won’t stay in business for long.
Focus on the small things. Clean your torch components regularly. Monitor your gas flow. Track every penny you spend on supplies. These habits create a foundation of efficiency that allows your business to grow. When you treat your workshop like a professional environment—even if it’s just a side-hustle—the profits will follow.
FAQ: Managing Consumables and Shop Costs
How do I know if a contact tip is too worn to be cleaned? Check the bore of the tip for “ovality.” If the hole has become noticeably elongated or egg-shaped, it will no longer provide a consistent electrical connection. At this point, cleaning will not help, and the part must be replaced to maintain weld quality.
Does using anti-spatter spray actually save money? Yes, but only if used correctly. A light mist on the nozzle and the exterior of the tip prevents spatter from sticking, which makes cleaning much faster. If you over-apply it, the liquid can drip into the arc and cause porosity in your welds, leading to expensive rework.
What is the most common mistake in calculating a shop rate? Most people forget to include “unbillable time.” This is the time you spend cleaning the shop, talking to customers, or picking up materials. If you work 40 hours a week but only spend 25 hours actually fabricating, your shop rate for those 25 hours must cover the costs of all 40 hours.
How often should I replace my MIG liner? While you can blow out a liner with compressed air to remove dust, they eventually wear out or get kinked. A good rule of thumb is to replace the liner every 50 to 100 pounds of wire. A dirty liner is the leading cause of “stuttering” wire feed, which destroys contact tips quickly.
Is it better to buy the cheapest tips available in bulk? Not necessarily. Very cheap consumables often have poor thread tolerances or inconsistent bore sizes. This can lead to overheating and poor conductivity. I recommend finding a reliable mid-range supplier where the quality is consistent, as this reduces the time you spend troubleshooting.
Should I charge the customer for a full roll of wire if I only use half? In most cases, you should charge for what you use plus a small buffer. However, for specialty wires (like stainless or aluminum), it is standard practice to charge for the entire spool since you may not use it again for a long time.
How does gas flow affect the temperature of the torch parts? The shielding gas actually helps cool the internal components of the MIG gun. If your flow is too low (under 15 CFH), the tip can overheat more quickly, leading to “softening” of the copper and faster wear. Staying in the 15–25 CFH range provides the best balance of protection and cooling.
What is the “Consumable Burden Factor” exactly? It is a percentage added to a quote to cover items that are difficult to measure per job. Instead of counting every tip and every ounce of gas, you apply a flat 5-10% fee. This ensures these costs are always covered without requiring tedious minute-by-minute tracking.
Can I use a standard drill bit to clean a contact tip? I don’t recommend it. Drill bits are aggressive and can easily scratch the internal surface or enlarge the hole beyond the wire’s tolerance. Use a dedicated tip cleaner or a smooth needle file designed for small-diameter bores to maintain the correct size.
How do I factor machinery depreciation into my hourly rate? Divide the purchase price of the machine by its expected lifespan in hours. For example, a $2,500 welder expected to last 5,000 hours adds $0.50 to your hourly overhead. While it seems small, doing this for every tool in your shop ensures you have the cash to replace them when they eventually fail.
(This article was written by one of our staff writers, Michael Hargrove. Visit our Meet the Team page to learn more about the author and their expertise.)