How to Control Heat Expansion on Square Tube Frames (Guide)
I remember the first time I tried to build a simple square utility stand. I had spent hours cutting the pieces to the exact length, ensuring every miter was a perfect 45 degrees. I clamped everything down, ran my beads, and felt a surge of pride. Then, I released the clamps. The frame didn’t just move; it groaned and twisted into a shape that resembled a potato chip more than a table. That was my first real lesson in how thermal forces can ruin a project.
Over the last 12 years, I have documented every failed joint and successful frame in my shop logs. I learned that you cannot fight physics with brute force. You have to understand how metal behaves when it gets hot and how it pulls as it cools. For anyone starting out, the frustration of a warped frame can be a major roadblock. This guide is built on the data I have collected from thousands of practice hours, designed to help you build the muscle memory and technical discipline needed to keep your projects straight.
Mastering Body Mechanics for Consistent Heat Distribution
Body mechanics refers to how you position your feet, hips, and arms to ensure a smooth, uninterrupted torch movement. Proper positioning prevents stuttering in your travel speed, which is a leading cause of uneven heat buildup and frame warping.
When you are welding square tubing, your physical stability is your greatest asset. If you are leaning over a table in an awkward position, your hand will naturally shake or speed up at the end of a run. This inconsistency creates “hot spots” where the metal expands more than the surrounding areas. I always tell my students to “dry run” every weld. Move your torch along the joint without pulling the trigger. If your elbow hits your ribs or you run out of reach, you need to reposition your feet.
I find that a “tripod” stance works best. Keep your feet shoulder-width apart and lean your non-welding hand on the table to stabilize your torch hand. By creating a stable base, you can maintain a consistent travel speed of 8 to 12 inches per minute (IPM). This consistency is the foundation of controlling how much energy you pump into the steel.
The Physics of Thermal Expansion in Hollow Sections
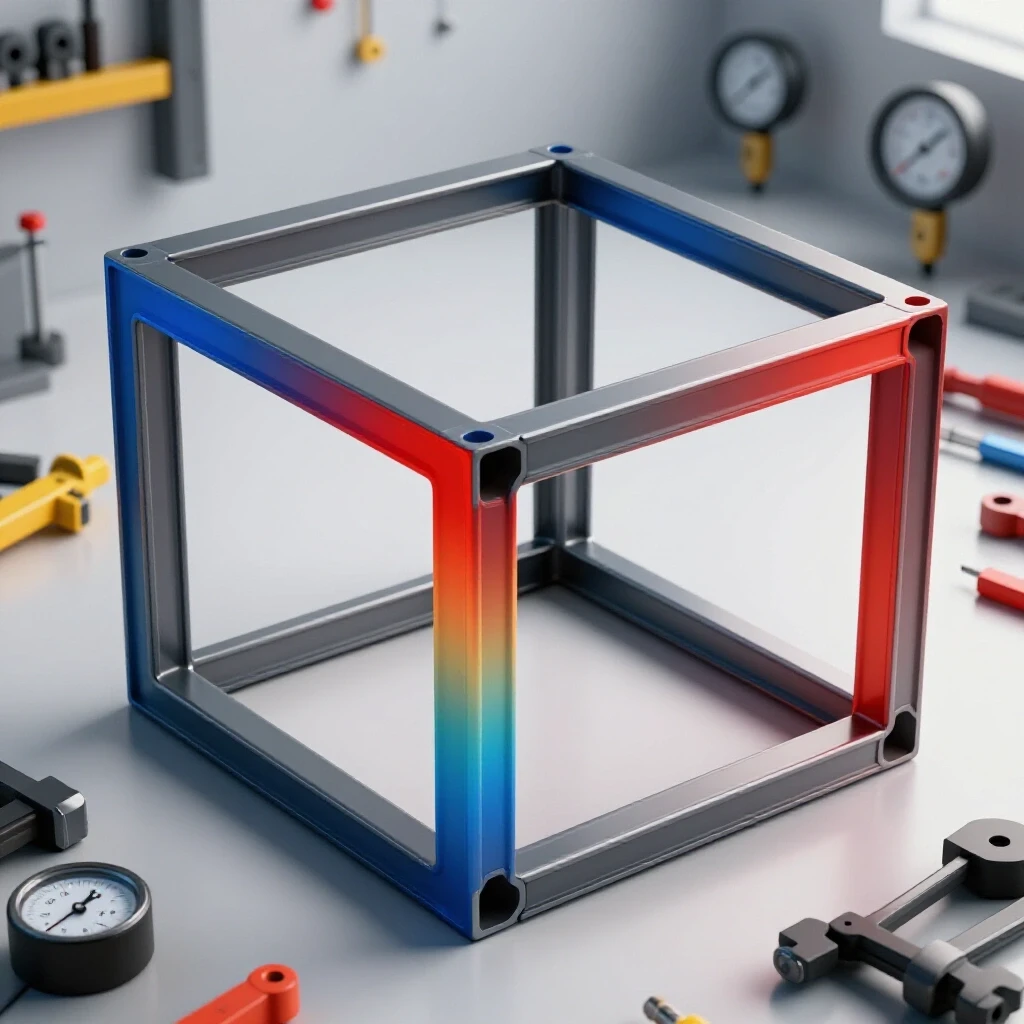
Thermal expansion is the physical increase in the volume of metal as it absorbs heat during the welding process. In square hollow sections, this expansion is particularly tricky because the four walls of the tube can pull against each other, causing the entire length to bow or “diamond.”
When you strike an arc, the localized area reaches melting temperatures almost instantly. The surrounding metal resists this expansion, leading to internal stress. As the weld cools, it contracts. Because the weld bead is now part of the structure, it pulls the walls of the tube toward the center of the heat. In a square frame, this usually results in the corners pulling inward, shrinking your overall dimensions and throwing off your angles.
To manage this, you must think of every weld as a tug-of-war. If you weld only one side of a tube, that side will shrink and pull the tube into a curve. To keep things straight, you must apply heat in a way that balances these pulling forces.
| Material Thickness | Recommended Gap | Expansion Allowance |
|---|---|---|
| 1/16″ (16ga) | 0″ (Tight Fit) | 1/32″ |
| 1/8″ (11ga) | 1/32″ | 1/16″ |
| 3/16″ | 1/16″ | 3/32″ |
| 1/4″ | 3/32″ | 1/8″ |
Strategic Tack Welding for Frame Stability
Tack welding involves placing small, temporary beads at the corners of a joint to hold the parts in alignment before the final weld. These tacks act as anchors that resist the pulling forces generated by the main weld beads.
In my early years, I would place one tack and start welding. This is a mistake. For a square tube joint, you need at least four tacks—one on each corner. However, the order in which you place them is critical. If you tack the inside corner first, the heat will pull the tube inward. I recommend tacking the outside corners first to “lock” the overall dimensions.
A good tack should be deep enough to hold but small enough to weld over. For 1/8″ wall tubing, a tack about 1/4″ long is sufficient. Once your tacks are set, check your frame for squareness using a machinist’s square or by measuring the diagonals. If the diagonals are equal, your frame is square. If not, you can still “bump” the frame into alignment before the final welds lock it in place.
Managing Heat Input Through Travel Speed and Parameters
Heat input is the amount of energy transferred to the workpiece per unit length of the weld. It is calculated by multiplying the voltage and amperage and dividing by the travel speed. Controlling this value is the most effective way to prevent distortion.
If you move too slowly, you are soaking the metal in heat, which leads to massive expansion. If you move too fast, you won’t get the penetration needed for a strong joint. I track my travel speed using a stopwatch during practice sessions. Aiming for that 8 to 12 IPM range on 1/8″ mild steel usually provides a good balance.
You should also pay attention to your torch travel angle. For most square tube joints, a 10 to 15 degree drag angle is ideal. This directs the heat into the puddle rather than the base metal ahead of it, which helps localize the thermal expansion.
| Parameter | Beginner Target | Intermediate Target |
|---|---|---|
| Travel Speed | 6-8 IPM | 10-12 IPM |
| Arc Gap | 1/8″ (Fixed) | 3/32″ (Tight Control) |
| Work Angle | 45 Degrees | 45 Degrees |
| Travel Angle | 15 Degrees Drag | 10 Degrees Drag |
The Balanced Welding Sequence
A welding sequence is the specific order in which you complete the joints on a frame to ensure that the pulling forces cancel each other out. Instead of finishing one corner completely, you move around the frame in a pattern.
Think of a four-sided frame. If you weld the top side of corner A, your next weld should be the top side of the opposite corner, C. This is often called the “X pattern.” By jumping across the frame, you allow the first weld to cool slightly while the second weld pulls in the opposite direction.
- Weld 1: Top of Corner A
- Weld 2: Top of Corner C (Opposite)
- Weld 3: Top of Corner B
- Weld 4: Top of Corner D
- Flip the frame and repeat for the bottom sides.
- Finish the vertical sides last.
This “back-and-forth” method is tedious, but it is the only way to ensure the final product matches your blueprint. In my shop, I use a “heat-map” approach, where I never weld two joints that are right next to each other in succession.
Implementing “Stitch” Welding for Long Runs
Stitch welding is a technique where you weld short sections (usually 1 to 2 inches) and leave gaps in between, later returning to fill those gaps. This prevents any single area of the tube from becoming excessively hot.
When you are working with longer sections of square tubing, a continuous 4-foot bead will almost certainly cause the tube to bow. By using 1-inch stitches spaced 6 inches apart, you distribute the heat evenly along the length of the material. Once the first set of stitches is cool to the touch, you can go back and add the next set.
This technique requires patience. It is tempting to just “run the bead” and be done with it. However, the time you spend waiting for the metal to cool is much less than the time you would spend trying to straighten a warped frame with a torch and a sledgehammer.
Fixturing and the Use of Heat Sinks
Fixturing involves using clamps, jigs, and heavy steel tables to physically restrain the metal during the welding and cooling process. Heat sinks are thick pieces of conductive metal, like copper or aluminum, placed near the weld to soak up excess heat.
A dedicated welding table with a grid of holes for clamps is a game-changer. By clamping your square tubing flat against a heavy table, you force it to stay in place while the weld is liquid. However, remember that the metal will pull the moment you release the clamps if you haven’t managed your heat. I often leave my projects clamped until they are cool enough to touch with a bare hand.
If you are working with thin-walled tubing, placing a thick block of aluminum inside or behind the joint can help. Aluminum conducts heat much faster than steel, pulling the energy away from the weld zone and reducing the total expansion of the steel.
Measuring Progress with a Fabrication Log
A fabrication log is a structured record of your welding parameters, sequences, and the resulting distortion levels. This data allows you to identify which habits lead to success and which lead to warped frames.
I recommend tracking your work in a simple notebook or a digital spreadsheet. After every project, measure the “squareness” of your frame. If it pulled 1/8″ out of square, look back at your log. Did you weld too fast? Did you skip the “X pattern”? Over time, you will see patterns emerge. For example, you might find that you always pull the frame to the left because of how you sit at the bench.
- Date and Material: Record the tube size and wall thickness.
- Machine Settings: Amps, Volts, and Wire Feed Speed.
- The Plan: Sketch your intended welding sequence.
- The Result: Measure the final diagonals and any bowing.
- Notes: Record physical feelings, like “hand felt shaky on the third corner.”
Exercises to Build Muscle Memory
Building the physical skill to control heat requires repetitive, structured practice. You cannot expect to master heat management while also trying to build a complex project. You need to isolate the variables.
Start with a “Bead-on-Plate” exercise using a scrap piece of square tubing. Draw a straight line with soapstone. Your goal is to run a 6-inch bead at exactly 10 IPM without the tube bowing more than 1/32″. Use a stopwatch. If you finish the bead in 30 seconds, you moved at 12 IPM. If it took 45 seconds, you moved at 8 IPM.
Once you can control your speed, move to “Tack and Square” drills. Take four short pieces of tube and try to tack them into a perfect square. Check the diagonals. If you are within 1/16″, move on to welding only the outside corners using the balanced sequence. This step-by-step progression builds the “hand-eye-brain” connection needed for professional-grade work.
Common Pitfalls for Beginner Fabricators
Even with the best intentions, certain habits can sabotage your efforts to control metal movement. Recognizing these early will save you hours of rework.
- Over-welding: Many beginners make their beads much larger than necessary. A weld only needs to be as thick as the thinnest piece of metal you are joining. Excess metal means excess heat, which means more warping.
- Ignoring the Gap: If you fit your tubes too tightly, there is no room for the metal to expand. The tubes will push against each other and bow outward. A small 1/32″ gap can actually act as a “buffer” for expansion.
- Rushing the Cooling: Never quench a structural weld in water to cool it down. This can make the steel brittle and cause it to crack. Let the metal cool naturally in the air.
- Poor Grounding: If your ground clamp is far away from your weld, the arc can become unstable, causing you to slow down and dump more heat into the piece. Always place your ground as close to the joint as possible.
Assessing Joint Defects and Distortion
After you finish a frame, you must evaluate it objectively. Use a straightedge to check for bowing along the length of the tubes. Use a square to check the corners.
If you see “undercut” (a groove melted into the base metal next to the weld), it means your heat was too high or your travel speed was too slow. This usually correlates with high distortion. If the weld looks “cold” or sits on top of the metal like a rope, you didn’t get enough penetration. While this might result in less warping, the joint will be weak.
The goal is a flat to slightly convex bead with smooth “toes” (where the weld meets the base metal). When you achieve this consistently, you will find that your frames stay much straighter. It is a sign that your heat input is perfectly balanced with your travel speed.
Practical Steps for Your Next Practice Session
To turn this information into a skill, you need a plan for your next hour in the shop. Don’t just start “gluing” metal together. Follow a structured routine.
- Set Your Baseline: Choose a standard square tube (e.g., 1″ x 1″ x 1/8″). Set your machine according to the manufacturer’s chart.
- Prepare the Clean Zone: Use a flap disc to grind the mill scale off the tube at least 1 inch back from the joint. Clean metal requires less heat to weld.
- The 4-Point Tack: Practice placing four identical tacks on a T-joint. Check the angle after each tack.
- Timed Bead Runs: Practice 2-inch beads on the tube. Use a timer to ensure you are hitting your IPM targets.
- Review the Log: Write down what happened. Did the joint pull? Why?
By focusing on these small, measurable goals, you move away from “guessing” and toward “fabricating.” Consistency isn’t about being perfect; it’s about being repeatable. When you can repeat your travel speed and your sequence every time, the behavior of the metal becomes predictable. That is when you truly start to master the craft.
Frequently Asked Questions
Why does my square tube frame always turn into a diamond shape? This usually happens because you are welding the “inside” of the corners first or welding all four sides of one joint before moving to the next. The heat pulls the corners toward the center of the weld. To fix this, use a balanced “X” sequence and tack the outside corners first to lock the geometry.
How much gap should I leave between my square tubes before welding? For 1/8″ wall tubing, a gap of about 1/32″ (roughly the thickness of a credit card) is ideal. This allows for better weld penetration and gives the metal a small “crush zone” to expand into, which can reduce the overall bowing of the tube.
Does the thickness of the square tube affect how much it warps? Yes. Thinner tubing (like 16-gauge) has less mass to absorb heat, so it reaches high temperatures very quickly and warps easily. Thicker tubing (like 1/4″) is more rigid and can soak up more heat, but once it starts to move, it requires much more force to straighten.
Can I use magnets to hold my frame square while I weld? Magnets are great for the initial setup, but they are not strong enough to resist the forces of thermal contraction. Once you start welding, the metal will pull right away from the magnet. Always use mechanical clamps and solid tacks to maintain alignment.
Should I weld toward the corner or away from the corner? Generally, welding toward the corner (into the joint) can help prevent the end of the tube from “flaring” out. However, the most important factor is maintaining your travel angle and speed. Experiment with both in your practice log to see which results in less distortion for your specific technique.
What is the “X pattern” in frame welding? The X pattern is a sequence where you weld opposite corners of a frame rather than moving in a circle. If you weld the top-left corner, your next weld should be the bottom-right. This helps balance the directional “pull” of the cooling metal across the entire structure.
How do I know if my travel speed is too slow? If your weld bead is very wide, flat, and the surrounding metal is turning a dark blue or grey color far away from the joint, you are moving too slowly. This excess heat soak is the primary cause of frame distortion. Aim for a consistent 8-12 IPM.
Is it better to “push” or “pull” the weld on square tubing? For MIG welding mild steel, a slight “push” (pointing the torch in the direction of travel) provides better visibility and a flatter bead. However, a “pull” or “drag” technique often provides deeper penetration and can be easier for beginners to control. For heat management, the key is the angle—keep it between 10 and 15 degrees.
How long should I wait for the metal to cool between welds? If you can’t comfortably touch the metal 6 inches away from the weld with a gloved hand, it’s often too hot to start the next bead in a sequence. Taking a 2-3 minute break between sides of a joint can significantly reduce the cumulative heat buildup.
Can I straighten a warped frame after it’s finished? Yes, but it is difficult. You can use “flame shrinking” with a torch to pull the metal back, or use a hydraulic press. However, these methods often introduce new stresses. It is much more efficient to prevent the warp through proper sequencing and heat control from the start.
(This article was written by one of our staff writers, Thomas Langley. Visit our Meet the Team page to learn more about the author and their expertise.)