How to Deburr Pipe Interior Edges Before Welding (DIY Fix)
I’ve spent the better part of two decades in shops where the difference between a successful project and a costly failure often comes down to what you can’t see. Early in my career as a millwright, I worked on a high-pressure hydraulic manifold system where every external weld looked like a textbook illustration. However, when we pressurized the system, three joints failed almost immediately. After cutting the sections apart, the culprit was clear: small, jagged remnants of metal on the inner bore had trapped contaminants and caused lack of fusion at the root.
This experience taught me that systematic troubleshooting isn’t just about fixing a machine when it stops humming; it’s about identifying the invisible variables that compromise structural integrity. When you are preparing small-diameter pipe for a critical join, the interior edge is a frequent source of “electrical gremlins” in the welding world. If that edge isn’t conditioned correctly, you aren’t just dealing with a rough surface—you are inviting porosity, inclusions, and turbulent gas flow into your workspace.
The Impact of Internal Bore Irregularities on Weld Integrity
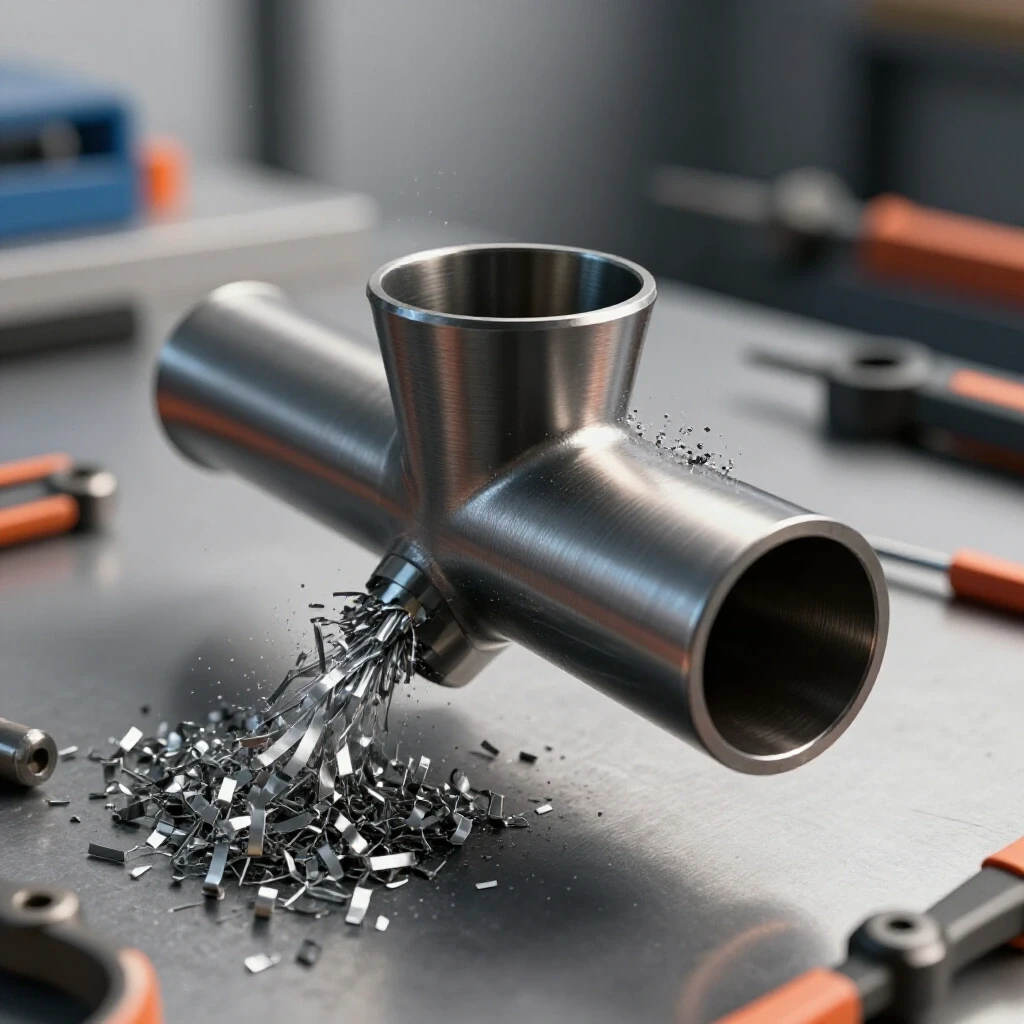
Internal bore irregularities refer to the raised ridges, “dross,” or jagged metal teeth left behind after a pipe is cut by a saw or abrasive wheel. These protrusions interfere with the physical fit-up of the joint and can introduce chemical impurities into the molten weld pool during the heating process.
If you’ve ever fought a weld that keeps “spitting” or showing tiny pinholes, you’re likely seeing the results of poor internal preparation. These burrs act as tiny shelves that catch cutting oils, moisture, and shop dust. When the arc hits the metal, these contaminants vaporize, creating gas pockets that get trapped as the metal solidifies. In my experience, skipping the internal cleanup is the fastest way to fail a dye-penetrant test or a simple pressure check.
Identifying Root-Cause Porosity and Inclusions
Porosity is a weld defect characterized by small cavities or bubbles formed by trapped gas, while inclusions are foreign materials like slag or oxidized metal stuck within the weld bead. Both issues significantly weaken the joint and are often caused by the “dead zones” created by uncleaned internal edges.
When an internal burr is present, it creates a physical barrier that prevents shielding gas from reaching the very bottom of the joint. This “shadowing” effect allows atmospheric oxygen to contaminate the root pass. Furthermore, if you are working with stainless steel or aluminum, those burrs oxidize almost instantly. If you don’t mechanically remove that oxide layer from the inner rim, you are essentially trying to weld through a layer of ceramic, which leads to “cold laps” where the metal doesn’t actually fuse.
Establishing a Diagnostic Framework for Pipe End Preparation
A diagnostic framework is a structured method of observation and testing used to identify the specific cause of a fabrication failure. By isolating variables—such as tool speed, pressure, and material type—you can determine why a specific preparation method is failing to produce a clean, weld-ready surface.
In my shop, I use a simple three-step process: observation, isolation, and variable control. First, I observe the cut. Is the burr heavy and rolled (common with dull saw blades) or thin and brittle (common with abrasive discs)? Second, I isolate the tool. If a manual reamer is skipping, I test it on a scrap piece of a different material to see if the tool or the material is the problem. Finally, I control the variables—adjusting my hand pressure or the angle of the file—until the resulting surface meets the required tolerance.
Visual Inspection Standards and Geometric Tolerances
Visual inspection involves using the naked eye or magnification to check for surface defects, while geometric tolerances refer to the allowable deviation from a perfect 90-degree or beveled edge. For most DIY and small-shop applications, a “clean” edge means no visible protrusions and a smooth transition between the inner wall and the face of the cut.
I typically look for a “bright metal” finish on the inner circumference. If I see a dark line or a jagged “lip” extending more than 0.005 inches into the bore, it needs more work. Using a digital caliper to check for “out-of-round” conditions caused by over-aggressive filing is also a key step. If you remove too much material from one side of the interior, you create an uneven “land” for your weld, which leads to uneven heat distribution and potential burn-through.
| Defect Type | Visual Indicator | Root Cause | Fix |
|---|---|---|---|
| Root Porosity | Tiny holes in the center of the bead | Trapped oils/gas behind internal burrs | Manual reaming to bright metal |
| Lack of Fusion | Weld bead “sitting” on top of the metal | Oxide layer on the internal rim | Abrasive honing of the ID |
| Slag Inclusions | Dark flecks inside the weld metal | Brittle dross from the cut falling into the pool | Consistent 45-degree internal chamfer |
| Tungsten Contamination | Green/black spots (TIG only) | Arc jumping to a jagged internal burr | Removing high spots before fit-up |
Manual Tools for Internal Edge Conditioning
Internal edge conditioning is the process of mechanically removing the “flash” or burr from the inside of a pipe to ensure a smooth, clean surface for welding. This is typically achieved using hand-operated tools like files, swivel-blade reamers, or specialized abrasive cones.
Choosing the right tool is about matching the tool’s hardness and geometry to the pipe material. For example, a standard carbon steel file will dull quickly on stainless steel tubing. I’ve seen many fabricators get frustrated because their tools are “skating” over the surface rather than cutting. This is usually a sign of work-hardening, where the heat from the initial cut has made the burr harder than the tool you’re using to remove it.
Selecting the Right Reamer for Small Diameter Tubing
A reamer is a rotary cutting tool used to enlarge or finish the size of a hole, but in pipe prep, it is specifically used to shave down the internal “lip” left by a cutter. Swivel-blade reamers feature a curved blade that rotates 360 degrees, allowing it to follow the contour of the pipe ID.
For tubing under 1 inch, I prefer a swivel-blade tool because it’s forgiving. However, if I’m working with thicker-walled pipe (Schedule 40 or 80), a conical “T-handle” reamer provides more leverage. The key metric here is the “feed-per-turn.” You want to feel the tool biting into the metal. If you are just spinning it and producing fine dust rather than distinct curls of metal, you need to increase your downward pressure or sharpen the blade.
Systematic Troubleshooting of Tool Chatter during ID Smoothing
Tool chatter is a high-frequency vibration that occurs when the cutting tool bounces off the workpiece rather than cutting through it. This creates a wavy, “washboard” surface finish that can trap contaminants and make fit-up difficult.
Chatter is often a result of resonant harmonics—the tool and the pipe are vibrating at a frequency that reinforces itself. When I encounter this while cleaning the inside of a pipe, I don’t just push harder. I change the “system” dynamics. This might mean shortening the distance the pipe sticks out of the vise (to increase rigidity) or changing the angle at which I hold the tool.
Adjusting Pressure and Speed to Eliminate Surface Ripples
Surface ripples are the physical manifestation of chatter, appearing as small, repetitive ridges on the metal. Eliminating them requires a balance between the force applied (pressure) and the rate at which the tool moves across the surface (speed).
If you are using a hand drill with a deburring bit, RPM management is critical. I generally recommend staying between 150 and 300 RPM for most small-diameter steel pipes. If you go faster, the bit tends to “skate” and create heat, which leads to the work-hardening I mentioned earlier. If you’re working manually, try a “slow and heavy” stroke. Think of it like a lathe operation: you want a consistent chip load. If your tool is vibrating, try reducing the speed and increasing the pressure until the vibration stops.
- Check Vise Rigidity: Ensure the pipe is clamped as close to the cut end as possible to minimize “ringing.”
- Vary the Angle: If a file is chattering, tilt it 5 to 10 degrees relative to the axis of the pipe.
- Lubrication: A small drop of cutting oil can dampen vibrations and prevent the tool from “grabbing” the metal.
Advanced DIY Techniques for Consistent Edge Squareness
Edge squareness is the condition where the cut face of the pipe is exactly 90 degrees to the longitudinal axis. Maintaining this squareness while cleaning the internal diameter is vital for ensuring the two pipe ends meet flush, without gaps that could cause “suck-back” during welding.
One of the biggest mistakes I see is “hand-wobble.” When you’re filing the inside of a pipe, it’s easy to accidentally create a funnel shape (tapering the ID) or a rounded edge. This changes the thickness of the metal at the root—the “root land”—which makes your weld penetration unpredictable. I always use a square or a dedicated “centering” jig to ensure my tool stays parallel to the bore.
Using Abrasive Hones for High-Tolerance Fits
An abrasive hone is a tool that uses stones or sandpaper-like material to smooth the internal surface through friction. For DIY fabricators, “flapper wheels” or “cartridge rolls” attached to a die grinder or hand drill are the most common versions.
When a reamer leaves a surface that is too rough, I switch to a 60 or 80-grit abrasive. This doesn’t just remove the burr; it “conditions” the metal by removing the deep scratches left by more aggressive tools. These scratches can act as “stress risers,” which are points where cracks are likely to start if the pipe is under mechanical load. I aim for a surface finish that feels smooth to the touch, similar to a brushed nickel finish.
- Select Grit: Start with 60-grit for heavy dross; finish with 120-grit for high-pressure systems.
- Monitor Heat: Don’t let the metal turn blue or straw-colored. Excessive heat changes the grain structure of the steel.
- Clean Up: After honing, always wipe the ID with denatured alcohol or acetone. Abrasive particles left behind can cause “tungsten inclusions” in TIG welding.
Case Study: The Intermittent Porosity Mystery
A few years ago, a friend was building a custom roll cage for a vintage truck. He was an experienced welder, but he called me because he was getting “random” porosity in his TIG welds. He had checked his gas flow (set at 20 CFH), swapped his tungsten, and even bought a new bottle of Argon. The problem persisted.
I went over to his shop and looked at his prep. He was using a chop saw to cut his tubing and then quickly hitting the outside with a flap disc. He wasn’t touching the inside. I took a small swivel-blade reamer and ran it around the inside of one of his “ready-to-weld” pieces. A thick, oily curl of metal peeled away, revealing a pocket of trapped cutting fluid from the saw blade.
We spent the next hour cleaning the internal edges of all his tubes. We used a simple round file and a bit of Scotch-Brite on a mandrel. Once we removed that internal “shelf” and the contaminants it held, the porosity vanished. It wasn’t an equipment failure; it was a failure of the diagnostic process. He had assumed the internal edge didn’t matter because it wasn’t visible, but the physics of the welding arc proved otherwise.
Troubleshooting Logic for Common Pipe Prep Issues
When your preparation isn’t going as planned, you need a way to track down the error without wasting material. This often involves checking your tools against known standards and looking for patterns in the failure.
For instance, if you notice that your internal chamfer is deeper on one side of the pipe than the other, you might have a “backlash” or alignment issue with your vise or your own stance. If the tool is dulling prematurely, you might be dealing with a material that has a high work-hardening rate, like 304 Stainless. In that case, you need to reduce your speed and use a specialized cobalt or carbide tool.
| Symptom | Probable Cause | Diagnostic Step | Permanent Fix |
|---|---|---|---|
| Tool “Skating” | Work-hardened surface | Test with a fresh file on a different area | Reduce cutting speed; increase pressure |
| Ragged Internal Edge | Dull reamer blade | Inspect blade under magnification | Replace or sharpen the cutting edge |
| Ovaled Pipe End | Over-clamping in vise | Measure diameter in two directions | Use a “V-block” or pipe jaw inserts |
| Black Soot in Weld | Residual oil in ID | Wipe ID with white cloth and solvent | Degrease after deburring is complete |
Actionable Tracking Framework: The Pipe Prep Checklist
To ensure consistency, especially on projects with dozens of joints, I recommend a formal checklist. This removes the guesswork and ensures that every joint is prepared to the same standard.
- Initial Cut Inspection: Check for “roll-in” where the pipe wall has been pushed inward by the cutter.
- Heavy Burr Removal: Use a large round file or T-handle reamer to remove the primary dross.
- Secondary Smoothing: Use a swivel-blade tool to create a consistent, small internal chamfer (approx. 0.015 inches).
- Surface Conditioning: Run a 120-grit flapper wheel or abrasive pad inside the first 1/2 inch of the bore.
- Degreasing: Use a lint-free rag and acetone to remove all traces of oil and metal dust.
- Final Fit-Up Check: Place the two pipes together. Ensure there is no “rocking” and that the light doesn’t shine through the joint.
By following these steps, you eliminate the variables that lead to “mystery” weld defects. You aren’t just cleaning metal; you are engineering a reliable foundation for your weld.
Conclusion
Mastering the systematic removal of internal obstructions is a hallmark of a professional fabricator. It’s easy to focus on the “glamour” of the welding arc, but the real work happens in the minutes before the helmet drops. By understanding how internal burrs trap gas, harbor contaminants, and disrupt fit-up, you can move away from frustrating “guesswork” and toward a repeatable, high-quality process.
Remember, troubleshooting is about curiosity. When a weld fails, don’t just grind it out and try again. Look at the root. Look at the internal bore. Often, the solution to your biggest fabrication headache is a simple manual tool and a few minutes of focused effort.
FAQ: Common Questions on Internal Pipe Preparation
Why does my swivel-blade reamer keep “digging in” and stopping? This usually happens because the angle of the blade is too aggressive for the material thickness. Try reducing the downward pressure and holding the tool handle more vertically. If the pipe wall is very thin (like exhaust tubing), the blade can catch on the edge. In these cases, a fine-toothed half-round file is often a better choice than a swivel reamer.
Can I use a step-drill bit to deburr the inside of a pipe? While a step-drill can work in a pinch for very small diameters, it often creates a steep taper rather than a clean edge. This can thin the “land” of the weld prep too much, leading to burn-through. If you do use one, run it at a very low RPM (under 200) and only use the tip to catch the burr, not to reshape the bore.
How do I know if I’ve work-hardened the metal during the cut? If you try to file the edge and the file just slides across like it’s on glass, the metal is work-hardened. This is common with stainless steel if the saw blade was dull or rubbing. To fix this, you may need to cut off another 1/8 inch of the pipe using a sharp, high-speed blade with plenty of coolant to keep the temperature down, then restart your prep.
Does it matter if I leave a small burr if I’m doing a “fillet” weld on a lap joint? Yes. Even in lap joints, an internal burr on the overlapping pipe can prevent the tubes from seating tightly against each other. This creates a gap that can trap moisture later, leading to internal corrosion (crevice corrosion). Always aim for a flush fit, which requires removing all protrusions.
What is the best way to clean the inside of a pipe that is too small for my finger? For very small diameters (under 1/2 inch), wrap a piece of 120-grit sandpaper around a small dowel or a screwdriver. You can also buy “cartridge rolls” which are tiny rolls of sandpaper designed to fit into a die grinder or drill. These are excellent for reaching into tight bores without over-enlarging the hole.
How much of an internal chamfer is “too much”? Generally, you only want to remove the burr and create a very slight bevel—usually no more than 10% to 15% of the wall thickness. If you create a deep 45-degree chamfer on the inside, you are thinning the “root face” (the flat part of the pipe end). A root face that is too thin will melt away too quickly, causing a hole (blow-through) rather than a controlled weld bead.
Is it necessary to use a solvent like acetone after using a manual file? Absolutely. Files often have traces of oil from the manufacturing process, and even “clean” metal produces fine dust that can get trapped in the weld. A quick wipe with acetone or denatured alcohol ensures that no hydrocarbons are present to cause porosity. Avoid using brake cleaner, as some types can produce toxic phosgene gas when heated by a welding arc.
Why is my weld “pulling” to one side when I join two pipes? If your internal deburring was uneven, one side of the pipe wall might be thinner than the other. The thinner side will heat up faster and expand more, causing the joint to pull in that direction as it cools. Consistent, symmetrical internal preparation is key to maintaining proper alignment during the welding process.
(This article was written by one of our staff writers, Paul Whitaker. Visit our Meet the Team page to learn more about the author and their expertise.)