How to Deburr the Inside of Metal Pipes and Tubes (Guide)
In my fourteen years of inspecting industrial steel components and fabricating heavy frames, I have learned that the most catastrophic failures often start where you cannot see them. I remember a specific project early in my career—a pressurized hydraulic manifold system—that failed during a standard load test. The culprit wasn’t a poor weld or a low-grade steel; it was a single, jagged “burr” left inside a 2-inch pipe. That tiny protrusion created a stress riser that eventually led to a fatigue crack. For those of us working in home shops or small fabrication bays, these hidden defects are the difference between a project that lasts decades and one that fails unexpectedly.
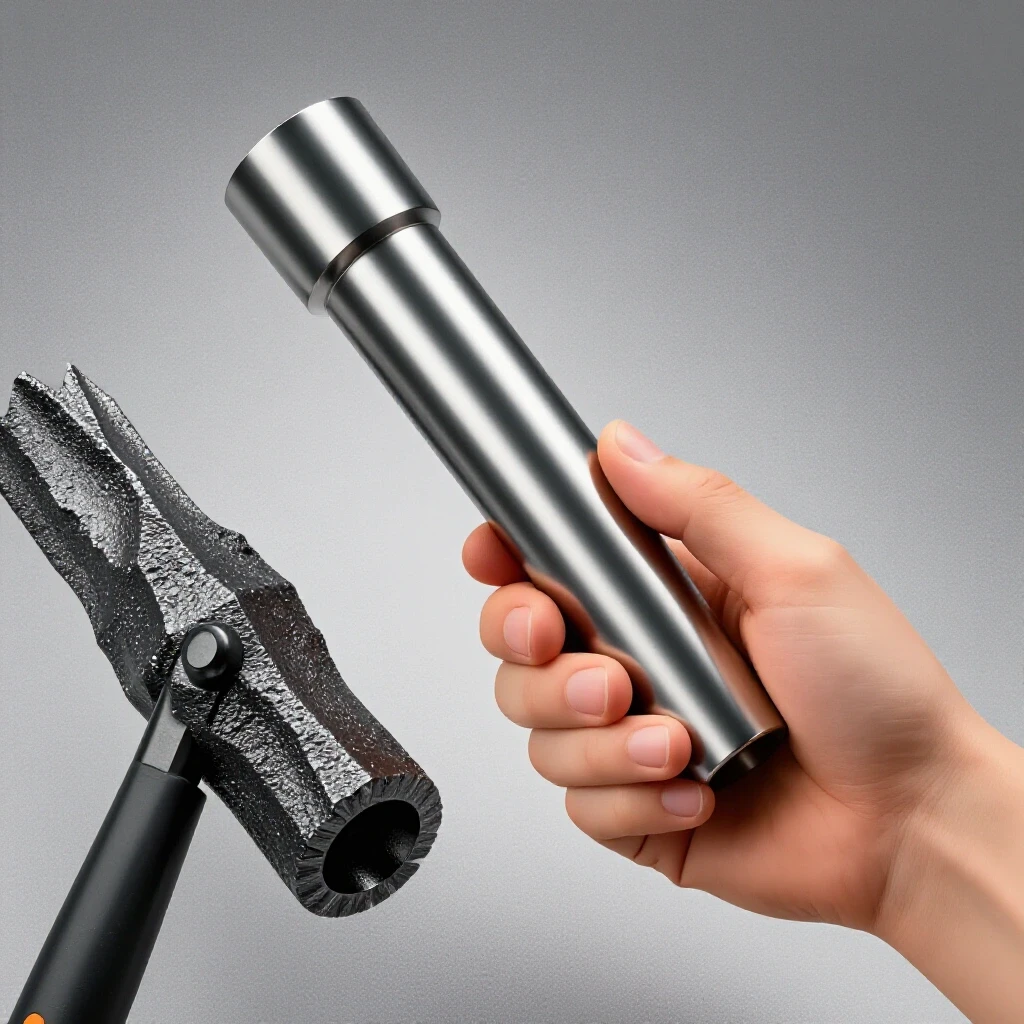
When we cut metal, the blade or abrasive disc doesn’t just disappear the material; it displaces it. This displacement creates a raised, sharp edge known as a burr. While most beginners focus on the outside of the pipe for aesthetics, the interior edge is where the real structural and safety risks live. If you are building a roll cage, a furniture frame, or a fluid transport line, ignoring the internal geometry of your tubing is a gamble with material physics.
Why Internal Edge Preparation Matters for Structural Integrity
Internal edge preparation involves the systematic removal of the sharp, raised metal “lip” created during the cutting process on the inside of a pipe or tube. This step ensures that the inner diameter (ID) is smooth, clean, and ready for either fluid flow or structural joining.
In my experience, an uncleaned internal edge acts as a “stress riser.” In mechanical engineering, a stress riser is a location where the internal stress of a component is significantly higher than the surrounding area. When a pipe is under a load—whether it is vibration in a vehicle frame or pressure in a line—stress concentrates at these sharp, jagged points. Over time, this concentration leads to microscopic cracks. By smoothing the inner edge, you distribute that stress evenly across the material’s cross-section, significantly increasing the fatigue life of your build.
Identifying the Risks of Neglected Inner Pipe Edges
Neglecting the internal cleanup of your metal stock introduces three primary risks: mechanical interference, welding defects, and safety hazards during assembly.
A common issue I see in garage fabrication is “interference fit” failure. If you are telescoping one tube inside another, even a 0.5mm burr can prevent the tubes from sliding together or, worse, cause them to gall and seize halfway. Furthermore, from a welding perspective, these burrs are often thin and “airy.” When the welding arc hits them, they melt instantly and can become trapped in the weld pool as inclusions. This leads to welding defect troubleshooting later on when you realize your joint has internal porosity or lack of fusion at the root.
| Feature | Impact of Burred Edge | Impact of Prepared Edge |
|---|---|---|
| Stress Distribution | Concentrated at sharp points | Evenly distributed |
| Weld Quality | High risk of inclusions/porosity | Clean root penetration |
| Fluid Dynamics | Turbulent flow/erosion | Laminar (smooth) flow |
| Assembly | Galling and seizing | Smooth fitment |
| Structural Safety | Lowered fatigue threshold | Maximum design strength |
Essential Tools for Smoothing the Inner Diameter of Tubing
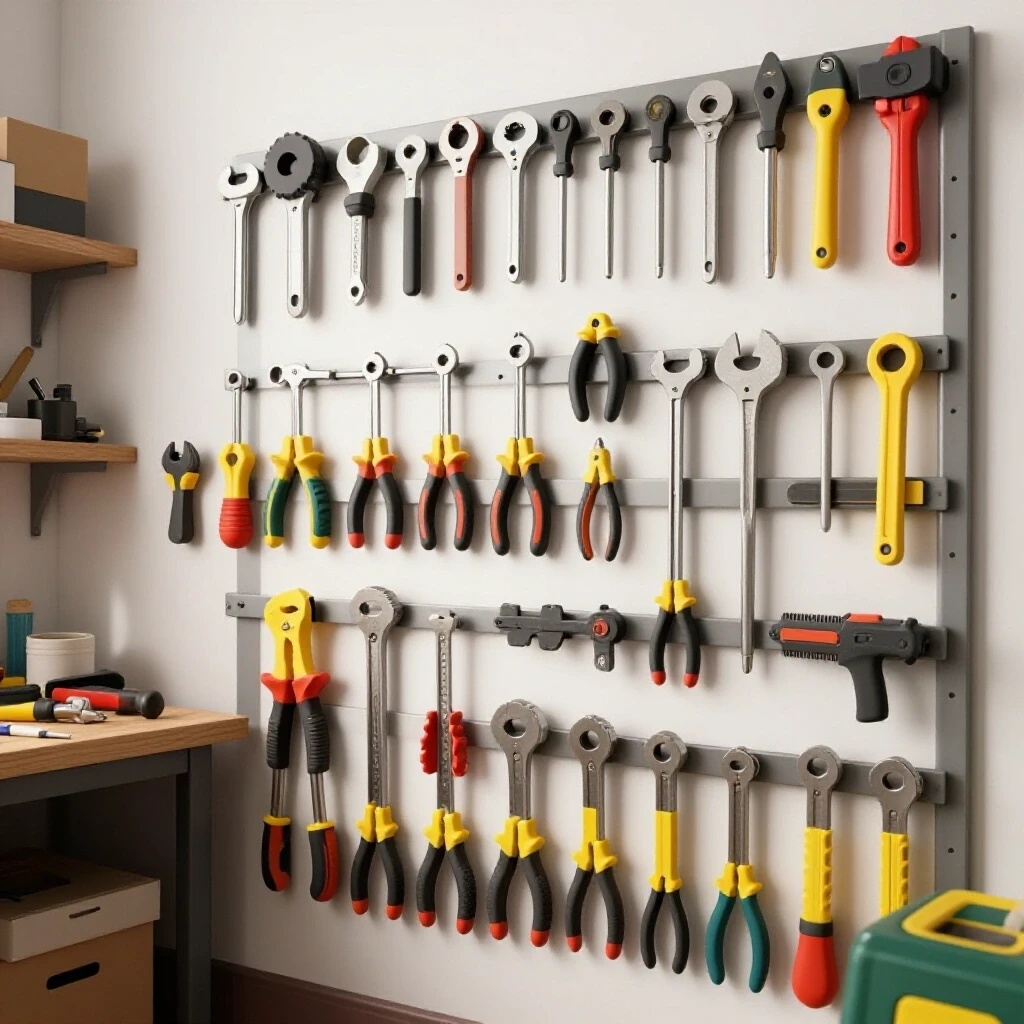
Selecting the right tool depends on the material thickness and the diameter of the pipe. You need instruments that can reach into the hollow profile without damaging the surrounding wall.
- Swivel-Head Deburring Tools: These are my go-to for thin-walled tubing. They feature a curved, hardened steel blade that rotates 360 degrees. You hook the blade inside the pipe and pull it around the circumference. It is excellent for aluminum and mild steel but can struggle with hardened stainless.
- Half-Round Files: A staple in any workshop safety checklist. The flat side works for the exterior, while the curved side matches the radius of the pipe interior. I prefer a “bastard cut” for rapid removal and a “smooth cut” for finishing.
- Pipe Reamers: These are conical tools with multiple cutting flutes. You insert the cone into the pipe and twist. They are highly effective for smaller diameters (under 2 inches) and ensure a perfectly concentric edge.
- Die Grinders with Carbide Burrs: For heavy-wall structural pipe, manual tools are often insufficient. A die grinder equipped with a cylindrical or “ball-nose” carbide burr can remove significant material quickly. However, this requires a steady hand to avoid gouging the heat affected zone weakness area.
Step-by-Step Process for Internal Flash Removal
To ensure a structurally sound project, I follow a disciplined four-step process. This isn’t just about making it look good; it’s about verifying the material is ready for the stresses of fabrication.
- Secure the Workpiece: Never attempt to clean a pipe while holding it in your hand. I always use a pipe vise or a V-block on my workbench. If the pipe spins while you are using a power tool, it can catch and cause a “kickback” injury.
- Select the Correct Angle: When using a manual swivel tool or a file, hold the tool at a 45-degree angle to the inner edge. This creates a small chamfer (a beveled edge) rather than just thinning the wall. Thinning the wall too much can reduce the structural metal load capacity at the joint.
- Apply Consistent Pressure: Use firm, steady strokes. If you are using a power tool, let the RPM do the work. Pressing too hard with a carbide burr can cause “chatter,” which leaves a wavy surface that is actually worse for stress distribution than the original burr.
- The “Finger Test” (With Caution): After cleaning, I always wipe the area with a rag first to remove shards. Only then do I check for smoothness. If a rag snags on the edge, the edge is still too sharp.
Preventing Welding Defects Through Proper Internal Cleaning
One of the biggest mistakes I see in intermediate fabrication is failing to realize how internal cleanliness affects the weld. When you weld a joint, the heat penetrates through the entire thickness of the metal.
If there is a burr on the inside, it can interfere with your welding gas flow rate. For example, in TIG welding, we often use 15–20 CFH (Cubic Feet per Hour) of Argon. A jagged internal edge can create turbulence in the shielding gas if you are back-purging, or it can trap atmospheric oxygen in the nooks and crannies of the burr. This leads to “sugaring” or oxidation on the backside of the weld, which creates a brittle failure point. By smoothing the inside, you ensure the gas flows smoothly over the root of the weld, protecting the metal from contamination.
Workshop Safety Protocols for Pipe and Tube Handling
Working with metal edges is inherently risky. I’ve seen seasoned fabricators take “just a quick second” to clean an edge without PPE, only to end up in the ER with a metal splinter in their eye.
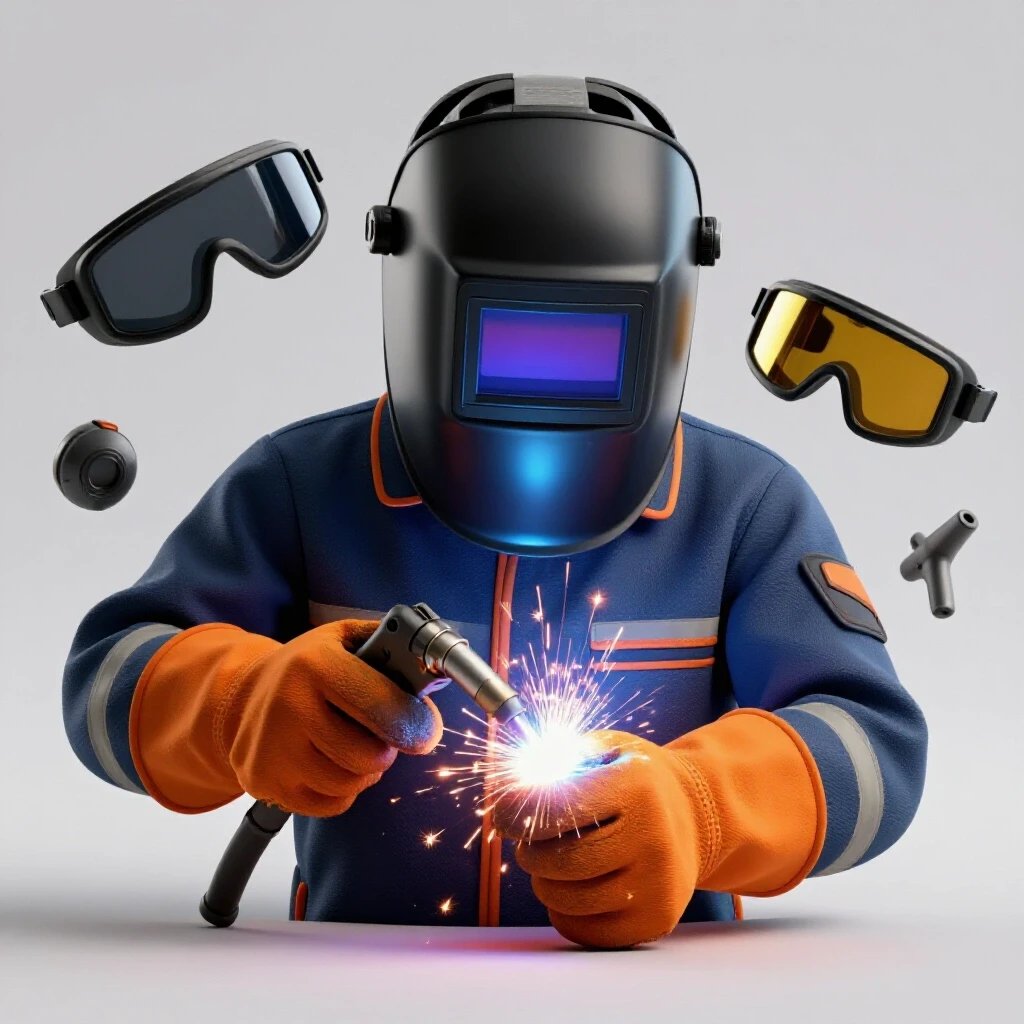
- Eye Protection: Always wear Z87+ rated safety glasses. When using a die grinder, a full-face shield is mandatory. Metal “needles” from deburring can fly several feet.
- Hand Protection: Use cut-resistant gloves (Level A4 or higher). However, be careful around rotating machinery; never wear loose gloves near a bench grinder or lathe.
- Respiratory Safety: If you are working with galvanized pipe or stainless steel, the dust from grinding is toxic. Use a P100 respirator to prevent inhaling metallic particulates.
- Debris Management: Use a magnetic tray to catch shavings. These tiny shards can embed themselves in the soles of your boots and be tracked into your home or car.
Structural Load and Stress Analysis
When we talk about structural metal load capacity, we are looking at how much force a joint can take before it deforms (yield strength) or breaks (tensile strength). A pipe that has been properly cleaned on the inside maintains its full wall thickness and geometric integrity.
In a 2:1 or 4:1 safety factor design, we assume the material is uniform. A burr or a deep gouge from improper cleaning reduces that uniformity. If I am building a lifting gantry, I calculate the load paths through the center of the tubing. Any internal defect acts as a “notch” that can initiate a brittle fracture.
| Material Type | Yield Strength (PSI) | Common Use Case | Sensitivity to Internal Burrs |
|---|---|---|---|
| ASTM A36 Mild Steel | 36,000 | General frames/brackets | Moderate |
| 6061-T6 Aluminum | 35,000 | Lightweight structures | High (Galling risk) |
| 4130 Chromoly | 63,000 | Roll cages/Aviation | Very High (Fatigue sensitive) |
| 304 Stainless Steel | 30,000 | Exhaust/Fluid lines | High (Work hardening risk) |
Real-World Case Study: The “Cold Lap” Failure
I once inspected a trailer frame that had snapped at a critical cross-member. The welder was talented, and the exterior beads looked perfect. However, when we cut the joint open for a forensic analysis, we found a “cold lap” at the root.
A large internal burr from a saw cut had been pushed into the joint during assembly. When the welder started the root pass, the burr acted as a heat sink, preventing the weld puddle from fully fusing with the base metal of the inner wall. The result was a joint that looked strong on the outside but had zero structural connection on the bottom 20% of the pipe wall. This is why I advocate for a “clean-bore” policy in any garage fabrication safety plan.
Diagnostic Inspection Checklist for Internal Edges
Before you move to the welding table, run through this verification list. I use this in my own shop to ensure I haven’t missed a detail that could compromise the build.
- Visual Light Test: Shine a bright LED flashlight down the bore. Look for any shadows or reflections that indicate a raised edge.
- Rag Snag Test: Pass a lint-free microfiber cloth over the edge. If it catches or leaves fibers behind, the edge is still “active” and needs more work.
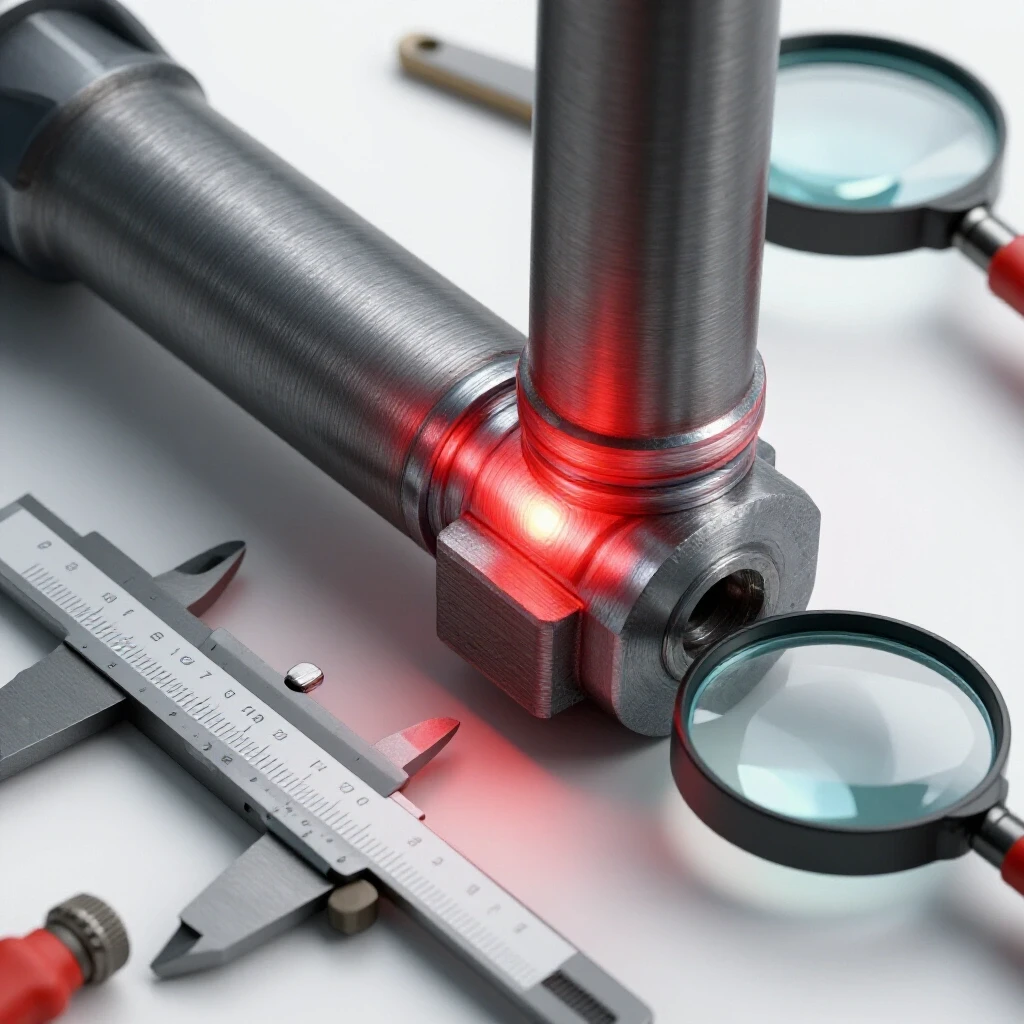
- Caliper Verification: Measure the ID at four points (12, 3, 6, and 9 o’clock). If the measurements vary, you may have deformed the pipe during the deburring process by applying uneven pressure.
- Bore Scope Inspection: For critical structural joints, I use a cheap USB bore scope to look at the internal fit-up. This allows me to see if the two pipes are meeting flush without any internal gaps or overlapping burrs.
Advanced Tools for Precision Work
As you progress in your fabrication journey, you might find that manual files aren’t efficient enough. Modern non-destructive testing (NDT) kits and electronic tools have become much more accessible for the home shop.
- Abrasive Flap Wheels: These small cylinders of sandpaper fit onto a drill or die grinder. They are excellent for creating a consistent finish on the ID of a tube.
- Electronic Gas Flow Regulators: While not a deburring tool, these help you monitor your welding gas flow rate with precision. If you’ve cleaned your pipe correctly, you’ll notice your gas consumption drops because you aren’t fighting turbulence caused by internal obstructions.
- Smart Welding Helmets: Using a helmet with a high-definition “True Color” lens (Shade 10-13) allows you to see the root of the weld more clearly, helping you spot if an internal burr is causing the puddle to behave erratically.
Practical Tips for the Home Fabricator
If you are working on a budget, you don’t need expensive machinery. You just need patience and the right technique.
- Don’t Over-Grind: Your goal is to remove the burr, not to change the wall thickness. If you remove too much material, you create a thin spot that becomes a weak point in your structural metal load capacity.
- Work in One Direction: When using a file, push away from you. Dragging the file backward (draw-filing) is a specific technique for finishing, but for bulk removal, the forward stroke is where the power is.
- Cool the Metal: If you’ve been grinding heavily, let the pipe cool before checking the fit. Metal expands when hot. A pipe that fits perfectly while hot might be too loose once it reaches room temperature.
Conclusion: The Path to Structural Confidence
Mastering the art of internal pipe preparation is a hallmark of a professional fabricator. It shows a respect for the material and an understanding of the physics at play. By removing these hidden defects, you are not just “cleaning up” a cut; you are actively preventing future failures, ensuring better weld penetration, and protecting yourself from injury.
Start by adding a dedicated “Internal Prep” station to your shop. Keep your reamers, swivel tools, and half-round files in one place. Make it a habit to never let a piece of tubing move to the welding table until the interior is as smooth as the exterior. This disciplined approach will save you time, material, and the frustration of a failed project.
FAQ: Common Questions on Internal Pipe Refinement
Does every pipe need to be cleaned inside, even if it’s not for fluids? Yes. Even in non-fluid applications, internal burrs act as stress risers that can lead to structural cracking under vibration or load. They also interfere with proper fitment and can cause welding defects like inclusions.
Can I use a regular drill bit to deburr a pipe? It is not recommended. A drill bit is designed to cut holes, not to chamfer edges. It can easily “grab” the metal and spin the pipe or damage the inner wall. Use a dedicated conical reamer or a countersink bit instead.
How do I know if I’ve removed too much material? Use a micrometer or caliper to check the wall thickness. If you have reduced the wall thickness by more than 10%, you have likely created a structural weak point. The goal is to remove the “lip,” not the base metal.
Is there a difference between deburring aluminum and steel? Aluminum is much softer and “gummy.” It will clog files and carbide burrs quickly. Use a lubricant (like wax or WD-40) and tools with wider tooth spacing (coarse cut) to prevent the tool from loading up.
What happens if I weld over a burr? The burr will likely melt into the weld pool. Because it is often covered in oxides or oils, it can cause porosity (tiny bubbles) or “slag inclusions,” which significantly weaken the joint’s integrity.
Do I need to deburr before or after bending a tube? Always deburr before bending. Any internal sharp edge can act as a starting point for a “kink” or a crack during the bending process, as the metal is under extreme tension and compression.
Is a swivel-head tool better than a file? A swivel tool is faster and more consistent for thin-walled tubing. A file is better for heavy-duty structural pipe where you need to remove more material or create a specific bevel for welding.
How do I clean the inside of a very long pipe? For long sections, you can use an “abrasive hone” or a “brush hone” (often called a dingleberry hone) attached to a long extension rod and a drill. This ensures the entire length is smooth.
Can internal burrs affect my welding gas? Absolutely. Jagged edges create turbulence in the shielding gas. This can pull atmospheric air into the weld zone, leading to oxidation and a brittle weld, even if your welding gas flow rate is set correctly.
What is the “Heat Affected Zone” (HAZ) and does deburring affect it? The HAZ is the area of base metal that hasn’t melted but has had its microstructure altered by the heat of welding. Proper deburring ensures the weld fuses cleanly at the root, preventing the HAZ from becoming a site for crack initiation due to internal defects.
(This article was written by one of our staff writers, James Harlan. Visit our Meet the Team page to learn more about the author and their expertise.)