How to Identify and Eliminate Hidden Waste in Your Shop (Fix)
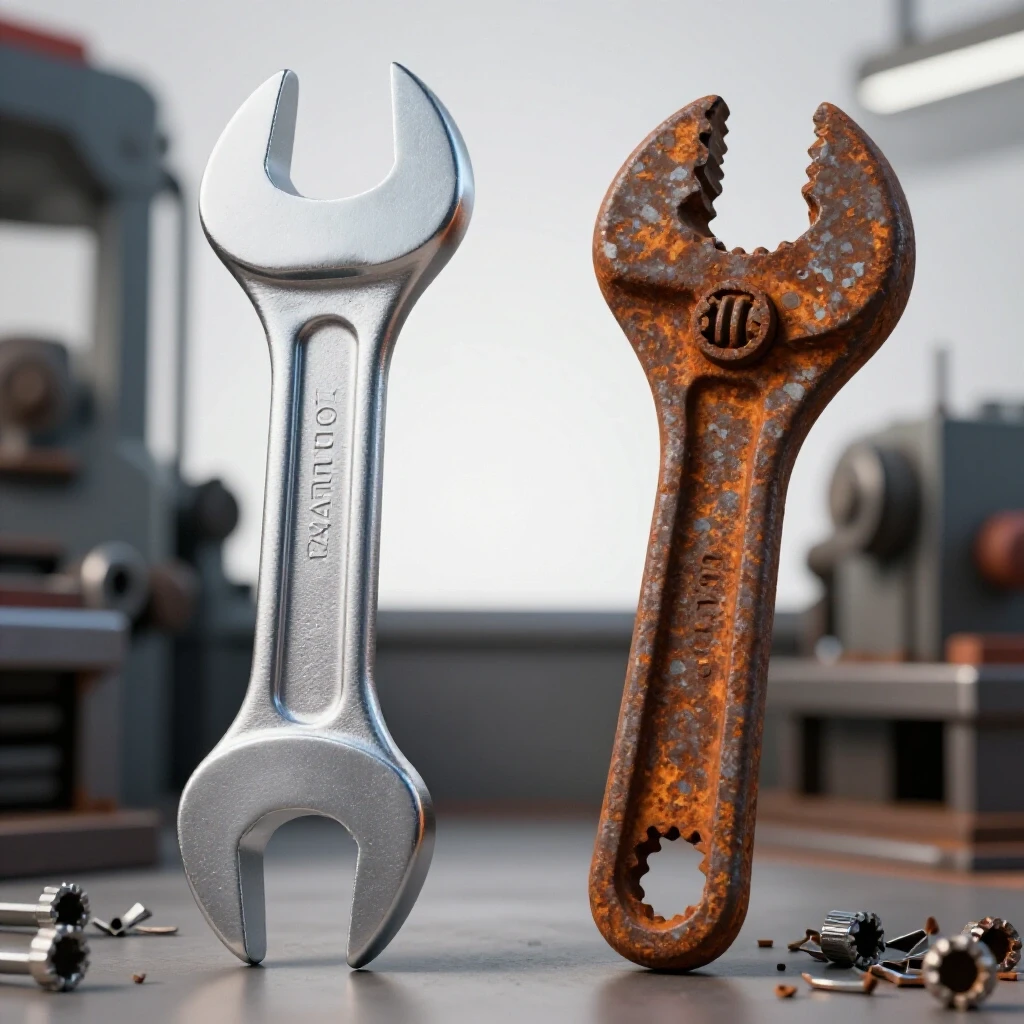
When I first moved from hobbyist metalworking to taking on paid fabrication jobs, I made a classic mistake. I looked at the cost of the steel, added a bit for my time, and thought I was making money. After six months, my bank account told a different story. I was busy, but I wasn’t profitable. I realized that my “side-hustle” was actually a charity for my customers because I wasn’t accounting for the invisible drains on my resources.
The transition from a hobby to a business requires a shift in how you view every minute spent in the shop and every inch of material used. Most small shop owners struggle with pricing because they don’t see the silent costs that eat their margins. These aren’t just big bills like rent; they are the grinding wheels that wear down, the shielding gas that vanishes, and the twenty minutes spent looking for a specific jig. To build a sustainable business, you must master the math of your workshop.
Establishing a Realistic Hourly Shop Rate
A shop rate is the foundational number used to charge for your time and expertise while covering all business expenses. It is not just your take-home pay; it is a calculated figure that ensures the lights stay on and the machines can be replaced when they break.
Most side-hustlers pick a number out of thin air, often landing between $30 and $45 an hour because it feels “fair.” However, in the world of professional fabrication, a sustainable rate typically falls between $65 and $120 per hour. If you are charging less than $65, you are likely subsidizing the customer’s project with your own savings.
To calculate your true rate, you must start with your desired annual income and add your total yearly overhead. If you want to make $40,000 a year from your side-hustle and your overhead is $15,000, you need to generate $55,000 in revenue. If you can realistically bill 20 hours a week (1,000 hours a year), your shop rate must be $55 per hour just to break even on your goals. This does not even include profit for future growth.
- Labor Rate: What you would pay an employee to do the work.
- Overhead Burden: The cost of the building, utilities, and insurance divided by billable hours.
- Profit Margin: An additional percentage (usually 10-20%) added to ensure the business can grow.
Factoring in the True Cost of Overhead
Overhead includes all the expenses required to keep your shop operational, regardless of whether you are actively working on a project. These costs are often “fixed,” meaning they don’t change much based on how many hours you spend under the welding hood.
For a small shop owner, overhead often feels invisible because it is mixed with personal expenses. If your shop is in your garage, you might ignore the spike in the electricity bill or the cost of high-speed internet used for sourcing materials. However, every dollar spent on the shop that isn’t direct material or labor is overhead. You must track these monthly costs to avoid losing money on every quote.
Common overhead items for a side-hustle metalworking business include:
- Shop Rent or Mortgage: Even if it is your own garage, a portion of the space is dedicated to the business.
- Utilities: Electricity for the welder, heating/cooling, and water.
- Insurance: General liability and equipment insurance are non-negotiable for professional work.
- Marketing and Software: Website hosting, invoicing tools, and basic advertising.
- Consumable Baseline: Items like shop towels, floor sweep, and cleaning supplies.
| Expense Category | Monthly Cost (Example) | Annual Total |
|---|---|---|
| Utilities (Power/Heat) | $150 | $1,800 |
| Insurance (Liability) | $80 | $960 |
| Consumable Baseline | $50 | $600 |
| Tool Maintenance | $100 | $1,200 |
| Total Annual Overhead | $380 | $4,560 |
Mapping Machinery Amortization and Depreciation
Amortization is the process of spreading the cost of an expensive tool over its useful life to understand its daily or hourly cost. Depreciation is the decrease in value of that equipment over time due to wear and tear.
When you buy a $5,000 plasma table, that money isn’t just “gone.” It is an investment that needs to pay for itself. If you expect that table to last five years and you use it for 500 hours a year, the machine costs you $2.00 per hour in depreciation alone. If you don’t factor this into your fabrication job costing, you won’t have the funds to replace the machine when it eventually wears out.
To calculate this, take the purchase price of the tool, subtract the estimated resale value at the end of its life, and divide by the number of years you plan to own it. This gives you the annual cost. Dividing that by your billable hours tells you how much each project needs to contribute toward that machine’s eventual replacement.
- Step 1: Identify the total cost (Purchase price + Shipping + Setup).
- Step 2: Estimate the lifespan (e.g., 5 years for a welder, 10 years for a heavy ironworker).
- Step 3: Calculate the hourly “use tax” for that machine.
Tracking the Hidden Drain of Consumables
Consumables are the items that are “eaten” during the fabrication process, such as welding wire, shielding gas, sandpaper, and drill bits. Because these items are small and used frequently, many shop owners fail to track them accurately, leading to significant profit leaks.
I once tracked a month of small projects and realized I was spending nearly 15% of my revenue on abrasives and gas. I had been “guesstimating” these costs at 5%. That 10% difference was my entire profit margin on several jobs. To fix this, you need a consumable burden factor. This is a standard percentage added to every job to cover the “stuff that disappears.”
For most general fabrication, a consumable markup of 10% to 15% of the material cost is a safe starting point. However, if a job requires heavy grinding or specialized TIG welding on stainless steel, that factor may need to rise to 25%.
- Welding Consumable Tracking: Note how many bottles of gas and rolls of wire you use per month.
- Abrasive Usage: Track the lifespan of your flap discs and cutoff wheels.
- Shop Supplies: Don’t forget the cost of cutting fluid, marking pens, and layout dye.
Building Profitable Job Bids
Building a quote is the process of combining material costs, labor hours, overhead, and profit into a single price for the customer. A professional bid protects the shop owner from unforeseen complications and ensures the customer knows exactly what they are paying for.
When I create a quote for side-hustle metalworking, I use a “bottom-up” approach. I start with the raw material price, apply a markup (usually 20-30% to cover sourcing and transport), add the estimated labor hours multiplied by my shop rate, and then add the consumable burden. If the job is complex or involves high-risk materials, I add a “contingency” of 5-10% to cover potential mistakes or rework.
One common mistake is failing to charge for “non-sparking” time. This includes the time spent drawing the project, picking up material at the local steel yard, and cleaning the finished part. If you spend two hours driving to get steel and an hour cleaning the bench afterward, those three hours must be billed or your hourly rate will plummet.
- Material Cost: Price of steel + 25% markup.
- Labor: Estimated hours (including setup and cleanup) x Shop Rate.
- Consumables: 15% of material cost.
- Specialty Costs: Outsourced powder coating or laser cutting.
Sourcing Strategies and Material Markups
Material markup is an additional fee added to the base cost of raw materials to cover the time spent ordering, handling, and storing stock. It also compensates the shop for the financial risk of carrying inventory.
Many new shop owners feel guilty charging more for steel than they paid for it. However, you are providing a service by having the material on hand or by using your commercial accounts to source it. If you spend an hour at the steel yard and use your truck and fuel to bring it back, you have incurred a cost. A standard 20% to 50% markup on materials is common in the industry.
To maximize efficiency, consider bulk sourcing. Buying a full 20-foot stick of tubing is almost always cheaper than buying four 5-foot sections. If you have the space to store common sizes of flat bar and angle iron, you can reduce your per-project material cost and increase your margins.
- Drop Management: Organize your “drops” (leftover scrap) by size and type. Using a piece of scrap from a previous job is 100% profit on that material line item.
- Quantity Breaks: Always ask your supplier for the “price break” point. Sometimes buying 100 feet is cheaper than buying 80 feet.
- Delivery Fees: Factor in the cost of delivery. If a $50 delivery fee saves you two hours of driving, it is almost always worth it.
Analyzing Tool ROI and Equipment Lifespans
Return on Investment (ROI) is a measurement of how much profit a tool generates compared to its cost. Calculating the payback period helps you decide if an upgrade is a smart business move or just a “shiny new toy.”
Before buying a new tool, I ask: “How many hours of labor will this save me per month?” If a $2,000 cold saw saves you 10 minutes of cleaning time per cut compared to an abrasive saw, and you make 60 cuts a month, you save 10 hours a month. If your shop rate is $80/hr, that saw pays for itself in just 2.5 months. That is a high-ROI investment.
Conversely, if a tool only saves you one hour a month, the payback period might be years. For a small shop, you want to aim for equipment that pays for itself within 12 to 18 months of consistent use.
| Tool | Cost | Monthly Time Saved | Value of Time ($80/hr) | Payback Period |
|---|---|---|---|---|
| Cold Saw | $2,500 | 8 Hours | $640 | 3.9 Months |
| Mag Drill | $1,200 | 3 Hours | $240 | 5.0 Months |
| CNC Plasma | $8,000 | 15 Hours | $1,200 | 6.7 Months |
| TIG Welder | $3,500 | 2 Hours | $160 | 21.8 Months |
Streamlining Shop Movement and Layout
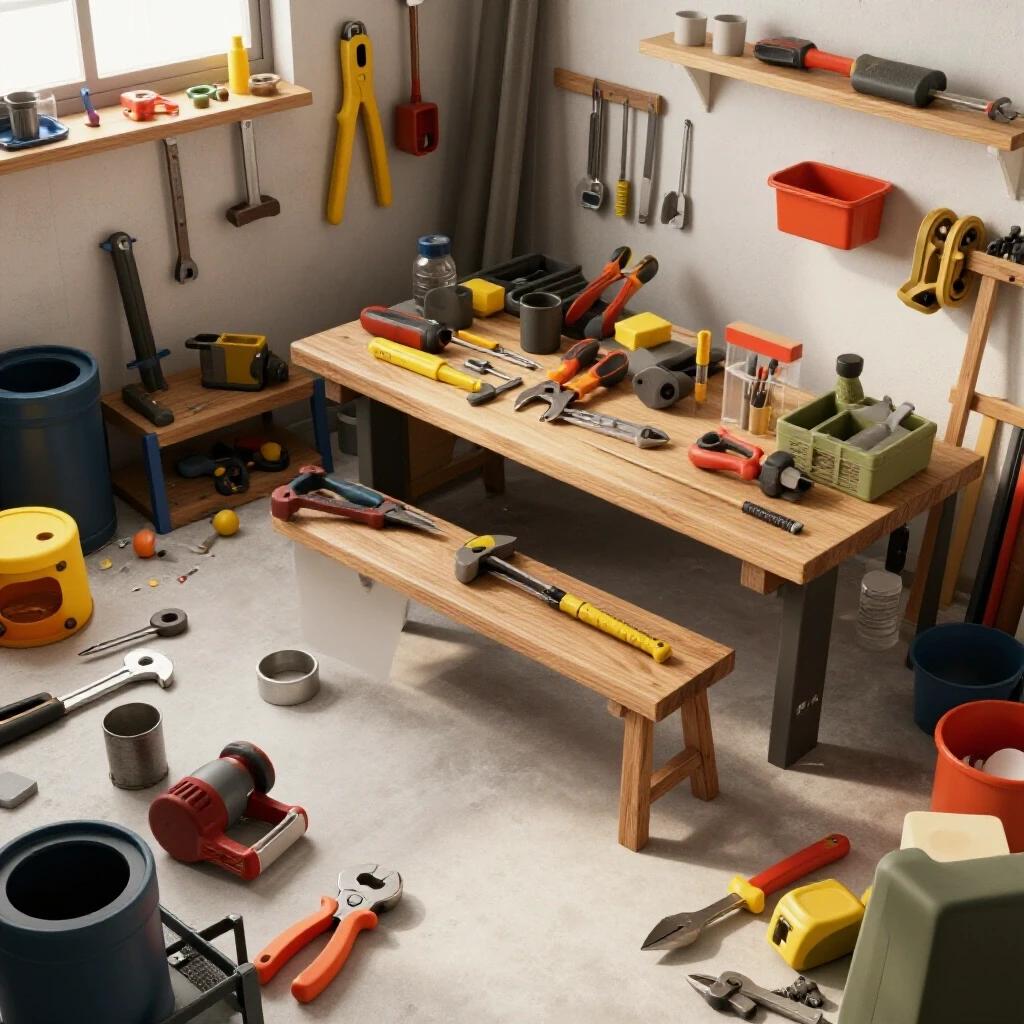
Shop layout efficiency refers to the physical arrangement of tools and workstations to minimize “travel time” and unnecessary movement. In a small shop, every step you take to find a tool or move a heavy part is unpaid labor.
I spent years working in a cramped garage where my welder was in one corner and my fabrication table was in the other. Every time I needed to adjust the settings, I walked 15 feet. Over a year, those thousands of steps added up to hours of lost productivity. By moving the welder next to the table and creating “tool shadows” (dedicated spots for every tool), I reduced my project time by nearly 10% without working any faster.
Focus on the “Work Triangle” of fabrication: the Cutting Station, the Welding Table, and the Finishing Area. These three points should be as close together as possible. Keep your most-used tools—hammers, squares, and clamps—within arm’s reach of the main table.
- Point-of-Use Storage: Store your grinders right under the welding table, not across the room.
- Mobile Bases: Put everything on heavy-duty casters so you can reconfigure the shop for large projects.
- Shadow Boards: Use pegboards or foam cutouts so you can instantly see if a tool is missing.
Analyzing Post-Job Profits and Cost Variance
Post-job analysis is the practice of comparing your original quote to the actual costs incurred after the project is finished. This is the only way to know if your shop rate and material estimates are accurate.
If I quoted a job for 10 hours and it took me 14, I need to know why. Did I underestimate the welding time? Did I break a specialty tap? This “variance” is the difference between your plan and reality. If you consistently find that jobs take 20% longer than quoted, you don’t need to work faster—you need to increase your quotes by 20%.
Keep a simple notebook or spreadsheet for every job. Record the start and stop times, the exact amount of material used, and any unexpected expenses. Over time, this data becomes your most valuable asset for pricing future work.
- Actual Labor vs. Quoted Labor: Did you hit your time target?
- Material Waste: How much scrap did you generate?
- Consumable Check: Did you use more gas or abrasives than expected?
- Final Margin: After all costs, what was your actual hourly take-home?
Practical Tools for Shop Management
Managing the finances of a small shop doesn’t require complex corporate software. Simple, focused tools can help you track the metrics that matter most.
- Spreadsheets (Excel/Google Sheets): Create a master template for job costing that includes rows for materials, labor, and a 15% consumable burden.
- Simple Invoicing: Use platforms like Wave or Square to send professional invoices and track payments.
- Time Tracking Apps: Use a simple “punch clock” app on your phone to track exactly how long you spend on each project.
- Digital Calipers and Tape Measures: Accuracy in the layout stage prevents expensive material waste later.
- Inventory Log: A physical whiteboard in the shop to list low consumables (gas, wire, discs) so you never run out mid-job.
The key to a profitable side-hustle isn’t just being a better welder; it’s being a better manager of your resources. By identifying the hidden costs in your shop and accounting for them in your pricing, you turn a hobby into a professional enterprise that pays for itself and more.
Frequently Asked Questions
What is the average shop rate for a one-man metal shop? Most independent fabricators charge between $65 and $120 per hour. This rate covers labor, overhead, and profit. Charging less than this often results in the owner making less than minimum wage after expenses are factored in.
How do I charge for “drops” or scrap material? If a customer’s project requires half a sheet of steel, you should charge for the half sheet plus a markup. If you can use the remaining “drop” for another job, you can charge that next customer for the material as well. This is a standard way to recover costs for the storage and handling of remnants.
Should I charge for the time spent quoting a job? For small jobs, quoting time is usually rolled into your overhead. For large, complex projects that require hours of design or CAD work, it is common to charge a “Design Fee” or “Estimating Fee” that is applied toward the final balance if they move forward.
How much should I mark up materials? A standard markup is 20% to 50%. This covers your time spent sourcing, transporting, and storing the metal. It also covers the risk of material prices fluctuating between the time of the quote and the purchase.
What is the best way to track welding gas usage? While you don’t need to weigh the bottle, you can estimate the cost by dividing the refill price by the estimated arc hours. Most small shops simply use a “consumable burden” percentage (10-15%) added to the total material cost to cover gas and wire.
How do I account for tool breakage in a quote? Standard wear and tear is covered by your overhead and depreciation. However, if a job requires a specialized tool (like a $100 custom reamer) that will likely be consumed by that project, the full cost of that tool should be billed directly to the customer.
Is it better to buy a cheap tool or a professional one for a side-hustle? Look at the ROI. A cheap tool that breaks or slows you down costs more in the long run. If a professional tool saves you 5 minutes an hour, it will usually pay for the price difference within the first year of use.
How do I handle customers who say my rate is too high? Explain that your rate includes professional insurance, high-quality consumables, and the specialized equipment required to do the job safely and accurately. If they still object, they are likely not the right customer for a profitable business.
How often should I review my shop rate? You should review your expenses and shop rate at least once a year. If your utility bills rise or you invest in major new machinery, you may need to adjust your rate sooner to maintain your profit margins.
What is “unbillable time” and how do I minimize it? Unbillable time includes cleaning, organizing, and administrative work. You can minimize it by improving shop layout, using “point-of-use” storage, and setting aside dedicated blocks of time for office work rather than doing it piecemeal.
(This article was written by one of our staff writers, Michael Hargrove. Visit our Meet the Team page to learn more about the author and their expertise.)