How to Install an Emergency Stop Switch on Drill Press (Fix)
The heavy scent of sulfur and old gear oil is a familiar greeting in my workshop. Over the last 18 years, I have pulled dozens of cast-iron giants from the brink of the scrap heap. There is a specific kind of patience required when you are staring down a 1940s drill press that has been fused into a single block of rust. These machines were built to last lifetimes, but they were often designed before modern safety standards became common. Restoring them is about more than just removing scale; it is about making them safe for a modern workspace without erasing their mechanical history.
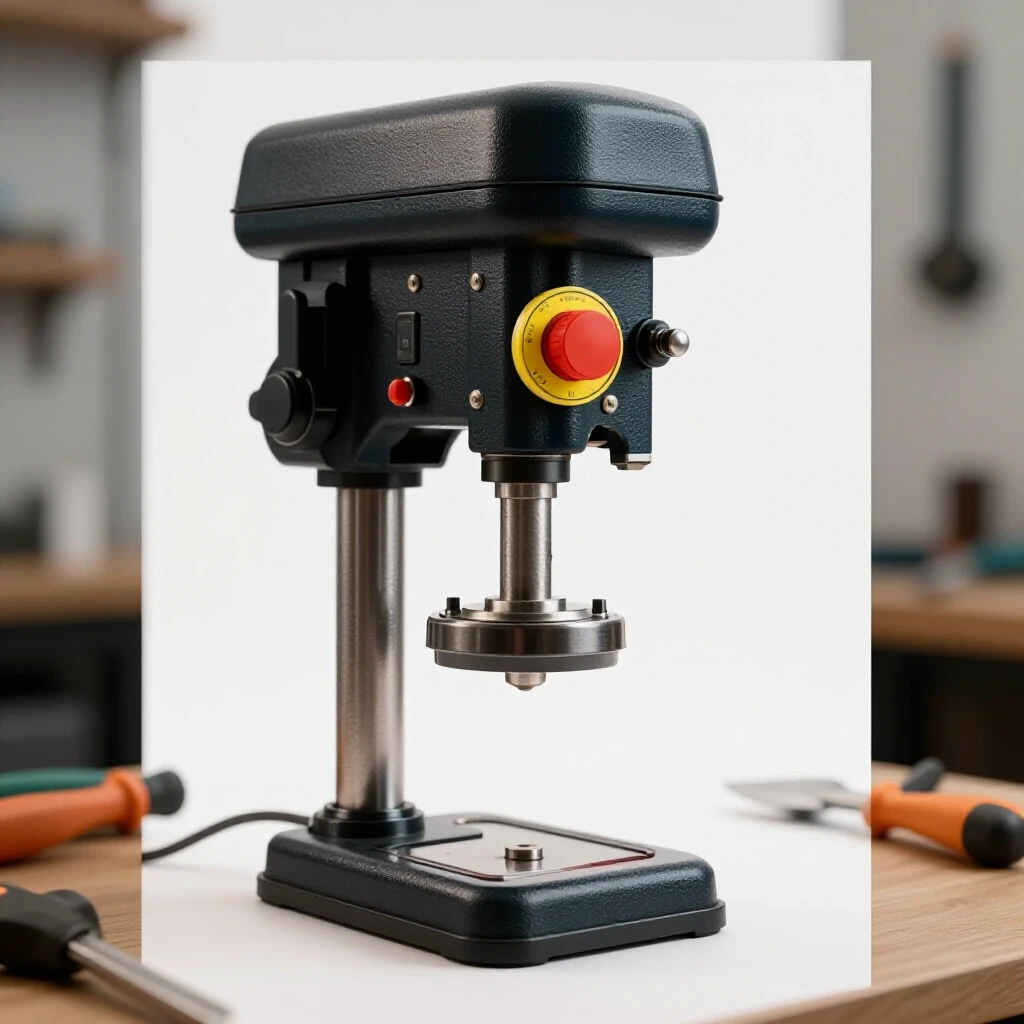
When I first started, I rushed. I broke a casting on a rare sensitive drill press because I used a sledgehammer instead of a puller. That mistake taught me that vintage machinery restoration is a slow conversation between the restorer and the metal. Today, my approach is methodical. I focus on preserving original tolerances while integrating essential safety upgrades, like modern power-cut mechanisms, to ensure these tools can be used daily without fear.
Assessing the Integrity of Vintage Drill Presses
Evaluating a potential rescue involves checking the structural soundness of the cast iron and the condition of the internal spindle assembly. You must determine if the machine is a candidate for restoration or merely a donor for parts by inspecting for hairline cracks in the head casting and measuring the runout in the spindle.
Before I even think about loading a machine onto my trailer, I perform a “thump test” on the main castings. A healthy casting rings like a bell; a cracked one thuds. I look closely at the table and the base. Many old drill presses have “smiles of shame”—arc-shaped gouges where a previous operator drilled through their work and into the table. While unsightly, these are usually cosmetic. The real deal-breaker is a bent spindle. I use a dial indicator to check the runout. If the spindle wobbles more than 0.005 inches, I know I am in for a difficult straightening job or a search for a replacement part that may no longer exist.
Mapping the Disassembly of Seized Components
Systematic disassembly is the process of documenting every fastener and using controlled force to separate parts that have been bonded by decades of oxidation. This phase requires photography, labeled bins, and a refusal to use “brute force” in favor of chemical penetrants and calculated thermal expansion.
In my experience, the quill is the most common point of failure during disassembly. It often gets stuck in the “up” position. I start by applying a 50/50 mix of automatic transmission fluid and acetone. This homemade penetrant often outperforms commercial sprays on deep-seated rust. I let it sit for days, not hours. If the parts remain stubborn, I use a heat gun on the outer casting. The goal is to expand the housing slightly while keeping the inner shaft cool, breaking the bond of the rust. I never use a torch on thin castings, as the uneven heat can cause the iron to snap like glass.
Integrating Modern Safety Interrupts into Classic Wiring
Adding a dedicated emergency power-cut mechanism is a vital upgrade for any vintage machine that originally used a simple toggle or rotary switch. This involves wiring a prominent mushroom-head button into the motor’s circuit, ensuring that the operator can kill power instantly with a palm strike if a workpiece catches and begins to helicopter.
Most pre-war drill presses have a basic on-off switch located high on the head casting. This is a dangerous reach if your sleeve gets caught in the spindle. When I retrofit these machines, I install a magnetic starter or a heavy-duty NVR (No-Volt Release) switch. These switches ensure that if the power goes out, the machine won’t restart unexpectedly when the power comes back on. I mount the hit-to-stop button at waist height or right at the front of the head where it is most accessible.
- Normally Closed (NC): The electrical state of the safety button during operation; the circuit is “closed” to allow current flow.
- Mushroom Head: The large, usually red, button cap designed for easy activation during a crisis.
- Series Wiring: The method of connecting the safety switch so that the power must pass through it before reaching the motor.
| Component Type | Function in Safety Circuit | Mounting Preference |
|---|---|---|
| Twist-to-Release E-Stop | Cuts power and stays off until manually reset. | Front of the drill press head. |
| Magnetic Starter | Prevents accidental restarts after power loss. | Side of the main column. |
| Foot Pedal Switch | Allows hands-free emergency stopping. | On the floor, protected by a shroud. |
| NVR Switch | Combines standard ON/OFF with safety cut-out. | Replaces the original motor switch. |
Why Seized Cast Iron Screws Crack Under Force
Old fasteners often feature obsolete thread patterns like the Winchester or various proprietary stove bolts that are no longer manufactured. When these screws are seized, the risk of shearing the head off is high, which necessitates a thermal release plan involving localized heat and shock loading to vibrate the threads loose.
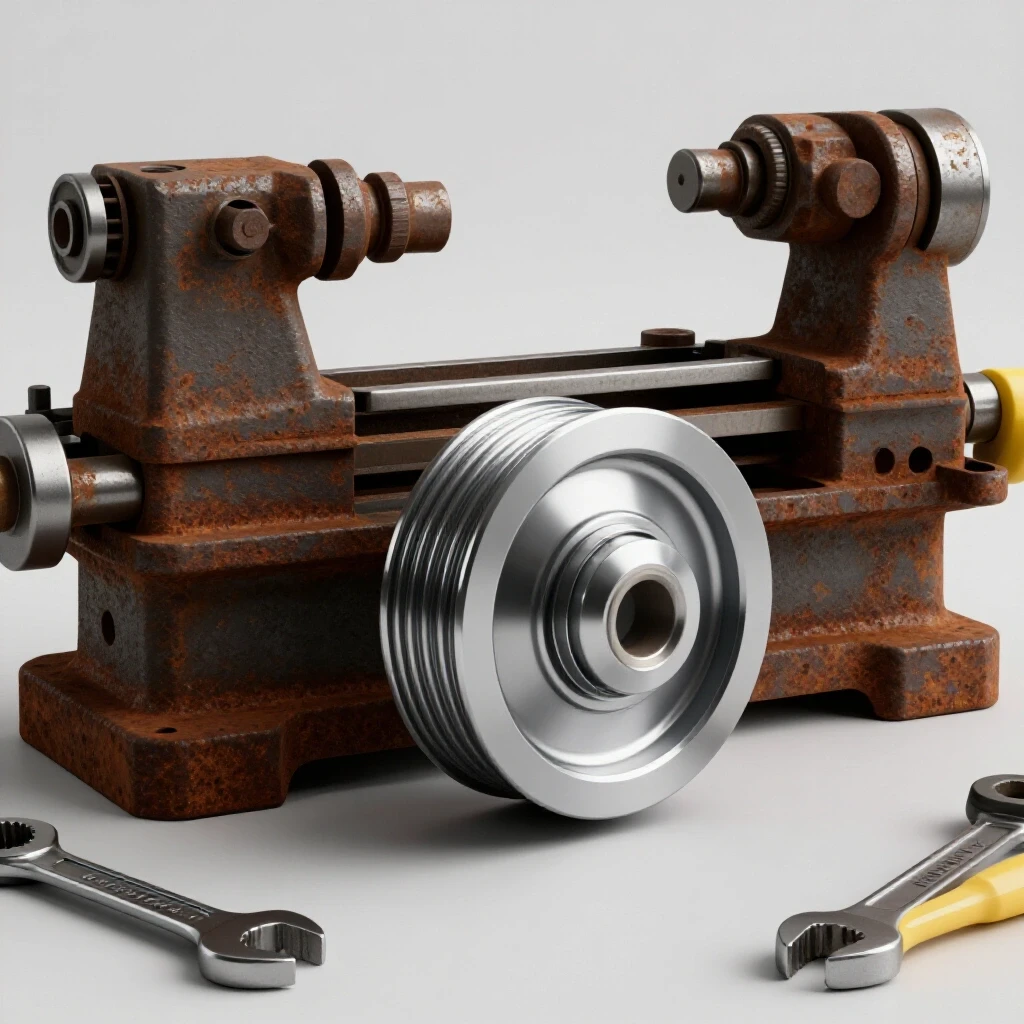
I once spent three days trying to remove a single set screw from a 1920s pulley. If I had sheared it, I would have had to drill it out and tap new threads, ruining the historical accuracy of the machine. Instead, I used a technique called “shock loading.” After heating the area, I placed a flat-faced punch on the screw head and gave it a sharp rap with a brass hammer. This vibration often breaks the microscopic “welds” formed by rust.
- Clean the area with a wire brush to expose the screw edges.
- Apply a high-quality penetrating oil and wait 24 hours.
- Apply localized heat to the surrounding casting (not the screw itself).
- Use a manual impact driver to apply a sudden, sharp rotational force.
- If it moves even a fraction of a millimeter, turn it back in, then out again to clear debris.
Chemical Rust Removal and Surface Preservation
Removing heavy structural corrosion requires a balance between aggressive cleaning and preserving the underlying metal. Methods like electrolysis or chelating soaks allow for the removal of iron oxide without the dimensional loss associated with heavy grinding or sandblasting, which can ruin precision-machined surfaces.
For large castings like the drill press base, I prefer an electrolysis bath. I use a plastic tub, a sacrificial piece of rebar as an anode, and a solution of washing soda and water. Connecting a 12V DC power supply (like a manual battery charger) pulls the rust off the machine and deposits it onto the rebar. It is a gentle process that won’t harm the healthy metal underneath. For smaller, precision parts like the chuck or the spindle, I use a chelating agent. These liquids bond specifically to the rust molecules and lift them away, leaving the original machining marks intact.
| Method | Best For | Pros | Cons |
|---|---|---|---|
| Electrolysis | Large, heavy castings. | Very cheap; reaches every crevice. | Messy; requires a power source. |
| Evapo-Rust | Precision parts (spindles). | Non-toxic; no metal loss. | Expensive for large volumes. |
| Wire Wheel | Non-critical surfaces. | Very fast. | Can leave “swirl” marks; dusty. |
| Scouring Pads | Final finishing. | High control. | Labor-intensive. |
Restoring Precision through Bearing Service
Vintage drill presses typically use either babbitt (poured metal) bearings or early-generation ball bearings that require specific lubrication to function. Servicing these involves cleaning out solidified “varnish” from old grease and checking for pitting on the races to ensure the spindle rotates with less than 0.001 inches of play.
If the machine has babbitt bearings, I look for scoring on the shaft. Babbitt is a soft alloy of tin, antimony, and copper. If the bearing is worn, it can sometimes be adjusted by removing thin metal shims from the bearing cap. If it is too far gone, I have to melt out the old metal and pour new babbitt—a process that feels more like blacksmithing than machining. For ball bearings, I never just “hope” they are good. I press them out and replace them with high-quality shielded bearings. The difference in the finish of your drilled holes will be immediately noticeable.
Aligning Machine Tolerances to High Precision
Classic tool alignment is the final stage where the table is squared to the spindle and the quill travel is checked for perpendicularity. This requires a machinist’s square and a dial indicator to ensure that the machine can produce accurate work within factory specifications, often aiming for a squareness within 0.002 inches over a six-inch span.
I start by cleaning the table surface until it is perfectly flat. Then, I put a piece of “drill rod”—a perfectly straight, ground steel bar—into the chuck. I sweep a dial indicator across the table as I rotate the spindle. If one side is higher than the other, I have to check the table’s mounting bracket. Sometimes, decades of heavy work have slightly bent the table arm. Correcting this might involve careful shimming or, in extreme cases, hand-scraping the mounting surfaces to bring them back into alignment.
- TIR (Total Indicator Reading): The total movement of the dial indicator needle, showing the deviation from a perfect circle or plane.
- Tramming: The process of adjusting the table so it is perfectly perpendicular to the spindle axis.
- Hand Scraping: A method of using a hand tool to remove minute amounts of metal (millionths of an inch) to create a perfectly flat surface.
Why a Safety Cut-Off is Non-Negotiable
A vintage machine restoration is not complete until it is safe to operate. Integrating a primary safety switch into the power line acts as a fail-safe against mechanical jams. Older motors often lack internal thermal protection, meaning a stalled drill bit can quickly lead to a burnt-out motor or a fire if the power isn’t cut immediately.
When I finished my 1938 Delta-Milwaukee restoration, the original switch was a tiny toggle tucked behind the belt guard. It was nearly impossible to find by feel. I added a 22mm industrial E-stop button in a custom-made cast-iron box that matched the machine’s aesthetic. Now, if a piece of strap iron catches and starts spinning, I can hit that button with my hip or hand without looking. It preserves the machine and, more importantly, the person using it.
- Determine the motor voltage (usually 110V or 220V).
- Select a switch rated for the motor’s amperage (check the data plate).
- Mount the switch box in a location that does not interfere with the quill handles.
- Use armored cable (BX) or liquid-tight conduit to protect the wiring from metal chips.
- Test the switch five times before ever putting a bit in the chuck.
Maintaining the Restoration for the Next Century
Once the rust is gone and the safety systems are in place, long-term preservation depends on proper lubrication and environmental control. Cast iron is porous and will begin to flash-rust within hours in a humid garage if it is not sealed with a high-quality paste wax or a dedicated machine oil.
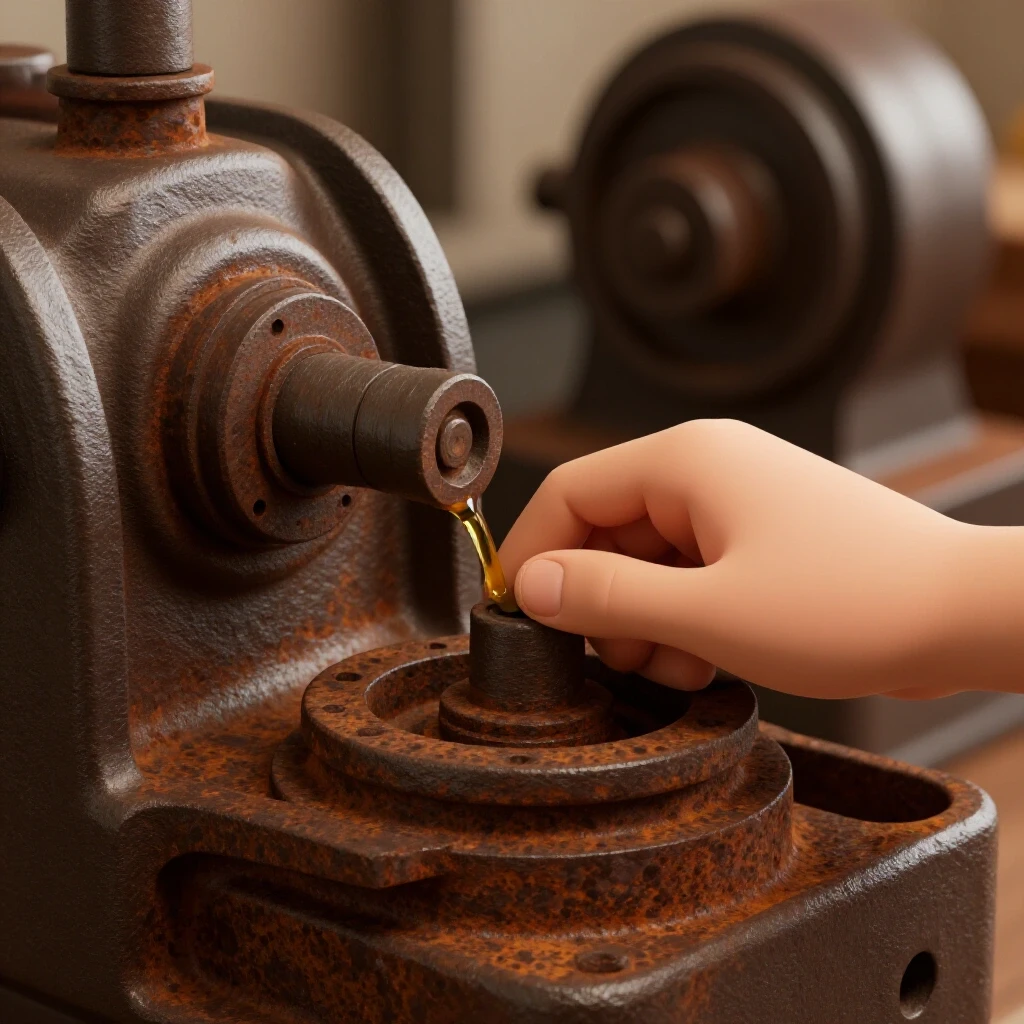
I avoid using modern aerosol lubricants like WD-40 for long-term protection, as they evaporate too quickly. Instead, I use a traditional paste wax on the table and column. For the internal gears and the quill, I use a Way Oil (ISO 68). Way oil contains “tackifiers” that help it stick to vertical surfaces, ensuring that the quill stays lubricated even after months of sitting idle.
- Check monthly: Spindle play and belt tension.
- Check quarterly: Safety switch functionality and wiring integrity.
- Check annually: Table squareness and motor bearing noise.
Restoring these machines is a labor of love. It is about the weight of the iron and the sound of a perfectly balanced spindle. By taking the time to disassemble them correctly and adding modern safety interrupts, we ensure these mechanical treasures continue to work for another eighty years.
Frequently Asked Questions
Can I wire a safety switch directly to the motor? Yes, if the motor is small (usually under 1 HP), a standard heavy-duty safety switch can be wired in series. For larger motors, you should use the safety switch to trigger a magnetic contactor, which then handles the heavy current for the motor.
How do I know if my drill press has babbitt or ball bearings? Look at the spindle housing. If there are grease cups or oil ports and the housing is split with bolts and shims, it likely has babbitt or sleeve bearings. If the housing is solid and the spindle spins very freely with a “whirring” sound, it likely has ball bearings.
What is the best way to remove paint without damaging the cast iron? I recommend using a chemical stripper that is safe for metal. Avoid sandblasting if possible, as the grit can find its way into the bearing surfaces and cause premature wear. If you must blast, use crushed walnut shells which are less abrasive.
How do I find the correct belt for a 70-year-old machine? Measure the circumference of the pulleys using a piece of string. Most old machines use standard A-section or B-section V-belts. You can also buy “link belts,” which can be adjusted to any length and help reduce vibration on older pulleys.
Is it worth restoring a drill press with a cracked table? It depends on the rarity. A “smile of shame” or a small crack can often be repaired by a skilled welder using nickel rod and pre-heating the iron. However, if the table is snapped in half, it may be better to use that machine for parts.
What voltage should I use for my electrolysis bath? A standard 12-volt manual battery charger is ideal. Do not use a “smart” charger, as it will often detect the bath as a short circuit and shut off. A 2-amp to 10-amp setting is usually sufficient for most parts.
How do I stop the table from rusting after I clean it? Apply a thick coat of high-quality paste wax (like Johnson’s or Renaissance Wax) while the metal is slightly warm. Buff it out after ten minutes. This creates a moisture barrier that doesn’t feel greasy to the touch.
Why is my drill press vibrating after the restoration? Check the pulleys for “out of round” conditions or loose set screws. Often, the vibration comes from an old, stiff V-belt that has developed a permanent “set.” Replacing the belt with a modern link belt often solves 90% of vibration issues.
Where can I find manuals for obsolete machinery? The best resource is the “Old Woodworking Machines” (OWWM) or “Vintage Machinery” websites. They have a massive digital library of scanned manuals and parts diagrams for thousands of legacy tools.
What is the “quill return spring” and how do I fix it? This is the clock-spring on the side of the head that pulls the handle back up. Be extremely careful when opening the spring housing; they are under high tension and can cause injury if they snap out unexpectedly. Always wear eye protection.
(This article was written by one of our staff writers, Richard Beaumont. Visit our Meet the Team page to learn more about the author and their expertise.)