How to Make Rotary Tool Sanding Drums Last Longer (Easy Fix)
In my 17 years of maintaining industrial equipment and running a custom fabrication shop, I have seen thousands of dollars wasted on consumables that were tossed in the trash far too early. One of the most common victims of poor technique and misunderstanding is the small abrasive sleeve used on rotary tools. While these might seem like minor expenses compared to a new milling machine or a high-end metal lathe, the costs add up when you are constantly swapping out loaded or torn drums during a project.
Many fabricators treat these small accessories as disposable junk, but the reality is that their lifespan is dictated by the same mechanical principles that govern larger shop machinery. If you understand heat, friction, and mechanical runout, you can make these small grinding tools perform like industrial-grade equipment. I have spent years teardown-testing everything from budget-friendly hobby tools to high-precision laboratory grinders, and the lessons remain the same across the board.
The confusion often stems from marketing hype that suggests you need a specific “premium” brand of abrasive to get results. In my experience, even a budget-friendly sleeve can perform exceptionally well if you manage the mechanical interface between the tool and the workpiece correctly. It is not about the brand name on the package; it is about the physics of the tool in your hand.
Understanding the Mechanical Interface of Abrasive Sleeves
The abrasive sleeve relies on a rubber or foam mandrel that expands to create a friction fit. If this expansion is uneven or the mandrel is worn, the sleeve will slip or vibrate, leading to rapid grit loss and uneven wear patterns that ruin the workpiece.
When you are choosing workshop machinery, even at the handheld level, you have to look at how the tool handles centrifugal force. A cheap mandrel often uses low-grade rubber that softens as it gets hot. Once that rubber loses its grip, the sandpaper sleeve starts to spin independently of the mandrel. This friction creates even more heat, which can melt the inner adhesive of the sleeve or even the mandrel itself.
- Check the mandrel for dry rot or cracks before every use.
- Ensure the tightening screw is applying even pressure to the rubber core.
- Verify that the sleeve is seated fully against the base of the mandrel to prevent “walking.”
- Listen for a rhythmic clicking or thumping, which indicates the drum is out of round.
In my shop, I treat the rotary tool mandrel with the same respect I give a spindle on a metal lathe. If the core is not true, the work will never be precise. A mandrel that is slightly bent or improperly tightened will cause the sleeve to hit the metal harder on one side than the other, effectively cutting its usable life in half.
Managing Thermal Loads in High-RPM Finishing
Heat is the primary enemy of any abrasive. When the temperature at the point of contact rises too high, the resin bond that holds the grit to the paper backing begins to soften, causing the abrasive to “shed” or “shell” off the sleeve.
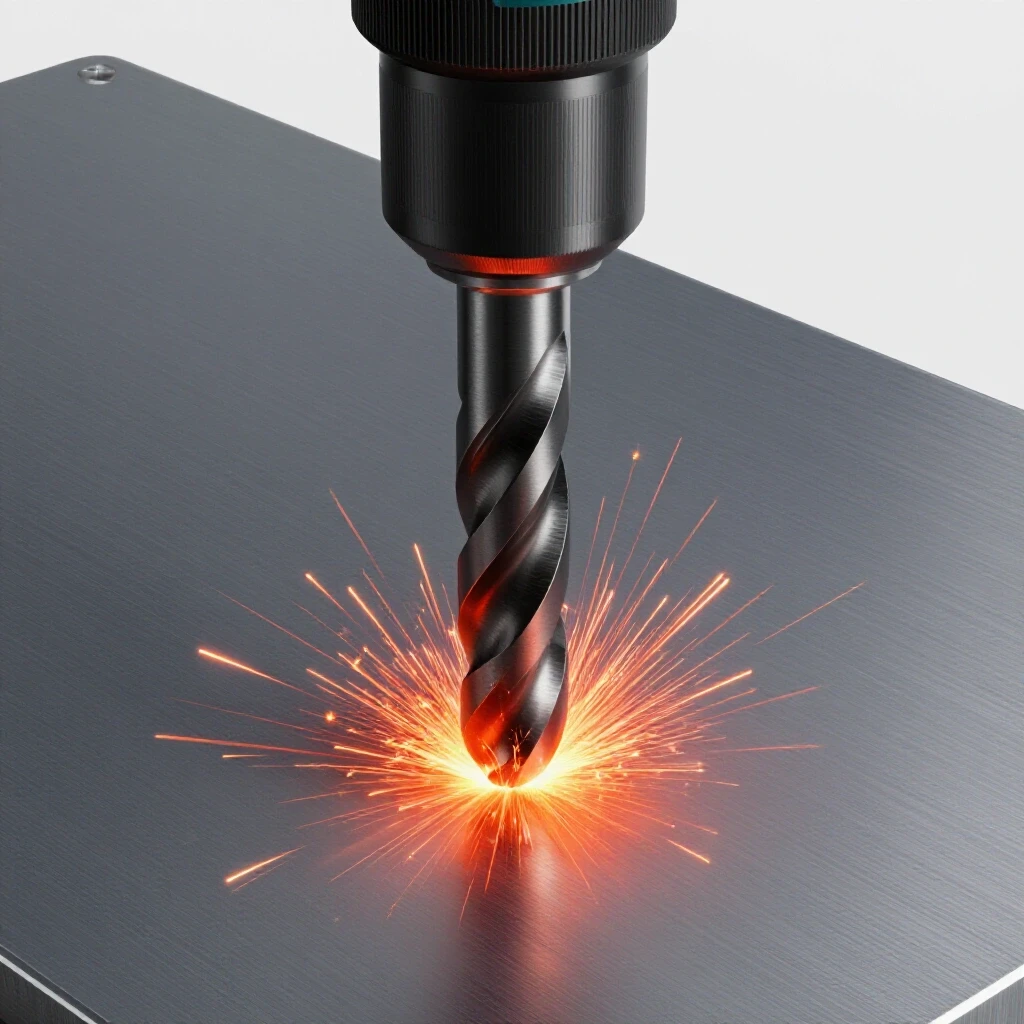
In metalworking tool reviews, we often talk about cooling systems for large saws, but we forget that small rotary tools need a cooling strategy too. When you press a sanding drum against a piece of steel at 20,000 RPM, you are generating localized heat that can exceed several hundred degrees in seconds. This heat doesn’t just dull the grit; it causes the metal chips to fuse to the abrasive, a process known as “loading.”
- Use a “pulse” technique where you apply pressure for two seconds and then pull away for one.
- Keep the tool moving across the surface rather than dwelling in one spot.
- Reduce your RPM for softer metals like aluminum or brass to prevent melting.
- Apply a small amount of solid stick lubricant to the drum to reduce friction.
Interestingly, I have found that running the tool at its maximum speed is rarely the most efficient way to work. Most users think higher speed means faster cutting, but often it just means faster burning. By backing off the speed and letting the grit do the work, you preserve the integrity of the abrasive bond and keep the sleeve in service for much longer projects.
Why Spindle Runout Dictates Abrasive Longevity
Total Indicated Runout (TIR) is a measurement of how much a rotating component wobbles around its center axis. In a milling machine or lathe, high runout leads to broken bits and poor finishes; in a rotary tool, it causes your sanding drums to wear out prematurely on one side.
A spindle runout explanation is essential here because even a tiny deviation of 0.005 inches can be catastrophic at high speeds. If your rotary tool has poor internal bearings or a cheap collet, the sanding drum will not spin in a perfect circle. Instead, it will “slap” the workpiece thousands of times per minute. This hammering action shatters the abrasive grains and creates a flat spot on the drum.
| Tool Grade | Typical Spindle Runout (TIR) | Impact on Abrasive Life |
|---|---|---|
| Entry-Level Hobby | 0.005″ – 0.010″ | High vibration, 40% shorter life |
| Mid-Range Prosumer | 0.002″ – 0.004″ | Moderate wear, stable performance |
| Industrial Precision | 0.0005″ – 0.001″ | Minimal vibration, maximum life |
If you are evaluating which tool to buy, look for models with dual ball bearings rather than simple bushings. A high-quality bearing setup maintains its alignment even under side-loading pressure. When I do teardowns, I often find that the difference between a tool that eats consumables and one that preserves them is the quality of the front spindle bearing.
Optimizing Surface Speeds for Material Removal
Surface Feet Per Minute (SFPM) is a calculation used in machining to determine the ideal speed for a cutting tool based on its diameter. Because sanding drums are small, they need high RPMs to reach effective cutting speeds, but there is a “sweet spot” where efficiency meets durability.
When I am teaching apprentices, I explain that every material has a limit. If you exceed the recommended surface speed for the grit size, you aren’t cutting more metal; you are just friction-welding the dust into the gaps of the sandpaper. This makes the drum look “bald,” even though there is plenty of grit left underneath the layer of packed-in debris.
- Calculate your speed based on the drum diameter (typically 1/4″ to 1/2″).
- Start at the lowest effective RPM and increase only if the tool is stalling.
- Observe the color of the sparks; bright orange in steel is fine, but blue indicates too much heat.
- Adjust your grip to ensure the drum is making contact across its entire width.
Building on this, the angle at which you hold the tool matters immensely. If you only use the tip of the sanding drum, you are wasting 80% of the abrasive surface. I always recommend tilting the tool so the entire length of the sleeve engages with the metal. This distributes the wear and prevents the mandrel from developing a tapered shape over time.
Cleaning and Rejuvenating Loaded Abrasives
One of the best ways to extend the life of your finishing tools is to clean them before they are completely clogged. Most people throw away a sanding drum because it looks smooth, but often it is just “loaded” with material from the workpiece.
You can use a specialized rubber cleaning stick, which is essentially a large block of crepe rubber. While the tool is spinning, you lightly press the rubber against the drum. The rubber grabs the metal dust and wood fibers out of the grit, exposing the sharp abrasive edges again. This simple step can triple the life of a single sleeve.
- Clean the drum every 2-3 minutes of continuous use.
- Don’t wait until the sleeve is completely black to use the cleaning stick.
- If you don’t have a cleaning stick, a piece of old rubber shoe sole can work in a pinch.
- Avoid using wire brushes to clean drums, as this can strip the grit away.
I have performed side-by-side tests where a cleaned sleeve lasted through four separate fabrication projects, while an uncleaned sleeve failed halfway through the first. This is a practical example of how maintenance outweighs initial tool cost. It doesn’t matter if you bought the cheapest sleeves on the market; if you keep them clean, they will perform reliably.
Assessing Mandrel Quality and Structural Rigidity
The frame rigidity of your rotary tool and the quality of the mandrel shaft are just as important as the cast iron dampening specs on a full-sized mill. If the mandrel shaft is made of soft, unhardened steel, it will flex under pressure.
This flexing causes the sanding drum to “chatter” against the metal. Chatter is a high-frequency vibration that destroys the bond between the grit and the paper. When I evaluate workshop machinery, I look for mandrels with a thicker shank—usually 1/8 inch—and a solid, non-tapered expansion zone.
- Torsional Stiffness: A high-quality mandrel won’t twist or bend when you apply side pressure.
- Expansion Uniformity: The rubber should expand equally in all directions when the screw is tightened.
- Balance: A well-made mandrel is balanced at the factory to prevent vibration at 30,000 RPM.
In my years of industrial maintenance, I’ve seen that many “cheap” tools are actually more expensive in the long run because they lack the rigidity to support their consumables. If your mandrel is vibrating, you are not just wasting sandpaper; you are also putting unnecessary stress on your tool’s motor and bearings.
The Role of Grit Selection in Longevity
Choosing the right grit is about more than just the finish; it’s about the mechanical workload. If you use a fine-grit drum (240 grit) to remove a heavy weld bead, you will destroy that drum in seconds. The small grains simply cannot handle the volume of material.
Instead, follow the “stepping” rule used in professional machining. Start with a coarse grit (60 or 80) to do the heavy lifting, then move to medium and fine grits for the finishing touches. This ensures that each drum is working within its designed limits.
- Coarse (60-80): Best for shaping and heavy scale removal.
- Medium (120-150): Ideal for smoothing scratches and blending.
- Fine (240+): Only for final surface prep and polishing.
As a result of using the correct grit, you reduce the pressure required to get the job done. High pressure is a major factor in drum failure. If you find yourself pushing hard to make the tool cut, you are using the wrong grit or the drum is already spent. Let the speed of the motor and the sharpness of the abrasive do the work for you.
Practical Benchmarks for Tool Inspection
Before you start your next project, take five minutes to run a diagnostic check on your setup. This is the same type of checklist I use when inspecting a new metal lathe or milling machine. Consistency is the key to predictable tool performance.
- Check Spindle Lock: Ensure the collet is holding the mandrel perfectly straight.
- Test for Wobble: Spin the tool at low speed and look at the tip of the drum. It should look like a solid, unmoving cylinder.
- Verify Tightness: Give the sleeve a tug. If it moves at all, tighten the mandrel screw another half-turn.
- Inspect the Motor: Listen for the “whine” of the motor. A struggling motor often means you are using too much pressure or the drum is overloaded.
By following these steps, you move away from the “disposable” mindset and toward a more professional, precision-oriented approach. This not only saves you money on consumables but also results in a much higher quality of work on your fabrication projects.
FAQ: Maximizing the Utility of Rotary Abrasives
Why does my sanding drum fly off the mandrel while I am working? This usually happens because the rubber mandrel has shrunk or the tightening screw has vibrated loose. As the rubber gets hot, it can compress. Always check the tension after the first few minutes of use. Ensure the sleeve is the correct size for the mandrel; even a fraction of a millimeter difference can cause slippage.
Can I use water or oil to cool my sanding drums? Generally, no. Most rotary tool sanding sleeves are made with a paper or cloth backing that is not waterproof. Moisture will cause the backing to soften and tear instantly. If you need cooling, use a solid wax lubricant specifically designed for abrasives, or simply use air-cooling by pausing your work.
How do I know if the mandrel is bent? Remove the abrasive sleeve and turn the tool on at its lowest speed. Watch the metal shaft of the mandrel. If you see a “blur” or a wobble, the shaft is bent. Even a bend you can barely see will cause massive vibration and uneven wear at high speeds.
What is the best RPM for sanding steel versus aluminum? For steel, you can generally run at medium to high speeds (15,000–20,000 RPM) because steel can handle the heat. For aluminum, you should drop the speed significantly (8,000–10,000 RPM) and use a lubricant. Aluminum has a low melting point and will “load” the drum almost instantly if it gets too hot.
Does the brand of the rotary tool affect how long the drums last? Yes, but not because of the name. It is about the internal build quality. Tools with better bearings and less spindle runout keep the drum in a perfect circle. This prevents the “hammering” effect that shatters grit on cheaper, high-vibration tools.
How tight should I turn the screw on the mandrel? You should tighten it just enough so that the sleeve cannot be moved by hand. Over-tightening can distort the rubber into a “barrel” shape, meaning only the middle of the drum will touch the workpiece. Under-tightening leads to the sleeve spinning and melting the rubber.
Why is one side of my sanding drum wearing out faster than the other? This is almost always due to the angle at which you are holding the tool. If you hold the tool at a 45-degree angle to the work, only the edge of the drum is cutting. Try to keep the tool body parallel to the surface you are sanding to use the full width of the abrasive.
Can I reuse a drum that has been loaded with metal dust? Yes, if the grit is still sharp underneath. Use a crepe rubber cleaning stick to pull the loaded material out. If the drum still feels smooth after cleaning, the grit has been worn down or “shelled” off, and it is time to replace it.
What does it mean if my sanding drum is “smoking”? Smoke is a sign of extreme friction and heat. You are either running the RPM too high, pressing too hard, or the drum is completely loaded and no longer cutting. Stop immediately, clean the drum, and reduce your speed or pressure.
Are foam mandrels better than rubber ones? Foam mandrels are more forgiving on curved surfaces because they conform to the shape of the work. However, they wear out faster and are more prone to heat damage. For flat surfaces and heavy material removal, solid rubber mandrels provide better support and longer sleeve life.
How can I tell if a mandrel is high-quality before buying it? Look at the shank diameter and the material of the screw. A high-quality mandrel will have a perfectly centered screw and a rubber core that feels firm but pliable. Avoid mandrels where the rubber looks shiny or plastic-like, as these usually have poor grip.
Does grit size affect how much heat is generated? Yes. Finer grits (like 240) have more contact points with the metal, which generates friction more quickly than coarse grits. When using fine drums, you must be much more careful with heat management and use lighter pressure to avoid burning the backing.
(This article was written by one of our staff writers, Steven Brooks. Visit our Meet the Team page to learn more about the author and their expertise.)