How to Clean and Calibrate Dial Calipers Safely (DIY Fix)
I have spent the last 15 years in my shop tracking every minute of tool runtime and every cent spent on maintenance. In that time, I have learned that the most expensive tool is not the one with the highest price tag; it is the one that gives you a false reading right before you make a critical cut. We are often bombarded with marketing specs that promise “lifetime accuracy,” but the reality of a working metal shop is different. Metal dust, coolant overspray, and fine shavings are the enemies of precision. If you are not actively managing the health of your measuring instruments, you are essentially guessing.
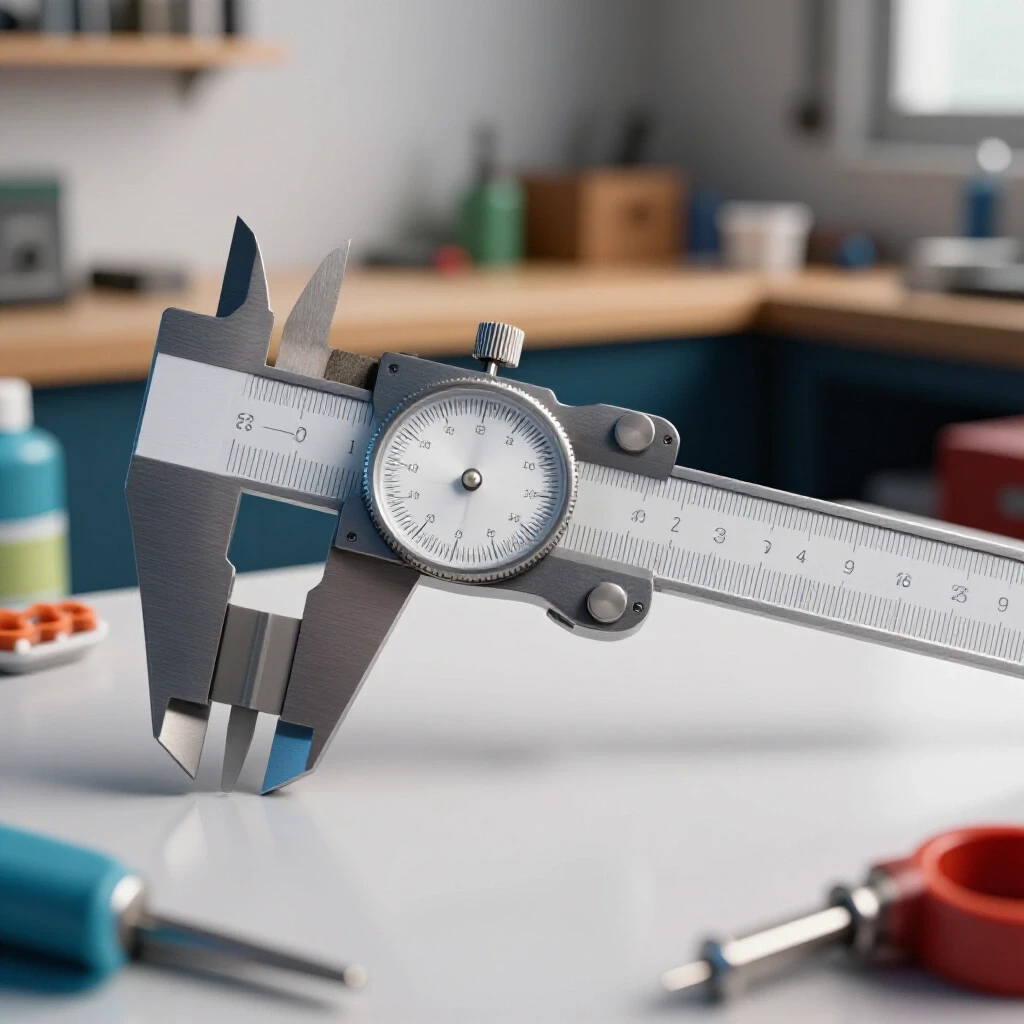
My journey into meticulous tool maintenance began after a batch of custom suspension components ended up in the scrap bin. I had trusted a pair of calipers that felt “fine,” but a tiny shard of steel had lodged in the gear rack. It caused a 0.015-inch error that I didn’t catch until assembly. Since then, I have kept detailed logs on tool wear and performance. Maintaining the accuracy of your mechanical measuring tools is a fundamental skill that separates a hobbyist from a professional fabricator.
The Impact of Shop Environments on Precision Tooling
Understanding how environmental factors like metal dust and humidity affect your mechanical instruments is the first step toward long-term tool reliability.
In a fabrication setting, the air is rarely clean. Grinding dust and welding fumes create a fine grit that settles on every surface. When this grit gets into the rack of a dial caliper, it acts like an abrasive. Over time, it does more than just throw off your reading; it physically wears down the gear teeth. I have seen high-end tools lose their smooth action in less than six months because the owner failed to address basic cleanliness.
The following table shows how different shop environments impact the maintenance needs of manual precision tools based on my workshop logs.
| Shop Environment | Primary Contaminant | Maintenance Interval | Expected Tool Lifespan |
|---|---|---|---|
| Clean Assembly | Dust, Skin Oils | 50 Hours | 15+ Years |
| General Fabrication | Steel Grit, Coolant | 10 Hours | 5-8 Years |
| Heavy Grinding/Welding | Abrasive Dust, Slag | 2 Hours | 2-4 Years |
Identifying Mechanical Resistance and Accuracy Drift
Recognizing the subtle signs of debris buildup or mechanical misalignment is essential for preventing permanent damage to your measuring equipment.
Accuracy drift occurs when a tool no longer provides a consistent measurement compared to a known standard. With dial calipers, this often manifests as a “crunchy” feeling when moving the slide or a needle that does not return to zero. If you feel any resistance, stop immediately. Forcing the slide over a piece of grit can chip a gear tooth or bend the needle shaft. I call this the “tactile feedback” phase of tool ownership.
In my experience, 90% of measurement errors in the shop are not due to manufacturing defects but to poor tool hygiene. When a tool skips a gear tooth, it is often because a microscopic piece of metal is stuck in the rack. This is why I treat my measuring tools with the same respect as my most expensive machinery.
Safe Removal of Contaminants from Precision Surfaces
The process of eliminating metal shavings and oils from tool components must be done without using harsh chemicals or abrasive materials that could etch the metal.
When cleaning the sliding surfaces and the gear rack, I avoid using compressed air. While it is tempting to blow out the dust, air often forces the particles deeper into the internal clockwork of the dial. Instead, I use a lint-free cloth and a soft-bristled brush. I prefer a clean toothbrush for the rack. It is firm enough to lift out steel slivers but soft enough not to scratch the hardened stainless steel.
I never use ultrasonic cleaners or aggressive solvents like brake cleaner on these tools. These can strip away the necessary internal lubrication or damage the dial face. A simple wipe-down with a high-quality, lightweight machine oil is usually all that is required. The goal is to lift the dirt away, not to scrub the tool until it loses its protective finish.
Restoring Smooth Slide Action and Gear Integrity
Maintaining the mechanical movement of the slide ensures that the pinion gear tracks perfectly across the rack for consistent readings.
The rack is the toothed strip that runs along the body of the tool, and the pinion is the small gear inside the dial that turns the needle. If the slide feels jerky, the rack likely has embedded debris. I use a piece of stiff paper or a thin plastic shim to “floss” between the teeth of the rack. This is a tedious process, but it is the only way to ensure the gear path is clear.
After cleaning, I apply a single drop of watch oil or a very light instrument oil to the rack. I then move the slide back and forth several times and wipe away any excess. You want a microscopic film of oil to prevent rust, but not enough to attract more dust.
Verifying Zero Alignment and Jaw Parallelism
A tool is only useful if its starting point is accurate and its measuring faces meet perfectly without any gaps or light showing through.
To check the zero point, I clean the jaws thoroughly and close them with light, consistent pressure. The needle should point exactly at the zero mark. If it doesn’t, the dial bezel can usually be rotated to align the zero with the needle. However, if the needle is off by a significant amount, it might indicate that the gear has skipped a tooth.
Checking for jaw parallelism is equally important. I hold the closed jaws up to a bright light source. If I can see light through the gap, the jaws are either dirty or warped. Even a 0.0005-inch gap can cause significant errors when measuring thin shim stock or wire. I use a clean piece of paper, clamp it lightly between the jaws, and pull it through to “wipe” the measuring faces clean of any residual oils.
Using Reference Standards for Linearity Checks
Linearity refers to the tool’s ability to remain accurate across its entire measurement range, from zero to six or twelve inches.
I use a set of certified gauge blocks to verify linearity. These are blocks of metal ground to a very specific thickness, usually within millionths of an inch. For a standard workshop check, I test the tool at one-inch increments. I log these readings in my maintenance journal. If the tool is dead-on at one inch but off by 0.002 inches at four inches, I know the rack has a wear pattern or a slight bend.
The following list outlines my standard verification protocol for workshop measuring tools:
- Zero Check: Ensure the needle hits zero with clean jaws.
- Light Gap Test: Check for parallelism by looking for light between closed jaws.
- Outside Diameter (OD) Check: Measure a 1.000-inch gauge block.
- Inside Diameter (ID) Check: Measure a known ring gauge or a high-quality bearing race.
- Depth Rod Check: Verify the depth rod is not bent and reads correctly against a flat surface.
Long-Term Maintenance Logs and Performance Tracking
Keeping a detailed record of tool performance allows you to predict when a tool is nearing the end of its reliable service life.
I maintain a digital log for every precision tool in my inventory. This log includes the purchase date, the initial accuracy test results, and the dates of every cleaning. By tracking how often I need to reset the zero or clean the rack, I can see which brands hold up better under heavy use. This data is invaluable when it comes time to upgrade or replace equipment.
When a tool consistently fails to hold its zero or shows erratic readings despite cleaning, I demote it to “rough-in” duty. It stays in the shop for quick checks where ±0.010 inches is acceptable, but it is never used for final machining. This system prevents me from wasting money on new tools prematurely while ensuring my critical work remains accurate.
Comparing Tool Reliability Across Major Brands
While I avoid marketing hype, I do pay attention to how different brands handle the realities of a fabrication shop over hundreds of hours.
In my 15 years of logging metrics, I have noticed that the thickness of the rack and the sealing of the dial vary significantly between brands. Some mid-range tools use a “covered rack” design, which helps keep out larger chips. Others rely on high-quality stainless steel that resists the pitting caused by moisture in the shop air.
| Feature | Budget Brand | Professional Grade | Industrial Grade |
|---|---|---|---|
| Rack Material | Soft Stainless | Hardened Stainless | Ground & Hardened |
| Dial Movement | Plastic Gears | Brass Gears | Steel Gears |
| Dust Resistance | Low | Moderate | High |
| Accuracy Tolerance | ±0.002″ | ±0.001″ | ±0.0005″ |
Strategic Purchasing Based on Operational Data
Buying tools based on real-world durability data rather than manufacturer claims helps you avoid overpaying for features you don’t need or under-investing in tools that will fail.
I often tell people that you don’t need a $300 caliper to measure the diameter of a piece of rebar. However, if you are turning a press-fit shaft on a lathe, a $20 tool is a liability. I categorize my tool purchases into “Tiers of Precision.” This allows me to allocate my budget where it matters most.
- Tier 1 (Critical): High-end tools for final machining and inspection. These are kept in a felt-lined case and never leave the clean bench.
- Tier 2 (General Shop): Solid, reliable tools for daily fabrication. These are cleaned weekly and verified monthly.
- Tier 3 (Rough-In): Older or cheaper tools for measuring stock, layout work, and quick checks near the welder.
Practical Tips for Daily Tool Preservation
Implementing small, daily habits can significantly extend the time between deep cleanings and recalibrations.
The simplest thing you can do is wipe your tools down before putting them away. I keep a dedicated “oily rag” in a sealed container just for this purpose. A five-second wipe removes skin acids and shop moisture that cause surface rust. I also never leave my calipers open on the workbench. An open tool is an invitation for grinding dust to settle on the rack.
Another mistake I see often is using the tool as a substitute for a scribe or a small pry bar. The jaws of a caliper are precision-ground and relatively soft. Using them to mark steel will dull the edges and ruin the tool’s ability to take accurate outside measurements. Treat your measuring tools as instruments, not as hand tools.
Diagnostic Checklist for Tool Performance
If you suspect your tool is giving inaccurate readings, use this systematic checklist to identify the source of the error.
- Is the needle jumping? This indicates a piece of grit in the rack or a chipped pinion gear.
- Does the zero shift after moving the slide? This usually means the dial bezel is loose or there is a “skip” in the gear engagement.
- Is there visible light between the jaws? The jaws are likely burred or have built-up material on the faces.
- Does the slide feel “mushy”? This often indicates that an improper lubricant was used, which has now turned into a sticky paste with shop dust.
- Is the depth rod sticking? Check for a slight bend in the rod or debris in the narrow channel at the back of the tool.
Frequently Asked Questions
How often should I clean the gears in my workshop calipers? In a standard metalworking environment, I recommend a basic wipe-down daily and a thorough cleaning of the rack every 10 to 20 hours of use. If you are doing heavy grinding nearby, you should clean them more frequently.
What is the best lubricant to use for smooth movement? Use a very light, non-detergent instrument oil. Avoid WD-40 or heavy motor oils, as they tend to become gummy over time and attract more metal dust.
Can I fix a caliper if the needle has skipped a tooth? Yes, this is a common DIY fix. You typically close the jaws completely, and if the needle is not at zero, you carefully move the slide further or use a small tool to gently jump the gear back into alignment before resetting the bezel.
Why does my dial not return to the same spot twice? This is usually caused by “backlash” or debris in the rack. If the rack is clean, the tension spring inside the dial mechanism may be worn or broken, which usually means the tool has reached the end of its reliable life.
Is it safe to use a wire brush on the gear rack? No. A wire brush is too aggressive and can round off the sharp edges of the gear teeth. Use a nylon-bristled toothbrush or a specialized soft brass brush if the debris is particularly stubborn.
How do I know if my gauge blocks are accurate? For most workshop applications, a standard set of grade B gauge blocks is sufficient. As long as they are kept clean, dry, and free of rust, they will remain accurate enough for verifying shop tools within ±0.001 inch.
What should I do if I drop my tool on the concrete floor? Immediately check the jaw alignment and the needle movement. If the jaws are bent or the needle is erratic, the tool’s precision is compromised. It may still be useful for rough measurements, but I would not trust it for precision work.
Can I use alcohol to clean the measuring faces? Yes, isopropyl alcohol is excellent for removing oils from the jaws. Just be sure to apply a light film of oil afterward to prevent the bare steel from rusting.
Why is my depth rod giving different readings than the jaws? This is often due to the end of the depth rod being worn or the base of the caliper not being held perfectly square to the workpiece. Ensure the rod is straight and the contact point is clean.
Does temperature affect my measurements? Yes. Steel expands and contracts with heat. If you measure a part that just came off the lathe and is still hot, and then measure it again the next morning, the reading will be different. For maximum accuracy, let the part and the tool reach shop temperature.
By following these maintenance protocols and staying disciplined with your tool logs, you can ensure that your shop remains a place of precision rather than guesswork. The key is to treat every tool as a long-term investment that requires active management to provide a return on its cost.
(This article was written by one of our staff writers, David Reynolds. Visit our Meet the Team page to learn more about the author and their expertise.)