How to Organize Nuts, Bolts, and Hardware on a Cart (Tips)
I remember working on a custom utility trailer frame a few years back. I had my square tubes laid out, the magnets were holding the corners at a crisp 90 degrees, and I was ready to run my first structural tacks. I reached for the specific Grade 8 shackle bolts I needed to gap the leaf spring hangers, but they weren’t where I thought I left them. I spent twenty minutes digging through a five-gallon bucket of mixed fasteners. By the time I found them, the sun had shifted, the metal had expanded slightly from the heat in the shop, and my perfect layout had drifted by nearly an eighth of an inch.
That frustration taught me a hard lesson: a mobile system for managing fasteners is just as important as a high-quality welder or a sharp cold saw. When you are in the middle of a complex weld sequence, every second you spend hunting for a nut or a washer is a second where your metal can move, warp, or lose its alignment. In my thirteen years as a prototype technician, I’ve seen that the most efficient shops don’t just have tools; they have a logical flow for the small components that hold those projects together.
Building a rolling station for your hardware allows you to bring your entire inventory directly to the project. Whether you are under a chassis or reaching over a welding table, having your components within arm’s reach ensures you stay focused on the task. This guide breaks down how to build and refine a mobile fastener system that stands up to the rigors of a working fabrication shop.
Designing the Layout of a Mobile Fastener Station
Planning a mobile fastener station involves calculating the total weight of steel hardware and designing a footprint that remains stable while rolling over shop debris. A well-designed cart prevents the “topple effect” that occurs when top-heavy drawers are opened simultaneously.
When I start a new shop project, I look at my floor space first. A cart that is too large becomes an obstacle, but one that is too small requires constant restocking. For most DIY fabricators, a footprint of roughly 24 inches by 36 inches is the “sweet spot.” This size fits between most welding tables and stays tucked against the wall when not in use.
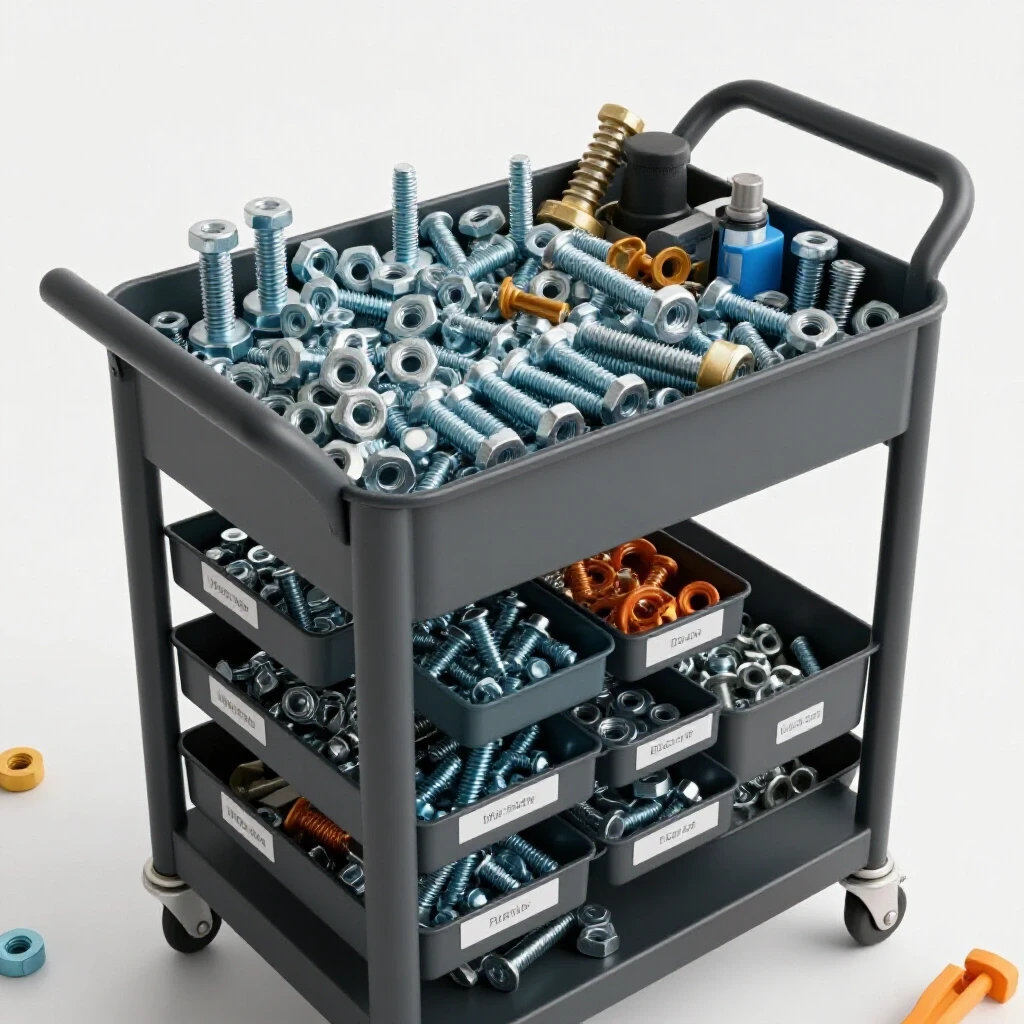
I always recommend a “pyramid” weight distribution. This means placing your heaviest items—like large 3/4-inch structural bolts, heavy washers, and bulk boxes of tacks—in the bottom drawers. This lowers the center of gravity. If you put all your heavy hardware at chest height, the cart becomes a tipping hazard the moment you hit a stray piece of welding wire on the floor.
- Calculate your estimated hardware weight (a full drawer of 1/2-inch bolts can easily exceed 40 pounds).
- Choose a frame height that matches your primary workbench (usually 34 to 36 inches).
- Ensure the base is at least 4 inches wider than the top section to increase stability.
Optimizing Drawer Space with Custom Dividers
Internal compartmentalization uses physical barriers within drawers to prevent fastener migration and mixing during cart movement. These dividers ensure that even when the cart vibrates across a concrete floor, your M8 bolts don’t end up in the M10 bin.
I’ve found that the plastic bins that come with many commercial carts are often too flimsy for heavy metal fabrication use. Instead, I prefer building custom dividers out of 1/4-inch plywood or thin-gauge sheet metal. When you customize the bins, you can match the dimensions to the specific length of the bolts you use most often. For example, a 4-inch long bolt shouldn’t be rattling around in a 10-inch bin.
To prevent parts from sliding under the dividers, I use a bead of silicone at the base of each partition. This creates a seal that keeps thin washers and tiny set screws in their designated spots. If you are working with oily or black-oxide coated fasteners, consider lining the bottom of the bins with a rubberized mat. This prevents the metal-on-metal sliding that occurs during transport.
- Measure the internal depth of your drawers before cutting dividers.
- Use a “grid” pattern for standard fasteners (hex bolts, nuts, washers).
- Leave 10% of your bins empty for project-specific hardware that changes with every build.
| Divider Material | Pros | Cons |
|---|---|---|
| 1/4″ Plywood | Cheap, easy to customize with a table saw. | Can soak up oil and grease over time. |
| 22-Gauge Steel | Very durable, won’t crack under heavy loads. | Requires more time to fabricate and deburr. |
| Molded Plastic | Lightweight and waterproof. | Often breaks if a heavy box is dropped on it. |
Managing Weight Distribution and Caster Stability
Evaluating the load capacity of casters and drawer slides ensures the cart can handle the high density of steel components without failing. A fully loaded hardware cart can weigh upwards of 400 pounds, which puts immense stress on the mounting points.
In my experience, the most common failure point on a mobile hardware station is the casters. Many “budget” carts come with 2-inch plastic wheels that flat-spot under heavy loads. I always swap these out for 4-inch or 5-inch polyurethane casters with a total weight rating of at least 800 pounds. This provides a 2x safety factor.
The size of the wheel also matters for shop safety. A small wheel will stop dead if it hits a 1/8-inch piece of scrap metal or a stray zip-tie. A larger wheel will roll right over it. I prefer a “two-fixed, two-swivel” configuration. This allows you to steer the cart like a shopping cart, which is much easier to control in tight spaces than having four swivel wheels that allow the cart to “crab” sideways.
- Select casters with ball-bearing swivels for easier movement under load.
- Check that your drawer slides are rated for at least 100 pounds per pair.
- Mount casters to a reinforced steel base plate rather than directly to thin sheet metal.
Exterior Staging for High-Frequency Assembly Hardware
Utilizing the vertical surfaces of a mobile cart allows for the temporary staging of high-use hardware and small tools during active assembly phases. This keeps the top surface clear for blueprints or layout tools.
During a big build, like a custom chassis, I don’t want to be opening and closing drawers every two minutes. I use the sides of my cart as a “staging area.” By mounting magnetic strips or small “hang-on” bins to the exterior, I can pull the 20 or 30 bolts I need for a specific sub-assembly and keep them visible.
Interestingly, I’ve found that using a magnetic rail for your most common wrenches (9/16, 1/2, 3/4) right next to your fastener bins speeds up the workflow significantly. If you have the nut in one hand and the wrench on the side of the cart, you aren’t hunting through a separate tool chest. It keeps your focus on the alignment of the parts rather than the location of the tools.
- Attach a heavy-duty magnetic strip to the side of the cart for temporary bolt staging.
- Install a “catch-all” tray on the front for hardware removed during disassembly.
- Add a paper towel holder or a can holder for anti-seize and thread locker.
Labeling Systems for Rapid Identification
A clear labeling system uses high-contrast visual cues to help you find the correct hardware size and grade in seconds. In a fabrication environment, these labels must be resistant to sparks, oil, and grinding dust.
I’ve seen many builders use masking tape and a marker, but those labels peel off the moment they get a drop of cutting oil on them. I prefer using an embossed label maker or high-visibility vinyl stickers covered with clear packing tape. The key is to include three pieces of information: the diameter, the thread pitch, and the length.
For example, a label shouldn’t just say “Big Bolts.” It should say “1/2-13 x 3″ Grade 8.” When you are tired and the shop is dim, that level of detail prevents you from trying to force a metric bolt into a standard nut, which can ruin a threaded insert you just spent an hour welding into place.
- Use color-coded labels (e.g., Red for Metric, Blue for Standard).
- Place labels on the drawer face and also inside the drawer on the bin edge.
- Include a small “reorder” mark when a bin gets down to the last five pieces.
Integration with Fabrication Workflow and Alignment
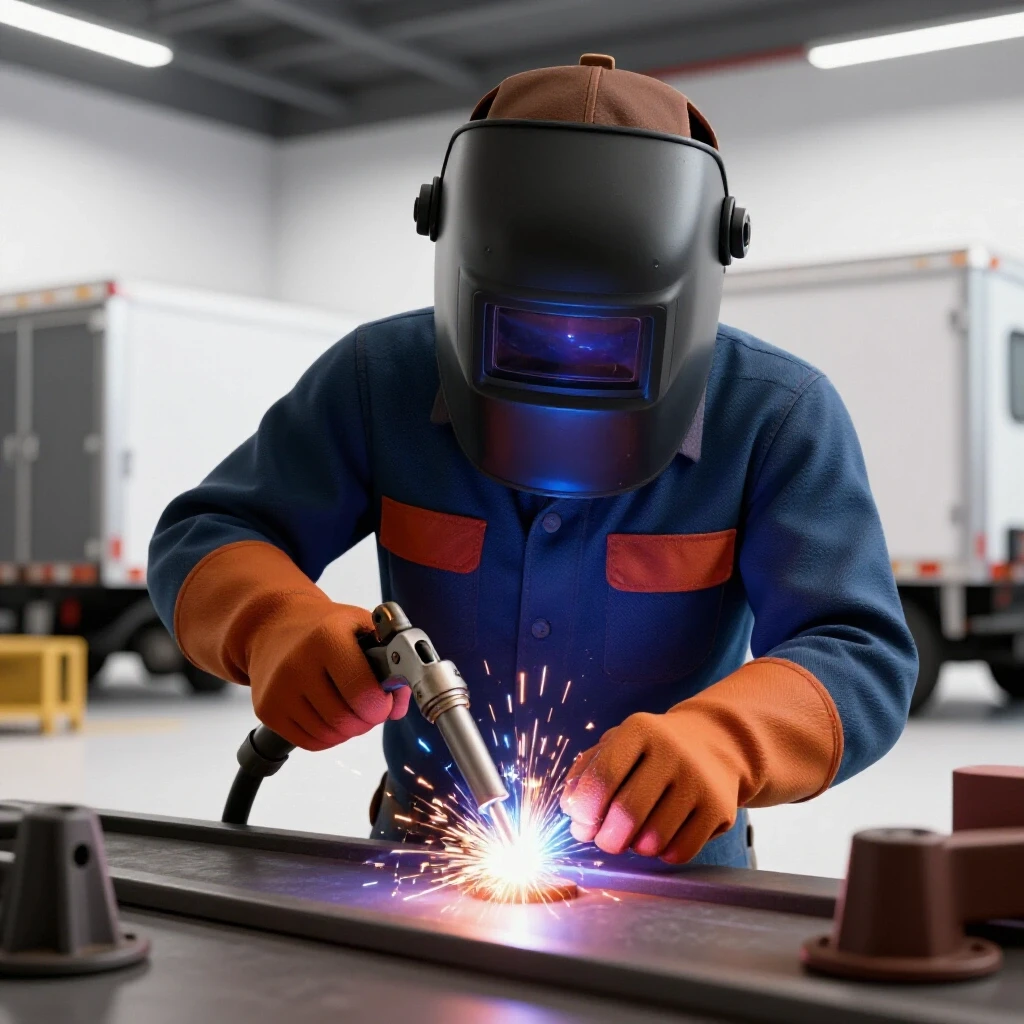
A mobile hardware station acts as a secondary fixture tool by providing the necessary clamping and bolting components required to hold a project in square during the welding process. Having these parts ready prevents the heat-induced movement that occurs when a project is left untacked.
When I’m tacking a frame, I often use “bolt-through” fixtures. This is where I use the actual hardware to pin two pieces of metal together through pre-drilled holes before I ever touch the welder. This acts as a physical restraint. If my hardware cart is right next to me, I can bolt the assembly together, check for square, and then apply my tacks.
This method is much more reliable than relying on friction clamps alone. The bolts provide a fixed pivot point that resists the “pull” of the weld as it cools. By the time I’m ready to do the final weld sequencing, the project is already locked in place by the very hardware that will be used in the final product.
- Keep a dedicated bin for “setup hardware”—bolts and nuts that are used only for fixturing and can get covered in weld spatter.
- Store your shim stock and spacers on the same cart to assist with leveling.
- Use the cart surface as a “cool down” zone for small parts you just finished welding.
Tack Welding and Hardware Prep
Tack welds are small, temporary welds used to hold components in place before the final beads are run. Having your hardware cart nearby allows you to quickly swap out clamps for permanent fasteners during this critical phase.
The size of your tacks matters. If you use a tiny “slug” tack and then try to bolt a heavy component to the frame, the tack might snap. I usually aim for a tack that is about 1/2-inch long and has good penetration. If I have my hardware cart positioned correctly, I can move around the project, bolting and tacking in a sequence that distributes the heat evenly.
If I’m welding a long rail, I’ll bolt a bracket at one end, tack it, then move to the opposite end and do the same. This “skip” technique prevents the heat from building up in one area and bowing the metal. Having the hardware ready to go means I don’t have to stop and let the metal cool down while I look for a nut, which keeps the thermal cycle of the steel more consistent.
- Standard tack spacing: Every 4 to 6 inches for thin-wall tubing.
- Tack size: 2x the thickness of the thinnest material being joined.
- Always check for square after every four tacks.
Correcting Distortion with Bolted Constraints
Heat distortion is the natural tendency of metal to warp as it cools and shrinks. Using your rolling hardware inventory to create temporary “braces” can help pull a warped piece back into alignment.
Sometimes, despite your best efforts, a piece of metal will pull out of square. I’ve found that I can often use a heavy bolt and a piece of scrap channel (from my cart’s bottom shelf) to create a “bridge” that pulls the metal back. By tightening a bolt against the warp, you can apply thousands of pounds of force to move the steel back into the +/- 1/16th-inch tolerance range.
This is why I keep a few “sacrificial” Grade 5 bolts in my cart. They are softer than Grade 8 and will bend before they snap, making them safer for use in straightening jigs. Once the part is pulled back into place, I can add a corrective weld bead on the opposite side to “counter-pull” the distortion.
- Identify the direction of the warp using a precision straightedge.
- Select a heavy bolt and nut from the cart to act as a mechanical jack.
- Apply pressure slowly, checking the alignment every half-turn of the wrench.
- Apply heat or a counter-weld if the metal resists mechanical straightening.
Maintenance of the Mobile Hardware System
A rolling cart in a welding shop lives in a harsh environment. Regular maintenance prevents the drawers from sticking and the casters from seizing up due to metal dust and grinding grit.
Every six months, I pull the drawers out of my cart and blow out the tracks with compressed air. You would be surprised how much grinding dust accumulates in the grease of the drawer slides. If left alone, this dust acts like sandpaper and will eventually destroy the bearings. I also apply a dry-film lubricant to the slides. Unlike grease, dry-film lube doesn’t attract dust.
I also take this time to “cull” the hardware. In a busy shop, miscellaneous bolts end up in the wrong bins. Sorting them back to their proper homes ensures that when you are in the middle of a high-stakes weld sequence next week, you won’t be grabbing the wrong size by mistake.
- Wipe down the exterior with a light oil to prevent rust from shop humidity.
- Tighten the caster mounting bolts—vibration from rolling can loosen them over time.
- Update your labels if you’ve switched to a different common bolt size for your projects.
Common Mistakes in Mobile Fastener Storage
Even experienced builders make errors when setting up their rolling inventory. Recognizing these pitfalls early can save you from a collapsed cart or a disorganized mess.
One of the biggest mistakes I see is overloading the top drawers. It’s tempting to put the most-used items at the top for easy access, but if those items are heavy, the cart becomes unstable. Another mistake is failing to secure the bins. If the bins can slide around inside the drawer, they will eventually tip over or spill their contents into the bottom of the cart.
Finally, don’t forget about “hardware creep.” This is when you start throwing random leftovers from projects into the cart without a plan. Within a month, your organized system becomes a junk drawer on wheels. I keep a “quarantine bin” on the bottom of my cart. Anything I’m not sure about goes there, and I sort it once a month.
- Avoid using open-top trays if you plan on moving the cart over uneven ground.
- Don’t skip the locks—a cart that rolls away on a slightly sloped floor is a danger to your projects.
- Never use drawer slides that aren’t “full extension,” or you’ll never be able to reach the bolts at the back.
Conclusion
Setting up a mobile system for your fasteners is a foundational step in becoming a more precise fabricator. It’s not just about being tidy; it’s about controlling your environment so you can focus on the physics of the metal. When your hardware is organized, mobile, and labeled, you eliminate the downtime that leads to layout errors and heat distortion.
I’ve found that the builders who take the time to organize their small components are the same ones who produce frames that are square to within a sixteenth of an inch. It shows a level of discipline that carries over into every weld and every cut. Start by evaluating your current hardware “pile,” find a solid cart base, and build a system that works for your specific style of fabrication. Your future self—standing under a half-welded trailer frame—will thank you.
FAQ
What is the best material for DIY bin dividers? I recommend 1/4-inch plywood for most builders. It is inexpensive, easy to cut with standard shop tools, and provides enough rigidity to hold heavy bolts. If you work in a very oily environment, 22-gauge sheet metal is a better, though more time-consuming, alternative.
How do I prevent my cart from tipping when I open the drawers? Always load the heaviest fasteners in the bottom drawers. Additionally, look for drawer slides with a “detent” feature that prevents more than one drawer from being opened at a time, or simply be disciplined about closing one drawer before opening the next.
Should I use plastic or metal bins on my cart? Metal bins are more durable for heavy hardware, but plastic bins are lighter and quieter. If you choose plastic, ensure they are made of high-impact polypropylene, which resists cracking when dropped.
What caster size is best for a heavy hardware cart? A 4-inch or 5-inch diameter caster is ideal. Smaller wheels will get stuck on shop debris like metal shavings or welding tacks. Polyurethane wheels are preferred as they won’t flat-spot like rubber or crack like hard plastic.
How do I label bins so the labels don’t fall off? Clean the surface with denatured alcohol before applying any label. Use an embossed label maker for a permanent physical texture, or cover vinyl labels with a layer of clear, heavy-duty packing tape to protect them from oil and moisture.
How much weight can a standard shop cart actually hold? Most entry-level shop carts are rated for 300 to 500 pounds. However, the weak point is usually the casters or the bottom shelf. Reinforcing the base with angle iron can significantly increase the load capacity for heavy bolt storage.
Is it better to organize by bolt size or by project type? For a general fabrication shop, organizing by size (diameter and length) is much more efficient. You will always know where the 3/8-inch bolts are, regardless of whether you are building a table or a trailer.
How do I keep my fasteners from rusting inside the bins? If your shop is humid, toss a few silica gel packets into each drawer. Alternatively, a very light mist of WD-40 or a similar corrosion inhibitor can protect black-oxide or raw steel fasteners, but be careful as this can attract dust.
What are “full-extension” drawer slides and why do I need them? Full-extension slides allow the drawer to pull out completely past the frame of the cart. This is crucial for hardware storage because it allows you to reach the bins at the very back of the drawer without having to reach under the cart’s top lip.
How often should I maintain my rolling hardware cart? I recommend a quick “blow-out” with compressed air every few months and a deep clean and reorganization once a year. This prevents the buildup of grinding dust that can seize your drawer slides and casters.
(This article was written by one of our staff writers, Robert Kline. Visit our Meet the Team page to learn more about the author and their expertise.)