How to Restore and Paint a Rusty Industrial Workbench (Fix)
I have spent the better part of twenty years surrounded by the smell of sulfurized cutting oil and the orange dust of oxidized cast iron. My journey into vintage machinery restoration began with a 1940s drill press I found sinking into a dirt floor in a rural barn. Since then, I have revived over 40 major pieces of equipment, from pre-war lathes to heavy-duty steel workstations that had been forgotten for decades. There is a specific kind of patience required for this work; it is not about the quick fix, but about honoring the mechanical history of a tool that was built to last several lifetimes.

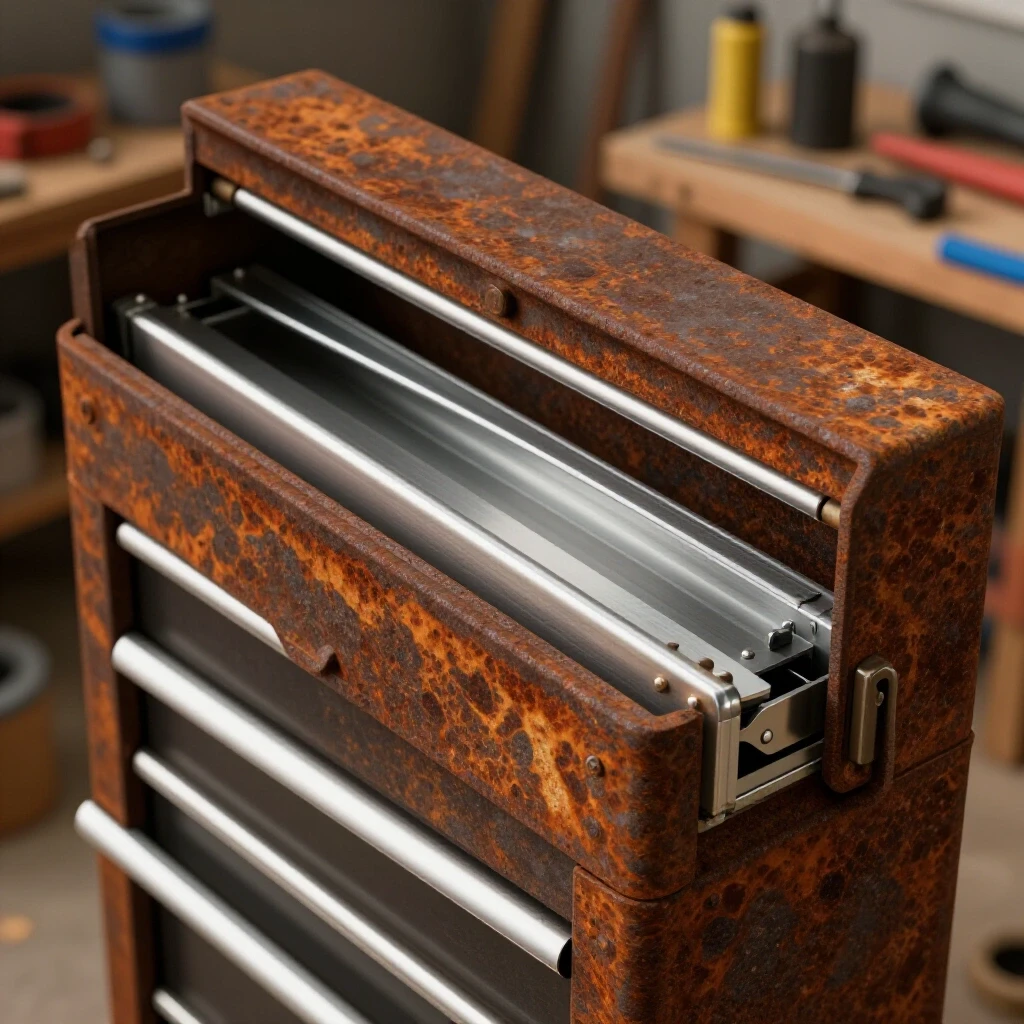
When you bring a heavy industrial workbench into your shop, you aren’t just moving a piece of furniture. You are handling a structural component that may have supported thousands of pounds of engine blocks or lathe beds. These pieces often arrive covered in layers of “shop sludge”—a mixture of grease, metal shavings, and deep-seated corrosion. Restoring these items requires a systematic approach to disassembly, a deep understanding of metal preservation, and a realistic expectation of the labor involved. It is rarely easy, but the result is a rock-solid foundation for your future projects.
Assessing the Structural Integrity of Heavy Steel Frames
Evaluating the condition of a vintage metal workstation involves looking past the surface rust to identify terminal structural issues like metal fatigue or deep-seated rot. This phase determines if the piece is a candidate for a full restoration or if it has become a safety hazard due to compromised load-bearing sections.
Before I even unload a new find from my trailer, I perform a “thump test” with a dead-blow hammer. I listen for the ring of solid steel versus the dull thud of thin, rusted-out tubing. On heavy industrial benches, the legs are often made of thick-walled C-channel or cast iron. I look specifically for “scaling,” where the rust has begun to lift the metal in layers like a croissant. If the scaling is deeper than 15% of the total metal thickness, the structural integrity for heavy machining may be compromised.
- Check all welded joints for hairline cracks or “spider-webbing” in the paint.
- Inspect the feet for floor-level rot caused by standing in water or coolant.
- Verify that the bench top is not bowed more than 1/16th of an inch over a four-foot span.
- Look for non-original modifications like poorly executed welds or drilled holes that weaken the frame.
Identifying Metal Fatigue and Deep Pitting in Cast Components
Deep pitting occurs when moisture sits in one spot for years, creating small craters that can act as “stress risers” where cracks eventually form. This is particularly dangerous in cast-iron bench legs which are brittle and do not bend before they snap under load.
When I encounter deep pitting on a vintage casting, I use a wire brush to clear the crater and inspect the bottom. If the pit has a sharp, needle-like point at the base, it is a sign of aggressive localized corrosion. I often use a digital caliper to measure the depth of these pits against the original casting thickness found in manufacturer service manuals. For most industrial applications, a pit depth of more than 10% of the wall thickness suggests the part needs reinforcement or replacement.
Systematic Disassembly of Seized Fasteners and Heavy Components
Disassembling a decades-old metal structure often feels like a battle against time and chemistry, as galvanic corrosion fuses steel bolts into cast-iron threads. Forcing these fasteners usually leads to snapped heads, which turns a simple cleanup into a multi-day drilling and tapping nightmare.
In my 18 years of doing this, I have learned that the “long soak” is the restorer’s best friend. I start by applying a high-quality penetrating oil—often a 50/50 mix of Automatic Transmission Fluid (ATF) and acetone—to every visible thread. I let this sit for at least 48 hours, re-applying every 12 hours. If a bolt still refuses to budge, I move to thermal release. By heating the surrounding casting with a propane or oxy-acetylene torch, the metal expands, often breaking the microscopic bond of the rust.
- Document Everything: Take digital photos of every bolt location and washer sequence before removal.
- Use the Right Tools: Use six-point sockets rather than twelve-point to prevent rounding off rusted hex heads.
- Shock the Fastener: A sharp rap with a hammer on the head of a bolt can sometimes “shock” the threads loose.
- Manage Obsolete Threads: Many pre-1950s benches use non-standard thread pitches that you cannot find at a modern hardware store.
Strategies for Obsolete Thread Patterns and Custom Fasteners
Vintage machinery often features thread patterns that pre-date modern Unified National Coarse (UNC) standards, such as Whitworth or older manufacturer-specific pitches. Identifying these early is critical so you don’t accidentally strip a hole with a modern replacement bolt.
I keep a comprehensive thread pitch gauge and a copy of the “Machinery’s Handbook” on my bench at all times. If I find a bolt with 13.5 threads per inch on a 1/2-inch shank, I know I’m dealing with a legacy pattern. In these cases, I either have to carefully chase the original threads with a custom tap or, if the damage is too great, drill out and move to a modern size while documenting the change for future maintenance.
| Thread Type | Era Commonality | Identifying Characteristic | Restoration Approach |
|---|---|---|---|
| Whitworth | Pre-1950 British | 55-degree thread angle | Requires specific BSW taps/dies |
| National Coarse | 1920-Present US | 60-degree thread angle | Standard modern hardware compatible |
| Square Thread | Heavy Lead Screws | Flat-topped, square profile | Requires custom lathe-cut replacement |
| Acme Thread | Vises/Adjusters | 29-degree trapezoidal shape | Buy precision-ground rod and weld |
Chemical and Mechanical Rust Removal for Large Surface Areas
Removing oxidation from a large industrial frame requires a balance between aggressive cleaning and preserving the base metal’s original dimensions. Using the wrong method can result in “pock-marking” the surface or removing too much material from critical mating surfaces.
For the main frame of a heavy workbench, I typically use a combination of mechanical and chemical methods. I start with a 4.5-inch angle grinder equipped with a knotted wire cup brush to remove the “heavy” loose scale and old paint. This is a messy process that requires a P100 respirator and full face shield. Once the bulk is gone, I move to chemical chelators. Unlike acids, which can eat into the good metal, chelators like Evapo-Rust only react with the iron oxide, leaving the healthy steel untouched.
Electrolysis vs. Chemical Chelators: A Performance Comparison
Electrolysis is a process that uses a direct current (DC) power supply and an electrolyte bath to convert red rust back into a black oxide that can be easily brushed away. It is incredibly effective for complex shapes but requires a large plastic tank and a sacrificial anode.
I often set up a 50-gallon “trough” for bench legs. I use a manual battery charger set to 12V DC at 2 to 10 Amps. The part to be cleaned is connected to the negative terminal (cathode), and a piece of scrap steel is connected to the positive terminal (anode). The electrolyte is a simple solution of water and washing soda (sodium carbonate). This method is “line of sight,” meaning the rust is removed most effectively where the part faces the anode.
- Abrasive Blasting: Best for heavy scale; risks embedding grit into moving parts.
- Acid Dipping: Fast but dangerous; can cause hydrogen embrittlement in high-carbon steel.
- Manual Wire Brushing: Low cost but labor-intensive; preserves the “patina” of the metal.
- Electrolysis: Safest for delicate castings; zero metal loss, but slow (12-24 hours).
Precision Leveling and Surface Preparation for Heavy Castings
A workbench is only as good as its level and flatness, especially if you plan to mount a precision vise or a small lathe on top of it. Achieving factory-level tolerances on a restored bench requires more than just a carpenter’s level; it requires machinist-grade tools.
Once the rust is removed, I check the flatness of the mounting surfaces. I use a precision-ground straight edge and feeler gauges to find high and low spots. If a cast-iron mounting plate is warped, I may employ “hand scraping.” This is the process of using a carbide-tipped hand tool to remove minute amounts of metal (measured in ten-thousandths of an inch) to create a perfectly flat plane. My goal for a high-end workstation is usually a flatness of 0.002 inches over the entire mounting area.
Achieving High-Precision Alignment on Restored Workstations
Alignment starts at the floor. Most old industrial floors are not level, so I often fabricate adjustable “leveling feet” using 3/4-inch Grade 8 bolts and heavy steel pads. I use a Starrett 98 machinist level, which has a sensitivity of 0.005 inches per foot.
- Place the bench in its final location before final leveling.
- Adjust the feet until the bubble is centered in both the longitudinal and transverse directions.
- Check for “twist” in the frame by measuring diagonally across the top corners.
- If the frame has a middle leg, ensure it carries its share of the weight without lifting the outer legs.
Selecting and Applying Industrial Coatings for Workshop Environments
The paint on an industrial workbench is more than just a color; it is a protective barrier against moisture, hydraulic fluids, and physical impact. A standard “big box” spray paint will often soften and peel the first time it comes into contact with degreaser or mineral spirits.
For my restorations, I follow the SSPC-SP 3 standard for power tool cleaning, which requires removing all loose scale and grease before painting. I prefer using a high-solids epoxy primer followed by an industrial-grade alkyd enamel. These coatings are designed for machinery and offer excellent resistance to oils and coolants. I apply them with a high-quality natural bristle brush or a high-volume low-pressure (HVLP) sprayer for a factory-smooth finish.
Surface Preparation Standards (SSPC-SP 2/3)
Understanding the Society for Protective Coatings (SSPC) standards helps ensure your paint actually sticks. For most of us in a home shop, we are aiming for SSPC-SP 2 (Hand Tool Cleaning) or SSPC-SP 3 (Power Tool Cleaning). These standards don’t require the metal to be “white,” but they do require it to be free of any material that can be removed with a dull putty knife.
- Degreasing: Use a water-based cleaner to remove every trace of oil. If a drop of water beads on the metal, it is still dirty.
- Priming: Apply the primer within 4 hours of cleaning to prevent “flash rust.”
- Curing: Industrial enamels can take 7 to 14 days to fully “hard cure” before you should bolt heavy tools to them.
- Color Choice: “Vista Green” or “Machine Gray” are historically accurate and help hide shop dust and oil.
Reassembly and Alignment of the Restored Structure
Reassembling a heavy bench is the reverse of disassembly, but with the added challenge of protecting your new paint job. This is where I use “assembly lube” or anti-seize on every fastener to ensure that the next person who restores this bench—perhaps 50 years from now—won’t have to fight the same seized bolts I did.
I always replace old, crushed lock washers with new ones and use Grade 5 or Grade 8 hardware for any structural connections. If the bench has drawers or moving slides, I clean the ways with a Scotch-Brite pad and apply a thin layer of Way Oil (ISO 68). This oil is specifically designed to stay on vertical surfaces and provide a smooth, “stiction-free” movement that standard motor oil cannot match.
Machine Restoration Tracking Framework
To keep my projects organized, I use a simple spreadsheet to track parts and costs. This prevents the “box of mystery bolts” syndrome that kills many restorations.
- Part ID: Unique number for every component removed.
- Condition: Rated 1-5 (1 = scrap, 5 = perfect).
- Action Needed: (e.g., De-rust, Paint, Straighten, Replace).
- Fastener Specs: (e.g., 1/2-13 x 2″ Grade 5).
- Cost Tracker: Every penny spent on chemicals, sandpaper, and hardware.
Maintenance and Long-Term Preservation
Once the restoration is complete, the work doesn’t end. A metal workbench in a non-climate-controlled shop is a magnet for condensation. I apply a coat of high-quality paste wax to all unpainted metal surfaces, such as the bench top or vise jaws. This creates a moisture barrier that lasts for months. If I’m using the bench for heavy welding or grinding, I use a sacrificial sheet of 1/8-inch Masonite or thin steel to protect the restored surface from spatter and gouges.
Restoring these heavy pieces of history is a labor of love. It takes time, it’s physically demanding, and it’s often frustrating. But when you stand back and look at a 500-pound steel workstation that you rescued from a scrap heap—now level, rust-free, and wearing a fresh coat of industrial enamel—the effort feels entirely justified. You haven’t just fixed a tool; you’ve preserved a piece of industrial heritage.
Frequently Asked Questions
How do I know if a rusted workbench is worth the effort to restore? The “worth” of a restoration is usually found in the weight and the brand. If the bench is made of heavy-gauge steel (12-gauge or thicker) or cast iron, it is almost always worth saving. Look for names like Lyon, Hallowell, or Pollard. If the metal is thin enough to flex by hand or has “Swiss cheese” holes rusted through the main legs, it may be better suited for scrap.
What is the best way to remove rust without a sandblaster? For large frames, use an angle grinder with a wire cup brush for the heavy work, followed by a chemical rust converter or chelator. Evapo-Rust is excellent for smaller, removable parts. For very large flat surfaces, a random orbital sander with 80-grit sandpaper works well, but be careful not to create “divots” in the metal.
Is it safe to use a torch to loosen stuck bolts on cast iron? Yes, but you must be careful. Cast iron expands at a different rate than steel bolts. Heat the area around the bolt, not the bolt itself. Aim for a “dull red” heat at most. Never quench the hot metal with water, as this will almost certainly crack the casting. Let it cool naturally or use a spray of penetrating oil once the red glow has faded.
What kind of paint should I use for a workbench top? If the top is steel and you intend to do heavy work, I recommend a high-quality industrial epoxy or a “hammered” finish enamel. However, many restorers prefer to leave the steel top unpainted and keep it protected with a thin film of oil or wax. This prevents paint chips from getting into your projects and allows for a smooth work surface.
How do I find replacement parts for a bench that is 60 years old? Original parts are rarely available for purchase. Your best bet is to join vintage machinery forums or search eBay for “New Old Stock” (NOS) components. Often, you will have to fabricate what you need. A local machine shop can usually recreate simple shafts or brackets if you provide the original (even if broken) as a pattern.
What is the difference between red rust and black rust? Red rust (hematite) is active corrosion that eats away at metal. Black rust (magnetite) is more stable and often forms after an electrolysis bath or chemical treatment. Black rust can actually provide a small amount of protection, but it should still be primed and painted for long-term durability.
Can I use a regular battery charger for electrolysis? Only if it is an older “manual” style charger. Modern “smart” chargers require a battery’s voltage feedback to turn on. If you only have a smart charger, you can “trick” it by connecting a small 12V battery in parallel with your electrolysis tank. Always perform electrolysis in a well-ventilated area, as it produces small amounts of hydrogen gas.
How do I stop “flash rust” from forming after I clean the metal? Flash rust happens when bare steel is exposed to oxygen and humidity. After chemical cleaning or electrolysis, dry the part immediately with compressed air or a heat gun. Apply a “metal prep” solution (phosphoric acid-based) or your first coat of primer as soon as the metal is dry.
What is the best way to level a bench on an uneven concrete floor? Do not use wooden shims, as they will compress and rot over time. Use steel shims or, better yet, drill the feet of the bench and install heavy-duty threaded leveling mounts. This allows you to fine-tune the height and ensures the bench stays stable even if the floor shifts slightly with the seasons.
Why is my new paint peeling off the metal? The most common cause is “hidden” oil or grease. Even the oil from your fingerprints can prevent industrial paint from bonding. Always do a final wipe-down with a fast-evaporating solvent like denatured alcohol or acetone immediately before painting. If the paint is peeling in large sheets, the surface was likely too smooth; scuff the metal with 120-grit sandpaper to give the paint some “tooth” to grab onto.
(This article was written by one of our staff writers, Richard Beaumont. Visit our Meet the Team page to learn more about the author and their expertise.)