How to Safely Deburr Metal Parts Before Welding (DIY Guide)
In my 14 years working between the engineering office and the fabrication floor, I have seen that the most dangerous failures rarely start with a massive explosion. Instead, they begin with a tiny crack, often born from a single overlooked detail during the preparation phase. I remember inspecting a heavy-duty equipment trailer that had suffered a structural failure on its main longitudinal beam. The weld looked decent from the outside, but under the microscope, we found a “cold lap”—a spot where the molten metal failed to fuse with the base steel because a jagged, oxidized edge had acted as a barrier.
That failure cost the owner thousands of dollars and nearly caused a multi-car accident. It reinforced a lesson I live by: a project is only as strong as its edges. When we talk about preparing metal for joining, we are really talking about managing risks. For the risk-averse fabricator, the goal is to eliminate variables that lead to structural uncertainty. By focusing on the physical condition of the metal before the arc ever strikes, you ensure that the heat and filler material can do their jobs without interference.
The Science of Edge Preparation and Structural Integrity
Edge preparation involves removing the deformed, sharp, or contaminated material left behind after cutting metal. This process ensures that the joint faces are smooth and clean, allowing for a uniform “wetting” of the weld pool into the base metal. Without this step, mechanical irregularities can trap gasses or slag, leading to internal voids that weaken the entire structure.
Understanding Stress Risers and Material Fatigue
A stress riser is a location in a structure where the internal stress is significantly higher than the surrounding area. In metalwork, a sharp burr or a jagged saw cut acts as a perfect starting point for a crack. When a load is applied to a frame, the force concentrates at these sharp points. If you leave a jagged edge inside a welded joint, you are essentially “building in” a failure point.
In my experience, structural metal load capacity is not just about the thickness of the steel. It is about how smoothly the force travels through the joint. A smooth, radiused edge allows stress to flow evenly. Conversely, a rough edge can lead to brittle fracture, especially in projects subjected to vibration or moving loads, like a utility cart or a gate.
How Surface Contaminants Impact Weld Quality
When you cut steel with a saw or a torch, the edge often develops a layer of oxidized material or “slag.” This layer has a much higher melting point than the base metal. If you don’t remove it, the weld metal will sit on top of the oxide instead of fusing with the steel. This creates a “lack of fusion” defect, which is one of the leading causes of structural collapse in home-built projects.
- Mill Scale: This is the dark, flaky layer found on hot-rolled steel. It must be removed near the joint because it can cause arc instability and porosity.
- Saw Burrs: These are the thin “lips” of metal left by a cold saw or bandsaw. They can melt too quickly, causing the weld bead to become uneven.
- Oxide Layers: On aluminum, the oxide layer forms almost instantly and can trap moisture, leading to hydrogen porosity in the finished weld.
| Material Type | Yield Strength (PSI) | Common Edge Issues | Recommended Prep Level |
|---|---|---|---|
| A36 Carbon Steel | 36,000 | Mill scale, heavy slag | Remove to bright metal |
| 6061 Aluminum | 35,000 | Heavy oxide, soft burrs | Stainless brush + deburr |
| 304 Stainless Steel | 30,000 | Work-hardened edges | Low-heat mechanical removal |
Essential Workshop Safety Protocols for Edge Refining
Workshop safety starts with understanding that the process of cleaning metal creates two primary hazards: flying projectiles and airborne dust. When you use a file or a powered abrasive to smooth an edge, you are generating thousands of tiny metal shards. Managing these risks requires a combination of proper personal protective equipment (PPE) and a clean workspace layout.
Protecting Your Lungs and Eyes
In my early years, I underestimated the danger of “grinding dust.” I once spent a full day cleaning up a large frame without a respirator and felt the effects in my chest for a week. Metal dust, especially from stainless steel or coated metals, is a serious respiratory hazard. Always use a P100 rated respirator when using power tools for edge preparation.
For eye protection, standard safety glasses are often not enough. I recommend “spall-rated” goggles that seal against your face. When a wire from a brush or a piece of a grinding disc breaks off, it travels at speeds high enough to penetrate standard plastic lenses. If you are working in a garage fabrication safety zone, ensure that no one else is standing in the “spark path” of your tools.
Workshop Safety Checklist for Edge Prep
Before you pick up a tool, walk through this checklist to ensure your environment is controlled:
- Clear the Zone: Remove all flammable materials (rags, aerosol cans, fuel) within a 15-foot radius of your work area.
- Secure the Workpiece: Never hold a small part in your hand while filing or grinding. Use a heavy-duty bench vise or C-clamps to fix the part to a stable table.
- Check Tool Integrity: Inspect abrasive discs for cracks or chips. A damaged disc can shatter at 10,000 RPM, becoming a lethal piece of shrapnel.
- Position the Spark Path: Aim the sparks toward a fire-resistant backdrop or a clear area of the floor, never toward yourself or your welding gas cylinders.
- Verify Lighting: Use high-output LED shop lights to ensure you can see the fine edge of the metal. If you can’t see the burr, you can’t remove it safely.
Identifying and Removing Mechanical Burrs for Better Fusion
A burr is a small, unwanted ridge of material that remains attached to a workpiece after a cutting or machining operation. In the context of welding preparation, these burrs interfere with the fit-up of the parts, making it difficult to achieve the tight tolerances required for a strong joint. Removing them is not just about aesthetics; it is about ensuring the parts sit flush against each other.
Manual Methods for Precision Control
For many intermediate projects, hand tools offer the best control. A high-quality mill file is a staple in my shop. When you use a file, you can feel the metal. You can tell if you are removing just the burr or if you are accidentally rounding over a corner that needs to stay square.
- The Draw-Filing Technique: Hold the file at both ends and pull it toward you across the edge. This produces a very smooth, square finish that is ideal for T-joints.
- Swivel-Head Deburring Tools: These are excellent for the inside edges of tubing or holes. They use a curved blade that “tracks” the edge, removing the sharp lip in one or two passes.
- Sandpaper and Blocks: For softer metals like aluminum, a 120-grit sanding block can remove fine burrs without gouging the surface.
Powered Abrasives: Efficiency and Risk
When you have a lot of material to prep, an angle grinder is the standard choice. However, it is also the tool most likely to cause a workshop injury. I always tell my students to “respect the kickback.” If the edge of the disc catches a sharp corner, the grinder will jump.
I prefer using flap discs over hard grinding wheels for edge cleaning. Flap discs are made of overlapping layers of sandpaper. They are much more forgiving and less likely to gouge the metal. A 60-grit or 80-grit flap disc is usually sufficient to remove saw marks and burrs while leaving a surface that is ready for welding.
| Tool Type | Best Use Case | Risk Level | Safety Margin |
|---|---|---|---|
| Flat Mill File | Square edges, precision fit | Low | High |
| Swivel Deburrer | Holes, tube interiors | Low | High |
| Flap Disc (Grinder) | Large surfaces, heavy slag | High | Moderate |
| Wire Wheel | Removing rust/scale | High | Low (wire throw) |
Impact of Edge Quality on the Heat Affected Zone (HAZ)
The Heat Affected Zone (HAZ) is the portion of the base metal that was not melted but had its mechanical properties altered by the heat of welding. If your edges are rough or covered in contaminants, you will often find yourself using more heat to “burn through” the mess. This excess heat expands the HAZ, which can lead to heat affected zone weakness and structural failure.
Minimizing Heat Input Through Proper Prep
When the metal is clean and the edges are smooth, the arc can move more quickly. This keeps the total heat input low. In my inspections, I’ve found that joints prepared to “bright metal” (meaning no visible oxidation or mill scale) require about 10-15% less amperage to achieve full penetration compared to dirty joints.
This reduction in heat is critical for maintaining the tensile strength of the metal. If you overheat a joint because you’re fighting through a burr, you risk making the metal brittle. In a structural load-testing scenario, a brittle HAZ is where the part will snap, even if the weld bead itself remains intact.
Preventing Weld Porosity and Inclusions
Welding gas flow rate is usually set between 15–20 CFH (cubic feet per hour) to protect the molten pool. However, if you leave jagged burrs on the edge of your metal, they can create turbulence in the gas flow. This turbulence allows atmospheric oxygen to enter the weld pool, causing “porosity”—tiny bubbles in the metal that look like Swiss cheese.
Porosity is a major welding defect troubleshooting priority because it is often hidden beneath the surface. By smoothing the edges, you ensure a laminar flow of shielding gas, which keeps the weld pool pure. This is especially important when working with TIG welding, where even a tiny amount of edge contamination can ruin the tungsten electrode.
Practical Steps for Preparing Structural Joints
When I build a frame meant to hold a significant load, I follow a strict sequence. This isn’t about being “fussy”; it’s about creating a repeatable process that eliminates errors. By treating every joint with the same level of care, you develop a “feel” for the material that helps you spot problems before they become permanent.
The Step-by-Step Cleaning Sequence
- Initial De-slagging: Use a chipping hammer or a heavy scraper to remove any large chunks of slag left by a torch or plasma cutter.
- Edge Squaring: Use a file or a square-edged grinding wheel to ensure the cut is 90 degrees to the surface. This prevents “gaps” that can lead to burn-through.
- Burr Removal: Run a deburring tool or a file along every edge—even the ones you don’t think will be welded. Sharp edges are safety hazards for anyone handling the finished project.
- Surface Polishing: Use a flap disc or a wire brush to clean the area 1 inch back from the joint. This removes the mill scale that could contaminate the weld pool.
- Final Degreasing: Wipe the joint down with a residue-free cleaner like acetone. This removes skin oils and any remaining cutting fluids.
Measuring Success: The Joint Verification Checklist
Before you tack your parts together, use this checklist to verify that your preparation meets structural standards. If you can’t check off every item, go back and spend five more minutes on the prep. It is much easier to fix an edge now than to grind out a bad weld later.
- [ ] Are all edges smooth to the touch (no “snags” on a gloved hand)?
- [ ] Is the metal “bright” (shiny) at least 1/2 inch away from the joint?
- [ ] Do the parts sit flush with no visible light gaps?
- [ ] Have all internal burrs been removed from the inside of tubing?
- [ ] Is the work area free of metal dust and shavings?
Case Study: The Failure of an Overbuilt Workbench
A few years ago, a hobbyist asked me to look at a heavy-duty workbench he had built. He had used 1/4-inch thick wall tubing, which should have been more than strong enough for his 500-pound lathe. However, one of the legs had buckled after he bumped it with a pallet jack.
Upon inspection, the failure was clear. He had cut the tubing with a chop saw and left the heavy burrs on the inside of the miter joints. When he welded the corners, the burrs melted into the weld pool, creating “slag inclusions.” These inclusions acted like tiny cracks inside the weld. Even though the weld bead looked thick and strong, it was structurally hollow.
If he had spent two minutes with a file on each end of the tube, that workbench would have lasted a lifetime. This is why I emphasize that “overbuilding” with thick material does not compensate for poor preparation. A well-prepared joint in 1/8-inch material is often stronger than a poorly prepared joint in 1/4-inch material.
Advanced Inspection and Verification Tools
For those who want to take their quality control to the next level, there are several low-cost tools that can help you verify your work. These tools move the process from “guessing” to “knowing.”
- Weld Filament Gauges: Use these to check the “root gap” between your parts. A consistent gap ensures consistent penetration.
- Dye Penetrant Kits: After you’ve cleaned your edges, you can use a dye penetrant to look for existing cracks in the base metal. This is common in structural steel manuals for critical joints.
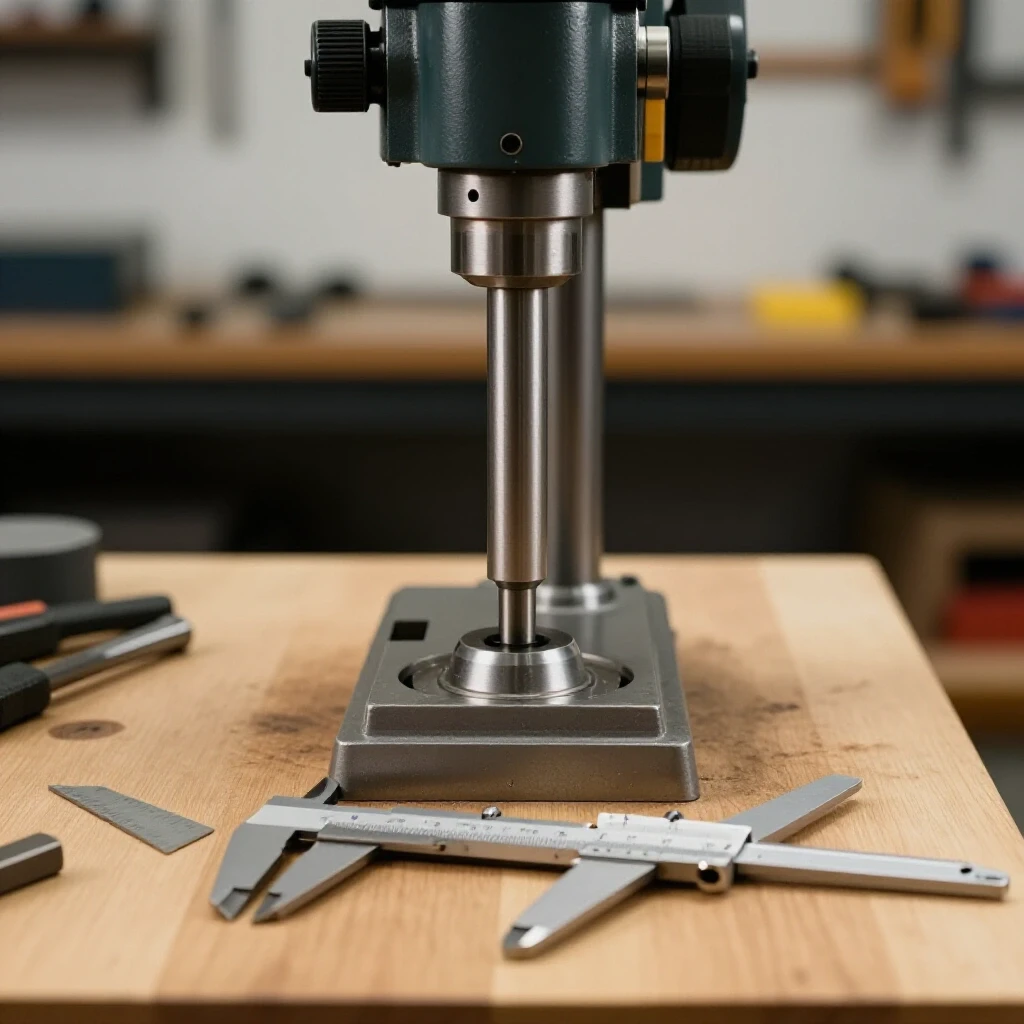
- Digital Calipers: Use these to ensure that your edge prep hasn’t removed too much material. If you grind too deep, you reduce the structural load capacity of the part.
- Magnifying Glass (10x): A simple jeweler’s loupe allows you to see if you’ve actually removed the mill scale or just polished the top of it.
PPE and Equipment Recommendations
Safety gear is an investment in your ability to keep working. I recommend the following ratings for a safe shop environment:
- Safety Glasses: ANSI Z87.1+ (The “+” indicates high-velocity impact rating).
- Hearing Protection: NRR (Noise Reduction Rating) of 25dB or higher. Grinders are loud enough to cause permanent damage in minutes.
- Gloves: Form-fitting goatskin or thin cowhide. They protect from sharp edges but allow enough dexterity to feel the metal.
- Welding Helmets: Even if you aren’t welding yet, a helmet with a “Grind Mode” (Shade 3 or 4) is excellent for protecting your entire face during heavy edge cleaning.
Summary of Key Takeaways
Mastering the art of edge refining is about developing a disciplined approach to fabrication. By removing the physical and chemical barriers to a good weld, you are taking control of the structural outcome of your project.
- Smoothness equals strength: Eliminating burrs removes stress risers that lead to cracking.
- Cleanliness is mandatory: Removing mill scale and oxides prevents internal weld defects like porosity and inclusions.
- Safety is a process: Use the right PPE and maintain a clean workspace to avoid injuries from metal dust and flying debris.
- Preparation saves time: A well-prepped joint is easier to weld, requires less heat, and results in a more predictable structure.
As you move forward with your projects, remember that the time you spend with a file or a flap disc is just as important as the time you spend with the welding torch. By respecting the material and the physics of the joint, you can build structures that are not only functional but also safe for years to come.
Frequently Asked Questions
Why is it dangerous to weld over saw burrs?
Saw burrs are thin and melt much faster than the rest of the metal. This can cause the arc to jump or “wander,” leading to an uneven weld bead. More importantly, the burr can trap air or contaminants underneath the weld pool, creating a void or a slag inclusion that weakens the joint.
Can I just use a wire brush to clean my metal?
A wire brush is good for removing loose rust or paint, but it is often not aggressive enough to remove mill scale or heavy burrs. For structural joints, you usually need a file or a flap disc to reach “bright metal.” Using only a wire brush can sometimes just “polish” the contamination rather than removing it.
How do I know if I’ve removed enough material?
The metal should look shiny and uniform. If you see dark spots, streaks, or a “dull” gray color, you are likely still looking at mill scale or oxidation. A good rule of thumb is to clean the metal until it looks like a mirror-finish is starting to form.
What is the best tool for deburring the inside of a pipe?
A swivel-head deburring tool is the most efficient manual tool for this. For larger pipes, a half-round file or a “cone” shaped grinding stone on a die grinder works well. It is critical to clean the inside edge because that is where the “root” of the weld will sit.
Does aluminum need different preparation than steel?
Yes. Aluminum forms a tough oxide layer almost immediately. You should use a dedicated stainless steel wire brush (that has never been used on steel) and a deburring tool. Aluminum is also softer, so be careful not to gouge the metal, as deep scratches can act as stress risers.
Is a respirator really necessary for just a few minutes of grinding?
Yes. Metal particulates stay suspended in the air long after you turn off the tool. Even a short exposure can irritate your lungs. For long-term health, especially if you are working in a confined space like a garage, a P100 respirator is a vital piece of equipment.
What happens if I leave a sharp edge on a non-welded part of the project?
Beyond the obvious risk of cutting yourself later, sharp edges are prone to corrosion. Paint and powder coating tend to pull away from sharp corners as they dry, leaving the metal exposed to moisture. Radiusing (rounding) the edges helps the finish stick and prevents rust.
Can I use a regular grinding wheel for all my prep work?
While a hard grinding wheel removes material quickly, it is very aggressive and can easily remove too much metal, thinning the joint. I recommend using a flap disc for most prep work because it provides a smoother finish and better control.
How does cleaning the metal help with “arc stability”?
Contaminants like mill scale do not conduct electricity as well as clean steel. If your metal is dirty, the welding arc will struggle to find a path, leading to sputtering and “popping.” A clean surface ensures a smooth, consistent arc, which leads to better penetration.
What should I do if I find a crack while cleaning the edge?
If you find a crack in the base metal while deburring, do not weld over it. You must grind out the crack entirely until you reach solid metal. If the crack is deep, you may need to reconsider using that piece of material, as it could indicate a defect in the metal’s manufacturing.
(This article was written by one of our staff writers, James Harlan. Visit our Meet the Team page to learn more about the author and their expertise.)