How to Safely Weld Structural Trailer Repairs (DIY Guide)
Twelve years ago, I stood in my driveway staring at a hairline crack in the C-channel of my utility trailer. I had a basic buzz-box welder, a cheap hood, and a lot of nerves. My first attempt was a disaster. I moved too fast, the metal wasn’t clean, and the bead looked like a string of cold grapes sitting on top of the steel. It didn’t take long for that weld to fail under a light load. That failure was my turning point. I realized that reinforcing a steel frame isn’t about “sticking metal together.” It is about understanding heat, managing fluid metal, and building the muscle memory to be consistent every single time.
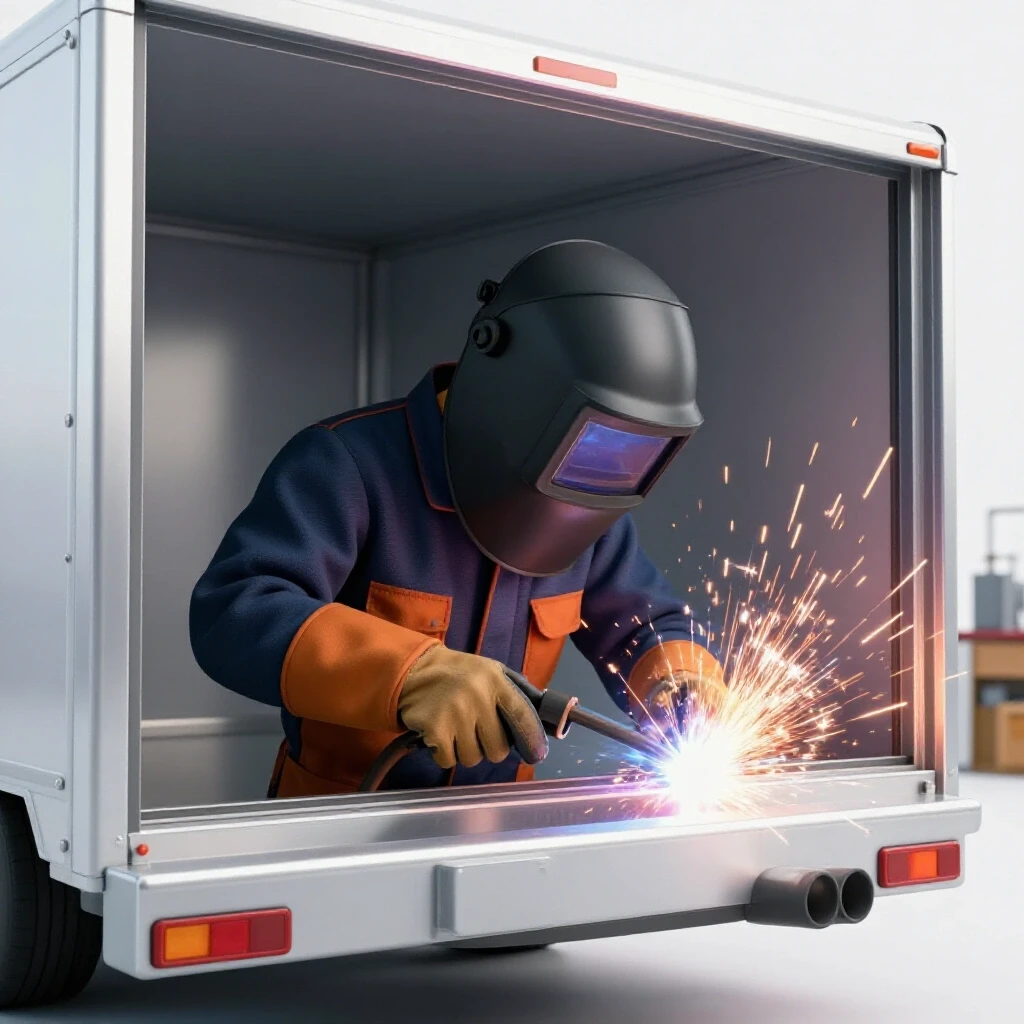
Since then, I have spent thousands of hours tracking my progress. I’ve logged every setting, timed my travel speeds, and analyzed my bead shapes under a magnifying glass. If you are struggling with inconsistent penetration or shaky hands, you aren’t alone. This guide is designed to help you move past those plateaus. We will focus on the physical mechanics and technical settings required to patch and reinforce mild-steel frames safely in your own shop.
Mastering Body Mechanics for Frame Work
Body mechanics refers to the way you position your torso, arms, and hands to ensure a steady and uninterrupted movement along a metal joint. On a trailer frame, you are often working in cramped or awkward positions, making stability your most important tool.
When I started, I tried to “freehand” my welds. My hands would shake, and my travel speed would fluctuate. Now, I teach the “three-point stance.” This means your body should be anchored at three points: your feet on the ground, your hips or shoulder against the trailer or a bench, and your non-dominant hand supporting your torch hand. This stability allows you to focus on the tiny movements of the puddle rather than fighting your own balance.
The Importance of a Three-Point Stance
A three-point stance is a physical bracing technique where you use a secondary object or your own body to stabilize your welding hand. This reduces tremors and allows for a much smoother travel motion across the steel.
In my shop, I use a “sliding hand” technique. I rest the side of my glove on the workpiece or a nearby brace. As I weld, I slide my hand along the surface. This keeps my arc length—the distance between the tip of my electrode and the metal—perfectly consistent. For trailer work, where you might be welding a long horizontal patch, being able to slide smoothly for six inches without stopping is the difference between a structural bond and a weak spot.
| Physical Element | Recommended Metric | Purpose |
|---|---|---|
| Arc Gap Distance | 3/32″ to 1/8″ | Maintains consistent heat and prevents sticking. |
| Torch Travel Angle | 10 to 15 degrees (Drag) | Ensures deep penetration into the base metal. |
| Body Anchor Points | 3 Points of Contact | Minimizes hand tremors and stabilizes travel speed. |
| Travel Speed | 8 to 12 Inches Per Minute | Balances heat input with bead thickness. |
Calibrating Your Machine for Mild Steel
Machine calibration is the process of setting your voltage and wire feed speed (for MIG) or amperage (for Stick) to match the thickness of the metal you are repairing. For most consumer trailers, you are dealing with mild steel between 1/8-inch and 1/4-inch thick.
I see many beginners make the mistake of “guessing” their settings. They see a spark and assume it’s working. However, a weld that “looks” okay might have zero penetration. I recommend using a scrap piece of the exact same thickness as your trailer frame to run “test beads” before you ever touch the actual structure. This allows you to dial in the “sizzle” sound (for MIG) or the smooth “bacon frying” sound (for Stick) that indicates proper parameters.
Setting Baseline Amperage and Voltage
Baseline parameters are the starting numbers on your welder’s dial that provide enough heat to melt the base metal without blowing holes through it. These numbers change based on the thickness of the steel and the size of your welding wire or rod.
When I work on a 3/16-inch trailer frame, I typically set my MIG welder to a higher voltage range and a wire speed that allows the puddle to wet out into the edges of the joint. If you are using a Stick welder (SMAW), a 1/8-inch 7018 rod at 120-130 amps is a standard starting point for structural repairs on mild steel. Use the table below to guide your initial setup.
| Material Thickness | MIG Voltage (Approx) | MIG Wire Speed (IPM) | Stick Amperage (7018) |
|---|---|---|---|
| 1/8″ (11 Gauge) | 17-18V | 180-200 | 90-105A |
| 3/16″ | 19-20V | 240-270 | 110-125A |
| 1/4″ | 21-22V | 300-330 | 130-150A |
Preparing Clean Zones for Structural Integrity
A clean zone is an area around the intended weld site where all paint, rust, oil, and mill scale have been removed down to shiny, bare metal. In trailer repair, cleanliness is not optional; it is a requirement for a safe bond.
I once worked on an old boat trailer that had layers of salt-crusted paint. I thought I could “burn through” the junk. The result was a porous, brittle weld full of tiny holes called “porosity.” Now, I follow a strict 2-inch rule. I grind the metal clean at least two inches away from the joint in every direction. This prevents contaminants from being sucked into the molten puddle as you move.
The 2-Inch Clean Zone Rule
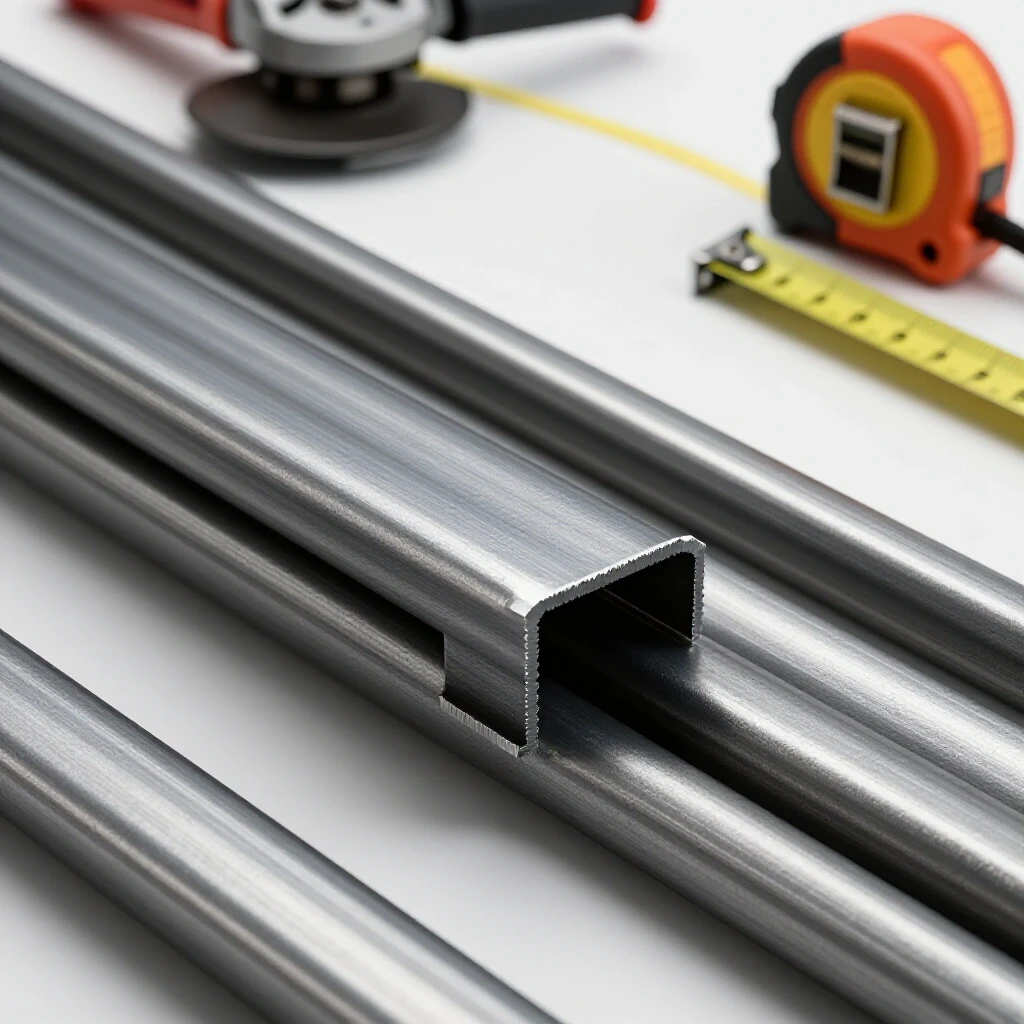
The 2-inch clean zone rule dictates that you must use a flap disc or wire wheel to expose bright, shiny steel on all surfaces within two inches of the weld path. This ensures that the arc stays stable and the weld metal fuses perfectly with the frame.
- Step 1: Use a 40-grit flap disc to remove heavy rust and paint.
- Step 2: Use a wire wheel to clean inside corners where the flap disc can’t reach.
- Step 3: Wipe the area with a degreaser (like acetone) to remove any invisible oils.
- Step 4: Inspect for hidden cracks that may have been covered by paint.
Analyzing Puddle Dynamics and Heat Input
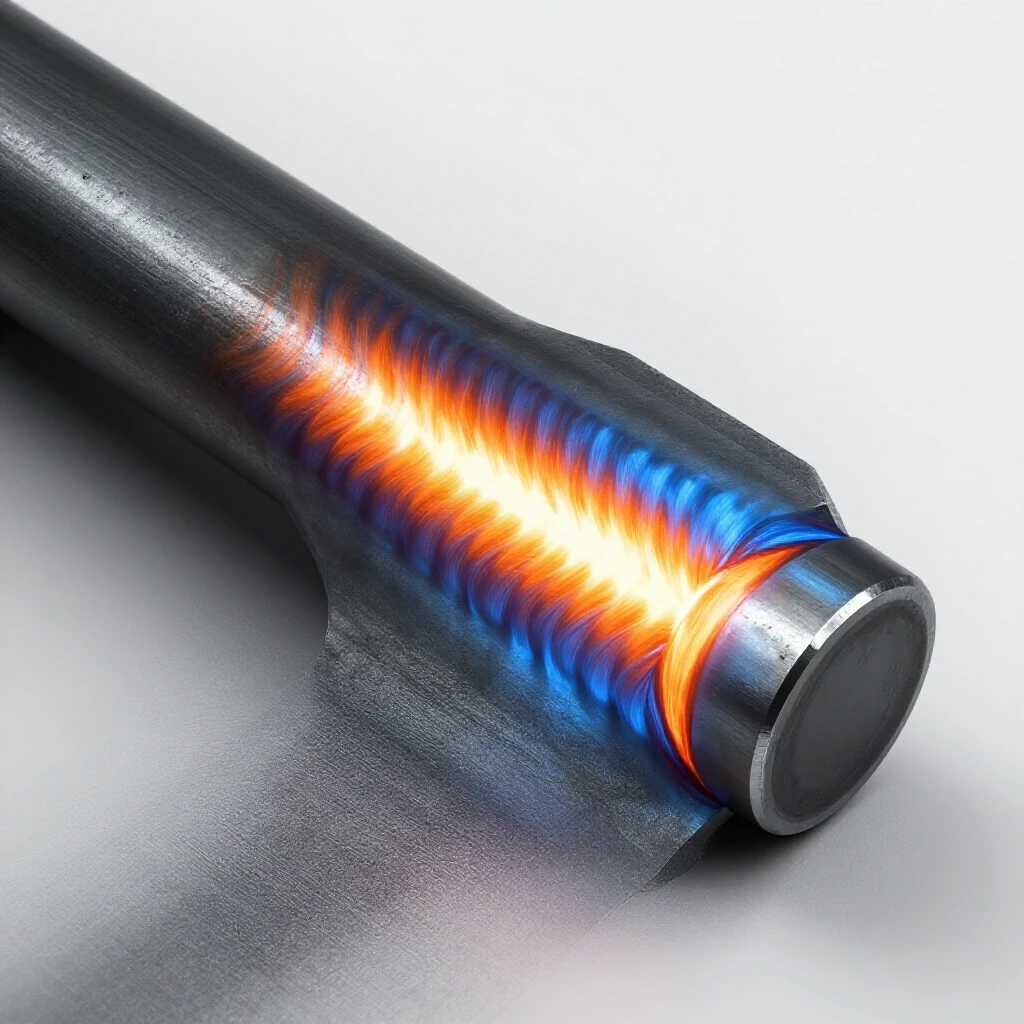
Puddle dynamics refers to the behavior of the molten metal pool created by your welding arc. Learning to “read the puddle” is the most important skill in fabrication because the puddle tells you exactly what the finished weld will look like.
When you are reinforcing a trailer, you must watch the “toes” of the weld—the edges where the molten metal meets the frame. If the puddle looks like it is “rolling over” the edge without melting into it, you have “cold lap,” which is a major structural failure. You want the edges to be fluid and slightly “dug into” the base metal. This shows you are getting the penetration needed to hold a load.
Understanding Heat Input and Penetration
Heat input is the amount of energy transferred to the metal, determined by your machine settings and how fast you move your hand. Proper heat input ensures the weld goes “through” the metal rather than just sitting on top.
If you move too slowly, you put too much heat into the frame, which can warp the steel or make it brittle. If you move too fast, the metal doesn’t have time to melt. I use a “count” method. For a standard fillet weld on a trailer, I count “one-one-thousand” for every 1/8-inch of travel. This rhythm helps me maintain a consistent 10 inches per minute travel speed, which is the “sweet spot” for most structural repairs on mild steel.
Executing Fillet Welds and Lap Joints
A fillet weld joins two pieces of metal at an angle (like a T-joint), while a lap joint involves overlapping two pieces of steel. These are the most common joints used when adding reinforcement plates to a weakened trailer frame.
When I add a “fish plate”—a diamond-shaped reinforcement piece—over a crack, I use lap joints. The trick here is to focus your arc on the thicker piece of metal first, then “wash” the puddle onto the edge of the thinner plate. This prevents you from melting away the edge of your reinforcement plate before the frame is even hot.
Building Muscle Memory with the “C” Motion
The “C” motion is a specific hand pattern where you move the torch in small, overlapping crescent shapes. This technique helps distribute heat evenly across both pieces of the joint and ensures a wide, flat bead.
- The Lead: Point the arc at the leading edge of the puddle.
- The Oscillation: Move the torch slightly up and down (or side to side) in a 1/8-inch wide pattern.
- The Pause: Briefly pause at the edges (the toes) of the weld to ensure the metal fills in completely.
- The Progression: Move forward only when you see the puddle “wet out” and become flat.
Identifying Common Weld Defects on Mild Steel
A weld defect is any flaw in the bead that reduces its strength, such as cracks, holes, or gaps. In the context of a trailer, identifying these visually is your final safety check.
I remember a student who showed me a bead that looked perfect on top, but when we flipped the plate over, there was no sign of heat on the back. This is called “lack of fusion.” On a trailer, this weld would eventually vibrate loose. You must be your own harshest critic. If the weld looks “tall” and “skinny,” it’s likely cold. If it has a “valley” or “groove” cut into the frame at the edges, that is “undercut,” and it actually makes the frame weaker than it was before you started.
Solving the Undercut Problem
Undercut is a groove melted into the base metal at the edge of the weld that hasn’t been filled back in with filler metal. It acts like a “perforation” in a piece of paper, giving the frame a place to snap under stress.
To fix undercut, you usually need to adjust your torch angle. If you are pointing too much at one side of the joint, you will melt that side away. I keep my torch at a 45-degree angle to the joint and slightly “tuck” the arc into the corner. Also, slowing down your travel speed just a fraction allows the puddle to fill that “melted” area before you move on.
Developing a Systematic Practice Routine
A practice routine is a series of timed drills that focus on one specific movement at a time. You should never practice on your actual trailer until you have mastered the specific joint on scrap metal.
I use a “Bead-on-Plate” log to track my progress. I take a flat piece of 3/16-inch steel and run ten parallel beads, each exactly six inches long. I time each one. If the first bead took 45 seconds and the second took 30 seconds, I know my travel speed is inconsistent. I repeat this until all ten beads look identical and are finished within 2 seconds of each other.
A 4-Step Practice Progression
- Bead on Plate: Focus only on travel speed and arc length. Do this until you can produce a straight, even bead 6 inches long.
- Horizontal Fillet: Practice joining two pieces at a 90-degree angle. Focus on “washing” the puddle into both pieces equally.
- Lap Joint: Practice welding the edge of one plate onto the face of another. This mimics adding a reinforcement “fish plate.”
- Out-of-Position: Once you are good on the bench, try welding a fillet joint vertically. This is common when working on trailer uprights.
The Role of Grinding and Finishing
Grinding is the use of an abrasive wheel to smooth out a weld, while finishing involves cleaning and painting the repair to prevent rust. In structural work, you should never grind a weld “flush” (flat) unless it is necessary for fitment, as this can remove the throat thickness that provides the strength.
When I finish a repair on a trailer, I use a wire brush to remove the “glass” or “slag” (the crust on top of the weld). This allows me to see the actual metal. If I see any pinholes, I grind that section out and re-weld it. Once I am satisfied, I immediately apply a high-quality zinc-rich primer. Trailer frames are prone to rust, and an unpainted weld will begin to corrode within 24 hours in a humid environment.
Actionable Tracking Framework: The Weld Log
To improve, you must measure. Use this simple template to track your practice sessions. If you can’t explain why a weld failed, you can’t fix it.
- Date and Material: (e.g., Oct 12, 3/16″ Mild Steel)
- Machine Settings: (e.g., 19.5V, 250 IPM)
- Joint Type: (e.g., Lap Joint, Horizontal)
- Travel Time: (e.g., 6 inches in 40 seconds)
- Visual Assessment: (e.g., “Slight undercut on top edge, penetration looks good.”)
- Adjustment for Next Run: (e.g., “Lower torch angle by 5 degrees to fill the top edge.”)
By keeping this log, you turn a “frustrating plateau” into a data problem. You aren’t “bad at welding”; you just haven’t found the right travel speed for that specific voltage yet.
Conclusion: Your Path to Consistent Results
Building the skills to reinforce a steel frame is a marathon, not a sprint. It took me years to move from “bird-dropping” beads to structural-grade welds. The secret is not a better welder; it is better discipline. If you focus on your body mechanics, keep your metal surgically clean, and track your parameters with a log, you will see your consistency improve.
The next time you look at a project on your trailer, don’t rush to the spark. Spend an hour on scrap metal first. Dial in your “C” motion. Check your penetration. Once your hand feels steady and your test beads look like a “stack of dimes” (or a smooth, consistent ribbon), you are ready to tackle the real thing with confidence.
Frequently Asked Questions
What is the best type of welder for repairing a mild-steel trailer frame?
For most DIYers, a MIG (GMAW) welder with 75/25 shielding gas is the easiest to learn and produces very clean results on mild steel. However, a Stick (SMAW) welder is often better for outdoor work or on frames that have deep-seated rust, as it handles contaminants better than MIG.
How thick should my reinforcement plates (fish plates) be?
A general rule of thumb is to use material that is the same thickness as the frame or one size thicker. For a 3/16-inch frame, a 3/16-inch or 1/4-inch plate is ideal. Using a plate that is too thick (like 1/2-inch on a 1/8-inch frame) can create “stress risers” where the frame might crack right next to the weld.
Why does my weld have tiny bubbles or holes in it?
This is called porosity. It is usually caused by wind blowing away your shielding gas (if MIG welding), moisture in your stick welding rods, or failing to grind the paint and rust off the metal before you started. Always ensure a 2-inch clean zone of bare metal.
Should I weld all the way around a reinforcement plate?
In many trailer applications, it is better to avoid vertical welds on the side of a C-channel or I-beam if possible. Often, “fish plates” are diamond-shaped so that the welds are at an angle rather than straight up and down, which helps distribute the load more evenly and prevents the frame from snapping along a vertical heat line.
How do I know if I am getting enough penetration?
Look at the back side of your test piece. You should see a “heat tint” (discoloration) and a slight bulging of the metal where it almost pushed through. If the back of the plate looks brand new, you are likely just “gluing” the metal to the surface without actual fusion.
Can I weld a trailer frame if it is galvanized?
Galvanized steel is coated in zinc, which releases toxic fumes when welded. You must grind off all the galvanizing until you reach bare steel in the weld zone and wear a respirator specifically rated for metal fumes. For beginners, it is highly recommended to practice extensively on non-galvanized mild steel first.
What is “undercut” and why is it dangerous?
Undercut is a groove or notch melted into the base metal at the edge of the weld. It is dangerous because it thins the original frame material, creating a weak point where cracks can start. It is usually caused by too much heat or moving the torch too quickly.
How do I stop my hand from shaking while welding?
Use the three-point stance. Anchor your body against the trailer, rest your elbow on a solid surface, and use your “off” hand to steady the barrel of the torch. Also, remember to breathe; many beginners hold their breath while welding, which increases muscle tension and shaking.
Is it okay to grind my welds flat to make them look better?
For structural repairs, you should avoid grinding the weld flat. The “hump” or reinforcement of the bead provides the strength of the joint. If you grind it flat, you are essentially removing the “glue” that holds the pieces together. Only grind enough to remove slag or sharp edges.
How fast should I be moving my torch?
A good baseline is 8 to 12 inches per minute. If you are welding a 6-inch crack, it should take you about 30 to 45 seconds of continuous arc time. If you finish in 10 seconds, you moved way too fast and likely have very little penetration.
(This article was written by one of our staff writers, Thomas Langley. Visit our Meet the Team page to learn more about the author and their expertise.)