How to Separate Cutting and Welding Zones in Shops (DIY Fix)
I remember the exact moment I realized my shop layout was failing me. I was finishing a high-end stainless steel railing for a local client while my son was across the room prep-cutting a heavy plate with an angle grinder. Even though he was fifteen feet away, the fine, abrasive grit from his grinding wheel drifted through the air and settled right onto my fresh welds. The contamination caused hours of rework and ruined the finish. It was a classic bottleneck caused by a lack of spatial organization. For those of us scaling a home-based fabrication business, these are the moments that force a transition from a hobbyist mindset to a production-focused operation.
Managing a growing shop means moving beyond just “having enough space.” It requires a systematic approach to how materials move and how different processes interact. When you introduce a CNC plasma table or a high-output welding station into a limited footprint, the stakes get higher. You aren’t just fighting for floor space; you are fighting against metal dust, fire hazards, and electrical interference. My goal over the last 20 years has been to refine these workflows so that the shop works for me, rather than me working against the shop’s limitations.
Mapping Your Material Path and Shop Zones
This process involves identifying the physical route a raw steel plate takes from the delivery truck to the final weldment. By visualizing these loops, you can spot where cutting sparks threaten finished work and where heavy lifting creates unnecessary physical strain on the operator, allowing for a more logical equipment arrangement.
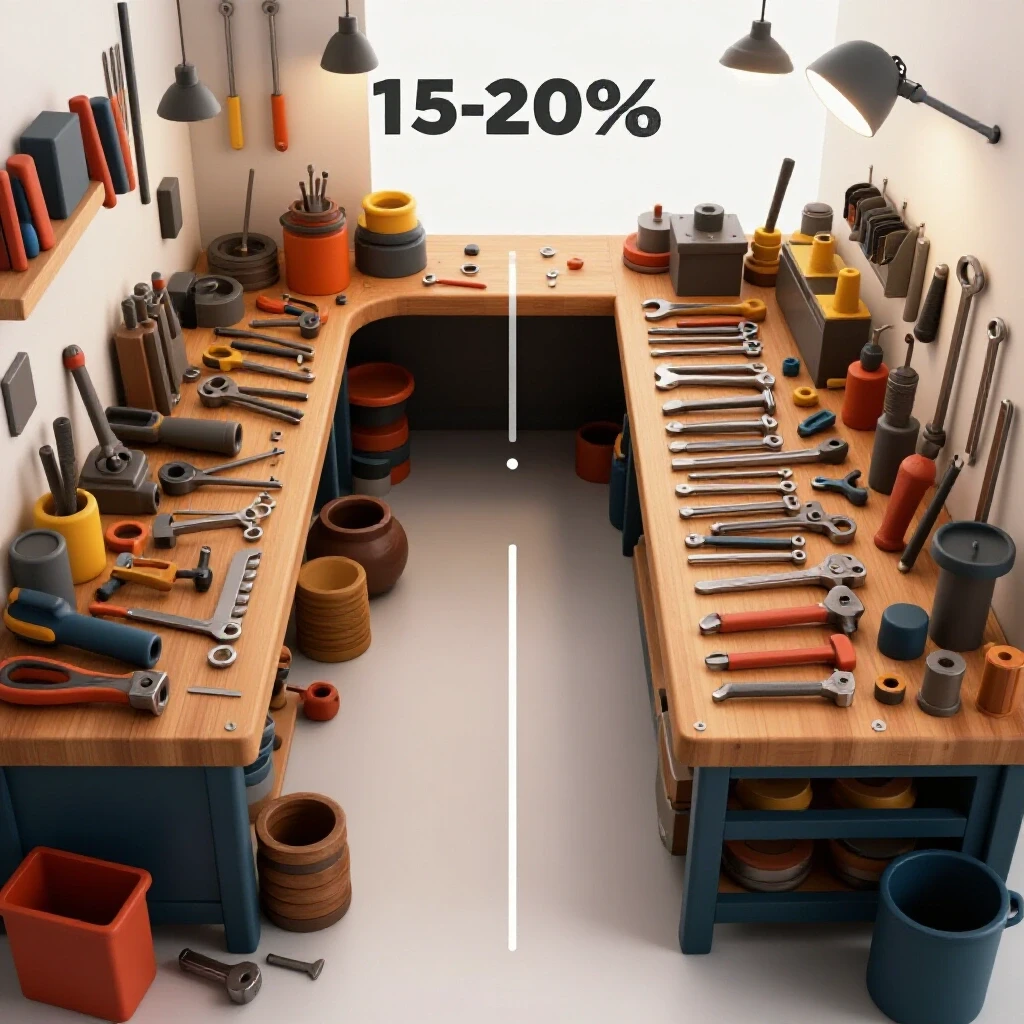
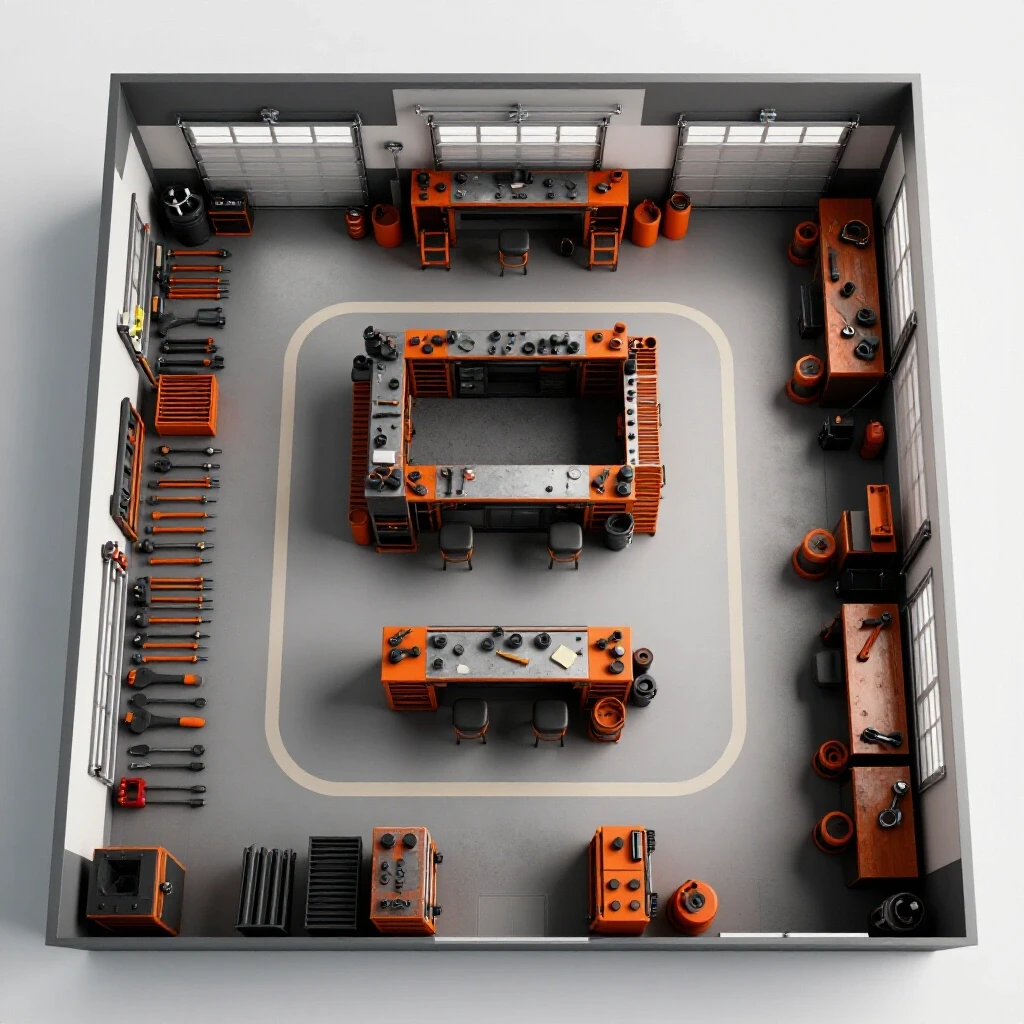
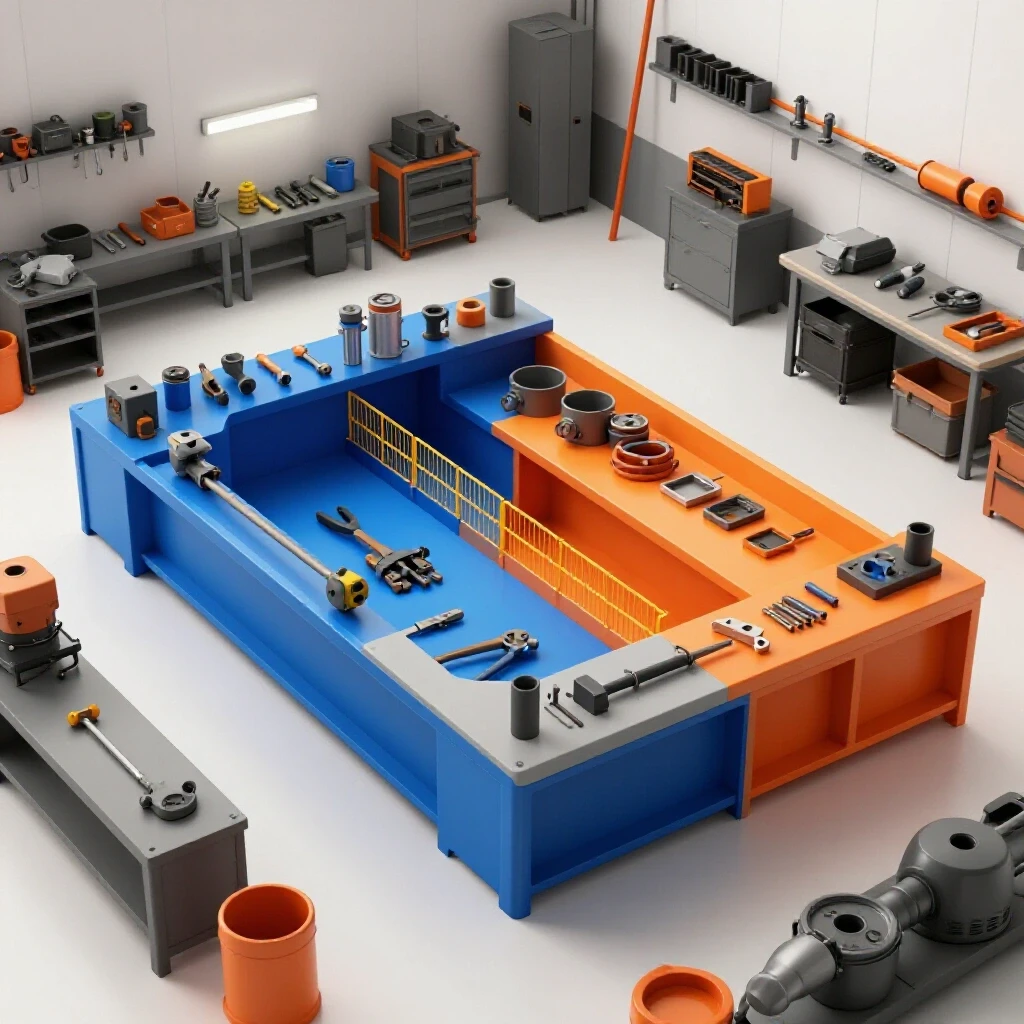
In my early years, my shop was a “spaghetti diagram” of movement. I would haul a 4×8 sheet of 11-gauge steel through the welding area just to get it to the saw. Every time I moved material, I risked bumping into a finished project or tripping over a lead. To fix this, I began mapping my workflow using a simple “U-flow” pattern. Raw material enters one side of the shop, moves to the cutting zone, progresses to the fabrication bench, and exits near the welding station.
A common mistake I see in advanced home shops is placing the CNC plasma table in the center of the room. While it looks impressive, it creates a 360-degree “debris zone.” Instead, I recommend tucking the cutting operations into a corner or along a single wall. This allows you to contain the mess to one area. You should maintain at least a 3-foot minimum access zone around your machinery. This space isn’t just for comfort; it’s for safety and maintenance. If you can’t get a pallet jack or a cart past your machine, your workflow will eventually choke.
| Layout Feature | Hobbyist Setup | Advanced Fabrication Setup |
|---|---|---|
| Material Storage | Leaning against walls | Vertical racks near the entry |
| Tool Placement | Wherever an outlet is free | Process-based zoning (Cutting vs. Welding) |
| Foot Traffic | Random paths | Linear or U-shaped flow |
| Clearances | 12-18 inches | 36-48 inches for material handling |
Constructing DIY Barriers for Spark and Dust Isolation
Physical partitions are the most effective way to prevent cross-contamination between your grinding or plasma area and your clean welding or assembly tables. Using cost-effective materials like cement board or heavy-duty welding curtains allows you to create a modular environment that stops sparks without requiring permanent, expensive construction.
When I first tried to separate my zones, I used plywood. That was a mistake I realized the first time a stray spark from a chop saw started smoldering. Now, I advocate for fire-resistant materials. For a permanent DIY wall, 1/2-inch cement board is an excellent choice. It is relatively inexpensive, easy to cut with a carbide blade, and completely fireproof. I often mount these panels to a simple 2×4 stud frame, but I face the “hot side” with the cement board to ensure no wood is exposed to direct sparks.
If you need a more flexible solution, heavy-duty PVC welding curtains are the standard. They don’t just block sparks; they also protect your eyes (and anyone else in the shop) from UV flash. I prefer the 14-mil thick translucent orange or dark green curtains. I mount mine on a basic sliding track made from 1-inch EMT conduit. This allows me to pull the “wall” shut when I’m using the CNC plasma table and tuck it away when I need to move a large project across the floor.
- Sheet Metal Shields: Use 20-gauge galvanized steel sheets screwed to frames for a durable, magnetic-friendly barrier.
- Mobile Screens: Build 6-foot tall frames on casters to create a “pop-up” grinding booth wherever it is needed.
- Floor Seals: Use a rubber door sweep at the bottom of your curtains to prevent heavy grinding dust from sliding under the barrier.
Optimizing Electrical Infrastructure and 3-Phase Conversion
Managing the power requirements of a growing shop involves balancing the high-current demands of welders and CNC systems within the limits of a standard 240V residential or light commercial service. Integrating a phase converter allows you to run industrial-grade machinery that offers better duty cycles and more consistent performance.
Most home shops are limited to single-phase 240V power. However, as you scale, you will likely find a great deal on a 3-phase industrial ironworker or a high-end mill. To run these, you have three main options: static converters, rotary phase converters (RPCs), and Variable Frequency Drives (VFDs). In my shop, I use a Rotary Phase Converter for my heavy machines. It’s a DIY-friendly install that involves a control panel and an idler motor. It provides a “true” third leg of power that is much more stable than a static converter.
For smaller, dedicated motors like a drill press or a small mill, a VFD is often the better choice. It allows you to control the speed of the motor electronically. However, be careful with CNC equipment. Most CNC controllers and plasma power supplies prefer stable, clean power. If you are running a CNC plasma table, ensure it is on a dedicated circuit to avoid electrical noise from your welder. I’ve seen many gantry systems “ghost” or lose steps because a large welder on the same circuit caused a voltage drop.
| Power Option | Best Use Case | Pros | Cons |
|---|---|---|---|
| Single Phase 240V | Standard Welders/Plasm | Simple, no extra hardware | Limited to “hobby” grade tools |
| Static Converter | Low-usage 3-phase tools | Cheap, easy to wire | Only provides 2/3 rated power |
| Rotary Converter | Whole-shop 3-phase | Runs multiple machines | Noisy, higher idle power draw |
| VFD | Single motor control | Speed control, efficient | One VFD per motor required |
Designing High-Volume Air Filtration and Ducting
Effective fume and dust management requires calculating the correct volume of air movement and designing a ducting system that maintains high velocity to prevent debris from settling. A well-designed system uses smooth-walled pipes and strategic blast gates to focus suction exactly where the contaminants are being generated.
In a dual-zone shop, you have two different air quality problems. Welding produces fine metallic fumes, while grinding and plasma cutting produce heavy particulate and smoke. You can’t treat them the same way. For my plasma table, I built a DIY water table, which traps about 90% of the heavy dust. However, the remaining smoke still needs to be exhausted. I use a 1,500 CFM industrial blower for my main extraction.
When designing your ductwork, avoid using corrugated flexible dryer vent. The ridges inside create massive static pressure loss, which kills your suction. Instead, use smooth-walled 6-inch PVC or galvanized “snap-lock” pipe. You want to maintain a duct velocity of about 3,500 to 4,000 feet per minute (FPM) to keep metal dust suspended in the air until it hits the collector. If the air moves too slowly, the dust will settle in the pipe, creating a fire hazard and eventually clogging the system.
- Calculate CFM: Aim for 1,000–2,000 CFM depending on the size of your cutting area.
- Minimize Elbows: Every 90-degree bend in your pipe is like adding 10 feet of straight pipe in terms of resistance.
- Use Blast Gates: Install gates at every tool so you can concentrate the full suction power of your blower on the machine you are currently using.
- Filter Selection: Use a MERV 15 or higher filter if you are returning air to the shop. If possible, exhaust the air directly outside to remove fumes entirely.
Integrating CNC Plasma Tables into the Workflow
Setting up a CNC gantry system requires precise leveling, a stable electrical environment, and a software workflow that bridges the gap between a digital design and a physical cut. Successful integration means placing the machine where it can be easily loaded with heavy plate while remaining shielded from the rest of the shop’s activities.
Adding a CNC plasma table was the biggest leap for my productivity, but it was also the steepest learning curve. These machines are sensitive. I spent weeks chasing “EMI” (Electromagnetic Interference) issues that caused my torch height control to malfunction. The fix was simple but tedious: I had to properly ground the table to a dedicated 8-foot copper rod driven into the earth and ensure all signal cables were shielded and separated from the power leads.
When leveling your table, don’t just trust a spirit level. Use a dial indicator to ensure the gantry is parallel to the slats across the entire travel distance. If the table is out of level by even 1/16th of an inch, your torch height control will work harder than it needs to, leading to inconsistent cuts. I also recommend using a dedicated PC for the CNC software, stripped of all unnecessary programs and disconnected from the internet, to prevent background updates from crashing a cut mid-stream.
- Software Stack: I typically use Fusion 360 for CAD/CAM and SheetCam for nesting. This combination allows for precise control over lead-ins and cut sequences.
- Material Loading: Position the table near your shop door or under a jib crane. A 4×4 sheet of 1/2-inch steel weighs about 320 pounds; you don’t want to be manhandling that across the shop.
- Water Table Maintenance: Add a splash of plasma quench or a DIY mix of washing soda and sodium nitrite to your water table to prevent rust and bacterial growth.
Implementing Lean Workflow Metrics and Tracking
Lean manufacturing in a small shop is about identifying and eliminating “waste,” which includes unnecessary movement, waiting for tools, and rework due to poor organization. By tracking metrics like setup time and material travel distance, you can make data-driven decisions about where to move a machine or how to store your consumables.
I used to think “lean” was just for big factories. Then I started timing how long it took me to find a specific grinding disc or set up a jig. I realized I was losing nearly an hour a day to “searching and walking.” I started a simple log. For one week, I tracked every time I had to leave the welding bench to go get a tool. The results were embarrassing. I was walking nearly a mile a week just to get things I should have had within arm’s reach.
To fix this, I implemented “Point of Use” storage. Every zone—cutting, welding, and assembly—now has its own dedicated set of tools. I don’t share grinders between the cutting and welding zones. It sounds expensive, but the cost of a second $60 angle grinder is paid for in three days of saved walking time. I also use a “Shadow Board” for my most-used tools. If a tool is missing, the empty space on the board tells me immediately.
- Setup Time: Measure the time from “idea” to “first cut.” If it takes more than 10 minutes to clear the table and set up the machine, your layout needs work.
- Travel Distance: Draw your shop layout on paper and use a string to trace your path during a typical project. The shorter the string, the more efficient your shop.
- Consumable Logs: Keep a simple whiteboard near your CNC table to track how many pierces you get out of a set of electrodes. This helps you predict when to change parts before they fail and ruin a cut.
Practical Steps for Your Shop Evolution
Transitioning your shop into a high-output space doesn’t happen in a single weekend. It is a series of incremental improvements that eventually add up to a professional environment. Start by looking at your floor. If you have piles of scrap and tangles of cords, no amount of CNC technology will make you efficient. Clean the slate, define your zones, and then build the barriers.
Once your zones are established, focus on your “utilities”—power and air. A shop that is well-lit, well-ventilated, and has stable power is a shop where you can actually focus on the craft of fabrication. Don’t be afraid to move a heavy machine twice if the first spot doesn’t feel right. I moved my main welding table three times before I found the “sweet spot” where the light was right and the material flow was seamless.
The final step is the digital transition. Take the time to learn the CAM software. Practice nesting parts to minimize scrap. The more you can do at the computer, the less time you spend at the saw making mistakes. This shift from manual labor to process management is what ultimately allows you to scale your output without burning out.
Frequently Asked Questions
How far apart should my cutting and welding areas be? Ideally, you want at least 10 to 15 feet of separation if you don’t have a physical barrier. However, in a small shop, distance is a luxury. If you are closer than 10 feet, a floor-to-ceiling welding curtain or a cement board wall is mandatory to prevent spark migration and eye flash.
Can I run a CNC plasma table and a MIG welder on the same 50-amp circuit? It is not recommended. A CNC table’s electronics are sensitive to the “noise” and voltage drops created by the high-current draw of a welder. If you must use the same sub-panel, ensure you aren’t running both machines simultaneously, and use a high-quality surge protector for the CNC computer.
What is the cheapest way to build a fireproof shop partition? The most cost-effective DIY method is using 1/2-inch cement board (like HardieBacker) mounted to a steel or wood stud frame. If you use wood, ensure the cement board covers the entire face of the studs on the side facing the sparks. Another cheap option is repurposed corrugated roofing tin.
How do I know if my dust collector has enough CFM for my plasma table? A general rule is that you need about 150-200 CFM per square foot of open table area if you aren’t using a water table. If you have a 4×4 table (16 sq ft), you would need 2,400-3,200 CFM. However, with a water table, you can reduce this significantly, as the water traps the bulk of the particulate.
Do I really need a 3-phase converter for a home shop? Only if you plan on buying industrial surplus machinery. Most modern “inverter-based” welders and plasma cutters are designed to run very efficiently on single-phase 240V. However, if you want to run a heavy-duty cold saw, a large ironworker, or an older bridgeport mill, a rotary phase converter is a great investment.
What is the best floor coating for a fabrication shop? Avoid standard epoxy; it can be slippery when covered in fine metal dust and can be damaged by dropped heavy steel. A densified concrete sealer or a simple high-quality concrete stain is often better. It hardens the surface and makes it easier to sweep without the risk of peeling under heat.
How do I stop my CNC plasma from interfering with my shop’s Wi-Fi or radio? This is caused by “RFI” (Radio Frequency Interference). Ensure your plasma power supply and the table itself are grounded to a dedicated earth ground rod. Use shielded cables for your motors and sensors, and keep the PC as far from the plasma power unit as the cables allow.
Is a water table better than a downdraft table for plasma cutting? For a DIY or small shop, a water table is usually better. It is cheaper to build, requires no expensive blowers or filters, and keeps the material cool to prevent warping. Downdraft tables are excellent but require massive CFM and expensive filtration to be effective.
(This article was written by one of our staff writers, Edward Sinclair. Visit our Meet the Team page to learn more about the author and their expertise.)