How to Set Up a Small Metal Fabrication Corner (Easy Guide)
Setting up a functional metalworking space in a small garage is a challenge I have faced many times. I remember standing in my first workshop back in 2013 with exactly $1,850 in my pocket and a pile of conflicting advice from the internet. I was worried about wasting my limited funds on tools that would break or, worse, creating a fire hazard in my own home. My background as an industrial maintenance technician taught me that success isn’t about having the most expensive gear; it is about having a structured plan and respecting the physics of the craft.
The anxiety of that first setup is real. You want to build things, but you are staring at an empty corner and a confusing array of power requirements and safety ratings. Over the last decade, I have tracked every dollar spent and every layout change to see what actually works for a beginner. This guide is built on those records to help you avoid the expensive “re-buy” cycle and get your space up and running safely.
Mapping Out Your Entry-Level Metalworking Space
Before buying a single tool, you must define the physical boundaries where your work will happen. This process involves measuring your available floor space and identifying how to keep sparks away from flammable items.
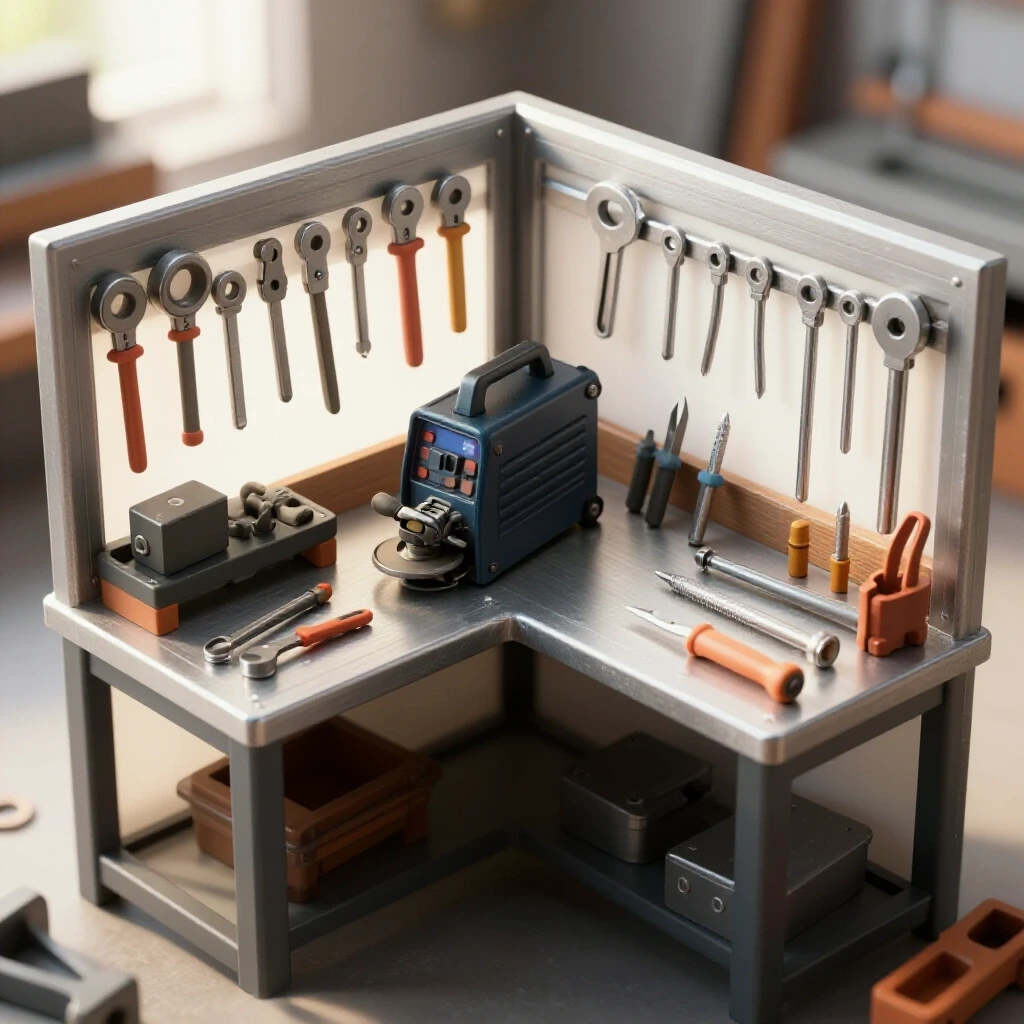
A compact fabrication area usually fits within a 100-square-foot footprint. While that sounds small, it is plenty of room if you are organized. I have found that the most efficient layout is a “corner configuration” where your workbench sits against one wall and your metal storage is adjacent to it. This keeps your workflow tight and minimizes the distance you carry heavy materials.
When planning your layout, you must account for “swing room.” This is the extra space needed to move long pieces of square tubing or angle iron. If your workbench is 4 feet long, but you are working with 8-foot sticks of steel, you need 4 feet of clear space on either side. I once made the mistake of bolting my bench into a tight corner, only to realize I couldn’t cut a long piece of pipe without opening the garage door.
- Minimum Clearance: Maintain at least 3 feet of walking space around your primary welding table.
- Spark Zone: Identify a 10-foot radius around your grinding and welding area that is free of sawdust, gasoline, or paper.
- Vertical Storage: Use wall space for clamps and hand tools to keep your floor clear for movement.
Evaluating Power Limits for Beginner Welder Power Requirements
Understanding how much electricity your tools draw is critical for preventing tripped breakers and fire hazards. Most household outlets are not designed for the sustained high-amp draw of metalworking machinery.
Most standard garage outlets are on a 15-amp circuit. While this can run a small grinder or a drill, it will struggle with a welder. If you try to weld at high settings on a 15-amp circuit, you will likely trip the breaker constantly. This isn’t just annoying; it can damage the internal components of your machine over time. I recommend checking your breaker box to see if you have a 20-amp circuit available.
A 20-amp circuit provides a much safer buffer for entry-level 110v welders. If you are serious about fabrication, the best investment you can make is having an electrician run a dedicated 220v line. This allows you to run more powerful machines with a higher duty cycle—the amount of time a machine can operate in a 10-minute period before it needs to cool down.
Power Consumption by Tool Class
| Tool Type | Voltage | Typical Amp Draw | Recommended Circuit |
|---|---|---|---|
| 4.5-inch Angle Grinder | 110v | 6A – 10A | 15A Standard |
| Entry-Level MIG Welder | 110v | 15A – 20A | 20A Dedicated |
| Small Bench Grinder | 110v | 3A – 5A | 15A Standard |
| Multi-Process Welder | 220v | 20A – 30A | 50A Dedicated |
| Chop Saw | 110v | 15A | 20A Dedicated |
Strategic Budget Allocation for Affordable Fabrication Tools
Managing a limited budget requires separating “nice-to-have” tools from essential equipment. A smart allocation focuses a significant portion on safety and measurement, while the rest goes toward core machines.
In my experience, beginners often spend 90% of their money on a welder and 10% on everything else. This is a mistake. You will spend more time cutting, grinding, and measuring than you will actually welding. I suggest a 30/70 split. Allocate 30% of your budget to high-quality safety gear and precision measuring tools. The remaining 70% goes toward your primary fabrication tools.
Buying the cheapest angle grinder might seem like a win, but budget grinders often have poor cooling and thin plastic gears. I have tracked the lifespan of various entry-level brands, and a mid-range grinder typically lasts three times longer than the cheapest “bargain bin” version. When a tool fails in the middle of a project, it costs you more in lost time and frustration than the $20 you saved upfront.
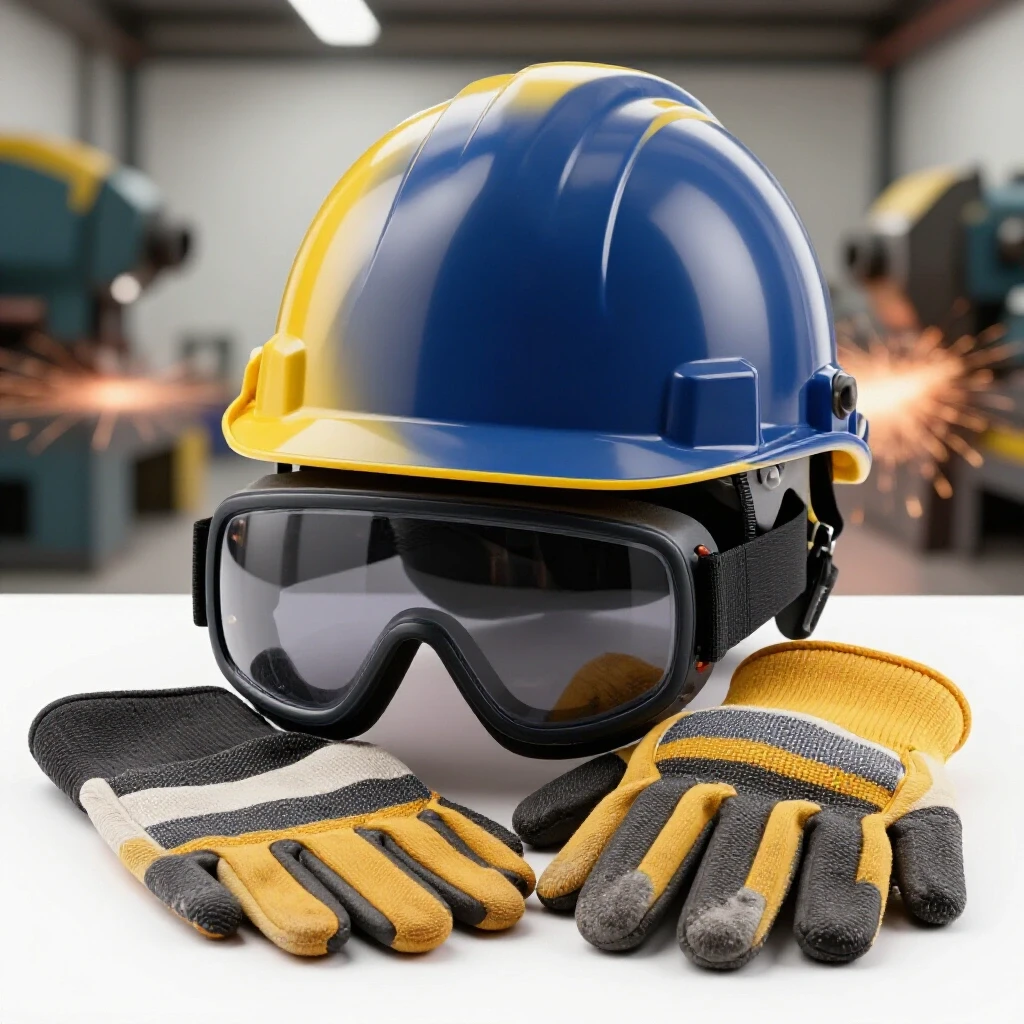
- Safety Gear (30%): Auto-darkening helmet, leather gloves, respirator, and fire extinguisher.
- Measurement Tools: Steel squares, calipers, and a high-quality scribe.
- Core Machines (70%): Welder, angle grinder, and a sturdy work surface.
Setting Up Effective Garage Workshop Ventilation
Metalworking creates fumes and dust that can damage your lungs over time. Proper airflow ensures that hazardous particles are moved away from your breathing zone immediately.
The American Welding Society (AWS) emphasizes the importance of keeping your head out of the “fume plume.” In a small shop, smoke builds up quickly. A common mistake is thinking a standard ceiling fan is enough. It isn’t. You need a system that pulls the dirty air out of the space and replaces it with fresh air.
I use a simple cross-ventilation strategy. I place a high-velocity fan in a window or door to pull air across my work area and out of the garage. For heavy grinding, I use a dedicated shop vacuum with a HEPA filter positioned right at the source of the dust. This keeps the fine metallic powder from settling on everything in the garage.
Ventilation CFM Requirements
| Workshop Size | Activity Level | Required CFM (Cubic Feet/Min) | Solution Type |
|---|---|---|---|
| Under 100 sq ft | Light Grinding/MIG | 400 – 600 | High-Velocity Window Fan |
| 100 – 200 sq ft | Heavy Grinding/Stick | 800 – 1,200 | Wall-Mounted Exhaust Fan |
| Any Size | TIG Welding | 200 – 400 | Gentle Cross-Breeze |
Organizing a Starter Metal Workshop Layout for Safety
A logical arrangement of tools minimizes movement and keeps flammable materials away from heat sources. This layout focuses on the sequence of cutting, prepping, and joining metal.
I follow a “Clean-to-Dirty” workflow. The “Clean Zone” is where I store my raw metal, do my layout marks, and keep my precision tools. The “Dirty Zone” is where the grinding, cutting, and welding happen. Keeping these areas separate prevents metal shavings from getting into your expensive measuring tools or your welding machine’s internal fans.
One of the most important safety rules I follow is the “Hot Zone” designation. This is a specific area on the floor, usually marked with tape, where I place hot metal pieces to cool. This prevents me or anyone else from accidentally touching a piece of steel that looks cold but is actually 500 degrees.
- Material Storage: Keep metal off the floor to prevent tripping. Vertical racks work best for small spaces.
- The Work Triangle: Position your welder, your workbench, and your grinder so you can reach all three with minimal steps.
- Scrap Management: Use a dedicated metal bin for off-cuts. Never mix metal scrap with regular trash, as hot sparks can ignite paper.
Building a Solid Fabrication Surface
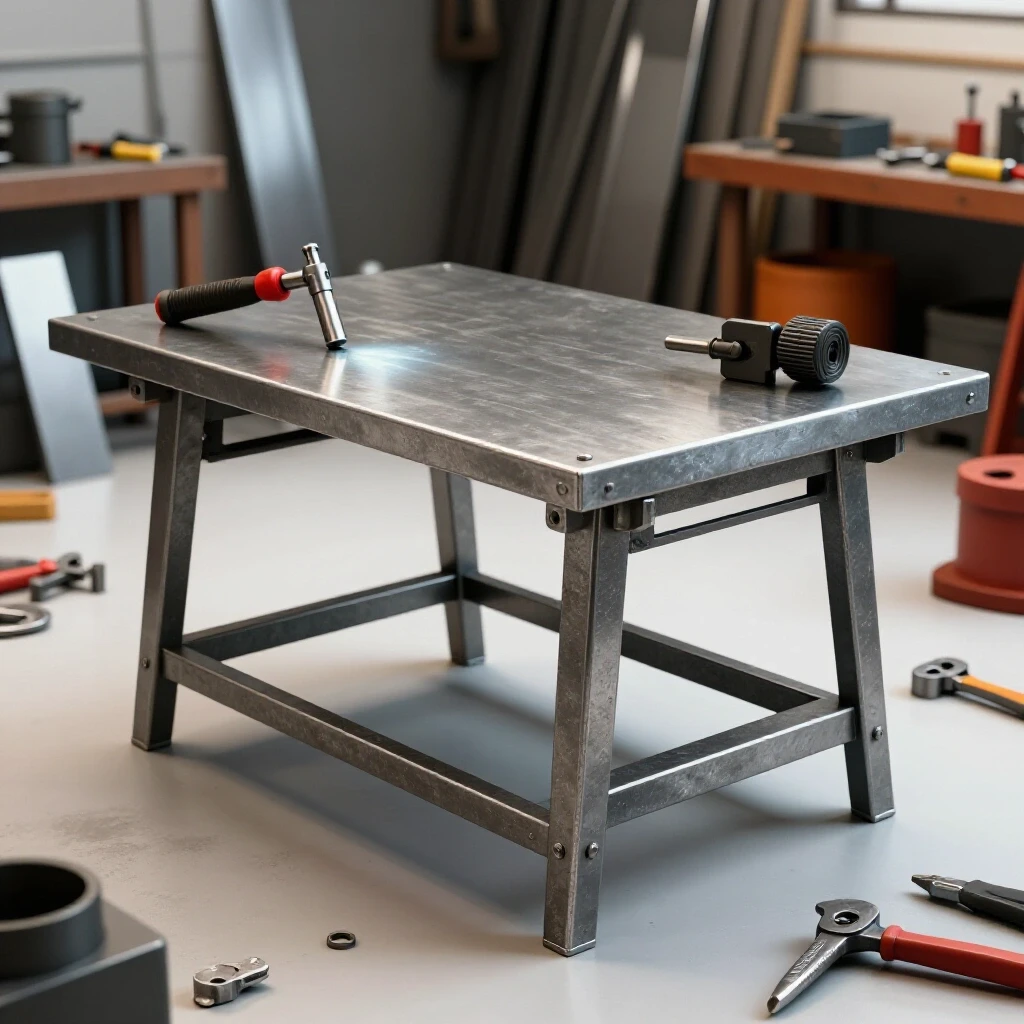
A sturdy, level surface is the foundation of every project you will build. Unlike woodworking benches, a metalworking table needs to be fireproof and capable of acting as an electrical ground for your welder.
For a beginner on a budget, you don’t need a 1-inch thick solid steel plate. A 3/16-inch or 1/4-inch steel plate on a sturdy frame is more than enough for most hobby projects. I built my first table using a heavy-duty wooden workbench frame and topped it with a sheet of steel. This provided the weight I needed for hammering and a conductive surface for my welding ground clamp.
If you are tight on space, consider a folding welding table. Several reputable brands make portable tables that can be tucked away when not in use. However, make sure the table has leveling feet. If your table is wobbly or uneven, your projects will come out twisted, no matter how good your welding technique is.
- Table Height: Usually between 34 and 36 inches to reduce back strain.
- Grounding Point: Clean a small patch of the steel top to bare metal for your ground clamp.
- Weight Capacity: Ensure the frame can support at least 300 pounds of material and tools.
Selecting Your First Cutting and Grinding Tools
Cutting metal is the most frequent task in any fabrication shop. While a chop saw is great, a 4.5-inch angle grinder is the most versatile tool for a beginner with limited space.
I recommend starting with two angle grinders if your budget allows. Having one dedicated to a cutting disc and one for a grinding or flap disc saves a massive amount of time. You won’t have to stop and swap discs every five minutes. In my shop, I tracked my workflow and found that having two grinders increased my efficiency by nearly 40%.
When buying abrasives, avoid the cheapest options at big-box stores. They wear down incredibly fast and can sometimes shatter if used improperly. Look for discs rated for the RPM of your grinder. A high-quality flap disc might cost $6 instead of $2, but it will last five times longer and leave a much better finish on your steel.
- Cutting Discs: Used for slicing through tubing and plate. Always use a guard.
- Grinding Wheels: Used for heavy material removal and shaping.
- Flap Discs: Used for smoothing welds and prepping metal for paint.
- Wire Wheels: Great for removing rust and mill scale, but they require full face protection as they shed wires.
Choosing a Beginner-Friendly Welder
The welder is the heart of your shop, but it is also where most people overspend. For most home fabrication, a MIG (Metal Inert Gas) welder is the most logical starting point.
MIG welding is often called the “hot glue gun” of metalworking because it is relatively easy to learn. You can start with flux-core wire, which doesn’t require a gas tank. This is a great way to save money initially. However, flux-core creates more smoke and splatter. Eventually, you will want to add a bottle of C25 gas (75% Argon, 25% CO2) for cleaner, stronger welds.
When looking at welders, pay attention to the “input voltage.” A dual-voltage machine that can run on both 110v and 220v is the best long-term investment. It allows you to start in a standard garage outlet and upgrade to a more powerful setup later without buying a new machine. I have seen many beginners buy a 110v-only machine and regret it six months later when they try to weld 1/4-inch thick steel.
- MIG: Best for general fabrication and ease of use.
- TIG: Best for thin materials and artistic work, but has a much steeper learning curve.
- Stick: Best for thick material and outdoor work, but difficult to use on thin sheet metal.
Essential Safety Gear and Vetting Standards
Safety in a metal shop is not a suggestion; it is a requirement. Metalworking involves high heat, blinding light, and sharp flying objects.
Your most important piece of gear is your welding helmet. Look for one that meets the ANSI Z87.1 safety standard. An auto-darkening helmet is worth the extra $50 because it allows you to see your workpiece clearly before you start the arc. This prevents “arc eye,” a painful condition similar to a sunburn on your eyeballs.
I also insist on wearing a respirator under my hood. Even with good ventilation, the fine dust from grinding and the fumes from welding can be harmful. A simple P100 rated “pancake” filter respirator fits comfortably under most welding helmets and provides excellent protection.
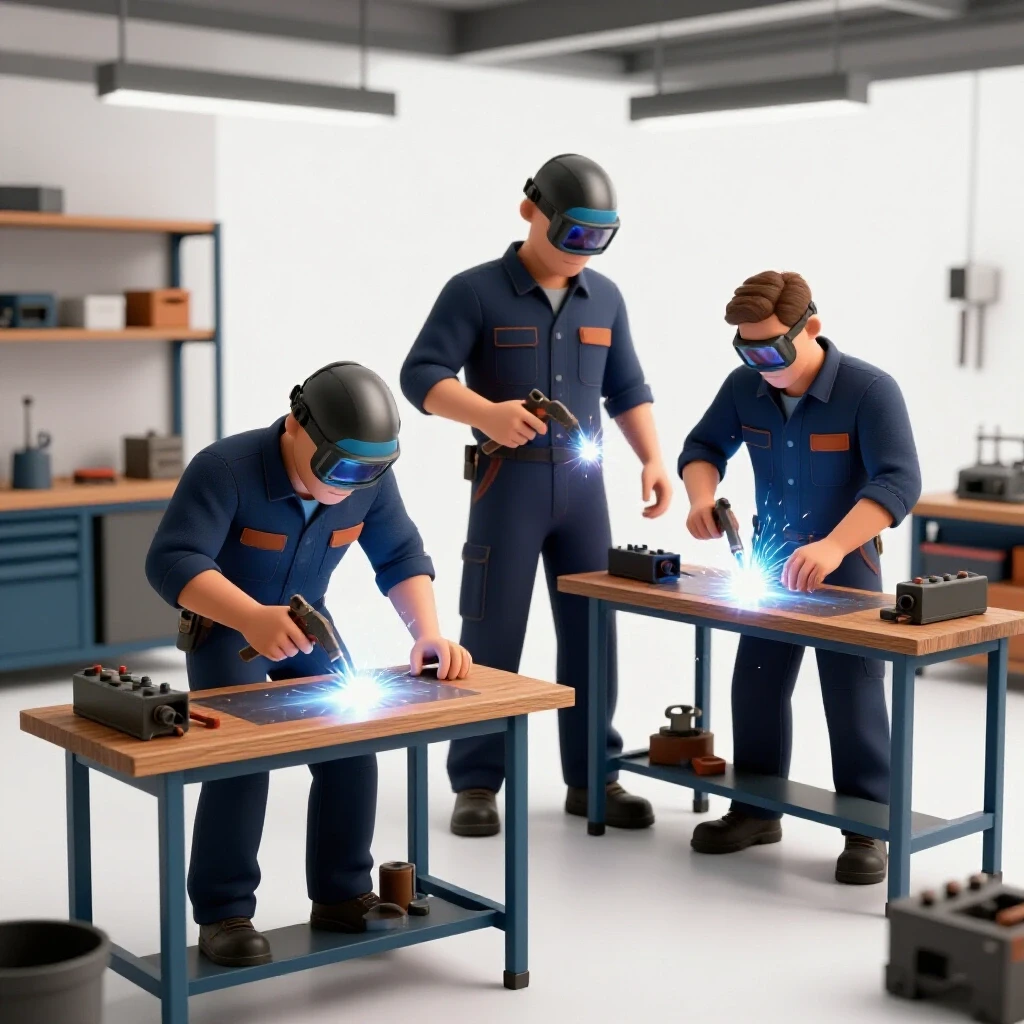
- Eye Protection: Always wear safety glasses under your welding helmet and whenever using a grinder.
- Hand Protection: Use heavy leather gloves for welding and thinner, cut-resistant gloves for handling raw metal.
- Clothing: Wear 100% cotton or leather. Synthetic fabrics like polyester can melt to your skin if hit by a spark.
- Hearing Protection: Grinding is loud. Use earplugs or muffs to prevent permanent hearing loss.
Finalizing Your Shop Setup and Initial Testing
Once your tools are in place and your power is sorted, it is time to perform a “dry run” of your space. This ensures everything is safe before you start your first real project.
I always start by checking my fire extinguisher. It should be an ABC-rated extinguisher, and you should know exactly where it is. Next, I do a “spark test.” I run my grinder for a minute and watch where the sparks land. If they are hitting anything flammable, I adjust my layout or add a fire-resistant welding screen.
Your first project should be something for the shop, like a simple cart for your welder or a rack for your clamps. This allows you to practice your cutting, fitting, and welding on something functional. During this first project, keep a notebook. Write down what feels cramped or what tools you find yourself reaching for most often. This data will help you refine your layout over the coming months.
- Step 1: Verify all electrical connections are tight and cords are not trip hazards.
- Step 2: Test your ventilation by lighting a small piece of paper and ensuring the smoke is pulled away.
- Step 3: Perform a test weld on scrap metal to set your machine’s wire speed and voltage.
- Step 4: Clean your work area. A clean shop is a safe shop.
Frequently Asked Questions
Can I weld on a wooden workbench if I put a piece of metal on top? Yes, but you must be extremely careful. Ensure the metal plate covers the entire area where you are welding and extends a few inches past your work. Sparks can bounce and get trapped in the wood grain or cracks. Always keep a fire extinguisher nearby and stay in your shop for at least 30 minutes after you finish welding to watch for smoldering.
Is a 110v welder powerful enough for automotive work? A 110v MIG welder is usually sufficient for body panels and light frame repairs up to 1/8-inch or 3/16-inch thickness. However, for structural components like suspension mounts or heavy truck frames, a 220v machine is much safer to ensure proper penetration.
How do I prevent my metal from rusting while it sits in the garage? Most steel comes with “mill scale” or a light coat of oil from the supplier. If you clean the steel down to bare metal, it will rust quickly in a humid garage. I recommend only cleaning the specific area you are about to weld. For finished projects, a light coat of WD-40 or a dedicated metal primer will stop rust.
What is the difference between a chop saw and a cold saw? A chop saw uses an abrasive disc (like a giant grinder) and is loud, messy, and creates lots of sparks. It is very affordable. A cold saw uses a toothed blade and coolant to cut metal slowly and cleanly with no sparks. Cold saws are much more expensive and usually not necessary for a beginner shop.
Do I really need a dedicated circuit for my welder? While you can use a shared circuit, a dedicated 20-amp line is highly recommended. If your refrigerator or air conditioner kicks on while you are welding on the same circuit, you will likely trip the breaker or cause a voltage drop that ruins your weld.
What is the best way to clean metal before welding? Use an angle grinder with a flap disc or a wire wheel to remove all rust, paint, and mill scale until the steel is shiny. Then, wipe the area with acetone to remove any oils. Clean metal is the secret to strong, beautiful welds.
How often should I replace my welding helmet lens? You should replace the clear outer protective lens as soon as it becomes pitted or scratched enough to interfere with your vision. These lenses are cheap, and having a clear view of your weld puddle will drastically improve your work quality.
Can I use a regular shop vac for metal dust? You can, but you must be careful. Hot sparks can ignite the debris inside the vacuum. I recommend using the vacuum only after the metal has cooled, or using a separator system. Always empty the vacuum frequently to prevent the buildup of fine metallic dust, which can be a fire hazard.
Is TIG welding harder to learn than MIG? Yes, TIG welding requires you to use both hands (one for the torch, one for the filler rod) and often a foot pedal for heat control. It is much more precise but takes significantly more practice to master than MIG welding.
What size fire extinguisher do I need? A 5-pound ABC dry chemical fire extinguisher is the standard for most home workshops. Ensure it is mounted in a visible, easy-to-reach location near the exit of your shop, not tucked away in the corner where the fire is likely to start.
Why does my welder keep “stuttering” when I weld? This is often caused by a poor ground connection or an incorrect wire-feed speed. Make sure your ground clamp is attached to clean, bare metal. If the issue persists, check that your contact tip is the right size for your wire and isn’t worn out.
Should I buy a brand-name welder or a cheap import? Brand-name welders (like Miller, Lincoln, or Hobart) have better parts availability and customer support. However, many modern “import” welders are quite capable for hobbyist use. If you go with a cheaper machine, look for one with a solid warranty and positive reviews from other DIY users.
(This article was written by one of our staff writers, Michael Thompson. Visit our Meet the Team page to learn more about the author and their expertise.)