How to Set Up and Organize a Two-Bench Workshop (Layout)
When I walked into my first single-car garage in 2013, I had a pile of steel, a heavy vice, and a lot of ambition. My biggest mistake was thinking I could do everything on one surface. Within a week, my precision measuring tools were covered in grinding dust, and I had no room to actually assemble the projects I was cutting. Transitioning to a dual-station configuration was the single most important change I made. It allowed me to separate the violent, messy stages of fabrication from the delicate work of layout and assembly.
In my years as an industrial maintenance technician, I saw how professional shops used “cell-based” layouts to stay efficient. You don’t need a factory floor to replicate this. By strategically placing two distinct work surfaces, you create a workflow that protects your equipment and your sanity. This guide focuses on the physical arrangement, spatial requirements, and organizational logic of a twin-bench system for home fabrication.
Designing a Dual-Station Workflow for Metal Fabrication
A dual-station workflow is a layout strategy that divides a workshop into two primary functional zones to increase efficiency and safety. This approach separates heavy material removal and welding from precision tasks like marking, measuring, and final assembly. It prevents cross-contamination of debris and provides dedicated spaces for different stages of a project.
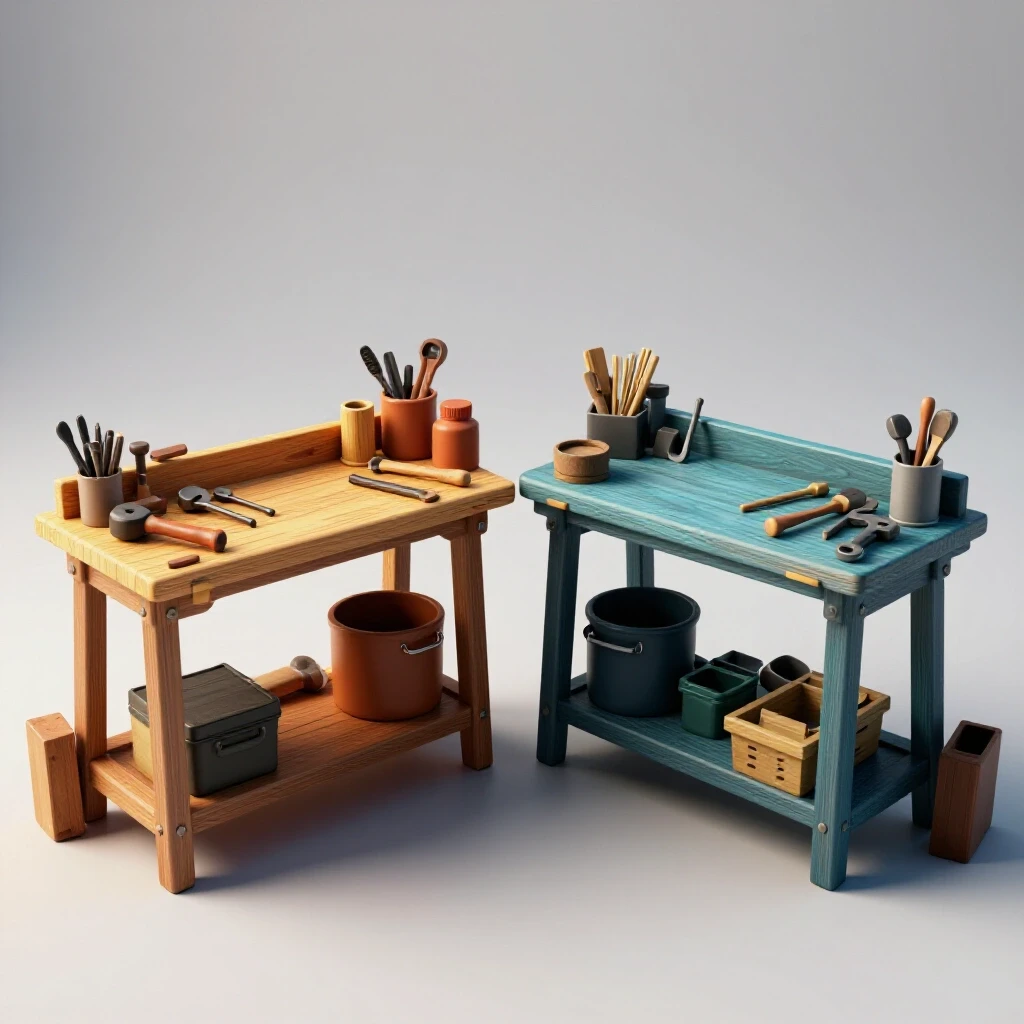
Separating your workspace into two zones is about more than just having more table space. It is about protecting the integrity of your work. In a metalworking environment, the “dirty” bench handles the heat, sparks, and metal shavings. The “clean” bench remains a sanctuary for your calipers, squares, and technical drawings.
The Primary Fabrication Bench
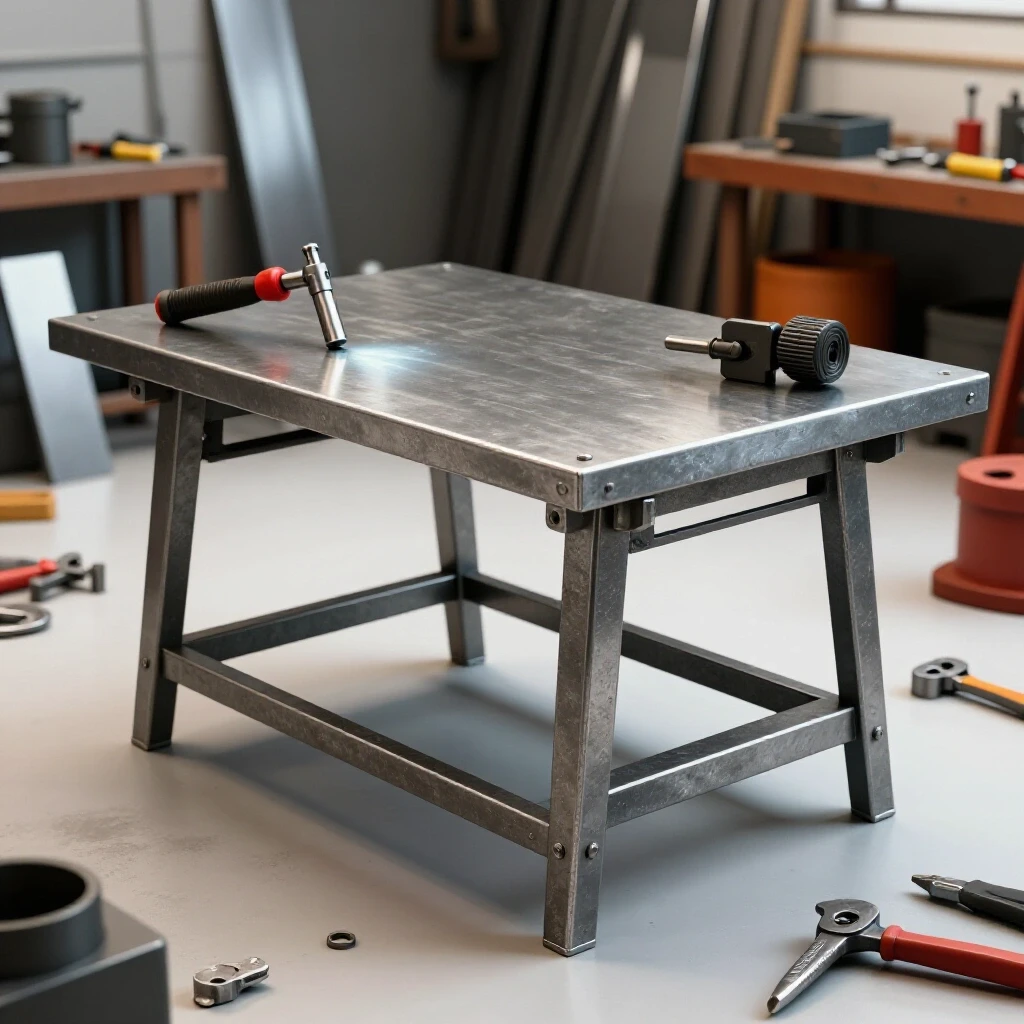
The primary fabrication bench is the heavy-duty workhorse of the shop, designed to withstand impact, heat, and vibration. It serves as the main site for cutting, grinding, and welding operations. This bench must be robust enough to support heavy raw materials and the force of manual metalworking tools.
I recommend placing this bench near the main entrance or garage door. This allows for better natural airflow and makes it easier to bring in long pieces of tube or plate steel. In my first setup, I positioned this bench against a wall but left enough room on the sides to handle six-foot lengths of angle iron without hitting my storage cabinets.
The Secondary Finishing and Layout Bench
The secondary finishing and layout bench is a dedicated surface for precision work, marking out parts, and final assembly. It is kept free of grease, slag, and heavy debris to ensure that measurements remain accurate and finished surfaces are not scratched. This bench often houses stationary precision tools.
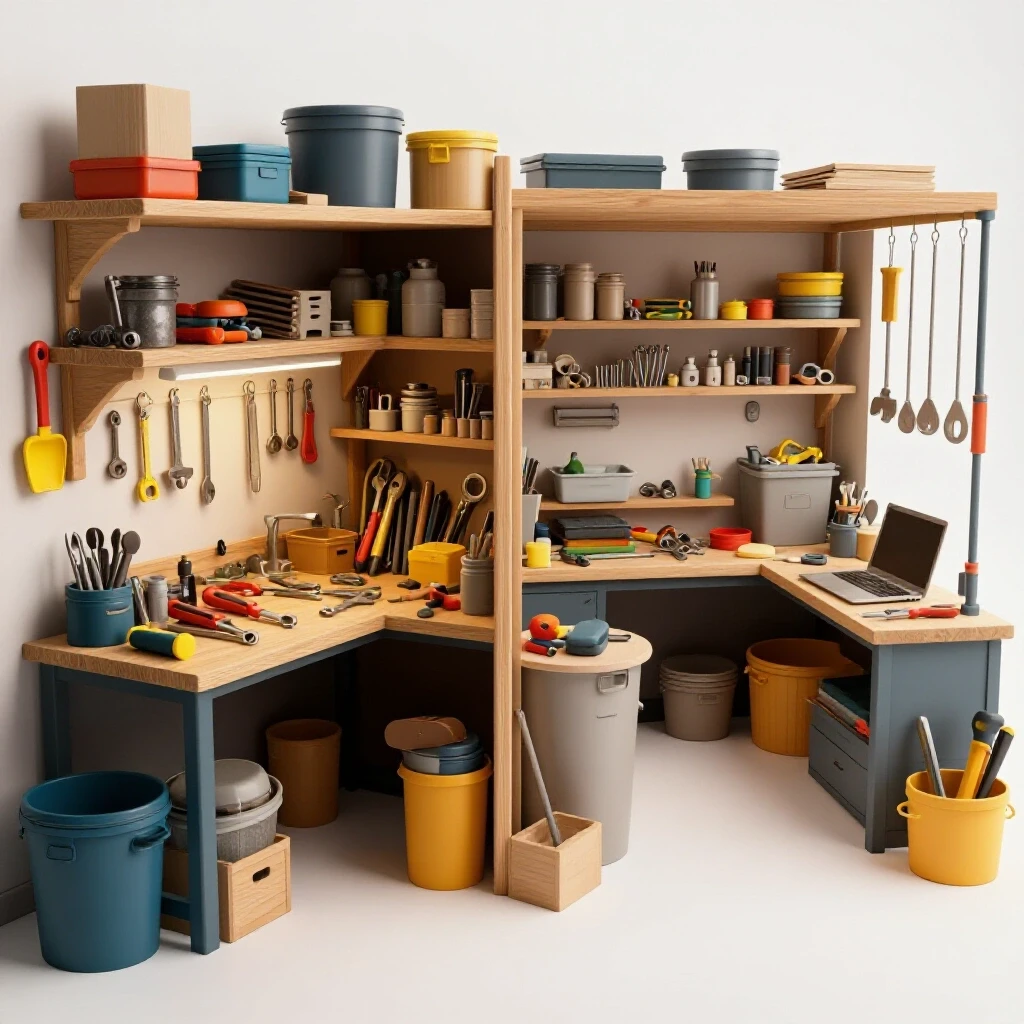
This bench should be the “clean zone.” I found that placing it at a 90-degree angle or directly opposite the fabrication bench works best. This creates a “pivot” workflow where you can cut a piece on the dirty bench, turn around, and immediately check it against your plans on the clean surface.
Spatial Requirements and Safety Clearances
Spatial requirements and safety clearances are the minimum physical distances needed between equipment, benches, and walls to operate safely. These measurements ensure that the operator has enough room to move, handle materials, and escape in an emergency. Following these guidelines helps prevent accidents in confined garage spaces.
When you are swinging a four-foot piece of steel, a cramped shop becomes a dangerous shop. I always refer to industrial standards, similar to those suggested by OSHA for clear walkways, to determine how much space I need. In a residential garage, you are often fighting for every inch, but cutting corners on clearances leads to bruised shins and ruined workpieces.
The “Five-Foot Rule” for Material Handling
The five-foot rule is a layout principle that requires at least five feet of clear space in front of and to the sides of a primary work surface. This clearance accounts for the length of standard metal stock and the operator’s range of motion. It ensures that long materials do not strike walls or other machinery during the fabrication process.
- Front Clearance: Maintain 60 inches of open floor space in front of the fabrication bench.
- Side Clearance: Ensure at least 36 inches on either side of the bench for stock overhang.
- Swing Zone: Identify the “arc” where a long piece of metal might move when being turned or flipped.
Minimum Aisle Widths for Operator Mobility
Minimum aisle width refers to the necessary distance between two parallel benches or a bench and a wall to allow for safe passage. For a single operator, this distance ensures that you can move freely without tripping over cords or hitting your elbows. It is a critical factor in preventing fatigue and maintaining a safe environment.
In my experience, an aisle width of 36 to 42 inches is the “sweet spot” for a home shop. Anything less feels like a crawl space; anything more wastes valuable floor real estate. If your benches are back-to-back, you might need slightly more room to account for the “push-back” when you are leaning into a heavy file or saw.
Optimizing Tool Reach and Storage Adjacency
Tool reach and storage adjacency is the practice of placing the most frequently used tools within a comfortable arm’s length of the primary work area. This reduces unnecessary movement and keeps the work surface clear of clutter. It involves organizing tools based on how often they are used during a specific task.
Efficiency in a two-bench system comes from minimizing the “walk time” between your tools and your workpiece. I use a “Zone 1, Zone 2” approach for storage. Zone 1 is anything I can touch without moving my feet. Zone 2 requires one or two steps.
Primary Reach Zones for Hand Tools
The primary reach zone is a semi-circular area approximately 18 to 24 inches from the front edge of the workbench. This area should be reserved for the tools you pick up multiple times an hour, such as markers, squares, and pliers. Keeping these items in this zone prevents “bench creep,” where tools slowly take over your workspace.
- Frequency of Use: If you use it every 10 minutes, it stays on a magnetic rack or a shadow board directly in front of you.
- Ergonomic Height: Tools should be stored between waist and eye level to avoid excessive bending or reaching.
Adjacency for Stationary Bench Tools
Adjacency for stationary tools refers to the strategic placement of fixed equipment, like a bench vice or a drill press, in relation to the main work area. Proper placement ensures that the output of one tool (like a drilled hole) is immediately ready for the next step (like deburring) without crossing the shop.
I always mount my heaviest vice on the corner of the fabrication bench. This allows me to clamp long vertical pieces that extend toward the floor. Interestingly, placing the drill press at the end of the clean bench allows the table of the bench to act as a support for long workpieces being drilled, provided the heights are aligned.
| Feature | Fabrication Bench (Dirty) | Layout Bench (Clean) |
|---|---|---|
| Surface Material | Steel plate or heavy wood with a replaceable top | Plywood, MDF, or laminate |
| Primary Tasks | Welding, cutting, grinding, heavy hammering | Measuring, marking, light assembly, deburring |
| Typical Tools | Vice, angle grinders, welding clamps | Calipers, squares, scribe, small hand files |
| Height Requirement | 34–36 inches (lower for leverage) | 38–42 inches (higher for detail work) |
| Storage Focus | Heavy clamps, scrap bins, consumables | Precision instruments, hardware organizers, drawings |
Material Staging and Workflow Transitions
Material staging is the organized temporary storage of raw metal stock and work-in-progress parts as they move through the shop. Effective staging prevents bottlenecks and keeps the floor clear of tripping hazards. It involves creating a logical path from the “raw” state to the “finished” state.
In a small shop, metal stock usually starts on a rack and ends up as a finished project. The transition between your two benches is where most projects fail or succeed. If you don’t have a dedicated spot for “work-in-progress” (WIP), your benches will quickly become buried under half-finished parts.
Creating a “In-Process” Buffer Zone
An in-process buffer zone is a small, designated area—often a shelf or a rolling cart—where parts sit between operations. For example, after a part is cut on the fabrication bench, it sits in the buffer zone until it is ready to be measured on the clean bench. This keeps the active work surfaces clear for the task at hand.
- Stage 1: Raw material rack (near the fabrication bench).
- Stage 2: Cutting and rough grinding (fabrication bench).
- Stage 3: The “Cooling Station” or buffer zone (between benches).
- Stage 4: Layout and precision check (clean bench).
- Stage 5: Final assembly or painting.
Workflow Directionality and Floor Markings
Workflow directionality is the intended path that a project follows through the workshop layout. By establishing a clear “start-to-finish” direction, you reduce the likelihood of bumping into equipment or losing track of parts. Some hobbyists use floor tape to mark these paths and keep the center of the shop clear.
I found that a “U-shaped” or “L-shaped” flow is most effective for a two-bench setup. You start at one end of the L with raw steel and end at the other with a completed part. This prevents you from constantly moving items back and forth over the same patch of floor, which reduces wear on your shop floor and your boots.
Implementing Vertical Storage to Save Floor Space
Vertical storage is the use of wall-mounted racks, pegboards, and shelving to store tools and materials above the floor level. This is essential in small workshops where floor space is limited and must be reserved for the operator and large projects. It keeps the work surfaces clear and tools easily visible.
When I moved from a large industrial facility to a home garage, the loss of floor space was my biggest hurdle. I learned to look up. If a tool isn’t touching the workpiece, it shouldn’t be touching the bench. Vertical storage is the secret to making a small two-bench layout feel like a professional fabrication suite.
Wall-Mounted Shadow Boards and Magnetic Strips
A shadow board is a tool storage system where the outline of each tool is drawn or cut into the backing material. This provides an immediate visual cue if a tool is missing and ensures every item has a specific home. Magnetic strips offer a similar benefit for small metal hand tools, keeping them within reach but off the table.
- Visual Inventory: You can see at a glance if you’ve left a scribe or a square on the fabrication bench where it might get damaged.
- Space Efficiency: Magnetic strips can hold dozens of wrenches or pliers in a space only two inches wide.
Overhead Racks for Long-Stock Storage
Overhead racks are storage structures mounted to the ceiling joists or high on the walls to hold long pieces of metal tubing, bar, and angle iron. This keeps heavy, trip-prone materials off the floor and utilizes the unused “airspace” of the garage. It is a key component of a safe workshop layout.
Storing metal overhead requires careful consideration of weight limits and accessibility. I always place my heaviest stock (like thick plate or solid round bar) at waist height on a rack near the fabrication bench, while lighter tubing and aluminum extrusions go on the higher racks. This keeps the center of gravity low and makes the most frequent reaches easier on your back.
Establishing Safe Bench Heights and Ergonomics
Bench height and ergonomics refer to the physical dimensions of the workspace adjusted to the operator’s body and the specific tasks being performed. Proper height prevents back strain and improves tool control. In a two-bench system, these heights often differ to accommodate different types of work.
One size does not fit all in a fabrication shop. If your bench is too high, you can’t get the leverage needed for heavy filing or manual cutting. If it’s too low, you’ll be hunched over while trying to read a precision scale, leading to significant neck pain after an hour of work.
Calculating the Ideal Height for Fabrication
The ideal height for a fabrication bench is generally measured by the distance from the floor to the operator’s wrist bone when their arms are hanging at their sides. This usually falls between 34 and 36 inches. This height allows the operator to use their body weight when working with heavy tools or clamps.
- Leverage: A lower bench is better for using a hacksaw or a large file.
- Welding Comfort: If you plan to weld while seated, you may need a recessed area or a different stool height to maintain a steady hand.
Ergonomic Considerations for Precision Work
Precision work requires the workpiece to be closer to eye level to reduce strain and increase accuracy. Therefore, the “clean” or layout bench is often 2 to 4 inches higher than the fabrication bench. This allows you to stand upright while marking out complex patterns or inspecting fine details.
I personally set my layout bench at 38 inches. This height is perfect for standing work, and it also happens to be a comfortable height for a standard shop stool if I need to sit down for a long assembly session. Keeping the two benches at different heights also provides a visual reminder of which zone you are in, helping you maintain the “clean vs. dirty” discipline.
Final Layout Verification and Test Runs
Layout verification is the process of testing the physical flow of a workshop before permanently bolting benches or equipment to the floor. It involves walking through common tasks to ensure that clearances are sufficient and tools are reachable. This step prevents the need for frustrating re-adjustments later.
Before I ever drove a lag bolt into my garage floor, I used masking tape to outline where everything would go. I spent an afternoon “ghost-working”—pretending to cut, move, and assemble a project. It felt silly, but it revealed that I didn’t have enough room to fully open my welder’s side panel or swing a long piece of tube around the corner of the bench.
The “Dry Run” Workflow Test
A dry run involves moving through the steps of a typical project using scrap material or even just empty hands. This tests the logic of your two-bench placement. You are looking for “pinch points” where you feel cramped or “dead steps” where you have to walk too far to grab a common tool.
- Pick up a mock “raw part” from your storage area.
- Move it to the fabrication bench and simulate a cut.
- Transfer it to the “buffer zone” to cool.
- Move it to the layout bench for a precision check.
- Return it to the fabrication bench for “welding.”
- Note any obstacles or awkward movements during this cycle.
Adjusting for Mobility and Future Growth
A good layout is flexible. As you gain experience, you might realize you need a different tool or a larger assembly area. Using heavy-duty locking casters on at least one of your benches allows you to reconfigure the space for oversized projects while maintaining the two-station logic for everyday work.
In my current shop, my clean bench is stationary, but my fabrication bench is mobile. This allows me to roll the heavy work outside on a clear day for maximum ventilation or move it to the center of the floor when I’m building something like a trailer frame that requires 360-degree access.
Frequently Asked Questions
Why do I need two benches instead of one large one?
Two benches allow you to separate “dirty” processes (grinding, welding) from “clean” processes (marking, assembly). This protects your precision tools from abrasive dust and prevents slag from ruining finished surfaces. It also creates a logical workflow that keeps your shop organized during complex builds.
How much space should I leave between the two benches?
A minimum of 36 inches is required for a single operator to move comfortably. However, 42 to 48 inches is ideal if you have the room, as it allows you to back up or turn around while carrying materials without hitting the other bench.
Should both benches be the same height?
Usually, no. The fabrication bench should be lower (34–36 inches) to allow for better leverage during heavy tasks. The layout and assembly bench should be higher (38–42 inches) to bring precision work closer to eye level and reduce back strain.
What is the best material for a fabrication bench top?
A steel plate (at least 1/4 inch thick) is the standard for fabrication because it is fireproof, can be used as a ground for welding, and is heavy enough to stay still during grinding. A wood bench can be used if topped with a replaceable sacrificial layer like Masonite or a thinner sheet of 10-gauge steel.
Where should I place my vice in a two-bench layout?
The primary heavy-duty vice should be mounted on a corner of the fabrication bench. This allows you to clamp long workpieces vertically toward the floor. A smaller, precision vice can be mounted on the clean bench for detail work and light assembly.
How do I handle long pieces of metal in a small garage?
Position your fabrication bench so that it aligns with a door or a long aisle. Ensure you have at least five feet of “swing space” around the bench. Using overhead storage racks also keeps long stock off the floor until it is ready to be cut into manageable pieces.
What is “bench creep” and how do I avoid it?
Bench creep occurs when tools and scrap slowly accumulate on your work surface until there is no room left to work. Avoid this by implementing vertical storage (pegboards or magnets) and ensuring every tool is returned to its “home” as soon as it is no longer needed for the current step.
Can I use rolling benches in a two-bench setup?
Yes, putting benches on heavy-duty locking casters is an excellent way to maximize a small space. It allows you to move the “dirty” bench closer to the door for ventilation or clear a large central area for oversized projects.
How do I keep my “clean” bench actually clean?
The key is discipline and physical separation. Never grind or weld on the clean bench. Use a dedicated brush and vacuum for the clean zone only, and consider a “buffer zone” (like a small tray) where parts sit to cool and shed dust before they transition to the clean surface.
Is a 10-foot by 10-foot space enough for a two-bench layout?
Yes, a 10×10 area can accommodate a dual-bench system if you use the walls effectively. By placing the benches in an L-configuration and utilizing vertical storage, you can maintain the necessary 36-inch aisle while still having dedicated zones for fabrication and assembly.
(This article was written by one of our staff writers, Michael Thompson. Visit our Meet the Team page to learn more about the author and their expertise.)