How to Sort and Store Steel Offcut Scrap Safely (DIY Guide)
Managing a growing fabrication shop often feels like a constant battle against physical clutter. In my twenty years of operating and optimizing manufacturing spaces, I have found that the most significant bottleneck isn’t usually the speed of the CNC plasma table or the duty cycle of the welder. Instead, it is the disorganized accumulation of steel remnants that chokes the workflow. When you transition from a hobbyist setup to a high-output professional environment, every square foot of floor space carries a literal cost. If you are tripping over jagged pieces of A36 plate or spending twenty minutes digging for a specific length of square tubing, your shop’s efficiency is hemorrhaging.
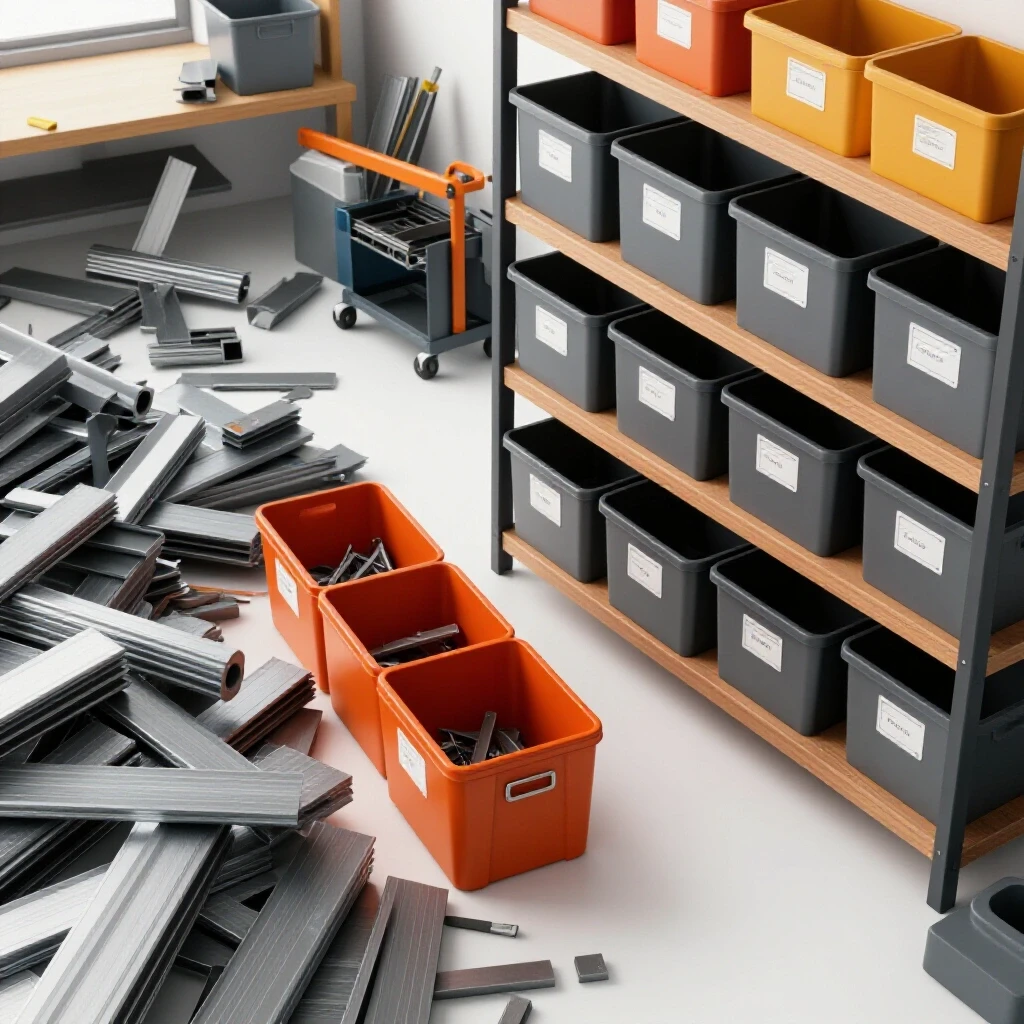
I started my journey in a cramped garage where material handling was an afterthought. As I integrated more automation and moved toward a lean manufacturing model, I realized that my “scrap pile” was actually a disorganized inventory of valuable assets. However, without a systematic approach to categorizing and securing these leftovers, they become a safety liability and a production hurdle. To scale effectively, you must treat your steel remnants with the same engineering rigor you apply to your finished products. This guide focuses on the technical and structural requirements for managing steel offcuts within a professionalized home or light-commercial workshop.
Mapping Material-Flow Loops to Minimize Shop Bottlenecks
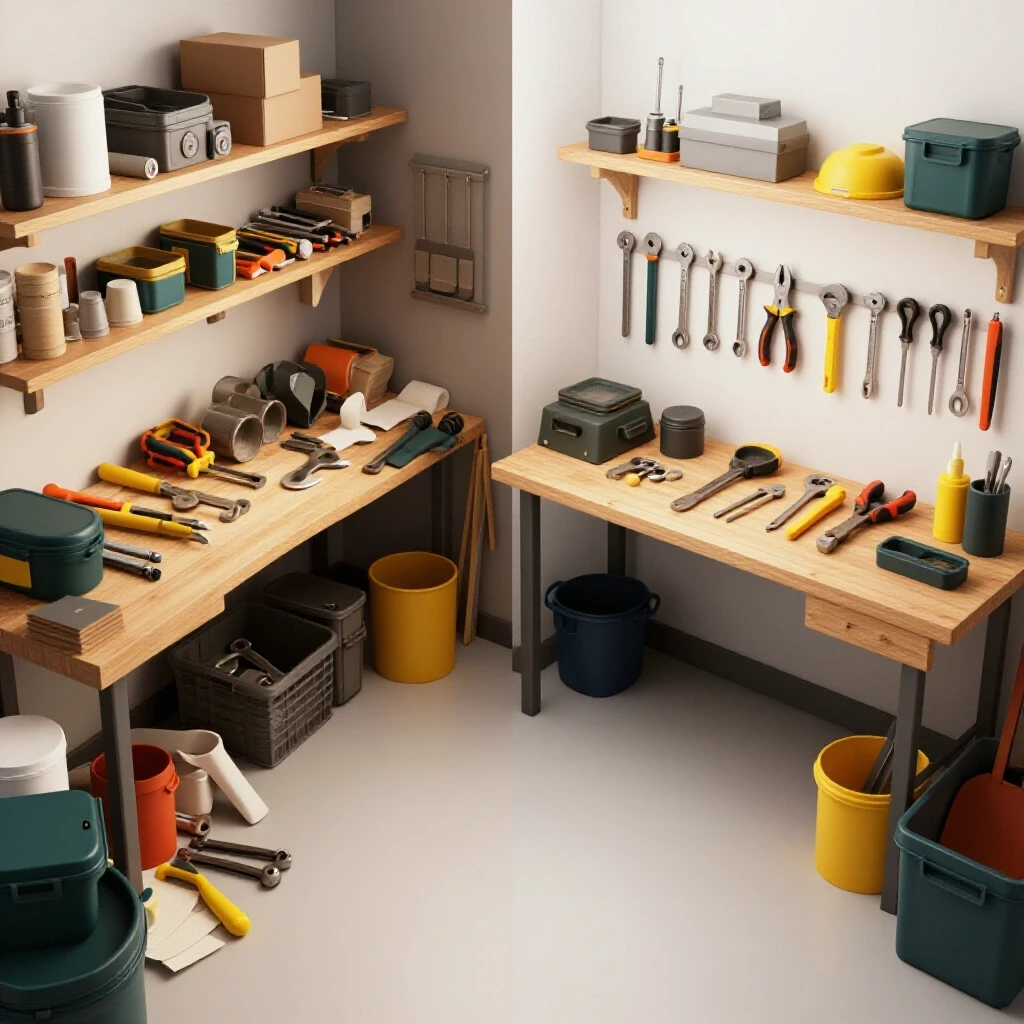
Effective workshop layout involves analyzing the path raw materials take from the delivery truck to the final assembly area. By identifying where steel remnants are generated—typically at the CNC plasma station or the horizontal bandsaw—you can position storage solutions to reduce unnecessary movement and “spaghetti” travel paths.
In my early years, I made the mistake of placing my steel storage at the far end of the shop, away from the primary cutting stations. This meant every time I finished a job, I had to carry heavy, sharp remnants across the entire floor. In a lean manufacturing context, this is “waste of motion.” To fix this, I began using a spaghetti diagram to track my footsteps. I found that by moving my remnant racks within a five-foot radius of my primary cutting tools, I reduced my daily walking distance by nearly a quarter-mile.
When you are scaling a shop, you must consider the floor load capacity. A standard 4-inch concrete slab in a residential garage is often rated for approximately 3,000 to 4,000 PSI. However, a concentrated rack of steel offcuts can easily exceed this limit if the weight isn’t distributed. I recommend using heavy-duty steel base plates under your racking uprights to spread the load across a larger surface area. This prevents the concrete from cracking or settling over time, which could cause your racks to lean and become unstable.
Workshop Layout Flow Comparison
| Layout Type | Material Travel Distance | Safety Risk Level | Throughput Efficiency |
|---|---|---|---|
| Centralized Pile | High (30+ feet) | High (Trip/Cut hazards) | Low (Searching time) |
| Station-Adjacent Racks | Low (under 5 feet) | Low (Organized) | High (Immediate access) |
| Perimeter Wall Storage | Medium (10-15 feet) | Medium (Reach hazards) | Medium (Moderate access) |
Categorizing Steel Remnants by Grade and Geometry
Systematic categorization involves sorting steel by its chemical composition and physical shape to ensure the right material is used for the right job. This process prevents the accidental use of low-carbon mild steel in applications requiring the high-tensile strength of alloyed steels.
In a professional shop, you cannot rely on visual identification alone. I once watched an apprentice grab what he thought was a piece of 1018 cold-rolled steel for a structural bracket, only to find out later it was a hardened tool steel remnant that had been misplaced. This mistake ruined a specialized drill bit and delayed a project by two days. Now, I enforce a strict categorization system based on three primary criteria: alloy grade, thickness/gauge, and geometry.
- Alloy Grade: Group your A36 mild steel separately from 1018 or 4130 chromoly. Even if they look similar, their welding and machining characteristics differ wildly.
- Thickness and Gauge: Organize plate remnants in vertical bins sorted by thickness (e.g., 1/8″, 1/4″, 3/8″). This allows you to quickly verify if a piece will fit your CNC plasma nesting requirements.
- Geometry: Keep “longs” (tubing, angle, channel) separate from “flats” (plate and sheet). Longs require horizontal or vertical cantilever racks, while flats are best stored in “toast rack” style vertical bins.
Building on this, I use a color-coding system. A quick swipe of a paint marker on the edge of the steel tells me everything I need to know. For example, red might indicate 4130, while blue indicates A36. This visual management tool is a core tenet of lean manufacturing; it allows you to assess your inventory levels at a glance without pulling out a set of calipers.
Engineering Stable Racking Systems for Heavy Loads
A stable racking system is a structural assembly designed to hold the significant weight of steel remnants without tipping or collapsing. Engineering these racks requires calculating center of gravity, weight distribution, and anchoring requirements to ensure shop safety.
Safety in a high-output shop is non-negotiable. When you’re dealing with hundreds or thousands of pounds of steel, a rack failure can be catastrophic. I prefer the “toast rack” design for plate remnants. This consists of a heavy base with vertical dividers that allow pieces to stand on edge. Interestingly, this design prevents the “bottom of the pile” syndrome, where the piece you need is always at the very bottom of a heavy stack.
For tubing and bar stock, vertical storage is often the best way to save floor space, but it introduces a tipping risk. I always secure my vertical racks to the wall studs or the floor using 1/2-inch wedge anchors. If you are building your own racks, ensure the “fingers” or dividers are angled slightly upward (about 2 to 3 degrees) to prevent round stock from rolling off.
Racking Load Capacity Benchmarks
- Light-Duty Racks: 500 lbs per shelf (Suitable for small cut-offs and thin-gauge strips).
- Medium-Duty Racks: 1,500 lbs per shelf (Suitable for short lengths of 2-inch square tubing).
- Heavy-Duty Industrial Racks: 3,000+ lbs per shelf (Required for thick plate remnants and heavy structural shapes).
As a rule of thumb, always over-engineer your storage. If you think you’ll store 1,000 lbs of steel, build the rack to handle 2,000 lbs. This provides a safety factor that accounts for the dynamic loads of dropping a heavy piece into the rack or accidentally bumping it with a pallet jack.
Environmental Controls and Surface Preservation
Environmental controls involve managing the temperature and humidity within a workshop to prevent the oxidation and degradation of stored steel. This is especially critical for maintaining the surface quality of remnants intended for precision CNC cutting.
Rust is the enemy of a clean weld and a smooth CNC plasma cut. If your shop is not climate-controlled, the fluctuating temperatures can cause condensation to form on cold steel, leading to surface pitting. I have found that even in a non-insulated shop, you can mitigate this by keeping your steel off the concrete floor. Concrete acts as a thermal mass and a source of moisture; steel stored directly on it will rust significantly faster than steel stored on a raised rack.
For long-term storage of high-value steel, I recommend a light coating of a dry-film rust inhibitor. Unlike traditional oils, dry films do not attract dust or grit, which can clog your CNC torch or contaminate your weld pool. Furthermore, if you are integrating a high-volume air filtration system, ensure that the intake is not pulling moist outdoor air directly across your steel storage area.
Integrating Remnant Management into CNC Workflows
CNC remnant management is the practice of tracking and utilizing the leftover portions of a metal sheet within CAD/CAM software to maximize material utilization. This process reduces waste and ensures that every usable square inch of steel is accounted for in the production cycle.
When I first integrated a CNC plasma table into my workflow, I struggled with “remnant anxiety.” I would keep every jagged piece of a 4×8 sheet, thinking I might need it later. This quickly led to a mountain of unusable junk. Now, I use a “minimum viable size” rule. If a remnant is smaller than 6×6 inches or has too many holes to be safely clamped or indexed, it goes into a dedicated recycling bin.
Modern CAM software allows you to save the “skeleton” of a cut sheet as a new DXF file. I label the physical remnant with a unique ID number that matches the digital file. When a small job comes in—like a set of gussets or a small bracket—I check my digital remnant library first. This prevents me from cutting into a fresh, full sheet of steel for a minor part, which significantly improves my material-flow efficiency.
Steps for Digital Remnant Tracking
- Measure the Remnant: After a CNC run, measure the largest rectangular area remaining.
- Assign a Unique ID: Use a metal scribe or permanent marker to write an ID on the steel.
- Update the CAD Library: Save the remnant geometry in a dedicated folder in your CAM software.
- Physical Storage: Place the remnant in a “ready-to-use” vertical bin, sorted by thickness.
Advanced Electrical and Air Management for Storage Zones
Optimizing the storage area also involves ensuring it does not interfere with the shop’s critical infrastructure, such as 3-phase power converters and air filtration ducting. Proper spacing ensures that maintenance access to electrical panels and air scrubbers remains unobstructed.
If you are running a rotary phase converter to power 3-phase machinery, keep your steel storage away from the converter’s cooling fans. Metal dust and small shavings can be drawn into the windings, causing a short circuit. I maintain a 3-foot “dead zone” around all electrical panels and converters, as per NEC guidelines. This is not just for safety; it also ensures that if I need to troubleshoot a power issue, I am not fighting through a pile of steel to get to the breaker.
Similarly, consider your dust collection duct design. If your steel racks are blocking the airflow or making it impossible to clean out the drop-tubes, your air quality will suffer. I design my ductwork to run overhead, with vertical drops that stop well above the height of my tallest steel remnants. This keeps the floor clear for material handling and ensures the air velocity in the ducts remains high enough to transport metal fines to the collector.
Practical Implementation: A Weekend Optimization Plan
Transitioning your shop layout is a significant undertaking that requires a structured approach to minimize downtime. By following a step-by-step implementation plan, you can reorganize your steel storage without halting your ongoing fabrication projects.
- Clear the Floor: Dedicate a Saturday to moving all loose steel into a temporary staging area. This allows you to inspect the floor for cracks and plan your rack placement.
- Install Anchors: Once you’ve mapped your layout, bolt your heavy-duty racks to the floor. Use a hammer drill and high-quality wedge anchors for maximum security.
- Sort and Label: Categorize your existing stock by grade and thickness. Discard any pieces that fall below your “minimum viable size” threshold.
- Update Software: If you use CNC, take the time to measure your largest remnants and enter them into your CAM library.
- Establish a Routine: Commit to five minutes of “remnant hygiene” at the end of every workday. Put away the pieces you didn’t use and update your labels.
In my experience, the biggest hurdle is the initial reorganization. Once the system is in place, it becomes a self-sustaining part of your workflow. You will find that the mental stress of a cluttered shop evaporates when every piece of steel has a dedicated, safe, and logical home.
Frequently Asked Questions
How do I prevent tall steel remnants from bowing or warping in vertical storage? To prevent bowing, ensure that the vertical dividers in your rack are spaced no more than 12 to 18 inches apart. For thinner sheets (under 10 gauge), consider using a “sandwich” method where you place the thin sheet between two thicker pieces of plate for added support.
What is the safest way to move heavy steel remnants from the rack to the cutting table? For pieces over 50 lbs, I recommend using a vacuum lifter or a plate clamp attached to an overhead jib crane. If those aren’t available, a heavy-duty cart with a height-adjustable deck (scissor lift table) can help you slide the steel onto the CNC table without straining your back.
How do I handle “sharp edges” on remnants to prevent injuries? I make it a habit to quickly run a flap disc over any jagged edges or “pierce points” before putting a remnant into the rack. This 30-second task prevents deep cuts and snagged clothing when you go to retrieve the piece later.
Can I store different grades of steel in the same bin? While you can, I strongly advise against it unless they are clearly color-coded. In the heat of a busy workday, it is too easy to grab the wrong grade. If space is limited, use physical dividers within the bin to keep A36 separate from higher-carbon steels.
How often should I inspect my steel racks for safety? I perform a visual inspection every month. I look for signs of “racking” (the rack leaning to one side), loose floor anchors, or bent dividers. If you notice any structural deformation, unload the rack immediately and reinforce the frame.
What is the best way to store very small offcuts that are still usable? For small pieces (like 4×4 inch squares), I use heavy-duty plastic or metal bins stacked on a dedicated shelf. Label each bin by thickness. This keeps the small “jewelry” pieces from getting lost at the bottom of the larger plate racks.
Does storing steel vertically affect its “flatness” for CNC plasma cutting? Generally, no. As long as the steel is supported and not allowed to bow excessively, vertical storage does not cause permanent deformation. In fact, vertical storage is often better because it prevents the weight of a large stack from crushing or scratching the surface of the bottom sheets.
Should I store my steel remnants inside or can they stay outside under a tarp? Inside is always better. Tarps trap moisture and create a greenhouse effect that accelerates rusting. If you must store steel outside, use a dedicated, ventilated lean-to with a roof, and keep the steel well off the ground.
How do I manage the weight distribution on a multi-tier horizontal rack? Always place the heaviest material on the bottom tiers. This keeps the center of gravity low and makes the rack much more stable. Use the upper tiers for lighter tubing, trim, and small bar stock.
What should I do with “skeletons” after the usable remnants are removed? Once a sheet has been picked clean of all usable remnants, it should be moved to a dedicated recycling bin. Do not let skeletons lean against walls or racks; they are structurally weak and have many sharp points, making them a significant safety hazard.
By implementing these systematic storage and categorization methods, you are doing more than just cleaning your shop. You are building a foundation for higher throughput and safer operations. A professional shop is defined by its discipline, and nowhere is that discipline more visible than in how you handle your material leftovers. When every piece of steel is accounted for and safely stored, you can focus on what really matters: the precision and quality of your fabrication work.
(This article was written by one of our staff writers, Edward Sinclair. Visit our Meet the Team page to learn more about the author and their expertise.)