How to Troubleshoot Unstable Welding Arc Starts (DIY Fix)
When I first started welding in my garage twelve years ago, I spent more time fighting my machine than actually joining metal. I remember the frustration of a wire that would stutter and pop, or a stick electrode that seemed glued to the plate. It felt like a dark art that I wasn’t invited to learn. Over thousands of hours of practice and tracking my own data, I realized that a shaky or inconsistent arc initiation isn’t a mystery. It is almost always a result of specific, fixable mechanical or electrical variables.
In this guide, I want to share the systematic approach I use to help beginners and intermediate fabricators find their rhythm. We will move away from “guessing” and toward a data-driven method of refining your technique. By focusing on the physical cues and machine parameters that govern the first few milliseconds of a weld, you can eliminate the stuttering starts that ruin your bead consistency.
Establishing a Reliable Ground Connection
A reliable ground connection is the foundation of a stable electrical circuit in welding. Without a low-resistance path for the current to return to the machine, the arc will struggle to maintain its intensity, leading to pops, flickers, and poor penetration.
Many beginners overlook the work-lead clamp, assuming that as long as it is touching the metal, the circuit is complete. However, electricity is picky. If you are clamping onto mill scale, rust, or paint, you are forcing the current to jump through a layer of insulation. This creates heat at the clamp rather than at the torch. To fix this, I always grind a small “clean zone” specifically for the ground clamp. This ensures that the electrons have a direct, unobstructed path.
| Grounding Issue | Visual Symptom | DIY Correction |
|---|---|---|
| Paint/Rust on Workpiece | Arc sputters or fails to ignite | Grind to shiny metal at the clamp site |
| Loose Internal Clamp Spring | Intermittent arc loss during travel | Replace or tighten the work clamp |
| Frayed Ground Cable | Heat buildup in the cable handle | Trim and re-seat the cable in the lug |
| Clamping Far from Weld | Inconsistent arc force | Move clamp as close to the joint as possible |
Building the habit of checking your ground first saves hours of frustration. I’ve seen students spend twenty minutes adjusting their gas flow when the real culprit was simply a clamp sitting on a layer of oily residue.
Mastering Electrode Preparation and Tip Maintenance
Electrode condition determines the shape and stability of the plasma stream as it jumps from your torch to the metal. A contaminated or improperly shaped tip will cause the arc to wander or start with a violent burst rather than a smooth flow.
In TIG welding, the geometry of your tungsten is everything. If you grind your tungsten with circular marks rather than longitudinal lines, the arc will “spin” and become unstable. Similarly, in MIG welding, a worn-out contact tip can allow the wire to wiggle inside the bore. This changes the “stick-out” distance constantly, making it impossible to maintain a steady puddle. I recommend checking your consumables every time you sit down for a practice session.
- Tungsten Grinding: Always grind parallel to the length of the electrode to direct electrons in a straight line.
- Contact Tip Sizing: Ensure your MIG tip matches your wire diameter exactly; a 0.030 tip for 0.030 wire.
- Stick Electrode Storage: Keep your rods in a dry environment to prevent moisture from causing a “long arc” or stuttering start.
Interestingly, even a tiny speck of salt from your skin can contaminate a TIG tungsten. I tell my students to treat their electrodes like precision instruments. If you touch the puddle, stop immediately and regrind. It feels tedious, but it builds the discipline required for professional-grade results.
Tuning Wire Feed Tension and Drive Rollers
Wire feed tension is the mechanical heartbeat of a MIG welder. If the tension is too loose, the wire slips and the arc stutters; if it is too tight, the wire can deform or “bird-nest” inside the machine.
Finding the “Goldilocks” zone of tension is a physical skill you can master through a simple test. With the machine on and the drive roll door open, I use a “two-finger” grip to provide slight resistance to the wire as it exits the torch. If the drive rolls slip slightly under pressure but still feed consistently when I let go, the tension is usually correct. If the motor grinds or the wire stops entirely with the slightest touch, you need to recalibrate.
- Inspect the Rollers: Ensure the “V” or “U” groove matches your wire type (solid vs. flux-core).
- Clean the Liner: Blow compressed air through the torch liner to remove dust and metal shavings.
- Adjust the Brake: The wire spool should have just enough drag to stop spinning when you release the trigger.
As a result of proper tensioning, you will notice the “sizzle” of the arc becomes a consistent hum. This mechanical stability allows you to focus your brain on your hand-eye coordination rather than worrying about why the wire is jerking.
Optimizing Voltage and Amperage for Smooth Ignition
Setting your machine parameters correctly involves balancing the electrical pressure (voltage) with the volume of electricity (amperage). If your settings are mismatched for the metal thickness, the arc will either “cold-lap” or blow through the material.
When I started, I followed the charts on the inside of the machine door religiously. While those are great baselines, they don’t account for your specific travel speed or torch angle. I suggest starting with the manufacturer’s recommendation and then performing a “bead-on-plate” drill. If the arc feels like it is pushing the torch away, your wire speed is likely too high for the voltage. If the wire melts back into the contact tip, your voltage is too high.
- Voltage (V): Controls the width and fluidity of the weld puddle.
- Amperage/Wire Speed (A): Controls the depth of penetration and the amount of filler added.
- The 10% Rule: If your arc is unstable, try adjusting your wire speed by 10% in either direction while keeping voltage constant.
Building on this, I recommend keeping a “Weld Log” where you record the settings that worked for specific joints. Over time, you will develop an intuitive sense of how the metal reacts to heat. This data-driven approach removes the “trial and error” phase of your shop time.
Refining Torch Angle and Electrode Stick-Out
The physical orientation of your torch determines how the arc energy is distributed into the joint. Small changes in your hand position can lead to a wandering arc or a puddle that refuses to flow.
For most flat-position welds, a 10–15 degree drag angle is the standard. If you tilt the torch too far (beyond 20 degrees), the arc becomes “lazy” and fails to penetrate the root of the joint. Furthermore, your “stick-out”—the distance from the contact tip to the metal—should be roughly 3/8″ to 1/2″. If you pull the torch too far away, the voltage drops, and the arc starts to flutter.
| Parameter | Recommended Metric | Why It Matters |
|---|---|---|
| Travel Angle | 10–15 Degrees (Drag or Push) | Ensures proper gas coverage and penetration |
| Work Angle | 45 Degrees (for Fillets) | Distributes heat evenly between both plates |
| Arc Gap / Stick-out | 3/32″ to 1/8″ | Maintains a stable voltage and consistent heat |
| Travel Speed | 8–12 Inches Per Minute (IPM) | Prevents heat buildup and bead distortion |
I often have my students perform “dry runs” where they move the torch across the joint without pulling the trigger. This builds the muscle memory needed to maintain a constant angle and distance. If you can’t hold a steady gap during a dry run, you certainly won’t be able to do it when the sparks are flying.
Creating a Clean Zone for Consistent Arcs
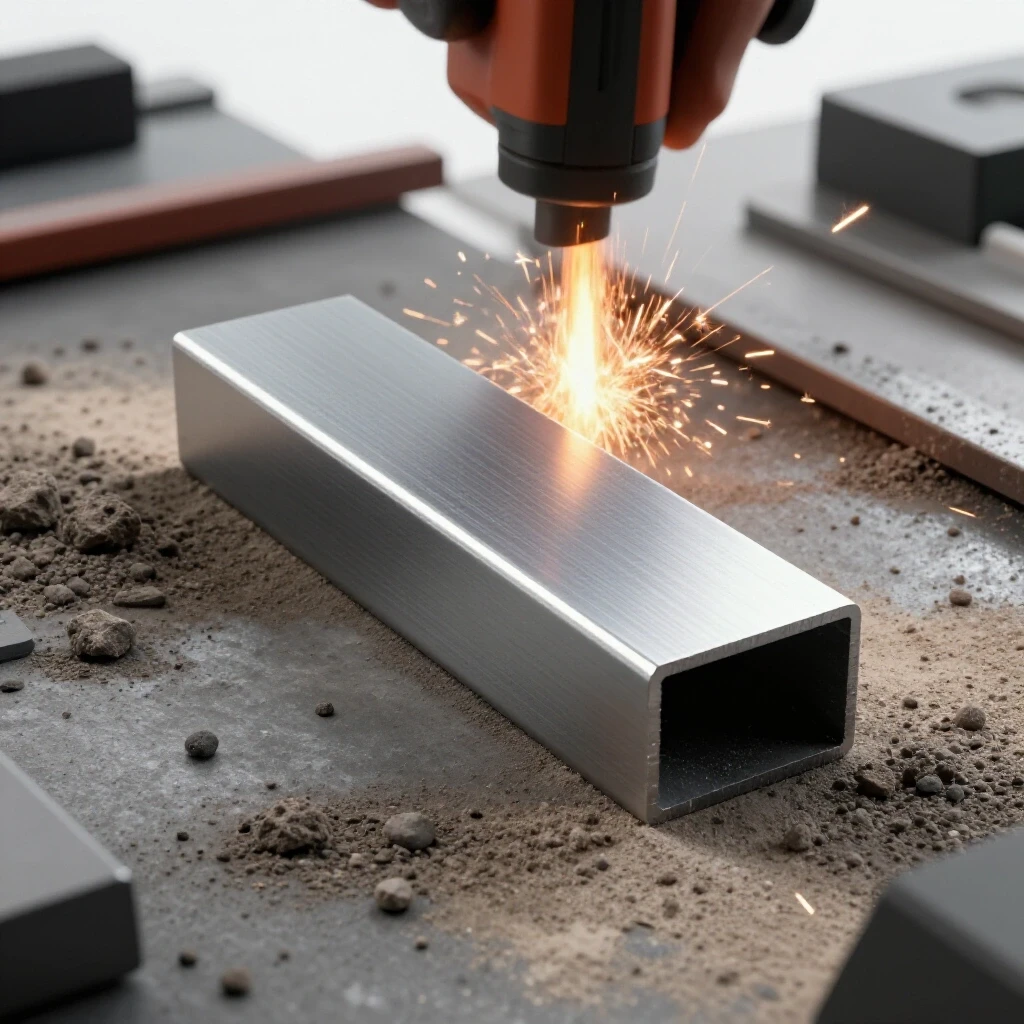
Clean metal is non-negotiable for anyone looking to move beyond hobbyist-level results. Contaminants like mill scale (the dark grey coating on hot-rolled steel) act as a barrier to the arc, causing it to dance around the surface.
I use a simple “Clean Zone” rule: any area within one inch of the weld must be ground to shiny metal. This includes the back side of the joint if you are doing full-penetration welds. Mill scale melts at a much higher temperature than the steel beneath it. If you don’t remove it, the arc will spend its energy trying to crack through the scale instead of melting the base metal.
- Abrasive Choice: Use a flap disc (60 or 80 grit) for general cleaning.
- Degreasing: Use acetone to remove oils, especially on aluminum or stainless steel.
- De-burring: Remove sharp edges after cutting to prevent the arc from “climbing” the edge.
By preparing your material properly, you remove the most common cause of erratic arc behavior. It is much easier to troubleshoot your hand movement when you know the metal itself isn’t fighting you.
Why Travel Speed Rules the Puddle
Travel speed is the variable that ties everything together. If you move too fast, the arc doesn’t have time to establish a puddle; if you move too slow, the heat builds up and the arc becomes turbulent.
I track my travel speed in Inches Per Minute (IPM). For a standard 1/8″ thick steel plate, a speed of 8–12 IPM is usually the sweet spot. You can measure this by marking a 6-inch line on a scrap plate and timing how long it takes to weld it. If it takes you 30 seconds, you are moving at 12 IPM. This objective measurement helps you identify if your “stuttering” is actually just you outrunning the puddle.
- Watch the Leading Edge: Focus on the front of the puddle where the arc meets the solid metal.
- Maintain a Consistent “C” or “J” Pattern: Small, rhythmic motions help distribute heat.
- Listen to the Sound: A steady “frying bacon” sound indicates your speed and parameters are in sync.
When I was learning, I used a metronome app on my phone to help me find a rhythm. It might sound silly, but welding is a rhythmic physical activity. If your hand moves in a jerky fashion, your arc will reflect that instability.
Troubleshooting Common Arc Start Failures
Even with perfect settings, you will occasionally run into issues. The key is to have a systematic checklist to go through rather than changing five settings at once.
If your arc “stubs” (the wire hits the metal and pushes the torch back), your wire speed is too high or your voltage is too low. If the arc “pops” and leaves black soot, you likely have a gas coverage issue or a dirty workpiece. I always tell my students to change one variable at a time. If you change the voltage, the gas flow, and the wire speed all at once, you’ll never know which one actually fixed the problem.
- Check the Gas: Is the tank open? Is the flow rate set to 20–30 CFH?
- Check the Polarity: Is the machine set to DCEP (for solid wire) or DCEN (for flux-core)?
- Check the Consumables: Is the nozzle clogged with spatter?
This diagnostic mindset is what separates a professional from a hobbyist. Instead of getting frustrated, see each arc failure as a data point that is telling you something about your setup.
Physical Practice Progression Steps
Mastering the physical mechanics of welding requires a structured approach. You cannot jump into complex T-joints until you can run a straight, consistent bead on a flat plate.
I recommend a four-stage practice cycle. First, master the “Bead-on-Plate” to find your travel speed. Second, move to “Padding,” where you overlap beads to see how heat builds up. Third, tackle the “Lap Joint” to practice directing heat into two pieces. Finally, move to the “Fillet Weld” (T-joint) to master work angles.
- Bead-on-Plate (5 hours): Focus entirely on arc length and travel speed.
- Overlapping Beads (5 hours): Learn to read the “tie-in” between two welds.
- Lap Joints (10 hours): Practice managing the edge of the top plate.
- T-Joints (20+ hours): Master the 45-degree work angle and heat distribution.
By the time you reach the T-joint stage, your arc starts should be second nature. You shouldn’t be thinking about the trigger or the ground clamp anymore; your focus should be entirely on the fluid dynamics of the molten metal.
Tracking Your Progress with a Weld Log
The most impactful tool in my shop isn’t my welder; it’s my notebook. By logging every practice session, I can see exactly when I hit a plateau and what I did to overcome it.
A good weld log should include the date, the material thickness, the machine settings (Volts/Amps/Wire Speed), and a “Notes” section for what the arc felt like. Did it start smoothly? Was there a lot of spatter? By reviewing these logs, you can identify patterns. For example, you might realize that your arc starts are always worse when you use a specific brand of cheap electrodes or when the shop is particularly humid.
| Date | Material | Volts | Wire Speed | Result/Notes |
|---|---|---|---|---|
| Oct 12 | 1/8″ Mild Steel | 18.5V | 210 IPM | Smooth start, slight undercut on top edge |
| Oct 14 | 1/8″ Mild Steel | 18.2V | 210 IPM | Reduced undercut, arc felt “soft” |
| Oct 15 | 3/16″ Mild Steel | 19.5V | 240 IPM | Difficult to start, ground was dirty |
This level of detail allows you to measure progress objectively. Instead of saying “I had a bad day,” you can say “I struggled with arc starts because my ground contact was only at 50% efficiency.” That is a problem you can solve.
Next Steps for Technique Refinement
As you move forward, the goal is to make these troubleshooting steps instinctive. Eventually, you won’t need to look at a chart to know your voltage is low; you will hear it in the arc and feel it in the torch.
Start your next session by cleaning your ground clamp and checking your contact tip. Spend the first ten minutes doing “dry runs” to warm up your shoulder and wrist muscles. If you encounter an unstable arc, stop immediately, check your “Clean Zone,” and refer to your weld log. Systematic improvement is a marathon, not a sprint, but the results—clean, professional, and structurally sound welds—are well worth the effort.
Frequently Asked Questions
Why does my welding wire keep sticking to the metal before the arc starts? This is often caused by a “cold start” where the wire speed is too high for the initial voltage. The wire hits the cold metal faster than the electricity can melt it, creating a mechanical bond. Try increasing your voltage slightly or trimming the wire to a sharp point before starting to help the arc jump more easily.
Can a bad extension cord cause an unstable arc? Yes, absolutely. If you are using a thin, household-grade extension cord, the machine will suffer from “voltage drop.” This means the welder isn’t getting the full power it needs from the wall, leading to a weak, stuttering arc. Always use a heavy-duty, 10-gauge or 12-gauge cord rated for the amperage of your welder.
How do I know if my shielding gas flow is too high? While too little gas causes porosity (holes in the weld), too much gas can cause turbulence. This turbulence pulls outside air into the weld zone, making the arc erratic. If you see your arc “dancing” or jumping around despite having a clean surface, try lowering your flow meter to the 20–25 CFH range.
Why is my TIG arc wandering away from where I’m pointing? Arc wander in TIG is usually a sign of a contaminated or improperly ground tungsten. If the tip has a “blob” of metal on it from touching the puddle, the electrons will exit from the side of the blob rather than the tip. Regrind your tungsten to a sharp point with longitudinal scratches to fix this.
Is it normal for the arc to sound different on different metals? Yes. Stainless steel, for example, has higher electrical resistance than mild steel, so the arc may feel “stiffer” or more focused. Aluminum conducts heat away very quickly, so the arc often sounds louder and more aggressive because you are using higher amperage to overcome the metal’s thermal conductivity.
How often should I replace my MIG contact tip? You should replace it whenever the hole at the end starts to look oval rather than perfectly round. A worn tip causes “micro-arcing” inside the torch, which leads to wire feed fluctuations and an unstable arc. In a professional setting, tips are often replaced daily; for a hobbyist, every 5–10 hours of trigger time is a good rule of thumb.
What is the “frying bacon” sound people talk about? This refers to the consistent, crisp crackle of a well-tuned MIG arc in short-circuit transfer mode. If it sounds like a low-frequency hum, your voltage might be too high (approaching globular transfer). If it sounds like a machine gun with long pauses, your wire speed is likely too high or your ground is poor.
Does the length of my work-lead (ground) cable matter? The longer the cable, the more resistance it has. If you are using a 50-foot ground cable, you may need to bump up your machine’s voltage to compensate for the loss. For most DIY shops, keeping the cables under 15 feet ensures the most stable arc performance.
Can I weld over mill scale if I turn the heat up? While you can, it is not recommended. The arc will be significantly less stable, and you risk “slag inclusions” where the scale gets trapped inside the weld. For a consistent, professional-grade start, always grind to shiny metal.
Why does my arc flicker when I move the torch? This usually indicates a loose connection in the torch handle or a kinked liner. As you move, the internal components shift, momentarily breaking the electrical or mechanical path. Check that your torch is fully seated in the machine’s drive-roll housing.
(This article was written by one of our staff writers, Thomas Langley. Visit our Meet the Team page to learn more about the author and their expertise.)