How to Use Layout Dye for Accurate Metal Scribing (Guide)
Setting up your first metalworking space is an exercise in managing limited resources. When I built my first shop in 2013, I had exactly $1,850 in the bank and a drafty single-car garage. The anxiety of wasting money on the wrong tools or, worse, ruining a piece of expensive steel due to a bad measurement is a feeling I remember vividly. One of the most cost-effective ways to bridge the gap between a beginner’s uncertainty and professional-grade precision is mastering the use of marking fluids and manual scribing techniques.
Precision in metalwork does not require a five-figure CNC machine. It requires a clean surface, a steady hand, and the right visual contrast to see where your cuts need to happen. By using a thin, opaque coating on your workpiece, you create a canvas where even the lightest scratch from a carbide-tipped scriber stands out with high clarity. This approach allows you to work within tolerances of a few thousandths of an inch using nothing more than basic hand tools and a bit of patience.
Establishing a Functional Layout Zone on a Budget
A layout zone is a dedicated area of your workbench where you perform all measuring and marking tasks before any cutting or welding begins. This space must be clean, flat, and exceptionally well-lit to ensure that your scribed lines are visible and accurate to your design specifications.
In my early days, I made the mistake of trying to mark my steel on the same bench where I was grinding. The dust and vibration made it impossible to get a clean line. Now, I recommend beginners allocate at least 20% of their total bench space to a “clean zone.” This area should be free of oil and metal shavings. If you are working on a tight budget, a simple piece of thick, flat MDF bolted to a sturdy frame can serve as a temporary surface, though a salvaged thick steel plate is the gold standard for durability.
| Component | Priority | Estimated Cost | Why It Matters |
|---|---|---|---|
| Dedicated Lighting | High | $40 – $70 | Prevents parallax errors and eye strain. |
| Steel Rule (12″) | High | $15 – $25 | The foundation of all linear measurements. |
| Layout Fluid | Medium | $12 – $18 | Provides the contrast needed for precision. |
| Precision Square | High | $30 – $50 | Ensures your project stays “in box” and true. |
Assessing Power and Lighting for High-Contrast Marking
Lighting is often the most overlooked safety and accuracy tool in a starter workshop, especially when you are trying to see fine lines on dark metal. Standard garage overhead lights are rarely sufficient for precision work because they cast shadows exactly where you are trying to look.
I suggest a two-tier lighting approach. First, maintain your general overhead lighting for safety. Second, install a moveable task light directly over your layout zone. Look for an LED lamp with a high Color Rendering Index (CRI). When you apply a blue or red marking tint to your metal, the light needs to reveal the scratch through the tint without creating a blinding glare. If you are tracking your shop’s electrical load, a simple LED task light draws less than 0.5 Amps, making it a negligible addition to a standard 15A or 20A circuit.
Selecting the Right Marking Fluids for Metal Fabrication
Marking fluid, often called layout dye, is a specialized liquid that dries quickly to form a very thin, brittle film on the surface of the metal. Unlike a thick felt-tip marker, this fluid does not add measurable thickness to the workpiece, which is critical when you are aiming for tight fits in your joinery.
There are two primary ways to buy this: brush-on bottles or aerosol sprays. For a beginner in a small garage, I almost always recommend the brush-on version. Sprays are convenient, but they create a fine mist that can settle on your other tools and requires much more robust ventilation. A 4-ounce bottle with a brush cap will last a hobbyist years and keeps the chemicals contained. Most of these fluids use an alcohol or acetone base, which means they dry in under two minutes, allowing you to get to work quickly without the risk of smearing your marks.
Surface Preparation and Cleaning Protocols
Before you apply any marking tint, the metal surface must be chemically clean and free of physical obstructions like mill scale. Mill scale is the flaky, bluish-black oxide layer found on hot-rolled steel, and it will prevent your marking fluid from sticking properly.
I follow a strict “Three-Step Prep” in my shop. First, use a wire brush or an abrasive flap disc to remove any loose scale or rust. Second, wipe the area down with a degreaser like denatured alcohol or acetone. This removes the light film of oil that most steel suppliers apply to prevent rusting in the warehouse. Finally, ensure the metal is at room temperature. If the metal is too cold, condensation can form under the dye, causing it to peel off as you scribe your lines. This simple routine prevents the frustration of having your layout “flake away” mid-project.
Choosing and Maintaining Manual Scribing Tools
A scriber is essentially a pen for metal, featuring a hardened steel or tungsten carbide tip designed to scratch through the marking fluid and into the surface of the workpiece. While you can use a sharpened nail in a pinch, a dedicated scriber is one of the best $10 investments you can make.
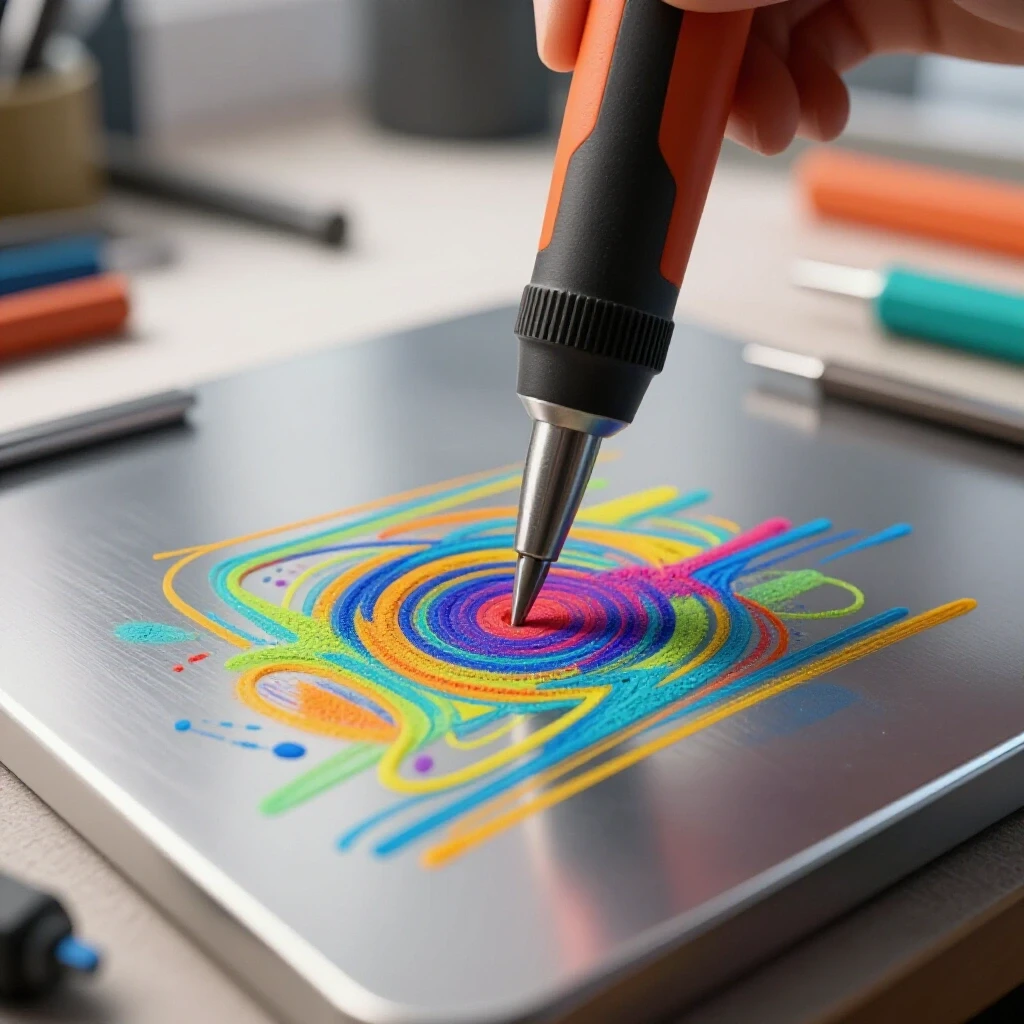
In addition to a basic scriber, a budget-conscious beginner should look for a pair of dividers and a combination square. Dividers allow you to step off equal distances or scribe arcs and circles with repeatable accuracy. When you use these tools on a surface coated with blue dye, the resulting line is a bright, shiny silver that is impossible to miss. I recommend allocating about 30% of your initial “small tool” budget to these measuring and marking instruments. High-quality hand tools like these don’t lose their value and won’t break after a month of use, unlike some entry-level power tools.
Step-by-Step Execution of Metal Layout
Once your metal is prepped and your tools are ready, the actual marking process is a test of your patience and setup. Start by applying a thin, even coat of the fluid. Beginners often apply it too thick, which leads to “chipping” rather than a clean line. A single, light pass with the brush is usually enough.
When you are ready to scribe, hold your square or straightedge firmly against the workpiece. Use one firm, continuous stroke with the scriber. Avoid “sawing” back and forth, as this creates multiple lines and leads to confusion when you start cutting. If you make a mistake, don’t worry—you can simply brush on a fresh layer of fluid, let it dry, and start over. This “undo” button is one of the reasons I prefer this method over permanent markers or soapstone for high-accuracy tasks.
Safety Standards and Ventilation for Chemical Handling
Working with marking fluids involves solvents that release Volatile Organic Compounds (VOCs). While the amount used in a small brush-on bottle is minimal, it still requires respect and proper shop habits to stay aligned with basic safety guidelines.
I always check the Safety Data Sheet (SDS) for any chemical I bring into my garage. For marking fluids, the primary concerns are flammability and inhalation. Ensure your layout zone is not directly next to your welding area where sparks could ignite the fluid or its vapors. In terms of airflow, a standard garage door cracked open or a small extraction fan providing at least 100-200 CFM (Cubic Feet per Minute) of air exchange is usually sufficient for brush-on applications. Always wear your ANSI Z87.1 rated safety glasses; a splash of solvent in the eye is a quick way to end a productive Saturday.
Budgeting for Tooling vs. Machines
One of the hardest lessons for new makers is understanding the “hidden costs” of metalworking. You might buy a welder for $500, but you will likely spend another $500 on the tools needed to prepare the metal for that welder.
| Tool Category | Recommended Budget % | Lifespan Expectancy |
|---|---|---|
| Primary Machine (Welder/Saw) | 50% | 5 – 10 Years |
| Safety Gear (Helmet/Gloves) | 15% | 2 – 3 Years |
| Precision Layout Tools | 15% | Lifetime (if maintained) |
| Consumables (Dye/Abrasives) | 20% | Per Project |
By investing in quality layout tools early, you reduce the amount of scrap metal you produce. In my shop records, I found that my “scrap rate” dropped by nearly 40% once I stopped “eyeballing” my cuts and started using proper marking fluids and scribers. Over a year, that savings in raw material pays for the tools themselves.
Common Layout Mistakes and How to Avoid Them
The most common error I see in beginner shops is the “thick line” syndrome. A standard Sharpie marker creates a line that is roughly 0.030 inches wide. In the world of fabrication, that is a massive margin of error. If you cut on the left side of the line versus the right, your part could be off by 1/16th of an inch.
Using a scriber on a dyed surface creates a line that is often less than 0.005 inches wide. Another mistake is failing to account for the “kerf,” which is the width of the material removed by your saw blade. Always mark your line and then indicate with a small “X” which side of the line is the “waste” side. This simple habit, combined with the high visibility of the marking fluid, prevents those “it’s too short” moments that haunt every fabricator at some point.
Organizing Your Layout Tools for Efficiency
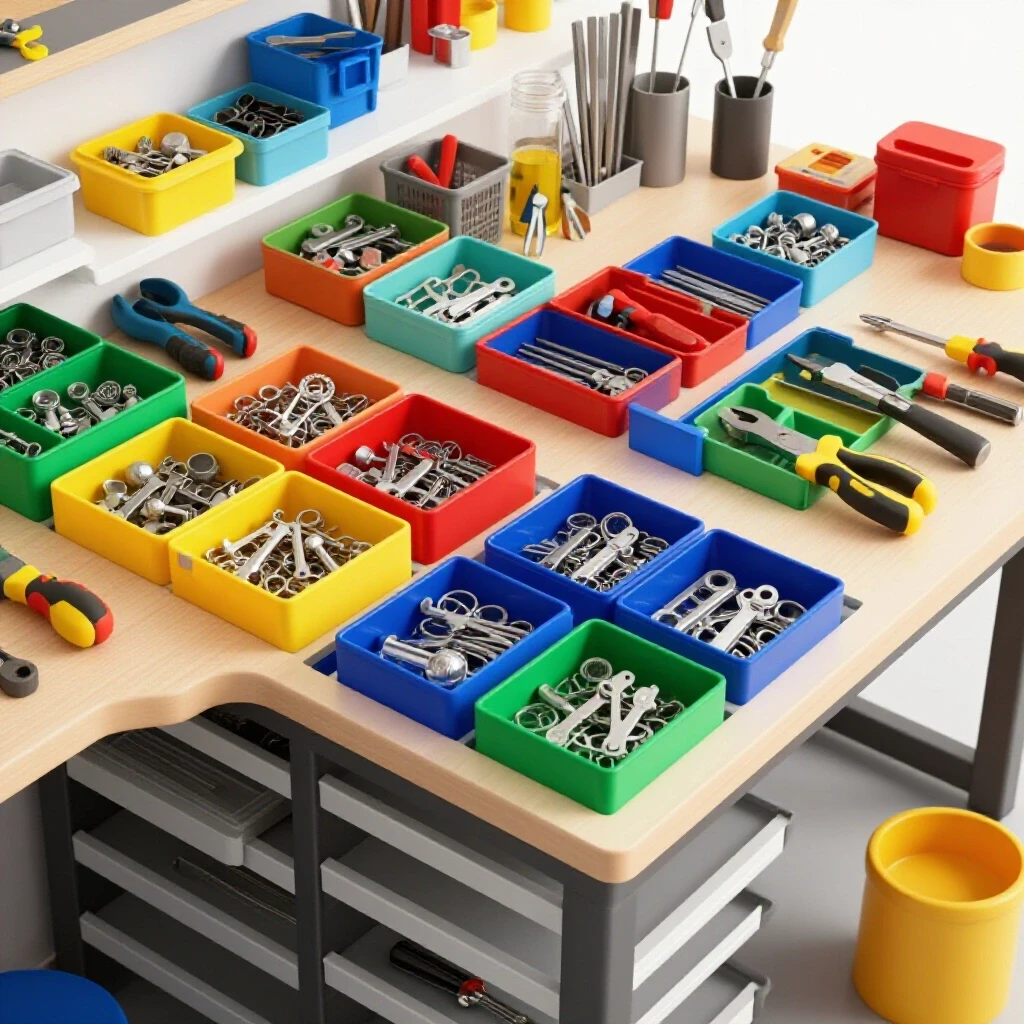
A cluttered shop is a dangerous and frustrating shop. I use a dedicated drawer or a small tool roll specifically for my precision layout gear. These tools should never be tossed into a bucket with hammers or heavy wrenches, as the fine tips of scribers and the machined edges of squares are easily damaged.
I also keep a “layout kit” log. This is a simple spreadsheet or notebook where I track when I’m running low on consumables like marking fluid or degreaser. It also helps me track the cost of each project. If I know I used $2 worth of dye and $10 in abrasives, I can more accurately price my work if I decide to sell a piece. For a hobbyist, this record-keeping builds the discipline required to eventually scale up to more complex projects or even a small business.
Establishing a Repeatable Workflow
Consistency is the secret to accuracy. My workflow always follows the same path: Clean, Dye, Measure, Scribe, Verify. After you scribe your lines, take your ruler back to the piece and double-check the measurements one last time before the first spark flies.
Interestingly, the time spent on a thorough layout actually speeds up the rest of the project. When your marks are clear and accurate, you spend less time grinding parts to fit and more time actually fabricating. Building this foundation in your first workshop will set the tone for every project you undertake. You are not just building a project; you are building the skills and the environment that make high-quality work possible on a realistic budget.
Frequently Asked Questions
What is the difference between blue and red layout fluid? The color choice is primarily about contrast. Blue is the most common and provides excellent visibility on shiny metals like aluminum or stainless steel. Red is often used on darker, cast-iron surfaces or when you need to distinguish a second set of marks from the first. For a beginner, a single bottle of blue is usually all you need.
Can I use a permanent marker instead of layout dye? While a permanent marker is better than nothing, it is not a substitute for layout dye in precision work. Markers leave a thick, ink-based film that can smear and doesn’t provide the “crisp” scratch of a scriber. Dye is designed to be brittle so that the scriber flakes it away, leaving a perfectly defined edge.
How do I remove the blue dye once I am finished? Layout fluid is easily removed with denatured alcohol, acetone, or a specialized “remover” sold by the same manufacturers. Simply dampen a rag and wipe the surface. It is important to remove the dye before welding, as the chemicals can contaminate your weld bead.
Is layout dye toxic to breathe? Most layout dyes contain solvents like ethanol or n-butyl acetate. In small amounts used for brushing, they are relatively safe if you have basic garage ventilation. However, you should avoid prolonged skin contact and never use them in a completely sealed, unventilated room.
How long does layout fluid take to dry? In a standard shop environment (60-80 degrees Fahrenheit), a thin coat of layout fluid will be dry to the touch in about 30 to 90 seconds. If it takes longer, you are likely applying it too thick.
Will layout dye prevent rust on my steel? While it does provide a very thin barrier, layout dye is not intended as a rust preventative. It is a temporary marking tool. If you leave dyed steel in a humid garage for weeks, rust can still form underneath or around the dyed areas.
What should I do if my scriber keeps slipping off my square? This is usually a sign of poor technique or a dull scriber. Ensure your square is clamped or held firmly against a clean edge. Apply light pressure to the scriber, angled slightly toward the square’s edge, and pull it toward you in one steady motion.
Can I use layout dye on wood or plastic? Layout dye is specifically formulated for non-porous surfaces like metal and glass. On wood, it will soak into the fibers and bleed, making it useless for precision. For plastics, some solvents in the dye may actually melt or craze the surface, so always test a small scrap piece first.
(This article was written by one of our staff writers, Michael Thompson. Visit our Meet the Team page to learn more about the author and their expertise.)