How to Weld Protective Steel Guards for Trailer Lights (Fix)
I remember the first time I backed my utility trailer into a stack of seasoned oak firewood. It wasn’t a fast impact, just a slow, sickening crunch. When I hopped out, my driver-side light was a mess of shattered red plastic and twisted metal. That afternoon, I realized that the thin, stamped-steel brackets that come standard on most trailers are practically useless against real-world obstacles. As a former prototype technician, I knew I could do better. I spent the next weekend in my shop, scrap bin open, designing a set of robust enclosures that would actually survive a bump.
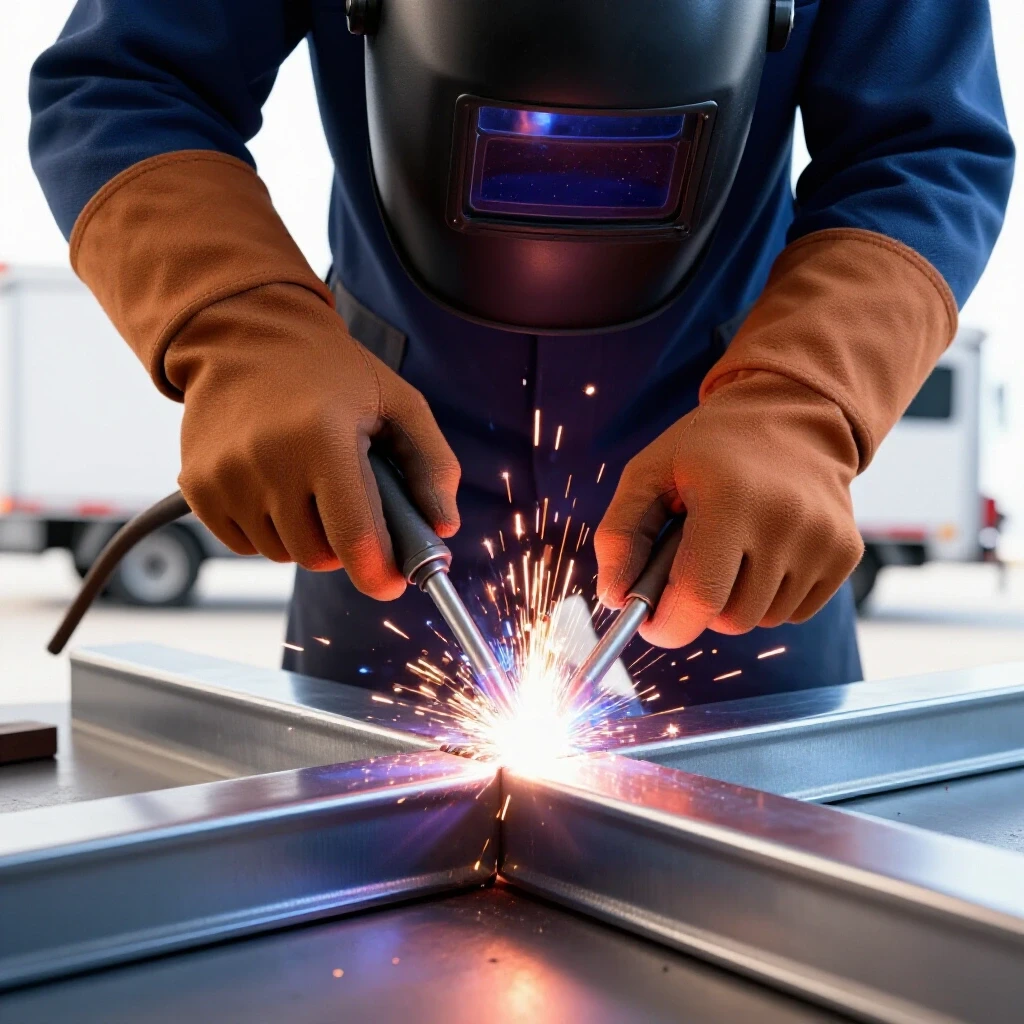
Building custom steel shrouds for your equipment isn’t just about sticking two pieces of metal together. It is a lesson in geometry and heat management. If you have ever welded a perfectly square box only to watch it pull into a diamond shape as it cools, you know the frustration I am talking about. In this guide, I will walk you through the process of fabricating heavy-duty protective housings. We will focus on maintaining tight tolerances, managing weld distortion, and ensuring your layout is spot-on before the first spark flies.
Designing the Enclosure for Maximum Impact Resistance
Planning the geometry of a protective steel shroud involves calculating clearances for the light housing while ensuring the structure can withstand debris. This phase focuses on creating a blueprint that accounts for material thickness and the specific dimensions of the mounting surface on the frame.
When I start a custom fabrication project, I begin with a sketch. For a standard 6-inch oval light, I usually design a box that is roughly 7 inches wide and 4 inches deep. This gives me enough “air space” around the light so it doesn’t vibrate against the steel. I prefer using 1/8-inch mild steel plate. It is thick enough to handle a serious hit from a rock or a log, but light enough that it won’t strain the mounting points on your trailer frame.
Selecting the Right Material Thickness
Choosing the proper gauge of steel ensures a balance between weight and durability. For most utility enclosures, 1/8-inch (11-gauge) mild steel plate or flat bar provides enough rigidity to resist bending without adding excessive weight to the rear of the vehicle.
I have seen guys use 1/4-inch plate for these guards, but honestly, that is overkill. It makes the trailer tail-heavy and is much harder to weld with a standard 110v or 220v garage welder. On the flip side, 16-gauge sheet metal is too flimsy; it will dent the first time you kick a piece of gravel up. Stick to 1/8-inch. It is the “Goldilocks” thickness for backyard fabrication. It allows for deep weld penetration while remaining manageable for most hobbyist MIG setups.
Mastering the Layout and Cutting Process
Accurate layout is the foundation of a professional-looking project. This involves marking cut lines with precision and accounting for the width of the blade, known as the kerf, to ensure that the final pieces fit together without large gaps or overlaps.
If your cuts are off by even 1/8 of an inch, your final box will be out of square. I use a carbide-tipped scriber rather than a Sharpie for my lines. A Sharpie line can be 1/16 of an inch wide, which introduces too much error. When you are building a small enclosure, those tiny errors compound. By the time you have four sides joined, that 1/16-inch error can turn into a 1/4-inch gap that you have to fill with weld wire.
Calculating Kerf Allowances for Precise Fits
Every cutting tool removes a specific amount of material during the process. By accounting for this loss—whether using a 1/16-inch zip disc or a 1/8-inch cold saw blade—you can ensure your final dimensions remain within a strict +/- 1/16-inch tolerance.
I always tell people to “measure twice, cut once,” but in reality, it is “measure twice, account for the blade, then cut.” If you need a piece of flat bar to be exactly 8 inches long and you cut right on the line, your piece will end up 7-15/16 inches long because the blade ate the metal.
Table 1: Metal Kerf Allowances by Cutter Type
| Tool Type | Typical Kerf Width | Best Use Case |
|---|---|---|
| Angle Grinder (Zip Disc) | 0.040″ – 0.062″ | Quick cuts, field repairs |
| Portable Band Saw | 0.025″ – 0.035″ | Clean, straight cuts on flat bar |
| Cold Saw (Carbide Blade) | 0.090″ – 0.125″ | High-precision production cuts |
| Plasma Cutter | 0.040″ – 0.080″ | Curved shapes and thick plate |
Building Workshop Jigs and Fixtures to Control Warpage
Jigs are temporary structures used to hold workpieces in the correct orientation during assembly. In custom fabrication, using a flat table and heavy-duty clamps prevents the steel from pulling out of square as heat is applied during the joining process.
Steel is a living thing when it gets hot. As the weld pool cools, it shrinks. This shrinkage exerts thousands of pounds of force on your joints. If you just hold the pieces by hand, they will pull toward the weld. I use a thick steel welding table and a variety of 90-degree magnets and C-clamps. Creating a simple “L-frame” jig out of scrap angle iron can save you hours of grinding and hammering later.
Why Rigid Fixturing is Non-Negotiable
A rigid fixture acts as a mechanical restraint against thermal expansion and contraction. By clamping your enclosure components to a flat surface, you force the metal to stay put while the weld solidifies, which significantly reduces the “banana” effect seen in long runs.
I once tried to build a set of light guards by just “eyeballing” the corners. By the time I finished the third side, the whole guard looked like a trapezoid. Now, I use a dedicated layout fixture. I clamp the base plate down first, then use a machinist square to check every vertical piece before I even think about touching the trigger.
Fixture Checklist for Small Enclosures: – Use at least two clamps per side. – Check for squareness after every two tacks. – Use a copper or aluminum heat sink behind thin joints if possible. – Ensure the welding table is level within 1/16 of an inch across the work area.
The Art of Tacking and Weld Sequencing
Tacking involves placing small, temporary welds to hold the structure together before final beads are laid. Sequencing refers to the specific order in which you apply heat, strategically jumping from side to side to balance the internal stresses that cause metal to warp.
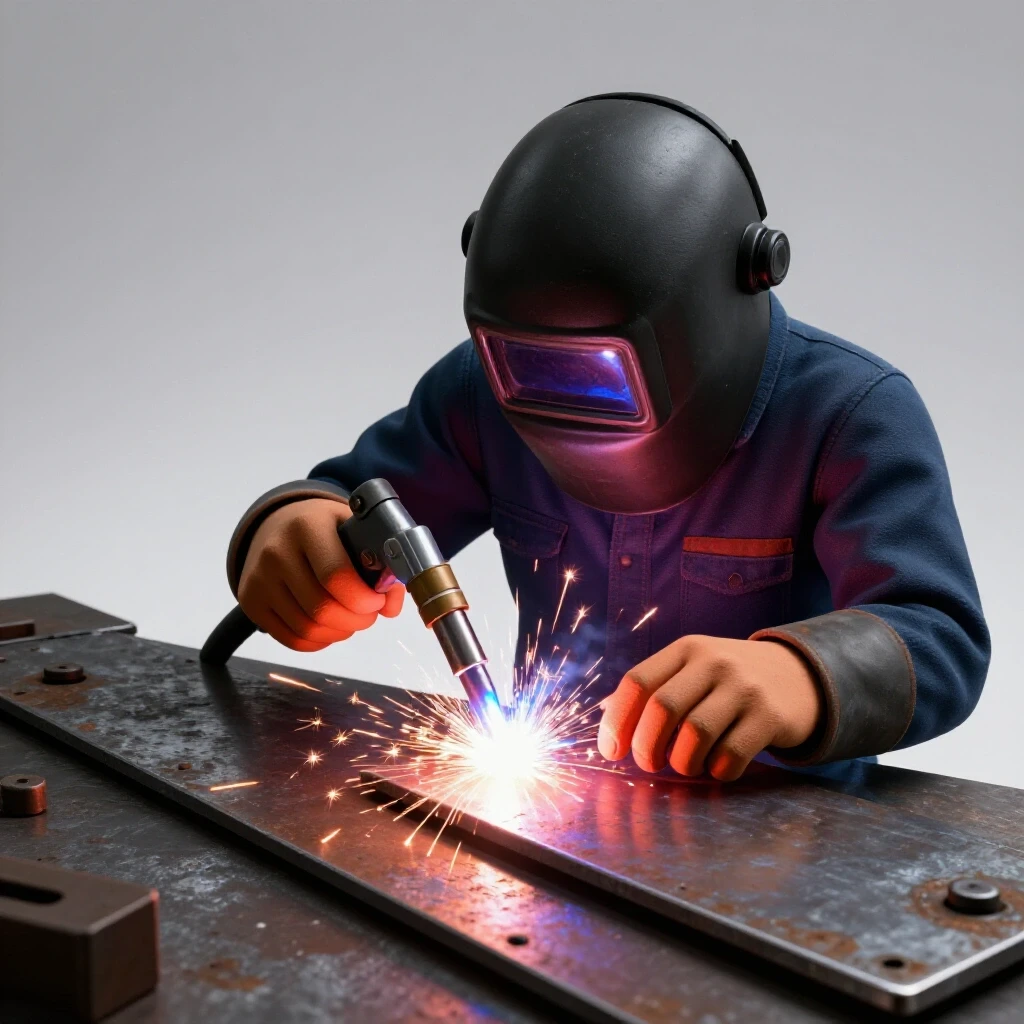
Tack welds are the “safety pins” of the welding world. They should be small—about the size of a pencil eraser—but strong enough to hold the weight of the part. For a 4-inch joint, I usually place a tack at each end and one in the middle. This keeps the gap consistent. If you weld one side completely before starting the other, the heat will pull the opposite side open, leaving you with a massive gap to bridge.
Strategic Heat Management for Square Enclosures
Managing heat involves more than just setting the welder correctly; it requires a plan for where to start and stop each bead. By allowing sections to cool and alternating sides, you counteract the natural tendency of steel to contract toward the weld.
I use a “back-stepping” technique or a “skip welding” pattern. Instead of running one long 6-inch bead, I weld 1 inch, move to the opposite corner, weld an inch there, and let the first section cool. This keeps the overall temperature of the steel lower. If the steel gets cherry red across the whole piece, you have lost the battle against warping.
Table 2: Weld Sequencing and Distortion Control
| Step | Action | Purpose |
|---|---|---|
| 1 | Corner Tacks | Fixes the outer dimensions of the guard |
| 2 | Diagonal Tacks | Prevents the box from twisting (parallelogramming) |
| 3 | Short Beads (1″) | Minimizes total heat input per joint |
| 4 | Opposite Side Rotation | Balances the “pull” from cooling metal |
| 5 | Final Cooling | Allows stresses to equalize before removing clamps |
Executing the Joinery: Fillet and Butt Welds
Joining the plates for a protective housing usually involves a mix of fillet welds on the inside and butt welds or outside corner welds on the exterior. This section covers the physical movement of the torch to ensure deep penetration into the 1/8-inch material.
When I am welding the corners of the shroud, I prefer an outside corner joint. This allows the weld bead to sit in the “V” created by the two edges. It results in a very strong joint that can be ground flush for a seamless look. For the internal bracing or the expanded metal mesh that often covers the front of these guards, a fillet weld is the standard. I aim for a slight “weave” or “stringer” bead, ensuring the arc is focused into the root of the joint.
Maintaining Tight Dimensional Tolerances
In custom fabrication projects, staying within a +/- 1/16-inch tolerance is the mark of a skilled builder. Achieving this requires constant measurement during the welding process, as the metal will shift even with the best clamping setup.
I keep a tape measure and a square in my back pocket. After every few inches of welding, I check the dimensions. If I see a side starting to pull inward, I will stop and weld on the opposite side to pull it back. This “tug-of-war” is the secret to getting a professional result in a home shop.
Key Benchmarks for Guard Fabrication: – Tack weld spacing: Every 2 to 3 inches. – Maximum bead length: 1.5 inches before moving to a different side. – Cooling time: 30-60 seconds between passes if the metal is glowing. – Final alignment check: Within 1/16 inch of the original blueprint.
Finishing Processes and Rust Prevention
Once the welding is complete, the guard needs to be cleaned and protected. This involves grinding down any high spots on the welds and applying a finish that can withstand the vibration and road salt typically encountered by towed equipment.
I don’t like “stack of dimes” welds on the outside of my light guards. I prefer to grind them smooth using a 40-grit flap disc on my angle grinder. This makes the guard look like it was formed from a single piece of steel. After grinding, I wipe the metal down with acetone to remove any oils. For finishing, a high-quality zinc-rich primer followed by a textured “bedliner” spray works wonders. It hides any minor imperfections in the metal and provides a rugged, chip-resistant surface.
Preparing the Surface for Long-Term Durability
Metal prep is 90% of a good finish. Removing the mill scale—that dark gray flaky layer on hot-rolled steel—is essential for both good weld penetration and paint adhesion. I use a wire wheel or a grinding disc to get down to shiny, “white” metal before I start my layout.
If you paint over mill scale, the paint will eventually flake off, and rust will start underneath. Since these guards are right at the back of the trailer, they get blasted by water and salt. Taking the time to prep the surface properly ensures you won’t be out there with a wire brush in six months trying to fix a rusty mess.
Lessons from the Shop: Common Mistakes to Avoid
In 13 years of fabrication, I have made every mistake in the book. The most common error I see with backyard builders is rushing the cooling process. They finish a weld and immediately douse the part in a bucket of water to cool it down.
Never quench your welds in water. This “shocks” the steel and can make the weld brittle, leading to cracks under the high-vibration environment of a trailer. Let the part air-cool naturally. Another mistake is not leaving a “root gap.” If you butt two pieces of 1/8-inch plate tight against each other, the weld might just sit on top. Leaving a tiny 1/32-inch gap allows the weld to penetrate all the way through, making the guard much stronger.
Quick Tips for Success: – Always wear a respirator when grinding; that dust is nasty. – Use a “dry run” with your clamps to make sure you can reach all the joints. – Keep a fire extinguisher nearby; trailer floors and wood scraps ignite easily. – If you mess up a cut, don’t try to “fill the gap” with huge amounts of weld; cut a new piece.
Conclusion
Building your own protective steel enclosures is a rewarding project that combines practical utility with the chance to hone your fabrication skills. By focusing on accurate layout, accounting for the kerf of your cuts, and using a disciplined weld sequence, you can create a professional-grade product that will outlast the trailer itself. Remember that metal is predictable if you understand how heat affects it. Take your time, use your clamps, and keep your square handy. The next time you back into a woodpile, you will be glad you did.
FAQ: Frequently Asked Questions
What is the best way to prevent the steel box from pulling out of square? The most effective method is a combination of rigid fixturing and skip welding. Clamp your pieces to a thick steel table and only weld in short 1-inch sections. Move to the opposite corner of the project after each section to balance the heat. This “pulls” the metal in opposite directions, keeping the overall shape neutral.
Do I really need 1/8-inch steel, or can I use thinner material? While you can use 14-gauge or 16-gauge, 1/8-inch (11-gauge) is the industry standard for custom utility guards. It provides the best resistance to impact and is much easier to weld without “blowing through” the metal. Thinner metal tends to warp much more aggressively under the heat of a welder.
How do I account for the “kerf” when using a hand-held angle grinder? A standard 4.5-inch zip disc has a kerf of about 1/16 of an inch. When marking your steel, always cut on the “waste” side of your line. If you cut directly down the middle of the line, your finished piece will be 1/32 of an inch too short on both ends, which adds up to a 1/16-inch error.
Should I weld the inside or the outside of the guard joints? For maximum strength, I recommend welding the outside corners and then placing small “stitch” welds on the inside. Welding the entire inside seam is usually unnecessary and adds too much heat, which increases the risk of the guard warping or “pulling” inward.
How do I clean the mill scale off the steel before welding? Use a 40-grit or 60-grit flap disc on an angle grinder. You need to remove the dark gray coating until you see bright, shiny silver metal. Weld quality and paint adhesion are significantly improved when you work with clean steel.
Can I use a flux-core welder for this project, or do I need gas? Flux-core (gasless MIG) works fine for 1/8-inch steel and is actually better if you are working outside in a driveway where wind might blow away your shielding gas. However, it creates more “spatter,” so you will spend more time cleaning the project with a wire brush or grinder before painting.
What size tack welds should I use? Tack welds should be about 1/8 to 3/16 of an inch long. They need to be big enough to resist the cooling forces of the metal but small enough that you can easily weld over them or grind them off if you realize a piece is misaligned.
How do I ensure the guard fits the light perfectly? Always build the guard around the light’s mounting bracket, not the light itself. I usually leave a “fudge factor” of 1/8 inch on all sides. This allows for the thickness of the paint and ensures that vibration won’t cause the steel to rub through the light housing.
Is it better to use flat bar or to cut pieces out of a large sheet? For beginners, using 4-inch or 6-inch wide flat bar is much easier. It ensures your pieces have perfectly parallel edges from the factory, which simplifies the layout and reduces the number of long cuts you have to make.
How do I stop the expanded metal mesh from warping when I weld it to the front? Expanded metal is very thin and melts quickly. Use very low heat and only “zap” it with quick tack welds every 2 inches. Do not try to run a continuous bead on mesh; it will simply melt away and warp the entire front of your guard.
(This article was written by one of our staff writers, Robert Kline. Visit our Meet the Team page to learn more about the author and their expertise.)