How to Weld Structural Square Tubing for Carts (DIY Plan)
When I first started building shop equipment, my welds looked like a series of cold, stuck-on grapes. I spent months frustrated by joints that broke under the slightest pressure and frames that ended up warped beyond repair. It took me nearly three years of recording every setting and filming my hand movements to realize that welding is less about “talent” and more about repeatable physical metrics.
By treating my shop time as a data-driven practice session rather than just a project, I finally broke through the plateaus that hold most beginners back. If you are currently struggling with inconsistent bead shapes or metal that burns through too quickly, know that you are not alone. The transition from “sticking metal together” to “fusing structural components” is a journey of fine-tuning your hand-eye coordination.
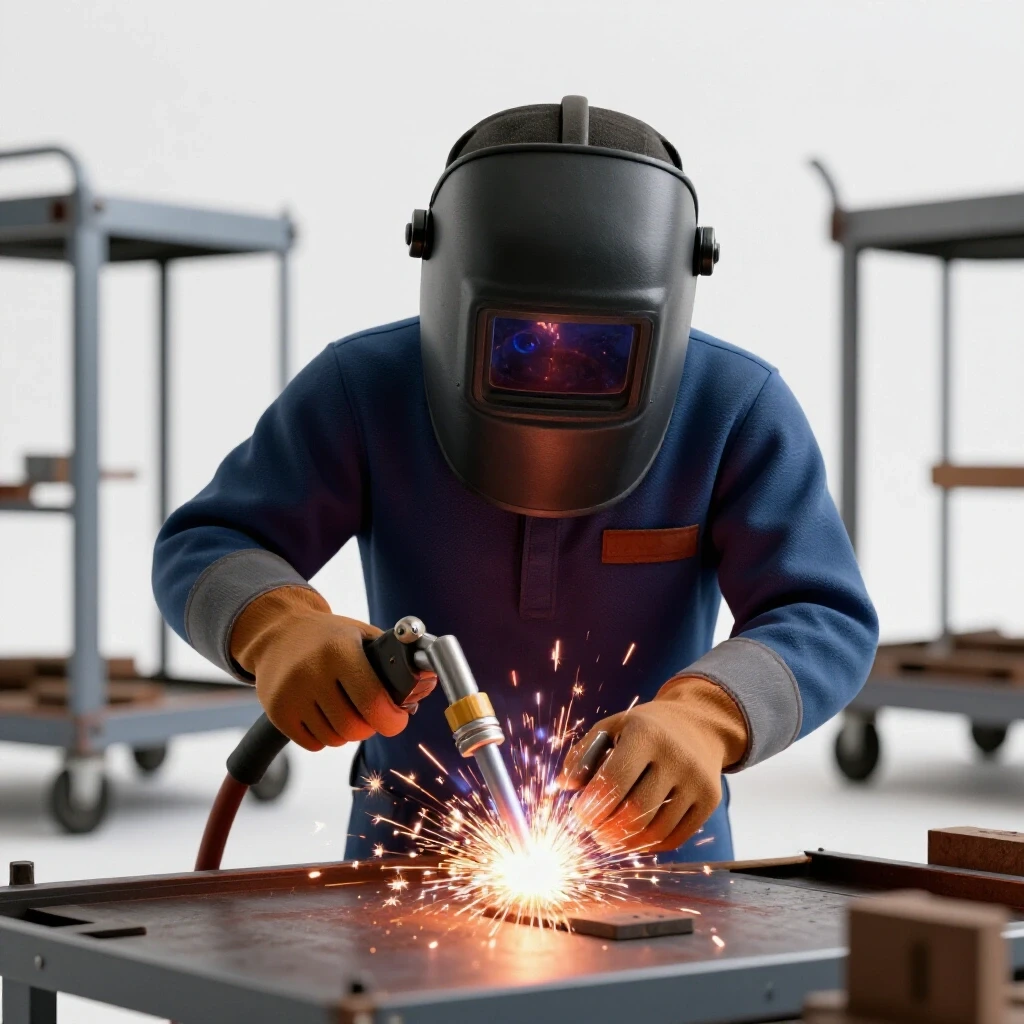
In this guide, I will share the systematic approach I used to master the art of fusing square steel sections for mobile workshop projects. We will focus on the physical cues, machine settings, and practice drills that turn a shaky beginner into a confident fabricator. This is the roadmap I wish I had when I was staring at my first pile of cut steel and wondering why my torch wouldn’t behave.
Mastering Body Mechanics and Torch Stability
Before you ever strike an arc, you must address how your body interacts with the workpiece. Stability is the foundation of any professional-grade weld, especially when working on the long, straight runs required for equipment frames. If your body is tense or unsupported, your hand will inevitably shake, leading to uneven bead width and poor penetration.
Achieving a consistent weld requires more than just a steady hand; it requires a stable chassis. I tell my students to think of their body as a tripod. Whenever possible, find three points of contact. If you are standing, lean your hip against the welding table. If you are sitting, keep both feet flat on the floor and rest your non-welding elbow on the bench.
The way you hold the torch or electrode holder also dictates your level of control. I prefer a “pencil grip” for lighter work, but for structural tubing, a firm yet relaxed “full-palm grip” often works better to reduce hand fatigue. I often see beginners white-knuckling the torch, which transfers every heartbeat and muscle twitch directly into the weld puddle. Instead, try to relax your shoulders and breathe steadily through the duration of the bead.
- The Brace Technique: Use your off-hand to steady your torch hand. Rest the pinky finger of your glove on the table or a ceramic “finger” to slide along as you move.
- Dry Runs: Always perform a “dry run” without the arc. Move your hand across the entire length of the planned weld to ensure your clothing or lead won’t snag.
- Vision Placement: Position your head so you can see both the leading edge of the puddle and the trailing edge. If you can’t see where you’re going, you can’t stay on the joint line.
Understanding the Puddle and Heat Input
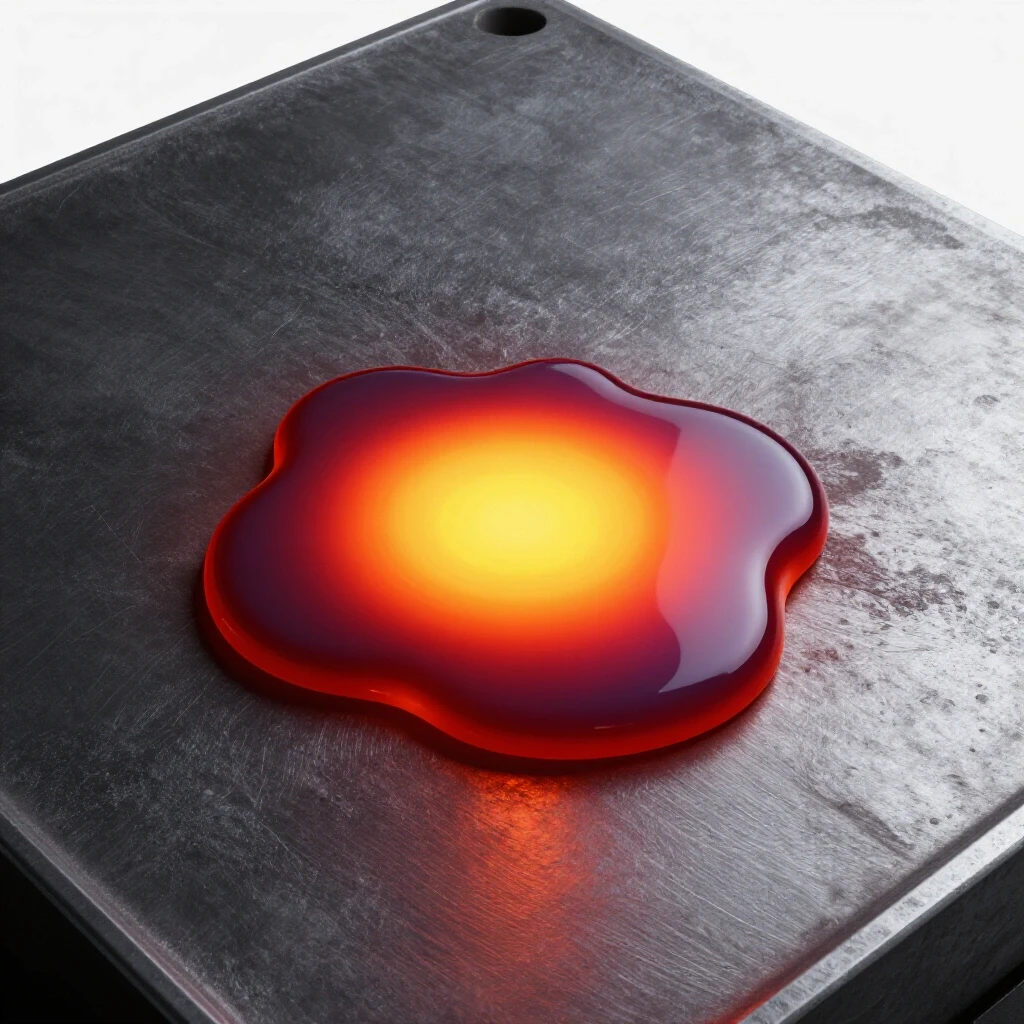
The weld puddle is your most honest instructor, providing real-time feedback on your travel speed and torch angle. Learning to “read” the liquid metal is the most critical skill in metal welding practice guides. When you understand how the puddle reacts to heat, you can make instant adjustments to prevent defects like undercut or lack of fusion.
A healthy weld puddle should look like a small, bright oval of liquid steel that follows your torch. If the puddle becomes too circular or starts to sag, you are moving too slowly and putting too much heat into the metal. Conversely, if the puddle is narrow and pointy, you are moving too fast, and the metal isn’t having enough time to melt into the base material.
For 1/8-inch wall square tubing, the balance between heat and speed is narrow. Too much heat can cause the thin walls to “blow through,” leaving a hole that is difficult to patch. I track my heat input by watching the “Heat Affected Zone” (HAZ), which is the discolored area next to the weld. A wide HAZ usually indicates that the travel speed was too slow or the voltage was too high.
| Puddle Shape | Meaning | Necessary Correction |
|---|---|---|
| Wide and Round | Too much heat / Moving too slow | Increase travel speed or lower voltage |
| Narrow and Pointy | Not enough heat / Moving too fast | Decrease travel speed or check wire speed |
| Symmetrical Oval | Optimal heat and speed | Maintain current pace and angle |
| Erratic/Wobbly | Unstable hand or varying arc length | Brace your arm and maintain a steady gap |
Configuring Machine Parameters for Structural Steel
Setting your machine correctly is half the battle when fabricating steel frames for shop carts. While many modern welders have “auto-set” features, relying on them blindly can hinder your understanding of the process. I recommend mapping your own parameters by testing beads on scrap pieces of the exact same material you plan to use for your build.
For MIG welding 11-gauge (roughly 1/8 inch) square tubing, I generally start with a voltage around 18.5V to 19.5V and a wire feed speed of 210 to 240 inches per minute (IPM). If you are using a stick welder, a 3/32-inch E7018 electrode at 85 to 95 amps is a solid baseline. These numbers aren’t set in stone; they are a starting point for your own practice logs.
The goal is to achieve a “short-circuit” transfer that sounds like frying bacon. If the machine is popping and splashing metal everywhere, your wire speed is likely too high for your voltage. If the wire is melting back into the tip, your wire speed is too low. I spent hours in my early years just turning knobs and recording the results until I could hear the difference between a cold weld and a deep, penetrating one.
- Voltage (V): Controls the width and height of the bead. Higher voltage flattens the bead.
- Wire Feed Speed (WFS): Controls the amperage and penetration. Higher speed increases heat.
- Inductance: If your machine has this, it can soften the arc and reduce spatter on thinner tubing.
Preparing Clean Zones and Precision Fit-Up
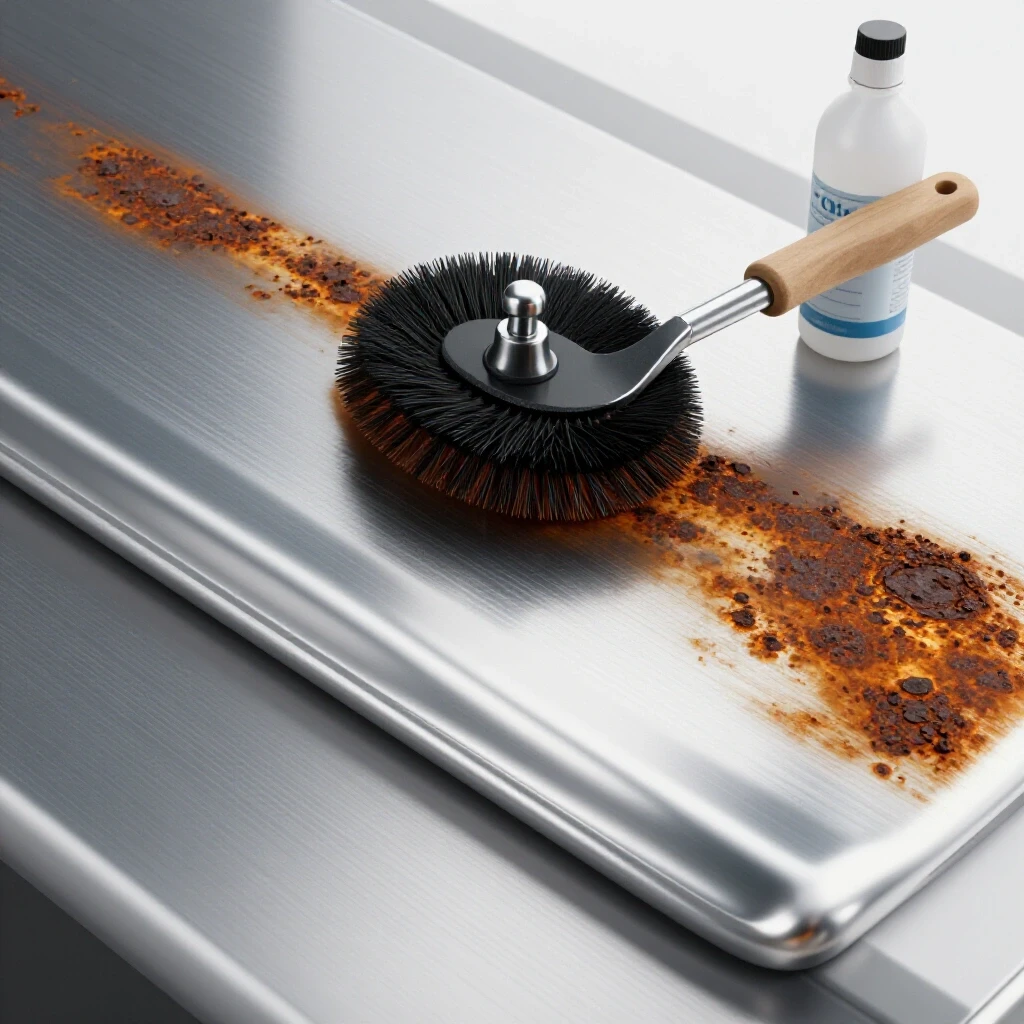
In my experience, 80% of welding failures happen before the arc is even struck. Steel comes from the mill with a layer of grey oxidation called mill scale, which acts as an insulator. If you try to weld over it, you will get a “dirty” arc, excessive spatter, and potential porosity (tiny holes in the weld).
I follow a “one-inch rule” for all my structural builds. This means I grind the metal down to shiny silver at least one inch back from every joint. This ensures the arc has a clean path to ground and prevents contaminants from being sucked into the molten puddle. When building a cart frame, the fit-up—how tightly the pieces touch—is just as important as the cleaning.
Gaps are the enemy of a beginner. If your cuts are off and you have a 1/8-inch gap in a corner, the heat will quickly melt the edges away instead of joining them. I use a dedicated metal-cutting saw to ensure my 45-degree and 90-degree cuts are as tight as possible. A tight fit-up allows the heat to flow evenly across both pieces of tubing, making the welding process much more predictable.
- De-burring: After cutting, use a file or grinder to remove the sharp “burr” inside the tube. This allows the pieces to sit flush.
- Squaring: Use a machinist’s square or a magnetic jig to hold the pieces at exactly 90 degrees.
- Tacking: Place small “tack” welds on opposite corners of the joint. This holds the frame in place and prevents the heat from pulling the metal out of square as you do the final welds.
Mastering Torch Control and Travel Speed Dynamics
Consistency is the hallmark of a skilled fabricator. When mastering torch control, you are essentially training your brain to maintain three variables simultaneously: travel angle, work angle, and travel speed. If any one of these fluctuates, the bead will look uneven.
For square tubing, I generally use a 10 to 15-degree “drag” or “push” angle. Pushing the puddle (angling the torch toward the direction of travel) usually results in a flatter bead with less penetration, which is great for thinner tubing. Dragging the puddle (angling the torch away from the direction of travel) provides deeper penetration but a taller bead.
Travel speed is the most common hurdle for those learning metal fabrication. Most beginners move too fast because they are afraid of burning a hole. I suggest aiming for a speed of about 8 to 12 inches per minute. You can practice this by marking a one-inch line on a piece of scrap and timing yourself. If it takes you 6 seconds to cross that inch, you are moving at 10 IPM.
- Work Angle: Keep the torch centered at 45 degrees between the two faces of the tubing in a fillet joint.
- Arc Gap: Maintain a consistent distance of 1/4 to 3/8 inch from the contact tip to the metal (for MIG) or about 1/8 inch for stick welding.
- Steady Rhythm: Some people find it helpful to count “one-one-thousand, two-one-thousand” or use a slight “oscillation” (moving the torch in tiny circles) to help bridge the joint.
Executing Fillet and Butt Joints for Frame Integrity
Most shop cart designs rely on two main types of joints: the fillet weld (where two pieces meet at a T-shape or corner) and the butt weld (where two ends meet flat). Each requires a slightly different approach to ensure the frame can handle the weight of tools or machinery.
In a fillet weld, the heat tends to sink into the flat surface more than the edge of the vertical piece. I’ve found that aiming the arc slightly more toward the flat “floor” of the joint helps prevent the vertical wall from melting away too quickly. This is a common technique used in trade school practice drills to teach heat management.
Butt welds on square tubing can be tricky because the corners are rounded. This creates a natural “V” shape where the two pieces meet. You must ensure the weld puddle reaches the very bottom of that “V” to get full penetration. I often suggest “weaving” the torch slightly from side to side to ensure the puddle ties into both edges of the tubing.
- Outside Corners: These are the easiest to burn through. Use a faster travel speed and aim the heat toward the center of the joint.
- Vertical Welds: If you have to weld a vertical joint, try welding “downhill” (top to bottom) for thinner tubing to keep the heat from building up too much.
- Sequence: Weld the most difficult joints first while you are fresh, and alternate sides of the frame to keep the heat balanced and prevent warping.
Tracking Progress through Structured Practice Logs
One of the biggest reasons people experience frustrating plateaus is that they don’t know what they did right when a weld finally looks good. By keeping a welding technique progression log, you can turn accidental success into a repeatable skill. I started keeping a notebook in my shop over a decade ago, and it is still the most valuable tool I own.
Every time you sit down to practice, record your machine settings, the material thickness, and how the arc felt. After you finish a bead, grade it on a scale of 1 to 10 for visual appearance and penetration. If you see a “7” in your log, look at the settings you used that day. This objective data removes the guesswork from your shop time.
Modern technology can also help. I often use my smartphone to record slow-motion videos of my puddle. Watching the liquid metal flow in slow motion reveals hand shakes or angle changes that are impossible to see in real-time. It’s like having a coach looking over your shoulder, pointing out exactly where your travel speed faltered.
Sample Practice Log Template
- Date and Session Goal: (e.g., “Mastering horizontal fillets on 1/8″ tubing”)
- Machine Parameters: Voltage, Wire Speed/Amps, Gas Flow Rate.
- Physical Cues: “Braced my arm on the table,” or “Focused on a 15-degree drag.”
- Visual Assessment: Look for undercut, bead height, and ripple consistency.
- Adjustments for Next Run: “Increase travel speed by 10%” or “Lower voltage by 0.5V.”
Identifying and Correcting Common Weld Defects
Even with the best preparation, mistakes happen. The key to professional-grade results is knowing how to identify a defect and understanding the physical cause behind it. In structural builds, the most common issues are undercut, porosity, and cold lap.
Undercut looks like a small groove or “ditch” melted into the base metal right at the edge of the weld. It’s usually caused by too much heat or an improper torch angle. If I see undercut on a frame joint, I know I need to either speed up my travel or angle my torch more toward the piece that is being “eaten” away.
Cold lap, or “lack of fusion,” is the opposite. This is where the weld metal just sits on top of the base metal without actually melting into it. It often looks like a “rolled” edge. This is a structural failure waiting to happen. It usually means your voltage was too low or your metal wasn’t clean enough. Whenever I find a cold lap, I grind it out completely and start over; you can’t just weld over a bad foundation.
- Porosity: Caused by wind blowing away your shielding gas or dirty metal. Check your gas tank and clean your steel.
- Spatter: Often caused by too much wire speed or a long arc length. Keep your torch closer to the work.
- Warping: Caused by putting too much heat in one spot. Move around the project to let different areas cool.
Conclusion
Building a mobile equipment frame is one of the most rewarding ways to sharpen your fabrication skills. It moves you past simple “bead-on-plate” exercises and forces you to deal with real-world challenges like fit-up, heat distortion, and out-of-position welding. By focusing on your body mechanics and keeping a detailed log of your parameters, you turn every shop session into a measurable step toward mastery.
Remember that even the most experienced fabricators started with messy welds and warped frames. The difference between those who quit and those who succeed is the willingness to analyze their mistakes and practice with intention. Don’t be afraid to grind off a bad weld and try again; that’s where the real learning happens.
As you move forward, keep your work area clean, your machine dialed in, and your eyes on the puddle. With enough “hood time” and a systematic approach to your physical movements, the consistency you’re looking for will become second nature.
Frequently Asked Questions
What is the best travel speed for welding 1/8-inch square tubing?
For most beginners using MIG, a travel speed of 8 to 12 inches per minute is ideal. This allows enough time for the puddle to fuse both sides of the joint without staying so long that you burn through the thin wall. If you find yourself blowing holes, increase your speed or lower your voltage slightly.
Why does my weld have tiny holes in it (porosity)?
Porosity is almost always caused by a lack of shielding gas or contaminants on the metal. Ensure your gas flow is set between 20-25 CFH (Cubic Feet per Hour) and that there are no drafts in your shop. Also, make sure you have ground the mill scale off the steel until it is shiny.
How do I stop my cart frame from warping while I weld it?
Heat causes metal to expand and contract. To prevent warping, never weld one joint completely from start to finish in one go. Instead, place small tacks on all corners of the frame. Then, weld small sections on opposite sides of the project, allowing the metal to cool between runs.
Should I push or drag the torch when welding square tubing?
For thinner structural tubing, “pushing” the torch (pointing it in the direction you are moving) is often preferred because it produces a flatter bead and shallower penetration, reducing the risk of burn-through. However, “dragging” is acceptable if you need deeper penetration on thicker corner joints.
How much gap is acceptable between the pieces of tubing?
Ideally, you want a “zero-gap” fit-up for square tubing. If you have a gap larger than 1/16 of an inch, it becomes much harder to control the heat. If a gap exists, you will need to lower your heat and use a “weaving” motion to bridge the space without melting the edges.
What is the “frying bacon” sound people talk about?
In MIG welding, the “frying bacon” sound indicates a stable short-circuit transfer. This means your voltage and wire feed speed are perfectly balanced for the thickness of the metal. If it sounds like loud pops, your wire is too fast; if it’s a hiss, your voltage may be too high or your wire too slow.
Do I really need to grind off the grey coating on the steel?
Yes. That grey coating is mill scale (iron oxide). It has a higher melting point than the steel underneath and does not conduct electricity as well. Welding over it leads to an unstable arc, more spatter, and a weaker bond between the metals.
How can I tell if my weld has good penetration?
On 1/8-inch tubing, you should see a slight “heat tint” or a small bead of metal on the inside of the tube if you can see it. If the weld looks like it is just sitting on top of the surface like a piece of rope, it likely hasn’t fused deeply enough into the base metal.
(This article was written by one of our staff writers, Thomas Langley. Visit our Meet the Team page to learn more about the author and their expertise.)