Is Running a Metal Shop from Home Cheaper Than Renting? (Fix)
I remember the first time I realized my “free” home workshop was actually costing me money. I had just finished a set of custom steel gates in my two-car garage. I felt proud until the electricity bill arrived, alongside a realization that I’d spent four hours just moving equipment around to make room for the final assembly. My side-hustle metalworking was growing, but my understanding of the financial footprint was lagging behind.
For many fabricators aged 35 to 55, the dream is to move from a hobby to a profitable side business. You have the skills and the tools, but the math of scaling up is often a mystery. Is it truly more cost-effective to stay in the driveway, or does a dedicated commercial bay offer efficiencies that pay for themselves? After 16 years of managing shop floors and tracking every grinding wheel used, I have learned that the answer isn’t in the rent check alone. It is in the shop math, the power draw, and the hidden costs of every square foot.
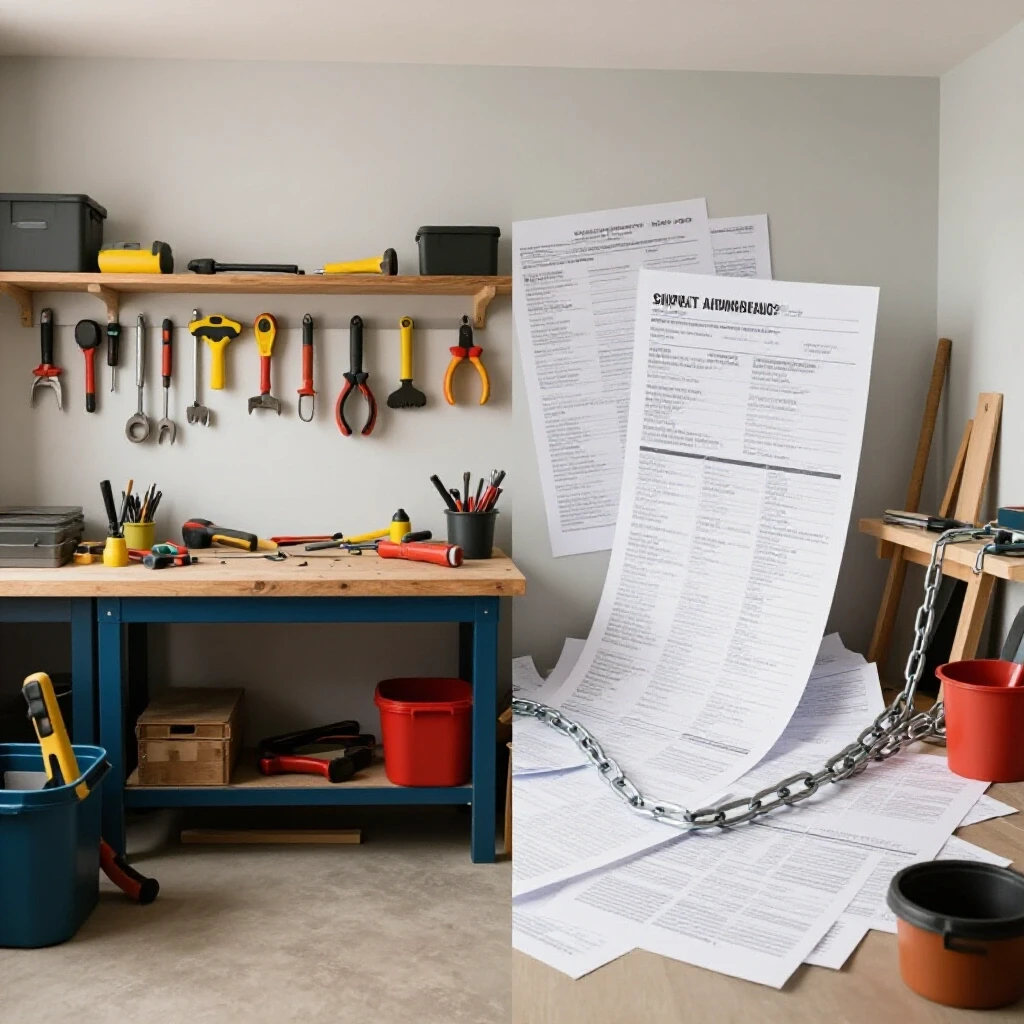
This guide breaks down the economic realities of residential versus commercial fabrication. We will look at how to calculate a true shop rate, track the consumables that bleed profits, and determine if an equipment upgrade will actually generate a return on your investment.
Establishing Your True Shop Rate in Different Environments
A shop rate is the hourly cost of keeping your doors open plus your desired profit margin. It is the foundation of fabrication job costing, combining your utilities, consumables, and labor into a single number. Without an accurate rate, you are simply guessing at your income.
When I started consulting, I found that most home-based fabricators set their rates based on what the guy down the street charges. This is a mistake. Your rate must be tied to your specific overhead. In a residential setting, your overhead is often “invisible.” You might not pay separate rent, but you are consuming household space and utility capacity. In a commercial setting, every cost is line-itemed, making it easier to track but harder to ignore.
To find your baseline, you need to add your monthly fixed costs (rent or a portion of the mortgage, basic utilities) and your variable costs (welding gas, sandpaper, electricity for the plasma cutter). Divide this by the number of billable hours you work each month. If your overhead is $500 and you work 40 hours of side-hustle time, your overhead cost is $12.50 per hour before you even pay yourself or buy material.
The Garage Discount Trap
The garage discount trap is the tendency to underprice work because you do not have a monthly rent payment. This leads to a false sense of profitability that vanishes the moment you need to replace an expensive tool or scale your operations.
I once worked with a fabricator who charged $45 an hour from his home shop. He was busy, but he couldn’t afford a new cold saw when his old one died. We realized his “profit” was actually just covering his electricity and the wear and tear on his house. By not accounting for the eventual replacement of his machinery, he was slowly liquidating his business assets just to pay his personal bills.
Commercial Overhead Realities
Commercial overhead involves fixed monthly expenses that exist whether you strike an arc or not. These include the lease, higher utility baselines, and often a higher cost for waste disposal or specialized power connections.
While these costs are higher, they often come with increased efficiency. A commercial space usually has higher ceilings for material storage and better power phases for heavy machinery. When calculating shop rates for a rented bay, you must account for the fact that you need to generate more revenue per hour to cover the higher floor space cost. A typical small shop rate in a rented space often falls between $85 and $120 per hour, whereas a home shop might target $65 to $85.
Allocating Overhead and Power Draw in Small Workspaces
Overhead allocation is the process of assigning non-material costs to specific jobs. This includes the electricity used by your welder, the heat in your shop, and the lighting over your bench. Understanding these costs is vital for accurate small metal shop pricing.
In a residential setting, your power draw is often limited by a 200-amp service shared with your kitchen and HVAC. This limits the size of the machines you can run simultaneously. In a commercial setting, you might deal with “demand charges,” where the utility company bills you based on your highest peak of electricity usage. Tracking these energy shifts is the difference between a profitable month and a surprise bill that eats your margins.
| Expense Category | Residential Shop (Monthly Est.) | Commercial Bay (Monthly Est.) |
|---|---|---|
| Basic Power/Lights | $40 – $80 | $120 – $250 |
| High-Draw Machinery | $20 – $50 (Intermittent) | $100 – $300 (Daily) |
| Floor Space Cost | $0 (Included in Mortgage) | $800 – $1,800 (Rent) |
| Material Handling | High (Manual/Limited) | Low (Forklift/Gantry) |
Calculating Machine-Specific Energy Costs
Every time you pull the trigger on a MIG gun or start a CNC plasma table, you are spending money on electricity. To calculate this, look at the amperage draw of your machine and your local kilowatt-hour (kWh) rate.
For example, a high-output welder running at 250 amps might pull significant power. If you are welding for four hours straight, that cost adds up. I recommend adding a “power burden” to your hourly rate. For most small shops, adding $2 to $5 per hour specifically for energy usage ensures you aren’t paying for the client’s project out of your own pocket.
Space Efficiency and Flow
Space efficiency is the measure of how much revenue you can generate per square foot of your shop. In a small home shop, poor flow can double the time it takes to complete a project, effectively cutting your hourly rate in half.
I’ve seen shops where the fabricator had to move a truck out of the driveway just to cut a 20-foot stick of tubing. That is 15 minutes of unpaid labor every time a cut is made. In a rented space, you pay for the ability to have a permanent “infeed” and “outfeed” setup. If the rent is $1,000 a month but it saves you 10 hours of moving equipment, you have to decide if those 10 hours are worth more than the $1,000.
Machinery Amortization and Floor Space Efficiency
Amortization is the practice of spreading the cost of an expensive tool over its expected lifespan. Floor space efficiency is the dollar value of the work produced within a specific area of your shop.
When you buy a $5,000 piece of equipment, it isn’t an immediate $5,000 loss. If that tool lasts five years and you use it for 500 hours a year, the cost is $2 per hour. This is how you calculate metal business ROI. If the tool saves you three hours on a job that pays $75 an hour, the ROI is clear. However, in a home shop, a large machine also “costs” you the space it occupies. If a machine takes up 20% of your garage but you only use it once a month, it is an inefficient use of your most limited resource.
The ROI of Upgrading Equipment
Upgrading to expensive machinery should only happen when the manual process is the primary bottleneck for your revenue. I often see side-hustlers buy a CNC plasma table before they have enough work to keep it running.
A better approach is to track your “manual hours.” If you spend 20 hours a month hand-cutting parts that a machine could do in two hours, you are losing 18 hours of production time. At a shop rate of $75, that is $1,350 in lost potential every month. Over a year, that is $16,200. In this scenario, a $10,000 machine pays for itself in less than eight months. This is the “payback period,” and it is the most important metric for any equipment purchase.
Tool Lifespans and Replacement Cycles
Tools do not last forever, and a professional shop must account for their eventual failure. I categorize tools into three tiers for depreciation tracking.
- Tier 1: Heavy Machinery (Mill, Lathe, CNC). 10-15 year lifespan.
- Tier 2: Primary Fab Tools (Welders, Saws, Ironworkers). 5-8 year lifespan.
- Tier 3: Hand Tools and Portable Equipment (Grinders, Drills). 1-3 year lifespan.
By assigning a monthly “replacement fee” to your overhead, you ensure that when a grinder smokes out, the money for a new one is already in the bank. For a small shop, setting aside $100 to $200 a month for tool replacement is a safe starting point.
Why Hidden Consumables Bleed Small Shop Profits
Consumables are the small items that are used up during a project, such as shielding gas, welding wire, flap discs, and drill bits. Because they are small, many shop owners fail to track them, leading to inaccurate job costing.
In my experience, consumables usually account for 15% to 20% of the total material cost of a job. If you spend $1,000 on steel and do not charge for consumables, you are likely losing $200 in profit. This is especially dangerous in side-hustle metalworking where you might use household supplies or “leftover” wire from a previous project. If you don’t bill for it, you can’t buy the next roll.
Formulating a Real Material Markup
A material markup is a percentage added to the cost of raw steel to cover the time spent sourcing, transporting, and storing it. It also acts as a buffer for the consumables used to process that material.
I recommend a tiered markup system. For a small job where you have to go pick up two sticks of tubing, a 50% markup is reasonable. For a large project requiring a $5,000 steel order delivered by a truck, a 15% to 20% markup is more appropriate. This ensures you are compensated for the “hassle factor” of small orders while remaining competitive on larger bids.
Welding Consumable Tracking Methods
Tracking every inch of wire is impossible, but you can track “usage units.” I use a simple logbook or a digital spreadsheet to note when a new bottle of gas or a new spool of wire is opened.
- Note the date and cost of the new consumable.
- Track the number of projects completed until that item is empty.
- Divide the cost by the number of projects or total project hours.
- Apply this “consumable burden” to every future quote.
If a $100 bottle of 75/25 gas lasts for 20 hours of arc time, your gas cost is $5 per hour. If you don’t include that in your quote, you are essentially paying the client to let you weld for them.
Building a Custom Job Quote for Side-Hustle Metalworking
A professional quote is a contract that ensures both you and the client understand the scope of work. It should be broken down into material, labor, consumables, and profit.
Many small shop owners provide “flat-fee” quotes based on a gut feeling. This is the fastest way to lose money. I have seen projects that look simple on paper turn into 40-hour nightmares because of unexpected fit-up issues. A structured quote protects you from “scope creep”—when a client asks for “just one more small thing” that ends up taking three hours.
The Four-Pillar Quote Formula
To build an accurate quote, use this formula: (Material Cost x Markup) + (Estimated Hours x Shop Rate) + (Specialty Consumables) + (Subcontracting Fees).
- Material Cost: The actual price of the steel.
- Markup: 20-50% to cover sourcing and storage.
- Estimated Hours: Be honest. If you think it will take 10 hours, quote 12.
- Shop Rate: Your calculated hourly rate (e.g., $85/hr).
- Specialty Consumables: Expensive items like specialty TIG rods or large quantities of shielding gas.
- Subcontracting: Powder coating, laser cutting, or galvanizing.
Handling Material Sourcing and Volatility
Steel prices can change weekly. If you provide a quote today and the client waits three weeks to sign, the price of the material might have jumped 10%.
I always include a “Quote Validity” clause. State clearly that the material price is only guaranteed for 7 days. If the price of steel goes up significantly after that, the quote must be adjusted. This prevents you from getting stuck with a bill that wipes out your profit margin.
Analyzing Post-Job Profits and ROI Timelines
Post-job reconciliation is the process of looking at what you actually spent versus what you quoted. It is the only way to improve your estimating accuracy over time.
After every major project, I sit down with my receipts and my time log. Did the project take 15 hours instead of 10? Why? Did I use three grinding wheels instead of one? If you consistently underestimate your time or materials, you need to adjust your shop rate or your bidding formula. This data is what allows you to move from a “hobbyist who gets paid” to a “business owner who fabricates.”
The “What Went Wrong” Log
I keep a simple list of every mistake or unexpected delay on a job. For example: “Project B took two extra hours because the drill bits were dull.”
The solution isn’t just to work harder; it’s to change the system. In that case, I added a “tool sharpening/replacement” fee to my overhead and started buying higher-quality bits. Over time, these small adjustments turn a struggling side hustle into a streamlined operation. If you find that your home shop is consistently slower due to space constraints, that is a data point telling you it might be time to look for a commercial bay.
Calculating the Payback Period for New Tools
Before buying a new tool, I use a simple payback calculation. Let’s say you want a $2,000 cold saw to replace an abrasive chop saw.
- Identify the time savings: The cold saw saves 5 minutes per cut and 10 minutes of cleanup per part.
- Calculate the hourly value: At $75/hr, every minute is worth $1.25.
- Determine the total savings per job: If a job has 20 cuts, you save 300 minutes (5 hours).
- Value of time saved: 5 hours x $75 = $375.
- Payback: $2,000 / $375 = 5.3 jobs.
If you do one of these jobs a month, the saw pays for itself in less than half a year. This is how you make profitable operational decisions rather than emotional purchases.
Digital Tools for Modern Shop Management
Managing a shop today is easier than it was 16 years ago, thanks to digital tools. You don’t need a complex accounting degree; you just need the right apps to track your numbers.
- QuickBooks or FreshBooks: Essential for professional invoicing and tracking expenses. They allow you to categorize material purchases and see your profit-and-loss statements in real-time.
- Evernote or Notion: Great for keeping a “shop diary” of project notes, material settings, and customer preferences.
- Excel or Google Sheets: I still use a custom spreadsheet for my quoting formula. It allows me to plug in material costs and see the final bid instantly.
- Toggl Track: A simple, free app for tracking how much time you actually spend on each phase of a project (cutting, welding, grinding).
- Inventory Apps: Tools like Sortly help you keep track of how many sticks of 2×2 tubing you have in the rack so you don’t over-order.
Summary of Key Benchmarks
To keep your shop financially healthy, aim for these industry-standard benchmarks:
- Shop Hourly Rate (Home): $65 – $85
- Shop Hourly Rate (Commercial): $90 – $130
- Material Markup: 20% – 50%
- Consumable Burden: 15% of material cost
- Profit Margin Target: 20% after all expenses and labor are paid
- Tool Payback Period: Aim for less than 12 months for small tools, 24-36 months for major machinery
Running a metal shop from your property offers a low-risk entry point into the industry. It allows you to build your skills and client base without the pressure of a high monthly lease. However, the lack of a rent check often hides the true cost of production. By applying rigorous shop math, tracking every consumable, and being honest about your space efficiency, you can determine exactly when the “free” garage becomes more expensive than a professional bay.
The goal isn’t just to make cool things; it’s to build a sustainable business that respects your time and your investment. Whether you stay in the garage or move to a warehouse, the numbers will always tell the real story of your success.
Frequently Asked Questions
How do I know if my shop rate is too low?
If you are constantly busy but never have money in the bank for new materials or tool repairs, your rate is likely too low. Another sign is if you are winning 100% of the jobs you bid on. This often means you are the “cheap guy,” and you are leaving money on the table.
Should I charge for the time I spend driving to pick up metal?
Yes. Your time is your inventory. If it takes you two hours to drive to the steel yard and back, that is two hours you aren’t welding. You should either charge your full shop rate for that time or ensure your material markup covers the cost of your time and vehicle wear.
Is it better to buy a used machine or a new one for a side hustle?
Used machinery often offers a better ROI because the initial cost is lower, but it comes with the risk of repair costs and downtime. For a side hustle, I recommend new for primary tools (like your main welder) to ensure reliability, and used for heavy “dumb” tools (like an ironworker or a manual press).
How do I estimate welding gas costs for a quote?
A good rule of thumb is to add $5 to $8 per hour of estimated arc time. If you don’t want to track arc time specifically, add a 15% “consumable burden” to your total material cost.
What is the most common hidden cost in a home metal shop?
Material handling and “shuffle time.” In a cramped space, you spend a significant amount of time moving one project to get to another. This is unpaid labor that eats your profit. If you spend 5 hours a week moving stuff, that’s $1,500 a month in lost potential at a $75/hr rate.
How much should I mark up hardware like bolts and hinges?
Small hardware has a high “hassle factor.” I typically mark up small hardware by 100%. If a bolt costs $1, I charge $2. This covers the time spent finding the right size, driving to the store, and managing the inventory.
Can I run a CNC plasma table on a standard residential power hookup?
It depends on the table and the compressor. Most small CNC tables can run on a 240V circuit, but the air compressor is the real power hog. You may need to upgrade your sub-panel to ensure you don’t trip breakers while the machine is mid-cut.
How do I handle a customer who thinks my shop rate is too high?
Explain the value. You aren’t just charging for “glueing metal together.” You are charging for the machinery, the expertise, the overhead, and the guarantee of a quality product. If they still complain, they are likely a “low-margin” customer who will cost you more in headaches than they are worth.
What is “Amortization” in simple terms?
It’s just dividing the cost of a tool by how long it will last. If a $1,200 saw lasts 1,200 hours, it costs you $1 per hour to own it. You must include that $1 in your shop rate so you have the money to buy the next one.
Should I include my own labor in the shop rate?
Yes. Your shop rate should cover the business expenses AND a fair wage for your labor. If your shop rate is $80, maybe $30 goes to overhead, $10 goes to future equipment, and $40 is your “pay.” If you don’t separate these, you won’t know if the business is actually making a profit or if you are just working a low-wage job.
(This article was written by one of our staff writers, Michael Hargrove. Visit our Meet the Team page to learn more about the author and their expertise.)