Metal Deburring Hand Tools for Fast Clean Edges (Review)
After 17 years in industrial maintenance, I have learned that the most expensive lathe or milling machine in the shop is only as good as the finish on the final part. I have spent nearly two decades diagnosing machinery failures and testing how different tools interact with raw steel and aluminum. One thing remains constant: if you leave a jagged edge on a precision-machined component, you haven’t finished the job. I have seen high-end assemblies fail because a small burr broke off and entered a bearing race, and I have seen many fabricators struggle to find a manual tool that actually lasts.
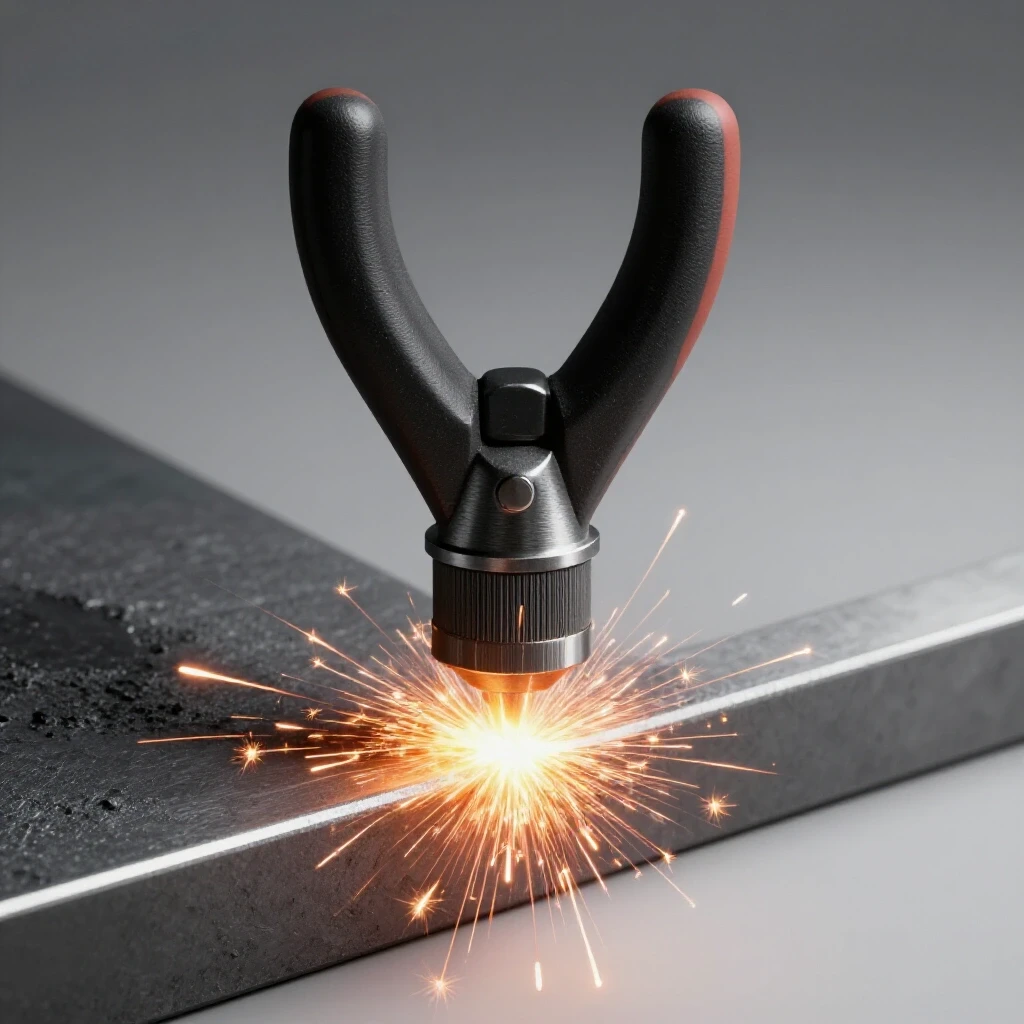
The market is currently flooded with cheap, plastic-handled kits that look identical in online photos. It is difficult to distinguish between a tool that will snap under pressure and one that will provide a clean, consistent chamfer for years. My approach to choosing workshop machinery and finishing tools is based on physical construction and material reality rather than brand loyalty. In this guide, I will break down the mechanical differences between various manual edge-finishing tools to help you make an objective decision for your shop.
Evaluating Handle Ergonomics and Material Construction
The handle serves as the structural frame for any manual finishing tool, determining how much force you can safely apply and how much vibration reaches your hand. A well-designed handle must balance weight for stability with an ergonomic shape that prevents hand fatigue during long sessions. In my shop, I look for high-quality polymers or machined aluminum that can withstand drops on concrete floors.
Plastic Versus Aluminum Handle Durability
Standard plastic handles are often made from lightweight ABS, which can flex under heavy loads, whereas aluminum handles provide a rigid platform for more aggressive work. Choosing the right material depends on your typical workload and the environment of your workshop. I prefer aluminum for heavy-duty steel work because it offers better feedback and resists the oils and solvents found in most machining environments.
When I evaluate a handle, I look at the wall thickness and the internal locking mechanism. A common failure point in budget tools is the spring-loaded collar that holds the blade. If this collar is made of thin stamped steel, it will eventually lose its tension, causing the blade to fall out or wobble during a cut. I have tested handles that felt “mushy” because the internal components were poorly fitted, leading to a lack of control that can ruin a finished part.
| Handle Material | Typical Weight | Durability Rating | Best Use Case |
|---|---|---|---|
| ABS Plastic | 2 – 3 oz | Moderate | Light aluminum and plastic |
| Reinforced Nylon | 3 – 4 oz | High | General purpose fabrication |
| Machined Aluminum | 5 – 7 oz | Very High | Heavy steel and stainless work |
| Rubber-Overmolded | 4 – 5 oz | High | High-vibration or wet environments |
Swivel Blade Mechanics and Bearing Quality
The swivel action is the heart of a manual edge-cleaner, allowing the blade to rotate 360 degrees to follow the contours of a workpiece. This rotation must be fluid and free of “stiction,” which is the static friction that prevents a part from moving until a certain amount of force is applied. If a blade hitches or skips, it will create a wavy, uneven edge known as chatter.
Understanding Blade Rotation and Friction
A high-quality swivel tool uses a hardened steel pin and a precision-ground socket to minimize friction and maximize the lifespan of the tool. I often perform a simple “spin test” to check for internal grit or poor machining inside the handle’s head. If the blade doesn’t rotate freely with a light flick of the finger, it will likely catch on the metal surface and cause an uneven finish.
In my years of maintenance, I have found that tools with a “telescoping” blade holder are particularly useful for reaching into deep bores or long tubes. However, these extensions introduce another mechanical joint that can fail. You must ensure the locking screw on the extension is robust enough to hold under lateral pressure. A loose extension acts like a spindle with excessive runout, making it impossible to achieve a clean, straight chamfer.
- Total Indicated Runout (TIR) in Hand Tools: While we usually measure TIR on a metal lathe, the concept applies here; any play in the blade holder results in an inconsistent cut.
- Bearing Surface: Look for a smooth, polished surface where the blade meets the holder to reduce wear.
- Locking Force: The mechanism should hold the blade securely without allowing it to “pop” out during a heavy pull.
Blade Metallurgy and Edge Retention
The blade is the only part of the tool that actually touches the metal, making its metallurgical composition the most critical factor in performance. Most blades are made from High-Speed Steel (HSS), but the quality of that steel varies significantly between manufacturers. I have seen “budget” HSS blades dull after five minutes of working on stainless steel, while premium cobalt-infused blades keep cutting for days.
High-Speed Steel Versus Cobalt and Carbide
Standard HSS is excellent for mild steel and aluminum, but for harder materials, you need the heat resistance provided by cobalt or the sheer hardness of tungsten carbide. Cobalt blades are usually M35 or M42 grade, which allows them to maintain a sharp edge even when the friction of the cut generates significant heat. Carbide scrapers are the most durable but are brittle and can chip if dropped or used with an unsteady hand.
When I conduct a machine tool review of these consumables, I look at the grind angle of the cutting edge. A shallow angle is better for soft materials like copper, while a steeper, more robust angle is necessary for preventing edge collapse on cast iron. I recommend keeping a variety of blades on hand so you can match the tool to the specific hardness of your workpiece.
- HSS (Standard): Best for 6061 aluminum and cold-rolled steel.
- Cobalt (5-8%): Essential for 304/316 stainless steel and high-carbon alloys.
- Tin-Coated: Titanium Nitride coating reduces friction and extends life in high-volume use.
- Carbide: Best for extremely hard surfaces but requires a very steady hand to avoid chipping.
Specialized Manual Tools for Holes and Straight Edges
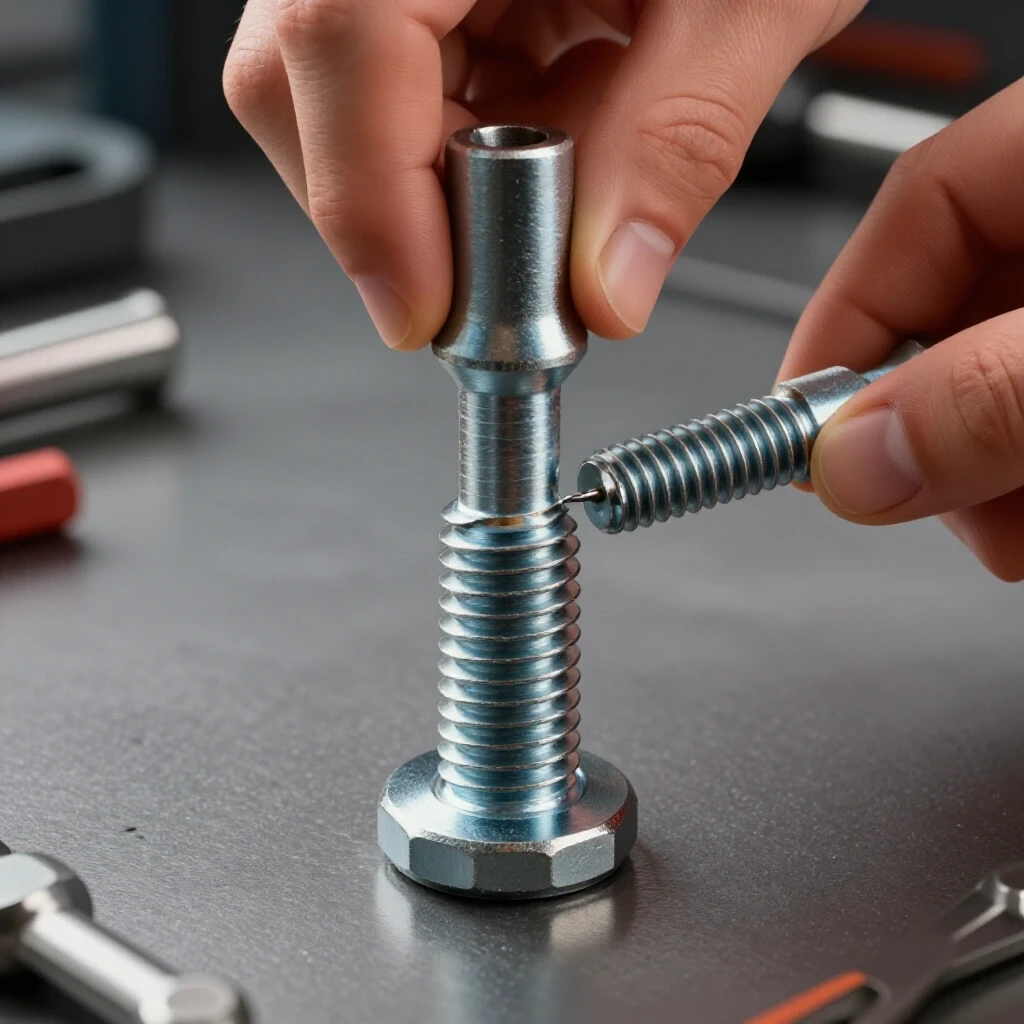
Not every edge can be cleaned with a standard swivel blade. Holes require a tool that can enter a small diameter and remove the internal “volcano” of metal left by a drill bit. Straight edges on sheet metal often require a V-shaped tool that cleans both sides of the plate simultaneously, saving time and ensuring symmetry.
Countersinks, Scrapers, and V-block Tools
Manual countersinks are essentially large, multi-fluted drill bits with a handle, designed to create a smooth lead-in for screws or to remove heavy burrs from large holes. I prefer a “zero-flute” or “through-hole” design for manual use because they are less likely to catch and “corkscrew” into the material. This provides a much smoother finish than a standard three-flute countersink.
Triangular scrapers are another essential tool, especially for flat surfaces or the ends of rectangular tubing. I use these to “shave” the metal rather than “cut” it. This allows for extreme precision, similar to how a machinist uses a surface plate and a hand scraper to flatten a machine bed. If you are choosing workshop machinery for a new shop, do not overlook these simple but effective manual scrapers.
- Swivel Blade: Best for curved edges and outer diameters.
- Crank-Style Countersink: Best for large holes where a swivel blade is too small.
- V-Block Double-Edge Tool: Best for sheet metal edges between 1mm and 10mm thick.
- Triangular Scraper: Best for precision flat work and removing “flash” from castings.
Assessing Tool Life and Consumable Costs
The initial price of a handle is often the smallest part of the total cost of ownership. Over a year of active fabrication, you will spend far more on replacement blades than you did on the tool itself. I always check the availability of replacement parts before committing to a specific brand or system.
Blade Replacement Systems and Compatibility
There are two primary sizes for swivel blades: the “S” type (3.2mm shank) and the “N” type (2.6mm shank). The S-type is the industry standard for heavy-duty work, while the N-type is for smaller, more delicate tasks. I suggest sticking with a handle that accepts standard S-type blades, as these are widely available from multiple manufacturers, ensuring you are never stuck with a useless handle because a proprietary blade is out of stock.
I have found that buying blades in bulk packs of 10 or 50 is the only way to keep costs down. A single premium blade might cost $3, but in a 50-pack, the price can drop to under $1.50. When you are evaluating the “value” of a kit, ignore the “bonus” blades if they are of unknown origin; they are often low-grade steel that will fail quickly, forcing you to buy replacements sooner than expected.
| Blade Type | Shank Size | Common Application | Estimated Life (Linear Feet) |
|---|---|---|---|
| S10 (Standard) | 3.2mm | Steel, Aluminum | 200 – 300 |
| S20 (Double Edge) | 3.2mm | Brass, Cast Iron | 150 – 250 |
| S100 (Cobalt) | 3.2mm | Stainless Steel | 400 – 600 |
| N1 (Small) | 2.6mm | Small holes, Plastic | 100 – 200 |
Practical Performance Tests in the Shop
To truly understand how a tool performs, I put it through a series of standardized tests. I take a piece of 1/4-inch thick A36 structural steel that has been cut with a cold saw, leaving a sharp, heavy burr. I then measure how many passes it takes to achieve a 0.015-inch chamfer and inspect the surface under a magnifying glass for chatter marks.
Measuring Success: Surface Finish and Speed
A good tool should remove the burr in a single, smooth motion. If you have to “saw” back and forth, the blade geometry is incorrect or the handle isn’t providing enough leverage. I also look for “chip clearance”—the ability of the tool to eject the metal spiral without it getting tangled around the blade. If the chips clog the tool, you lose speed and risk scratching the finished surface of your part.
In my experience, the weight of the tool plays a large role in its performance. A heavier handle provides more inertia, which helps the blade stay in the cut. This is similar to why heavy castings dampen harmonics in a milling machine; the mass absorbs the tiny vibrations of the cutting edge, resulting in a cleaner finish. If a tool feels “tinny” or vibrates excessively in your hand, it will likely produce a poor edge.
- The Single-Pass Test: Can the tool remove a 0.010″ burr in one fluid motion?
- The Chatter Test: Does the edge look like a “zipper” under 5x magnification?
- The Ergonomic Test: Can you use the tool for 15 minutes without your hand cramping?
Why Heavy Construction Matters in Manual Tools
While we often discuss cast iron dampening specs in the context of large lathes, the same principle applies to manual finishing. A tool that is too light will bounce over the burr rather than cutting through it. This is why I often steer people away from the cheapest hollow-plastic options. They lack the rigidity needed to maintain a consistent depth of cut.
When you are making structural choices between different tool designs, consider the “path of force.” In a high-quality tool, the force from your hand travels directly through the handle, into the reinforced socket, and onto the blade edge. In a cheap tool, that force is dissipated through flexing plastic and loose-fitting joints. This flex is the enemy of precision.
- Check the Socket: Ensure it is made of hardened steel or brass, not soft zinc.
- Inspect the Grip: Look for a texture that provides a secure hold even with oily hands.
- Test the Spring: The blade-release mechanism should feel crisp and firm.
- Verify Blade Fitment: There should be zero “side-play” in the blade holder.
Avoiding Common Mistakes When Selecting Finishing Tools
One of the biggest mistakes I see is fabricators using the same blade for every material. Using a blade designed for aluminum on stainless steel will destroy the edge in seconds. Conversely, using a steep-angled stainless blade on soft plastic will often result in “digging in,” where the blade dives too deep and ruins the part.
Another mistake is neglecting tool maintenance. Even manual tools need a drop of oil in the swivel mechanism occasionally. I have seen many “failed” tools that simply had a piece of metal grit stuck in the bearing surface. A quick cleaning and a drop of light machine oil can often restore a tool to like-new performance.
- Don’t ignore the shank size: Buying 2.6mm blades for a 3.2mm handle is a common and frustrating error.
- Don’t over-tighten: If the tool has a set screw, tighten it just enough to hold; over-tightening can deform the holder.
- Don’t use it as a pry bar: These blades are hardened and brittle; they will snap if used for anything other than cutting.
Final Recommendations for Your Shop
Choosing the right manual finishing equipment doesn’t have to be a gamble. By focusing on the mechanical integrity of the handle, the quality of the swivel bearing, and the metallurgy of the blades, you can find a tool that performs reliably. I always recommend starting with a high-quality aluminum or reinforced nylon handle and a small variety pack of S-type blades.
As you gain experience, you will find which blade geometries work best for your specific projects. Whether you are cleaning up parts from a metal lathe or smoothing out edges on a custom fabrication project, the right manual tool will save you time and protect your hands. Remember, the goal is a clean, safe edge that reflects the quality of the work you put into the machining process.
Frequently Asked Questions
What is the difference between S-type and N-type blades? S-type blades have a 3.2mm shank and are designed for heavy-duty deburring on steel and larger components. N-type blades have a smaller 2.6mm shank and are intended for fine, intricate work and small holes. Most professional shops standardize on S-type tools because of their durability and wide blade selection.
Can I use these tools on hardened steel? Most standard HSS blades will struggle with steel hardened above 40-45 HRC. For hardened materials, you should look for cobalt-infused blades or specialized carbide scrapers. However, even with these, the tool life will be significantly shorter than when working on mild steel.
How do I know when it is time to change the blade? You will feel the tool start to “drag” or require more physical force to make a cut. If you see the blade “pushing” the burr rather than cutting it, or if the surface finish starts to look ragged and torn, the edge is dull. Visually, you may see a small shiny “flat” on the cutting edge under a bright light.
Are the blades interchangeable between different brands? Generally, yes, as long as the shank size matches (3.2mm or 2.6mm). The “S” and “N” designations are industry standards. This is one of the few areas in metalworking where you aren’t strictly locked into a single manufacturer’s ecosystem, allowing you to use a premium handle with budget blades or vice-versa.
Why does my tool keep “chattering” and leaving a bumpy edge? Chatter is usually caused by either a dull blade, too much pressure, or a loose swivel mechanism. Try reducing the angle of the tool relative to the workpiece and use a lighter, more consistent pull. If the handle is plastic and flexing, switching to a more rigid aluminum handle often solves the problem.
Can these tools be used on wood or plastic? Yes, they work exceptionally well on 3D printed parts and PVC pipe. For plastic, look for blades specifically ground with a sharper, more acute angle (often labeled for “soft materials”) to prevent the blade from melting or tearing the material instead of cutting it.
Is there a way to sharpen these blades? While technically possible with a small diamond hone, it is rarely cost-effective. The complex geometry of the swivel blade is difficult to maintain by hand. Given the relatively low cost of replacement blades, most professionals treat them as consumables and replace them once they dull.
What is the best way to clean the inside of a small diameter pipe? A swivel blade tool is ideal for this. Insert the blade into the pipe, apply light outward pressure against the inner rim, and rotate the tool around the circumference. For very small tubes, a manual countersink or a “N” type small-format blade is usually required.
How do I prevent the blade from popping out during use? Ensure the locking collar is fully engaged. On some handles, the collar must be pulled back to insert the blade and then pushed forward to lock. If the blade still falls out, the internal spring or retaining clip is likely worn out, and the handle should be replaced for safety.
What safety gear should I use with manual deburring tools? Always wear safety glasses. The metal spirals (chips) created by these tools can be very sharp and can “spring” away from the workpiece. Additionally, because you are often applying significant force toward your body, wearing cut-resistant gloves is a wise precaution to protect your hands if the tool slips.
(This article was written by one of our staff writers, Steven Brooks. Visit our Meet the Team page to learn more about the author and their expertise.)