Optimizing Workshop Machine Footprints to Save Space (Guide)
I remember the exact moment I realized my workshop had hit a wall. I was trying to maneuver a ten-foot stick of square tubing toward the horizontal bandsaw, but I had to lift it over the tailstock of my lathe and shimmy past a stack of welding clamps just to get a clean cut. I had plenty of high-end tools, but I had zero flow. I was running a high-output fabrication space that felt like a storage unit.
For those of us who have spent decades refining our craft, the transition from a hobbyist setup to a professional-grade micro-manufacturing environment is rarely about buying more tools. It is about how those tools occupy the limited real estate we have. When you are managing a mature shop, every square inch of floor space must earn its keep. If a machine sits idle for 90% of the week but blocks a primary walking path, it is a liability, not an asset.
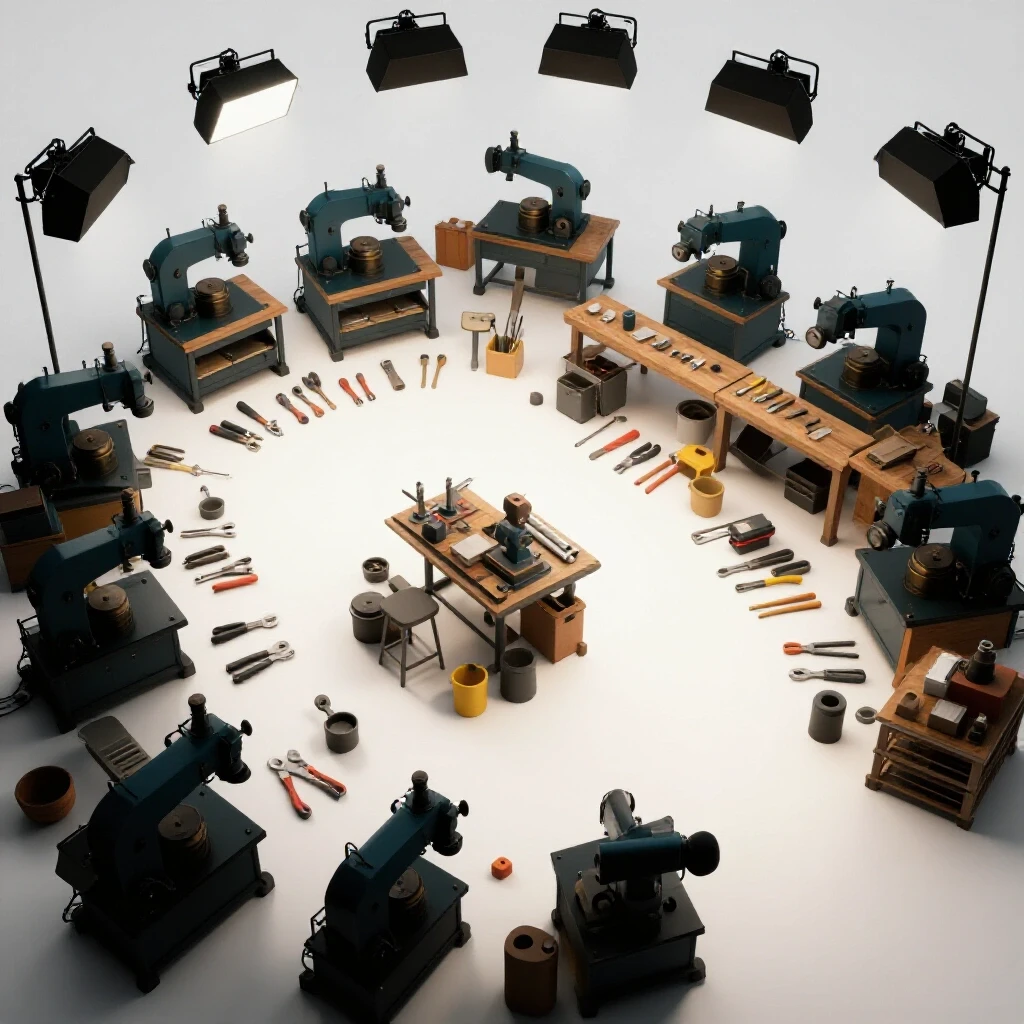
My background in manufacturing operations taught me that efficiency is not just about how fast a machine runs. It is about the distance a part travels between processes. In a small-scale shop, we do not have the luxury of wide aisles or dedicated fork-truck lanes. We have to be smarter. We have to look at our floor plan as a dynamic system where material moves in a logical, linear path without backtracking.
Mapping the Physical Movement of Your Workflow
Before you move a single heavy machine, you must understand how you actually move through your space. I use a technique called “Spaghetti Diagramming.” It sounds simple, but it reveals the hidden bottlenecks that kill productivity.
A Spaghetti Diagram is a visual representation of the path a person or a piece of material takes during a specific job. You take a top-down drawing of your shop and use a pen to trace your steps as you complete a standard project. If the resulting lines look like a tangled plate of pasta, your layout is failing you.
When I first did this in my 600-square-foot shop, I found that I was walking back and forth between my welding table and my grinder four times for every single assembly. By moving the grinder three feet closer and mounting it on a swing-arm, I eliminated nearly a mile of walking over the course of a month.
| Layout Type | Movement Efficiency | Tool Accessibility | Best Use Case |
|---|---|---|---|
| Perimeter Layout | Low | High | Assembly-heavy work |
| Process Cells | High | Medium | Batch production |
| Central Island | Medium | High | Large-scale fabrication |
| Mobile Modular | Very High | Variable | Multi-purpose small shops |
Defining the Total Machine Operating Envelope
One of the biggest mistakes I see experienced fabricators make is measuring a machine by its base dimensions. A Bridgeport mill might have a footprint of 3 feet by 4 feet, but its operating envelope—the space it actually needs to function—is much larger. You have to account for the full travel of the table in both directions, the swing of the cabinet doors, and the space for the operator to stand comfortably.
The operating envelope is the total area required for the machine, the material being processed, and the human being running it. For a table saw, the footprint is small, but the envelope includes an eight-foot infeed and an eight-foot outfeed. If you don’t account for this, you end up with a machine that is technically “placed” but practically useless for large stock.
In my shop, I aim for a three-foot minimum access zone around primary workstations. This is not just for comfort; it is a safety requirement. If you are handling a hot piece of steel or a heavy casting, you need room to move without snagging your clothing on a handle or tripping over a power cord.
Utilizing Mobile Bases for Dynamic Spatial Management
If your machines are bolted to the floor, your layout is frozen in time. For a scaling fabrication shop, flexibility is the ultimate goal. I have put almost every piece of equipment under 1,000 pounds on heavy-duty, locking casters. This allows me to transform the shop floor in minutes based on the specific needs of a project.
Mobile bases allow for a “Tetris” style of shop management. When I am doing heavy lathe work, I can pull the lathe six inches away from the wall to access the headstock for long bar stock. When I am done, it rolls back into its “parked” position, opening up the center of the floor for a welding project.
The key to a successful mobile strategy is the quality of the casters. Cheap wheels will flat-spot under the weight of a cast-iron mill. I look for polyurethane-coated wheels with a weight rating at least 50% higher than the machine itself. This ensures they roll smoothly even when the floor is covered in metal chips or grinding dust.
Vertical Integration and Wall-Mounted Tooling
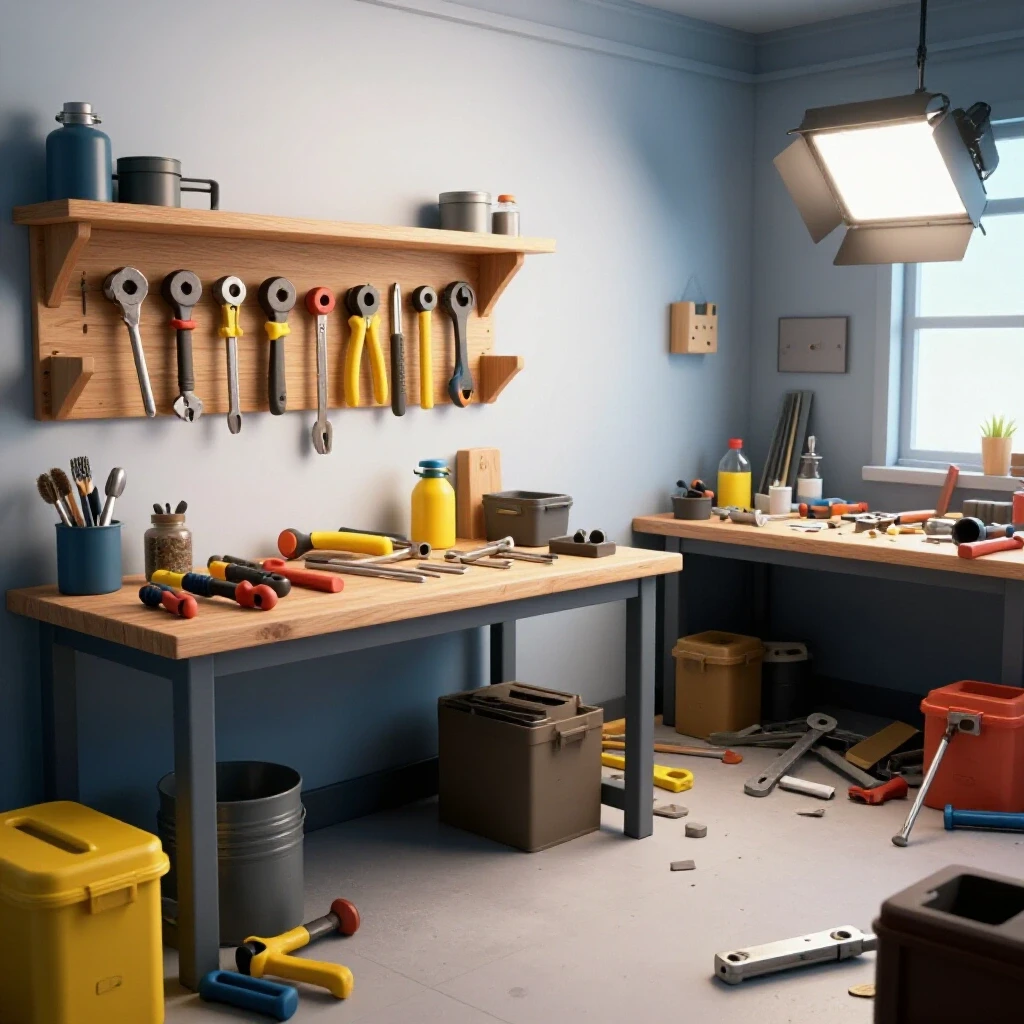
We often focus so much on the floor that we forget we have eight to ten feet of vertical space. In a compact shop, the floor is for machines; the walls are for everything else. I transitioned from floor-standing tool chests to wall-mounted shadow boards and French cleat systems years ago, and I never looked back.
Shadow boarding is the practice of painting an outline of a tool on a board so you know exactly where it goes. This is a core lean manufacturing principle. It reduces “search time”—the wasted minutes spent looking for a 1/2-inch wrench. By moving these tools to the wall, I reclaimed nearly 15 square feet of floor space that was previously occupied by rolling tool cabinets.
Vertical storage also applies to material handling. Storing 20-foot lengths of steel horizontally on the floor is a recipe for a cramped shop. I built vertical racks that allow me to stand stock upright. This uses a fraction of the footprint and makes it much easier to see my inventory at a glance.
- Store heavy items between knee and shoulder height to reduce strain.
- Use the space above seven feet for seasonal items or rarely used jigs.
- Ensure wall racks are anchored into structural studs, not just drywall.
- Label every shelf with a weight limit to prevent structural failure.
Overlapping Work Zones and Shared Outfeed Space
In a small shop, you cannot afford to have dedicated outfeed tables for every machine. Instead, you must design your layout so that machines can share “swing space.” This is the concept of overlapping the operating envelopes of tools that are rarely used at the same time.
For example, my welding table is the exact same height as my horizontal bandsaw’s bed. When I am cutting long stock on the saw, the welding table acts as the support stand. By standardizing the height of my work surfaces to 36 inches, every table in the shop becomes a potential outfeed support for every machine.
This requires careful planning of machine orientation. You have to ensure that the “business end” of one tool doesn’t point directly into the operator station of another. I spent a full weekend with a tape measure and a piece of chalk, drawing these zones on the floor before I moved my heavy equipment. It felt tedious, but it prevented me from having to move a 600-pound drill press a second time.
Managing Power Distribution in a Compact Footprint
As we scale our shops, the electrical demands increase. Most home-based shops are limited to 120V or 240V single-phase power. The challenge isn’t just having enough power; it is getting that power to the machines without creating a web of trip hazards.
I am a firm believer in overhead power drops. Running conduit along the ceiling and dropping twist-lock connectors down to the machines keeps the floor clear. It also makes the mobile base strategy much more effective. If a machine is plugged into a floor outlet, its movement is limited by the cord length and the risk of the cord being pinched under the wheels.
When planning your electrical layout, consider the “load center” of your shop. Group your high-draw machines—like your welder and your air compressor—closer to the main breaker panel to reduce voltage drop. This also keeps the heaviest wiring runs short, which saves money on copper and reduces the complexity of the installation.
| Power Type | Typical Machine Load | Common Tools | Benefit |
|---|---|---|---|
| 120V Single-Phase | 15–20 Amps | Grinders, Hand Tools | Universal availability |
| 240V Single-Phase | 30–50 Amps | Welders, Large Lathes | Higher torque and efficiency |
| 240V Dedicated | 20–30 Amps | Dust Collectors | Constant run capability |
Case Study: The 400-Square-Foot Transformation
A few years ago, I helped a colleague reorganize a micro-fabrication shop that was drowning in its own success. He had a manual mill, a lathe, two welding stations, and a massive amount of raw material. He was losing money because he spent more time moving things out of the way than he did actually fabricating.
We started by implementing a “One-Way Flow.” We moved the raw material rack next to the main door. The bandsaw was placed immediately next to it. This meant that long stock never had to travel more than five feet into the shop before being cut down to a manageable size.
Next, we consolidated his welding operations into a single “Hot Zone.” We used flame-resistant curtains to wall off this area, which protected the precision ways of the lathe from grinding sparks and weld spatter. By grouping “dirty” and “clean” processes, we reduced the time he spent cleaning the shop by 40%.
The final step was the “Leveling Exercise.” We adjusted the feet on every table and machine stand so they were perfectly flush at 34 inches. Suddenly, his shop felt twice as big because every surface could support every project. He went from a three-week lead time down to ten days, simply by changing where his tools sat.
Step-by-Step Layout Execution Framework
- Clear the Deck: If possible, move everything out of the shop. It is much easier to visualize a space when it is empty.
- Mark the Dead Zones: Identify areas where you cannot place machines, such as in front of the electrical panel, under low-hanging pipes, or in the swing path of doors.
- Place the “Anchors”: Position your largest, least-mobile machines first. These are usually your lathe, mill, or large welding table.
- Define the Material Path: Trace the path of a raw piece of metal from the door to the shipping crate. Ensure there are no “loops” or “dead ends.”
- Install Overhead Infrastructure: Mount your lights, air lines, and power drops before you move the smaller tools back in.
- Test the Envelopes: Use a piece of scrap material to simulate the largest project you expect to build. Move it through every stage of the process to ensure there are no clearance issues.
Avoiding Common Spatial Mistakes
The most common mistake I see is “Wall-Hugging.” Many fabricators line all their machines up against the walls, leaving a massive, empty space in the middle. While this looks clean, it often results in poor workflow. Sometimes, placing a machine back-to-back in the center of the room (an “island” configuration) is much more efficient because it allows 360-degree access.
Another pitfall is ignoring “Shadow Space.” This is the area behind a machine that is too small for a person but too large to ignore. I use these gaps for dedicated scrap bins or small air compressors. Every nook should have a purpose. If a space is too small for a tool, use it for specialized storage, but never let it just collect dust and spider webs.
Finally, be realistic about your future needs. If you plan to add a small CNC unit in the next year, leave a “reserved” footprint for it now. It is much easier to work around an empty space for a few months than it is to rewire and replumb your entire shop when the new machine arrives.
Actionable Benchmarks for Shop Efficiency
- Travel Distance: Aim to have no more than 10 feet between sequential process steps.
- Surface Standardization: Keep all work heights within +/- 1 inch of each other.
- Access Zones: Maintain a 36-inch clear path for all primary walkways.
- Tool Retrieval: Ensure any frequently used hand tool can be reached within two steps of the workstation.
- Setup Time: Aim to reduce the time it takes to “clear the floor” for a new project to under 15 minutes.
Maximizing a small shop is a continuous process of refinement. You will never get it perfect on the first try. My shop has evolved through dozens of iterations over 20 years. Each change was a response to a specific bottleneck I felt during a build. By focusing on flow, mobility, and verticality, you can turn a cramped garage into a high-output manufacturing cell that rivals professional facilities.
The goal is to reach a state where the shop supports your work rather than fighting it. When you can move from a cut to a grind to a weld without thinking about the floor plan, you have succeeded. It takes discipline to maintain a lean layout, but the payoff in productivity and reduced stress is worth every hour of planning.
Frequently Asked Questions
How do I decide which machines should be on mobile bases and which should be stationary? Generally, any machine that produces high levels of vibration or requires extreme precision—like a large metal lathe or a milling machine—should stay stationary or be mounted on specialized leveling pads. Machines that are used intermittently or have large outfeed requirements, such as bandsaws, grinders, and welding tables, are the best candidates for mobile bases.
What is the best way to handle material storage in a shop under 500 square feet? Vertical storage is your best friend. Use heavy-duty wall racks for long bars and tubing. For sheet goods, a vertical “toaster rack” style storage system allows you to flip through sheets like a book, saving floor space and making it easier to grab the piece you need without moving an entire stack.
How much space do I really need between machines? A good rule of thumb is the “Three-Foot Rule.” You need 36 inches of clearance for an operator to move safely and for basic maintenance. However, if two machines are used by the same person in sequence, you can sometimes place them closer together to reduce steps, provided their operating envelopes do not overlap in a way that creates a hazard.
Is it better to have one large workbench or several smaller ones? In a scaling shop, several smaller, mobile workbenches are usually better. You can dock them together to create a large assembly surface when needed, or spread them out to create individual workstations for different stages of a project. This flexibility is key to managing a changing workload.
How do I manage the “mess” in a tight layout? A cramped shop feels even smaller when it is dirty. Implement a “Point of Use” cleaning strategy. This means having a small dustpan and brush at every machine. If you clean as you go, you prevent the buildup of chips and scrap that eventually becomes a tripping hazard and eats up your floor space.
What is the most common layout mistake for advanced fabricators? Over-estimating the need for a “permanent” setup. Many experienced guys build massive, heavy benches that stay in one spot for a decade. As your business or hobby evolves, that bench often becomes a roadblock. Build for modularity and change; your future self will thank you.
How do I handle power cords in a shop where everything moves? Use retractable cord reels mounted to the ceiling or “pigtail” drops with twist-lock connectors. Avoid running extension cords across the floor at all costs. If you must have a cord on the floor, use a heavy-duty rubber cord ramp to prevent trips and protect the wire from being crushed by machine wheels.
Can I really run a high-output shop on single-phase 240V power? Absolutely. Most modern welding equipment and many smaller manual machines are designed to run efficiently on 240V single-phase. The key is to have a well-balanced load center and dedicated circuits for your highest-draw items. If you find yourself needing more power, focus on circuit management before assuming you need a service upgrade.
(This article was written by one of our staff writers, Edward Sinclair. Visit our Meet the Team page to learn more about the author and their expertise.)