Simple Digital Work Orders for Custom Fab Shops (DIY Guide)
Scaling a fabrication business from a hobbyist garage into a high-output production environment is rarely a linear path. In my twenty years of operating a shop, I have learned that the transition is often marked by a shift in focus. You move from simply “making things” to managing a manufacturing process. When you introduce a CNC plasma table or a heavy-duty press brake, the physical space must adapt to support those tools. However, the most significant bottleneck usually isn’t the speed of the gantry; it is the breakdown in how information moves through the building.
If you are currently managing a mature workshop, you likely feel the strain of high setup times and floor space limitations. You might have the best welding power sources and a brand-new CNC system, but if you are still relying on memory or scraps of paper to track progress, your efficiency will plateau. Transitioning to a systematic way of logging jobs allows you to reclaim your time and reduce the mental load of shop management.

Mapping Material Flow to Minimize Foot Traffic
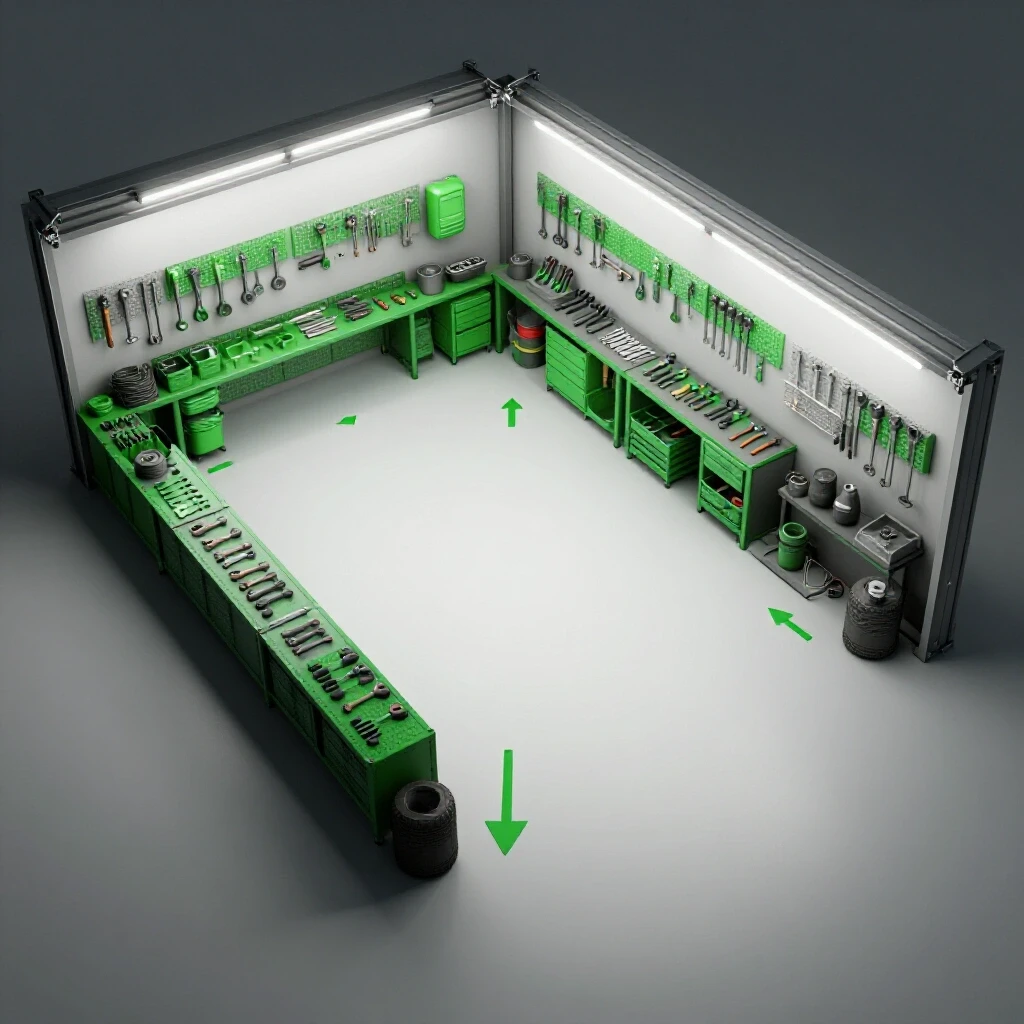
A well-organized shop layout is the foundation of any efficient production cycle. In my early years, I spent too much time moving 4×8 sheets of steel across the floor because my material rack was on the opposite side of the plasma table. This back-and-forth movement is a “hidden cost” that eats into your margins. To fix this, you must map your material travel paths to create a linear or U-shaped flow.
Material flow refers to the physical path a raw component takes from the moment it enters the shop until it leaves as a finished product. In a professional micro-manufacturing setup, you want to avoid “spaghetti paths” where workflows cross over each other. This creates safety hazards and slows down production.
- Raw Material Storage: Place heavy racks near the largest entry door.
- The Cutting Zone: Position your CNC plasma or laser table within ten feet of your material storage.
- Secondary Operations: Grinding, deburring, and bending stations should follow the cutting area.
- The Welding Cell: Keep this isolated to manage sparks and UV light, but close enough to receive parts from the bending station.
- Finishing and Shipping: The final stop should be near your primary outbound door.
By organizing your floor plan this way, you reduce the physical effort required to move parts. This physical organization makes it much easier to implement a digital tracking system. When every part moves through a predictable sequence of “zones,” logging its status becomes a natural part of the workflow.
| Layout Type | Movement Efficiency | Best For | Primary Drawback |
|---|---|---|---|
| Linear Flow | High | High-volume single products | Requires long, narrow shop space |
| U-Shaped Flow | Very High | Small teams, micro-manufacturing | Hard to expand once set |
| Process Grouping | Moderate | Custom, one-off fabrication | High foot traffic between zones |
Optimizing 3-Phase Power for Advanced Machinery
One of the biggest hurdles in scaling a home-based shop is the electrical supply. Most residential or light commercial spaces only have single-phase power. When you upgrade to industrial-grade CNC systems or large air compressors, you will likely need 3-phase power. Understanding how to deliver this power safely and efficiently is critical for shop stability.
3-phase power uses three alternating currents to provide a more consistent and powerful electrical supply. It is more efficient for running large motors than standard 120V or 240V single-phase power. If your shop doesn’t have a utility-provided 3-phase drop, you have two primary options: a Rotary Phase Converter (RPC) or a Digital Phase Converter (DPC).
- Rotary Phase Converters (RPC): These use a physical idler motor to generate the third leg of power. They are rugged and cost-effective but can be noisy and less efficient when running at low loads.
- Digital Phase Converters (DPC): These use solid-state electronics to create a perfect 3-phase signal. They are quiet and highly efficient but come with a higher initial price tag.
In my shop, I opted for a 20HP rotary converter because of its ability to handle high-surge loads from my older ironworker. However, for sensitive CNC electronics, a digital converter or a high-quality line conditioner is often necessary to prevent voltage spikes that can crash a gantry mid-cut.
| Power Option | Initial Cost | Power Quality | Noise Level |
|---|---|---|---|
| Rotary Phase Converter | Moderate | Good (Variable) | High |
| Digital Phase Converter | High | Excellent (Stable) | Low |
| Utility 3-Phase Drop | Very High | Excellent | None |
Designing High-Volume Air Filtration and Dust Collection
As you move from hobby-level tools to automated cutting, air quality becomes a massive concern. A CNC plasma table produces a significant amount of fine particulate matter and fumes. Without a proper management system, these particles settle on your precision machinery, affecting its lifespan and your health.
Air filtration involves two stages: source collection and ambient scrubbing. Source collection happens at the machine, such as a water table or a downdraft system for the plasma cutter. Ambient scrubbing uses ceiling-mounted units to clean the air that escapes the primary collection system.
To design an effective system, you must calculate the required Cubic Feet per Minute (CFM). For a standard 4×8 plasma table, a downdraft system typically requires between 2,000 and 3,000 CFM to be effective. If your ductwork is too small or has too many bends, you will lose “static pressure,” which is the resistance the fan must overcome to move air.
- Duct Design: Use smooth-walled metal pipe rather than flexible ribbed hose.
- Bend Radius: Avoid 90-degree elbows; use two 45-degree bends to maintain air velocity.
- Filter Maintenance: In a high-output shop, check your pre-filters every 40 hours of machine time.
I learned the hard way that a cheap shop-vac isn’t enough. After a month of running a CNC table without proper ventilation, every horizontal surface in my shop was covered in black dust. Investing in a multi-stage cyclone dust collector was the only way to keep the workspace professional and safe.
Integrating CNC Workflows into Your Daily Routine
The transition to CNC machinery is as much about software as it is about hardware. Integrating these tools requires a clear path from a customer’s idea to a finished cut. This is where many fabricators struggle, as the learning curve for CAD (Computer-Aided Design) and CAM (Computer-Aided Manufacturing) can be steep.
A successful workflow starts with standardized file management. I recommend creating a folder structure that mirrors your shop’s physical zones. For example, a “Jobs in Progress” folder should have sub-folders for “CAD Design,” “CAM/Nested,” and “Cut Complete.” This digital organization ensures that you never cut the same part twice or use an outdated revision of a drawing.
- CAD (The Drawing): This is where you create the geometry. Standardize on one software to avoid translation errors.
- CAM (The Strategy): This is where you tell the machine how to cut (lead-ins, speeds, and pierce delays).
- Post-Processor: This is the bridge that turns your CAM data into G-code that your specific machine understands.
When I first integrated CNC, I underestimated the time needed for “nesting”—the process of arranging parts on a sheet of metal to minimize waste. By using a simple digital log to track my sheet remnants, I was able to improve my material utilization by nearly 15%. This is a direct benefit of moving away from paper-based tracking.
Building a DIY Digital Tracking System for Shop Orders
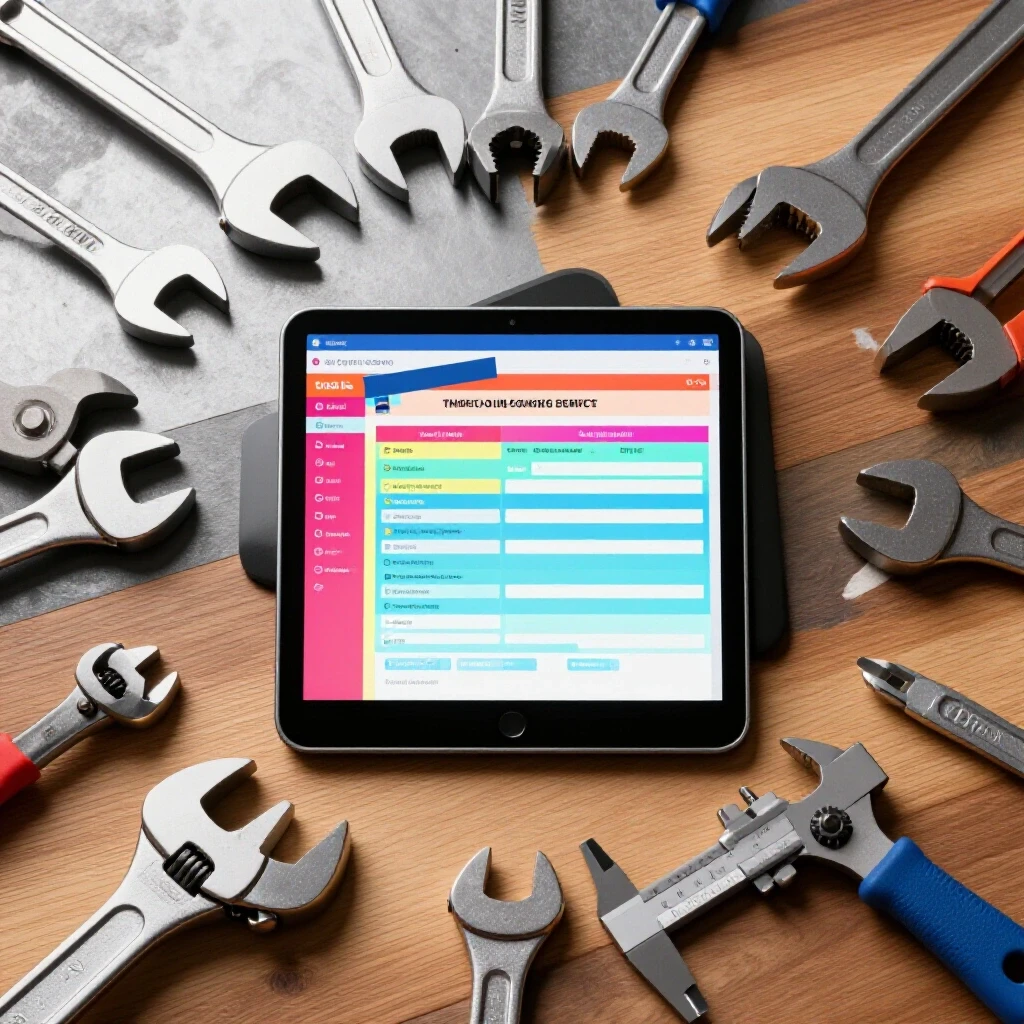
Once your physical layout, power, and air systems are dialed in, you need a way to manage the data. You don’t need expensive enterprise software to run an efficient shop. A simple, custom-built spreadsheet can serve as a highly effective job tracking tool. This allows you to see the status of every project at a glance without walking across the shop floor.
Your digital job log should act as the central “brain” of the operation. It should track the date the order was received, the material required, the current stage of production, and the estimated completion date. By using a cloud-based spreadsheet, you can update the status from a tablet at your welding station or a computer in the office.
- Job ID: Assign a unique number to every project.
- Status Columns: Use a dropdown menu with options like “Design,” “Cutting,” “Fabrication,” and “Ready for Pickup.”
- Material Tracking: Log how many sheets of 10-gauge or 1/4-inch plate are needed.
- Time Logging: Track how long each phase takes to help you quote more accurately in the future.
In my experience, the biggest mistake fabricators make is over-complicating this step. Start with the bare minimum of information. As you get comfortable with the system, you can add more data points, such as shipping tracking numbers or material heat codes. The goal is to reduce the “Where are we on the Smith project?” questions that interrupt your actual work.
Maintaining the System: Benchmarks and Checklists
An efficient shop is not a “set it and forget it” endeavor. It requires consistent maintenance of both the machines and the organizational systems. I use a series of weekly and monthly checklists to ensure that nothing slips through the cracks. This is especially important for safety and machine longevity.
- Weekly Air System Check: Drain the water from your compressor tanks and check the filters on your plasma air dryer.
- Monthly CNC Calibration: Check the tension on your drive belts and ensure the gantry is square.
- Quarterly Electrical Audit: Check the connections on your phase converter and look for signs of heat or wear in your main breaker panel.
- Workflow Review: Once a month, look at your digital job log. Identify which stage of production is taking the longest and brainstorm ways to eliminate that bottleneck.
By treating your shop as a system, you move away from the “firefighting” mode that plagues many custom fabricators. You stop reacting to problems and start anticipating them. This shift is what allows a home-based operation to compete with larger commercial shops on quality and lead times.
Practical Steps for Your Shop Evolution
If you are feeling overwhelmed by the prospect of reorganizing, start small. You do not have to overhaul your entire shop in a single weekend. Focus on the one area that causes the most frustration.
- Week 1: Create a simple spreadsheet to track your current jobs. Stop using the whiteboard or paper scraps.
- Week 2: Map your material flow. Use blue painter’s tape on the floor to mark out “zones” for cutting, welding, and storage.
- Week 3: Evaluate your air quality. If you see dust on your tools, it’s time to upgrade your filtration or ductwork.
- Week 4: Review your power needs. If you are tripping breakers, look into a dedicated sub-panel or a phase converter upgrade.
The transition to a professional-grade shop is a journey of continuous improvement. By focusing on lean principles and simple digital organization, you can build a space that is not only productive but also a pleasure to work in.
Frequently Asked Questions
How do I decide between a water table and a downdraft table for plasma cutting? Water tables are excellent for controlling dust and keeping parts cool, which reduces warping. However, they can be messy and make part cleanup more difficult. Downdraft tables offer cleaner cuts and easier part retrieval but require a high-volume fan and external venting or expensive filtration.
What is the most common mistake when setting up a CNC gantry? Failing to ensure the floor is level and stable is a frequent error. If the floor shifts or is uneven, the gantry can bind, leading to lost steps and ruined parts. Always use leveling feet and consider anchoring the machine to the slab.
How much CFM do I really need for a small shop air scrubber? For general air cleaning, you want to cycle the air in your shop 6 to 8 times per hour. Calculate your shop’s volume (Length x Width x Height) and multiply by the desired air changes, then divide by 60 to get the required CFM.
Can I run a CNC machine on a rotary phase converter? Yes, but you must be careful. CNC electronics are sensitive to voltage imbalances. Ensure your rotary converter is “CNC rated,” which usually means it has additional capacitors to balance the voltage across the three legs within 2-5%.
Is a digital job log really better than a whiteboard? Yes, because it provides a permanent record and can be accessed from anywhere. A spreadsheet allows you to search for past jobs, track material usage over time, and analyze your productivity—things a whiteboard simply cannot do.
What size air compressor do I need for a CNC plasma table? Most CNC plasma systems require a consistent 90-120 PSI at 6-10 CFM. However, you should aim for a compressor that can provide 1.5 times the required CFM to ensure the motor isn’t running constantly, which leads to moisture buildup in the lines.
How do I manage moisture in my compressed air lines? Moisture is the enemy of plasma cutting. Use a refrigerated air dryer or a multi-stage desiccant system. Additionally, install a “drip leg” (a vertical pipe extending downward) at the end of your main air runs to catch water before it reaches your tools.
What is the best way to organize CNC files? Use a consistent naming convention: [Date]-[Customer Name]-[Part Name]-[Revision Number]. This prevents you from accidentally cutting an old version of a part and makes it much easier to find files months later.
How often should I balance the voltage on my phase converter? You should check the voltage balance under load at least twice a year. If you add a new machine to the circuit, re-check the balance immediately to ensure the voltage between the legs remains stable.
What is the minimum spacing I should keep between machines? A good rule of thumb is a 3-foot “operator zone” around every machine. For material handling, ensure you have enough clearance to load a full sheet of metal without hitting other equipment or walls.
(This article was written by one of our staff writers, Edward Sinclair. Visit our Meet the Team page to learn more about the author and their expertise.)