Why You Should Never Remove Angle Grinder Guards (Safety)
I have spent the last 14 years in the hum of metal shops, surrounded by the smell of ozone and the rhythmic scream of abrasive discs. In that time, I have seen projects that were masterpieces of engineering and others that failed under the slightest load. One thing I have learned is that the difference between a successful build and a catastrophic failure often comes down to the respect we show our tools and the physics they command.
When I first started as a mechanical engineer on the shop floor, I was focused on structural metal load capacity and weld penetration. However, a near-miss with a shattered cutting disc early in my career shifted my focus. A colleague was working on a heavy frame, and his disc caught a burr. Because the protective shield was in its proper place, the fragments were deflected away from his face. That moment taught me that safety protocols are not just suggestions; they are the foundation of professional fabrication.
This guide is designed for the intermediate fabricator who values technical accuracy and structural integrity. We will explore the mechanical forces at play during grinding, how to maintain the structural health of your materials, and why the physical barriers on our tools are non-negotiable for anyone serious about the craft.
The Physics of Abrasive Velocity and Centrifugal Force
Centrifugal force is the outward energy acting on a rotating object, pulling it away from its center. In the context of a handheld grinder, this force puts immense internal stress on the abrasive disc as it spins at high speeds, often exceeding 11,000 rotations per minute.
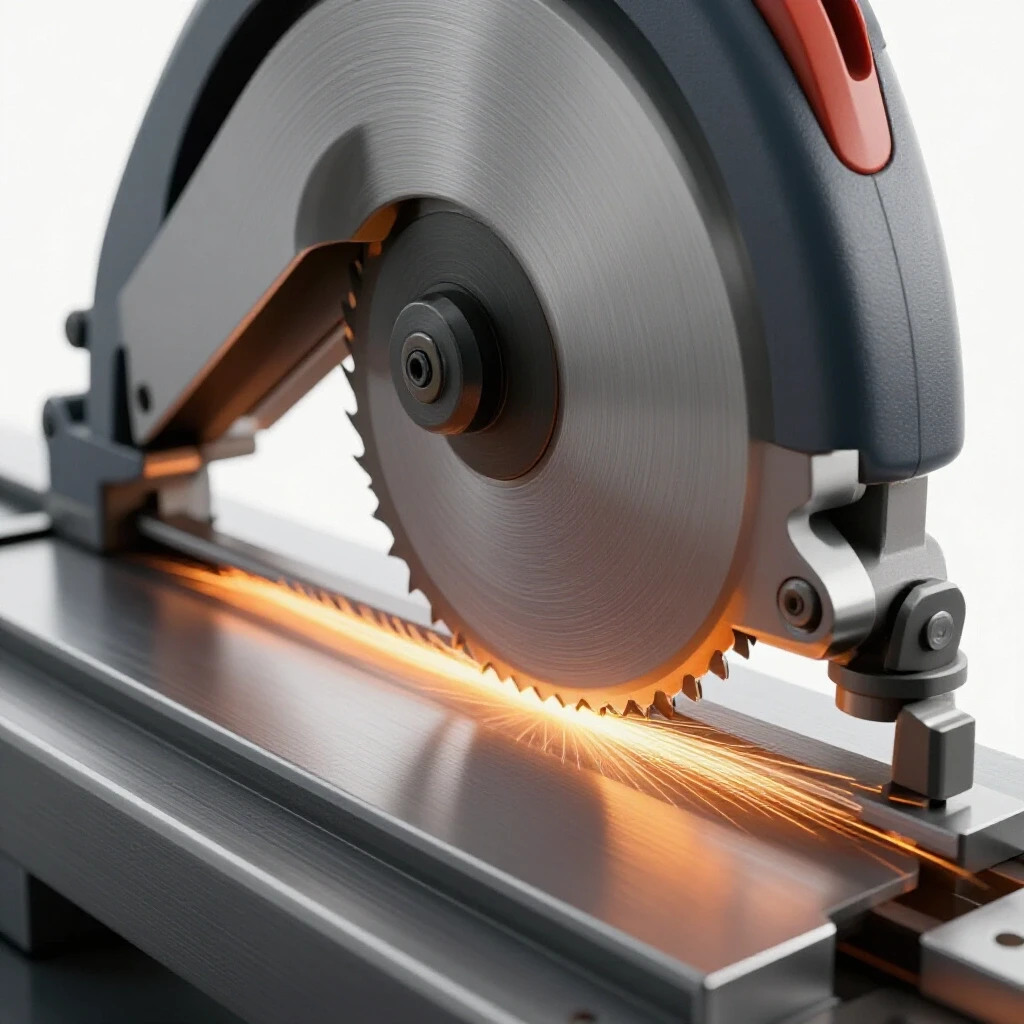
When you pull the trigger on a 4.5-inch angle grinder, the outer edge of that disc is traveling at speeds often exceeding 150 miles per hour. At this velocity, the disc is a concentrated mass of kinetic energy. If the disc’s internal structure fails due to a hairline crack or a slight pinch in the metal, that energy is released instantly. Without a fixed physical barrier to contain the fragments, the debris follows a tangential path—meaning it flies straight out at the operator.
Understanding the math behind this is vital for garage fabrication safety. A standard grinding wheel is held together by resin bonding agents. These agents have a specific tensile strength, which is the maximum stress a material can withstand while being pulled or stretched before failing. If you exceed the rated RPM of the disc or apply uneven side pressure, you can easily surpass the material’s yield point, leading to an explosive disintegration.
- Rotational Speed: Most small grinders operate at 10,000 to 12,000 RPM.
- Impact Force: Fragments from a shattered disc can carry the same energy as a small-caliber projectile.
- Reaction Time: A disc failure happens in milliseconds, far faster than human reflex.
Material Stress and Bonding Agent Integrity
Bonding agents are the chemical resins used to hold abrasive grains together in a grinding or cutting disc. These resins are sensitive to temperature, moisture, and physical shock, all of which can degrade the disc’s ability to stay in one piece during operation.
I always tell my team to treat every abrasive disc like it is made of glass. Even a small drop on a concrete floor can create internal micro-fractures that are invisible to the naked eye. When that compromised disc is spun up to full speed, the centrifugal force acts on those fractures, pulling them apart. This is why a workshop safety checklist must always include a visual inspection of the disc before it is mounted.
In my years of inspecting industrial steel components, I have seen how environmental factors play a role. Humidity can soften certain bonding agents over time. If you are working in a damp garage, your discs may have a lower structural threshold than when they were new. Using the factory-installed shield ensures that if these invisible weaknesses lead to a break, the failure is contained within the tool’s housing.
| Disc Condition | Risk Level | Action Required |
|---|---|---|
| Water or Oil Soaked | Critical | Dispose of immediately |
| Visible Edge Chips | High | Replace disc |
| Expired (Check Date Code) | High | Replace disc |
| Surface Discoloration | Moderate | Inspect for overheating |
The Role of Fixed Barriers in Spark and Debris Management
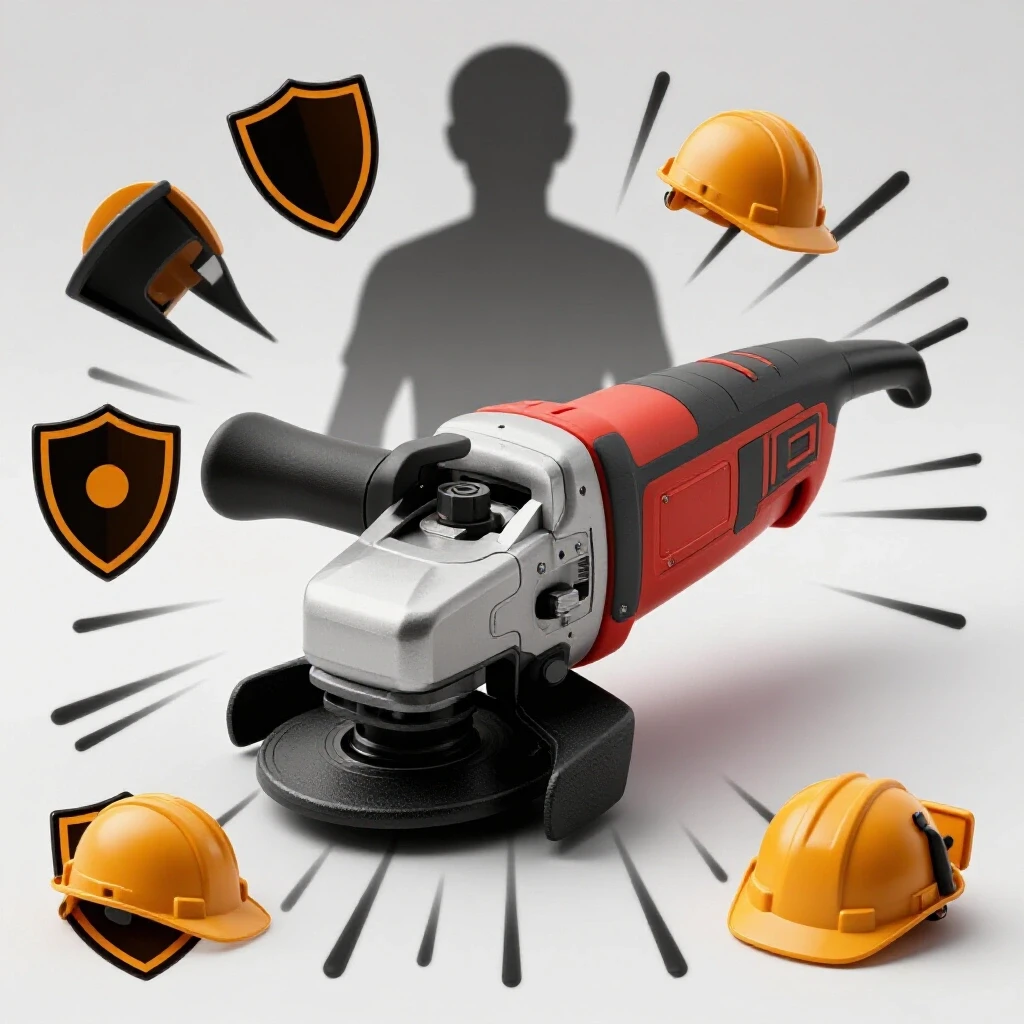
A fixed barrier on a power tool is a metal housing designed to intercept and redirect sparks, dust, and fragments. It acts as a primary line of defense, ensuring that the path of ejected material is directed away from the operator and flammable workshop materials.
During a heavy grind, the stream of sparks is actually a shower of molten metal particles. These particles can reach temperatures over 2,000 degrees Fahrenheit. If these are allowed to spray wildly, they can embed themselves in your skin or ignite nearby sawdust and rags. The guard on your grinder is designed to channel these sparks in a predictable direction.
Building on this, the guard also protects the tool itself. By keeping debris from flying back into the motor’s cooling vents, the shield prevents internal electrical shorts and premature wear. In my experience, fabricators who keep their equipment intact also produce cleaner work because they aren’t fighting the tool or flinching from the spark stream. This allows for better focus on the joint preparation and the heat affected zone weakness that can occur if the grind is not controlled.
- Directional Control: The guard allows you to “aim” the spark trail.
- Operator Shielding: It prevents your hand from slipping into the spinning disc.
- Workpiece Protection: It limits accidental gouging of the surrounding metal.
Integrating Grinding Safety into Structural Metal Preparation
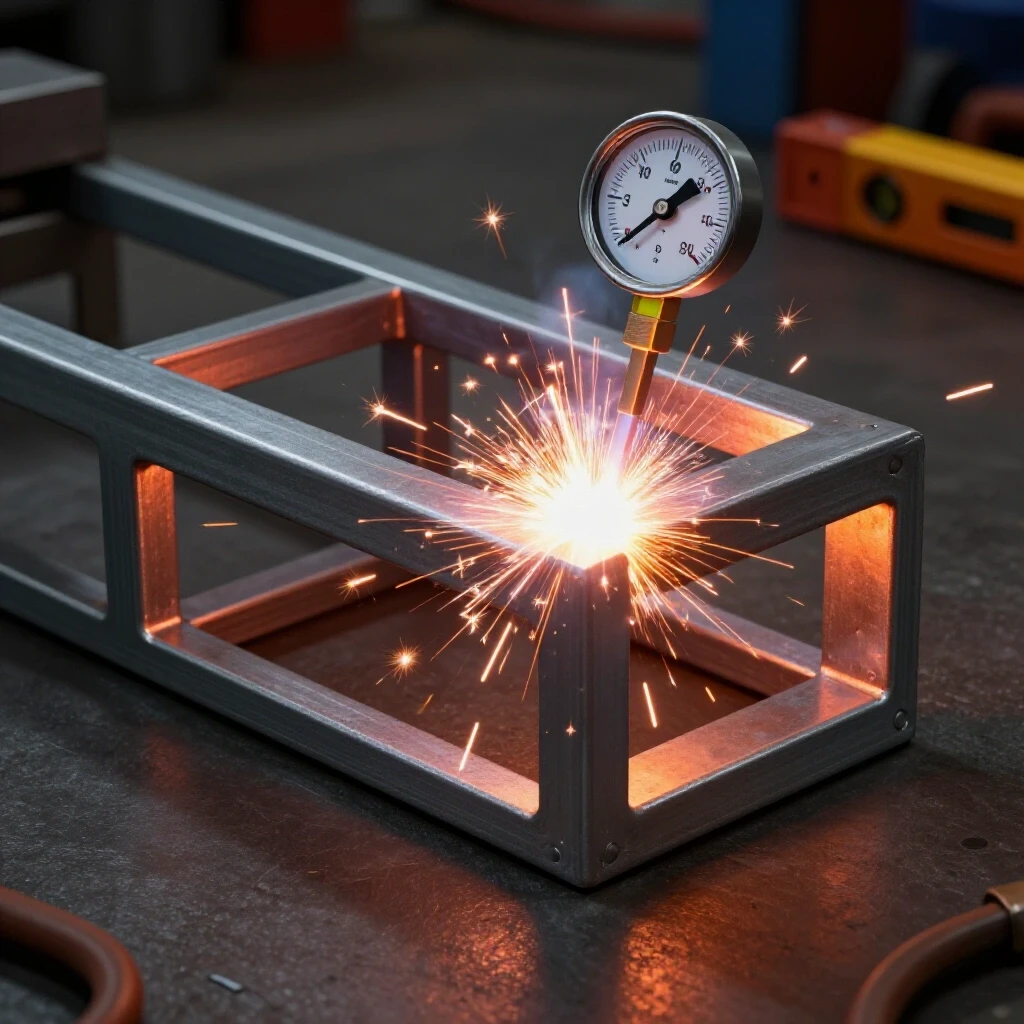
Structural metal preparation is the process of cleaning and shaping metal edges before welding to ensure a strong bond. Proper preparation removes mill scale, rust, and paint, which can otherwise cause welding defect troubleshooting issues like porosity or inclusions.
When I am preparing a structural joint, I am looking for a clean, bright metal surface. However, if you are working without the proper safety equipment on your tool, you are likely to hold the grinder at an awkward angle to avoid the sparks. This leads to uneven bevels and inconsistent material thickness. In structural design, consistency is everything. An uneven grind can lead to “thin spots,” which create a heat affected zone (HAZ) that is too large, weakening the base metal.
Interestingly, using the guard actually helps you maintain the correct 15-to-30-degree angle required for an effective grind. It acts as a visual and physical reference point. By keeping the guard in place, you ensure that the load paths in your finished project remain predictable. A project with poorly prepared joints is a project destined for structural cracking under load.
- Clean the Surface: Remove all contaminants 1 inch back from the weld zone.
- Bevel the Edges: For material thicker than 3/16 inch, a 30-degree bevel is standard.
- Check for Thinning: Ensure you haven’t removed too much base metal, which lowers the structural metal load capacity.
Workshop Safety Protocols and Zone Management
Workshop safety protocols are a set of standardized procedures designed to minimize risk during fabrication. This includes the use of personal protective equipment (PPE), the organization of the workspace, and the regular maintenance of power tools.
A safe shop is a productive shop. I recommend mapping out a “spark zone” in your workspace—a dedicated area where grinding and cutting take place, away from welding gas cylinders and flammable liquids. Within this zone, the use of a grinder with its guard intact is the most important rule. This prevents the “shotgun effect,” where debris hits a wall and ricochets back at you from an unexpected angle.
Building on this, your PPE should work in tandem with the tool’s built-in defenses. A Shade 5 face shield and a leather apron are essential, but they are secondary. They are there to catch what the guard misses, not to replace the guard’s function. When I audit a shop, I look for these layers of protection. If a fabricator is relying solely on their safety glasses, they are one disc failure away from a life-altering injury.
- Welding Gas Flow Rate: Keep cylinders at least 20 feet away from grinding sparks.
- PPE Ratings: Use Z87.1+ rated eye protection for high-impact resistance.
- Ventilation: Ensure air currents move dust away from your breathing zone.
Heat Affected Zones and Material Integrity
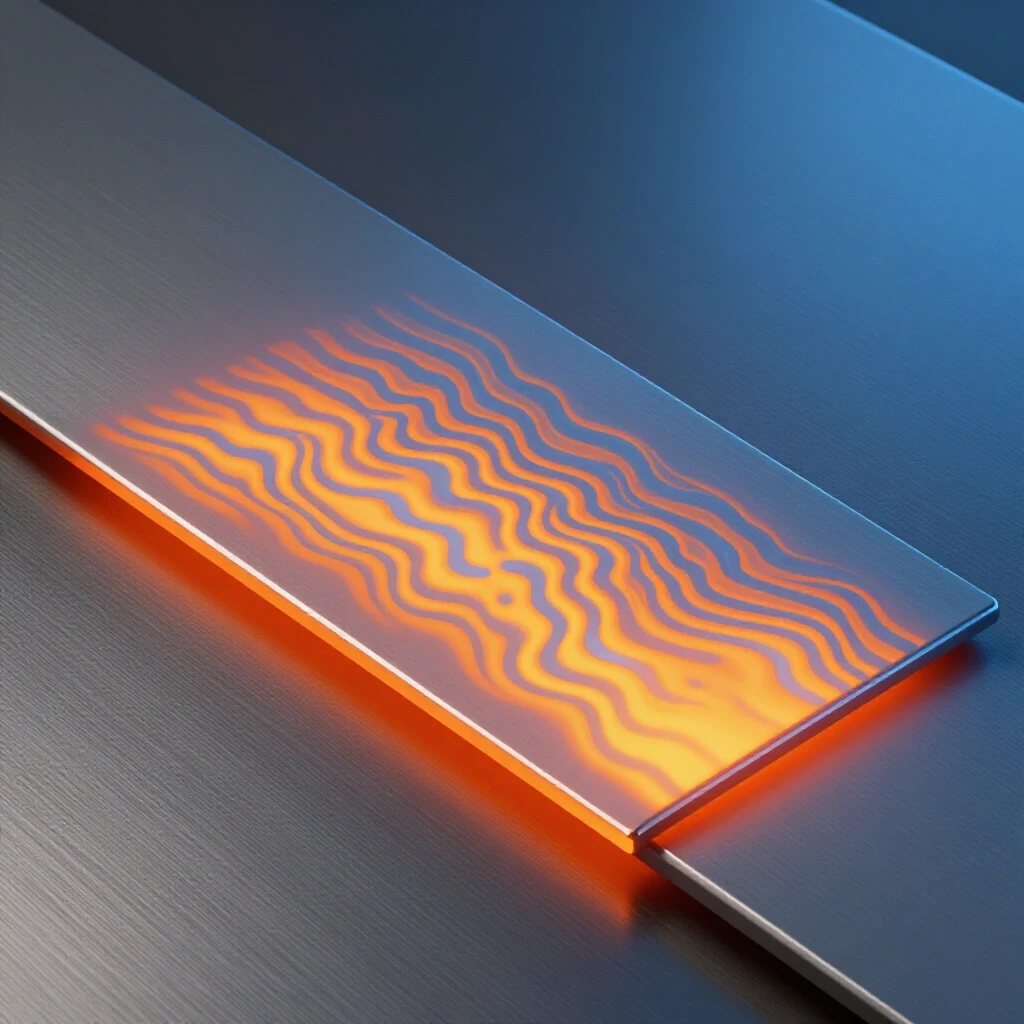
The Heat Affected Zone (HAZ) is the area of base metal that has not been melted but has had its microstructure and properties altered by the heat of welding or heavy grinding. Excessive heat in this zone can lead to brittleness and reduced tensile strength.
Many people don’t realize that aggressive grinding without a guard can actually overheat the metal. When you remove the shield, you might be tempted to use the side of a cutting disc (which is a major safety violation) or apply too much pressure to reach a tight spot. This friction generates localized heat. In high-carbon steels, this can create a “hard spot” that is prone to brittle fracture—a sudden failure without warning.
As a result, the structural integrity of your frame or bracket is compromised before you even strike an arc. I always use a light touch and keep the grinder moving. If the metal starts to turn deep blue or purple, you have overheated the HAZ. By keeping the guard on, you are forced to use the tool as intended, which naturally helps regulate the heat input into your workpiece.
| Metal Type | HAZ Sensitivity | Risk of Brittle Fracture |
|---|---|---|
| Mild Steel (A36) | Low | Low |
| High Carbon Steel | High | High |
| Stainless Steel | Moderate | Moderate (Warpage Risk) |
| Aluminum | High | High (Loss of Temper) |
Diagnostic Inspection and Maintenance for Longevity
Diagnostic inspection is the routine process of checking tools and materials for signs of wear, damage, or fatigue. For an angle grinder, this includes checking the power cord, the arbor nut, and the security of the safety guard.
I treat my grinders like precision instruments. Every morning, I check that the guard is tight and positioned correctly for the task at hand. A loose guard is almost as dangerous as no guard at all, as it can shift and catch the spinning disc. I also check the arbor—the threaded shaft that holds the disc—to ensure it isn’t bent. A bent arbor causes vibration, which accelerates disc fatigue and leads to poor weld preparation.
Interestingly, modern grinders often come with “tool-less” guard adjustments. This makes it incredibly easy to rotate the shield as you change your body position. There is no longer an excuse to remove it for “better visibility.” If you can’t see your work, your body position is wrong, not the tool’s design.
- Check the Guard: Ensure the locking mechanism is engaged.
- Inspect the Disc: Look for cracks, moisture, or uneven wear.
- Test the Switch: Ensure the “dead-man” switch or lock-off functions correctly.
- Listen for Vibration: Unusual noise or shaking indicates a structural issue with the disc or tool.
Structural Load Capacity and Joint Design
Structural load capacity is the maximum amount of weight or force a construction can safely support. This is calculated based on the material’s yield strength and the geometry of the joints.
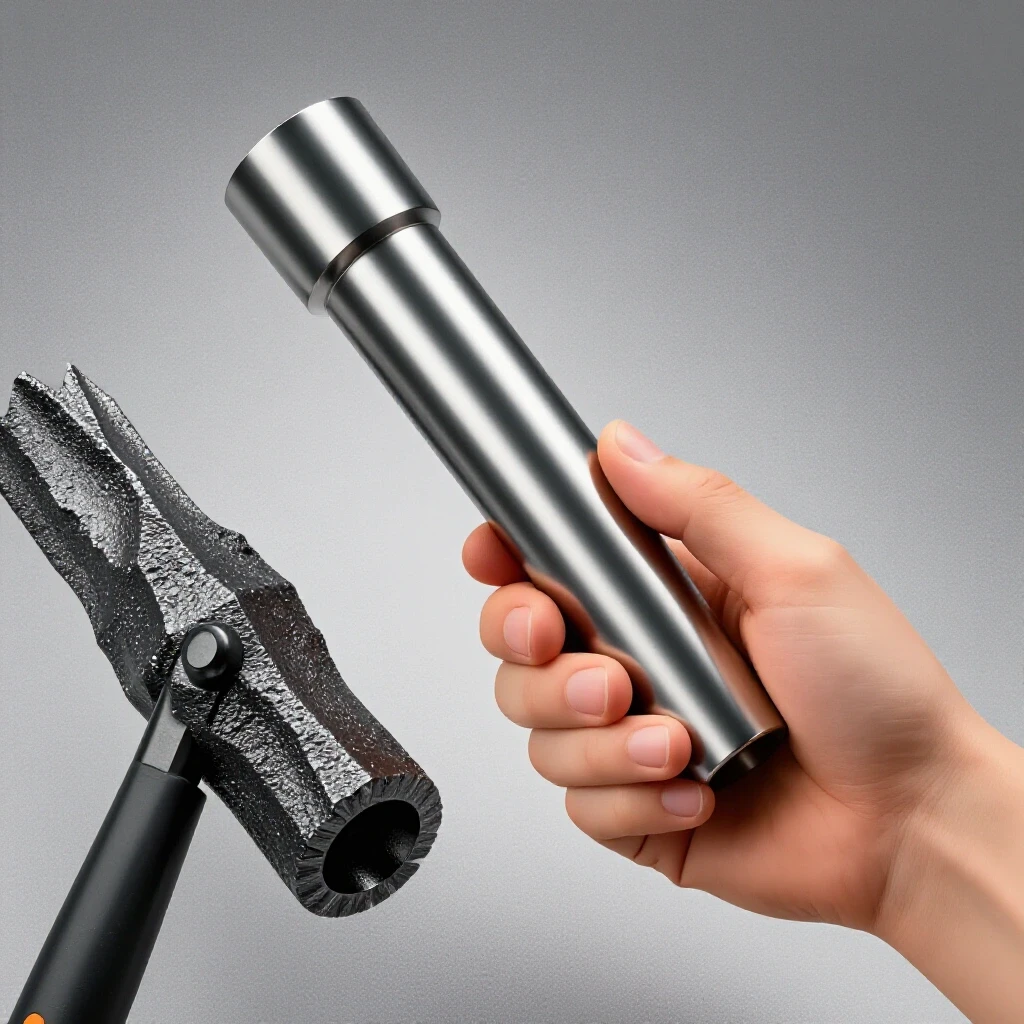
In my 14 years of inspecting builds, I’ve seen projects fail not because the weld was bad, but because the metal was weakened during the preparation stage. If you remove the safety shield to “get a better angle” and end up gouging the base metal, you have reduced the cross-sectional area of that component. In engineering terms, if you reduce the thickness of a bar by 10%, you have reduced its load capacity by much more than 10% due to stress concentrations.
Proper joint design relies on the metal being at its full specified thickness. When you use a grinder safely and correctly, you preserve the structural metal load capacity. You ensure that the load shear paths—the routes that force takes through a structure—are not interrupted by accidental nicks or thinned-out sections.
- Safety Factor: Most structural designs use a 2:1 or 4:1 safety margin.
- Stress Riser: A deep scratch or gouge acts as a “stress riser,” where cracks are likely to start.
- Symmetry: Ensure grinds are equal on both sides of a joint for balanced load distribution.
Case Study: The Cost of a “Quick Cut”
I remember a project involving a heavy-duty equipment trailer. The fabricator was in a hurry and removed the guard to make a plunge cut in a tight corner. The thin cutting disc pinched in the kerf—the slot made by the cut—and shattered. Because there was no guard, a piece of the disc struck the trailer frame with enough force to create a deep notch in the structural steel.
Not only was the fabricator lucky to avoid injury, but the trailer frame was now compromised. We had to cut out a whole section of the C-channel and weld in a reinforcement plate. What was supposed to be a “quick cut” turned into a four-hour repair job and a permanent “scar” on the structural integrity of the build. This is a classic example of how ignoring garage fabrication safety leads to wasted time and material costs.
Building on this, the repair itself created a new heat affected zone, further complicating the structural load testing we had to perform later. It’s a chain reaction of failures that all started with one decision to bypass a safety feature.
Actionable Shop Safety Audit
To keep your shop running at a professional level, I recommend performing a weekly safety audit. This isn’t just about checking boxes; it’s about verifying the physical state of your tools and materials to prevent structural failure.
- Tool Check: Every grinder must have a guard that covers at least 180 degrees of the disc.
- Abrasive Storage: Store discs in a dry, temperature-controlled cabinet, never on the floor.
- Flange Inspection: Ensure the inner and outer flanges are clean and not warped.
- PPE Inventory: Check that face shields are not heavily scratched and that gloves are free of holes.
- Fire Safety: Verify that a fire extinguisher is within 10 feet of the grinding station.
By following these steps, you create a environment where technical accuracy is the priority. You move away from “guessing” and toward a data-driven approach to fabrication.
Conclusion: The Path to Professional Results
Mastering the use of the angle grinder with all its safety features is a hallmark of a seasoned fabricator. It shows a deep understanding of the forces at work and a respect for the materials you are shaping. When you keep those physical barriers in place, you aren’t just protecting yourself; you are ensuring that your work is structurally sound, your joints are clean, and your projects will stand the test of time.
The next time you pick up a grinder, remember the physics of the spinning disc. Think about the bonding agents holding it together and the load paths of the project you are building. By prioritizing these safety protocols, you eliminate the frustration of wasted materials and the danger of structural failure. Your projects will be better for it, and so will you.
Frequently Asked Questions
Why do manufacturers make the guard removable if it is so important?
The guard is removable only to allow for replacement if it becomes damaged or to adjust its position for different grinding angles. It is never intended to be removed during the actual operation of the tool. Manufacturers provide these adjustments so you can keep the barrier between you and the disc regardless of the orientation of the cut.
Can a face shield replace the need for a grinder guard?
No. A face shield is secondary protection. A shattered disc fragment can travel with enough kinetic energy to penetrate or shatter a standard face shield. The metal guard on the tool is designed to absorb and deflect that initial impact, significantly reducing the energy of any debris that might reach your PPE.
How does removing the guard affect the balance of the tool?
Angle grinders are engineered as a complete system. The weight and position of the guard contribute to the tool’s overall balance and ergonomics. Removing it can change the center of gravity, leading to increased hand fatigue and a higher likelihood of the tool “kicking” or “grabbing” the material during a cut.
What should I do if a guard doesn’t fit the specific disc I bought?
This usually means you are using the wrong type of disc for your tool. For example, putting a 5-inch disc on a 4.5-inch grinder is a major safety violation. Always match the disc size and RPM rating to the specifications of the tool and its original guard.
Does the guard interfere with the cooling of the grinder?
Actually, the guard can help with cooling. It is designed to work with the tool’s internal fan to direct airflow away from the operator and prevent the intake of metallic dust into the motor. Operating without it can lead to the motor “breathing” in more conductive dust, which shortens the tool’s lifespan.
How often should I replace my grinding discs?
Discs should be replaced if they show any signs of chipping, cracking, or heavy discoloration from heat. Additionally, most discs have an expiration date printed on the center ring. The resin bonding agents degrade over time, so you should never use a disc that is past its “sell-by” or “use-by” date.
What is the safest way to store my angle grinder?
Store the grinder in a way that the disc is not supporting the weight of the tool. Hanging it by a dedicated rack or placing it in a hard case prevents the disc from being bumped or stressed while not in use. Always unplug the tool when changing discs or making adjustments to the guard.
Can I use a cutting disc for light grinding if the guard is on?
No. Cutting discs are thin and designed only for peripheral pressure (on the edge). Applying side pressure for grinding can cause the disc to snap. Grinding discs are much thicker and reinforced for side loads. The guard is there to protect you, but it cannot prevent a failure caused by using the wrong consumable for the job.
What is a “kickback” and how does the guard help?
Kickback occurs when the disc pinches in the material, causing the tool to be violently thrown back toward the operator. While the guard cannot prevent the pinch, it prevents your hand from sliding into the disc during the sudden movement and ensures that if the disc shatters during the kickback, the pieces are contained.
How do I know if my guard is positioned correctly?
The guard should always be positioned between the spinning disc and the operator. As you change your stance or the angle of the tool, you should stop and rotate the guard so that it continues to block the direct line of sight between your face/body and the contact point of the disc.
(This article was written by one of our staff writers, James Harlan. Visit our Meet the Team page to learn more about the author and their expertise.)