How to Change a Metal Bandsaw Blade Safely (Easy Guide)
Setting up a metalworking space in a standard two-car garage is a balancing act between ambition and reality. In 2013, I walked into my empty garage with exactly $2,000 and a notebook. I spent the first week measuring every inch of the floor and researching the minimum power requirements for entry-level machines. I quickly learned that the heart of any functional fabrication space is the ability to make clean, repeatable cuts. While many beginners rush to buy a welder, the metal bandsaw is actually the tool that dictates the quality of your finished projects. If your cuts are crooked or your blade is dull, no amount of expensive welding can fix the structural gaps.
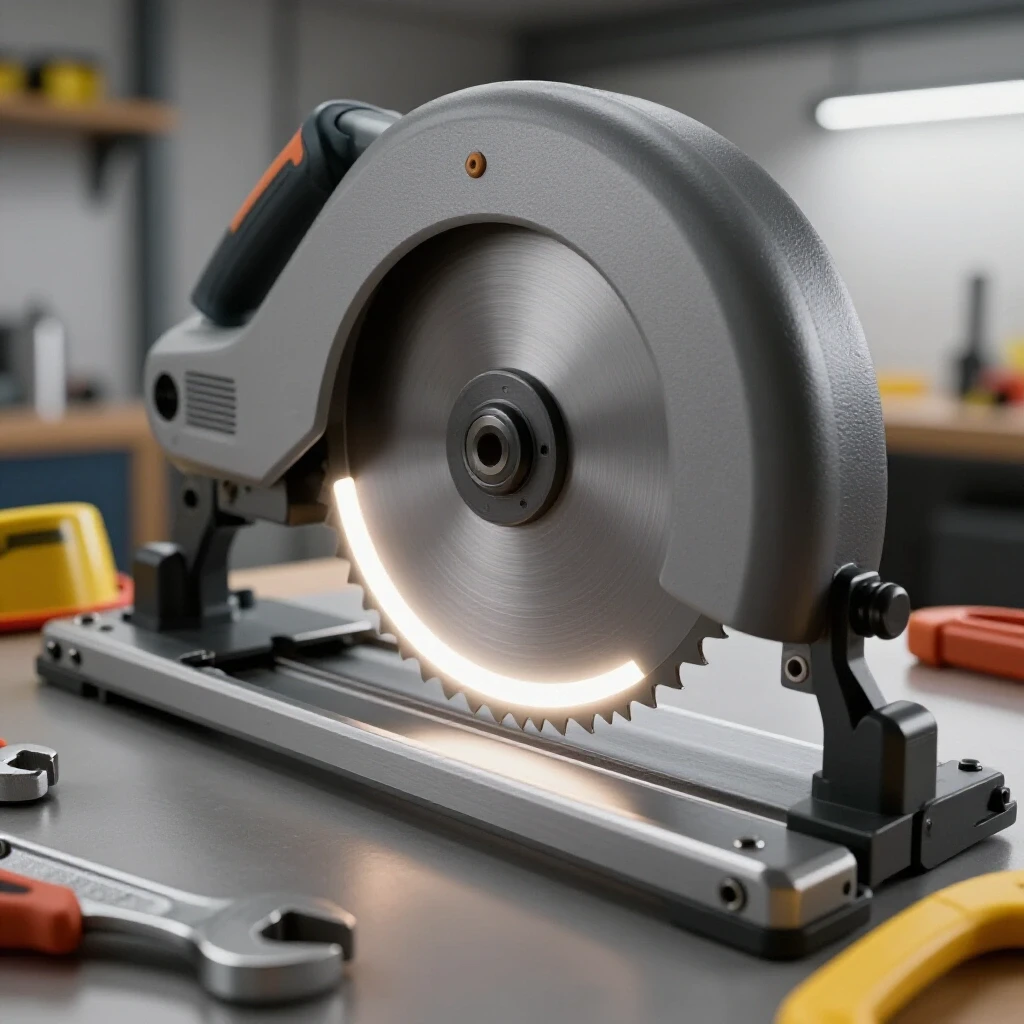
The anxiety of overspending is real. I remember staring at online listings for days, paralyzed by the fear of buying a “lemon.” To avoid this, I began tracking every purchase in a spreadsheet, comparing the initial cost against the long-term price of consumables. A bandsaw is a prime example of this logic. The machine itself is a one-time cost, but the blades are a recurring expense. Knowing how to maintain the machine and perform a proper blade swap is essential for keeping your operation within budget.
Evaluating Your Starter Metal Workshop Layout and Power Limits
A starter metal workshop layout requires careful planning to ensure you don’t trip breakers or crowd your workspace. You must assess how much room a bandsaw needs for long stock and whether your electrical panel can handle the load of multiple machines running at once.
When I planned my first shop, I realized that a 4×6 horizontal/vertical bandsaw has a footprint of roughly 4 square feet, but it needs at least 8 feet of clearance on either side to handle long tubes or angle iron. This is a common oversight for beginners. If you tuck your saw into a corner, you limit your ability to cut full-length material.
Electrical capacity is another hurdle. Most home garages have a single 15-amp circuit shared with the lights and the garage door opener. A small bandsaw typically draws 5 to 8 amps, which seems safe until you realize your shop vacuum and overhead lights are also pulling power. I recommend installing at least one dedicated 20-amp circuit for your heavy tools. This prevents the frustration of mid-cut power failures that can snap a blade or ruin a piece of expensive material.
| Tool Class | Average Amperage (120V) | Minimum Recommended Circuit |
|---|---|---|
| Small Bandsaw | 5 – 8 Amps | 15 Amp |
| Entry-Level MIG Welder | 15 – 20 Amps | 20 Amp Dedicated |
| 4.5-inch Angle Grinder | 6 – 10 Amps | 15 Amp |
| Bench Grinder | 3 – 5 Amps | 15 Amp |
| Shop Vacuum | 8 – 12 Amps | 15 Amp |
Prioritizing Affordable Fabrication Tools for the First Phase
Choosing affordable fabrication tools means identifying which items are foundational and which are luxuries. For a budget under $3,000, you should allocate your funds toward a reliable cutting solution and a solid work surface before buying specialized finishing tools.
In my experience, the bandsaw is the best investment for a beginner. Unlike an abrasive chop saw, it doesn’t create a shower of sparks or fill the air with grit, making it much safer for a garage environment. However, the performance of the saw depends entirely on the blade. I always suggest spending 30% of your initial tooling budget on high-quality consumables and safety gear. A $150 bandsaw with a $30 bi-metal blade will outperform a $500 saw with a cheap, dull blade every time.
To stay organized, I use a simple sequencing guide. This helps prevent “analysis paralysis” by focusing on one capability at a time.
- Cutting Capability: Bandsaw and extra bi-metal blades.
- Safety and Prep: ANSI-rated eye protection, welding jacket, and angle grinder.
- Joining: A multi-process welder and a dedicated 20-amp circuit.
- Measurement: Precision squares, calipers, and scribes.
Mastering the Process of Replacing a Metal Saw Blade
Performing a safe blade swap is a fundamental skill that ensures your saw continues to cut straight and prevents damage to the motor. This process involves disconnecting power, releasing tension, and aligning the new blade within the guide bearings.
Before you touch the machine, you must understand the “why” behind the steps. A bandsaw blade is under significant tension and has hundreds of sharp teeth. If it snaps or slips during a change, it can cause deep lacerations. Following a structured mechanical sequence is the only way to mitigate these risks. I follow a strict checklist derived from industrial maintenance standards to ensure nothing is overlooked.
Step 1: Disconnecting Power and Preparing the Workspace
This step involves physically unplugging the machine from the wall outlet to prevent accidental startup. In a professional setting, this is known as Lockout/Tagout, and it is the most important safety rule in the shop.
I never rely on the “off” switch alone. Switches can fail, or someone might bump the power cord. Once the saw is unplugged, move any scrap metal or off-cuts away from the base of the machine. You need a clear, stable area to work. Open the blade guard covers. On most budget saws, these are held by simple thumb screws or plastic knobs. Set these parts in a magnetic tray so they don’t get lost in the floor sweepings.
Step 2: Releasing Tension and Removing the Worn Blade
Releasing tension involves turning the tensioning knob counter-clockwise until the upper wheel moves downward, creating slack in the blade. This allows you to safely lift the blade out of the guide bearings.
As the tension drops, the blade will go limp. I always wear heavy leather gloves during this part. Even a dull blade can slice through skin if it shifts suddenly. Carefully slide the blade off the drive wheels. If the blade is broken, handle the jagged ends with pliers. If it is just dull, you can fold it into a smaller circle for disposal. I use the “butterfly” method: hold the blade with your palms facing out, twist your wrists inward, and the blade will naturally coil into three smaller loops. Secure it with a zip tie before throwing it away.
Step 3: Verifying the New Blade and Tooth Direction
This stage requires checking the tooth orientation to ensure the saw cuts into the material rather than rubbing against it. For horizontal saws, the teeth must point toward the motor or the rear of the machine when viewed from the top.
One of the most common rookie mistakes is installing a blade inside out. If the teeth are pointing the wrong way, the saw will create heat and smoke but won’t cut a single millimeter of steel. If the teeth are facing the wrong direction, simply flip the blade inside out like a pair of socks. Also, check the Pitch (Teeth Per Inch or TPI). For thin-walled tubing, use a higher TPI (like 14-18). For thick solid bars, a lower TPI (like 6-10) is better.
Step 4: Seating the Blade and Setting Initial Tension
Seating the blade means placing it centered on the rubber tires of the wheels and sliding it between the guide bearings. This ensures the blade stays on track once the motor starts.
Slide the blade into the guide blocks first. These blocks usually have small bearings that keep the blade from twisting. Once the blade is in the guides, loop it over the drive wheel and the tensioning wheel. Start turning the tension knob clockwise. You want enough tension so the blade doesn’t flop, but don’t tighten it fully yet. Check that the back edge of the blade is resting against the flange of the wheels.
Step 5: Adjusting Tracking and Final Calibration
Tracking is the alignment of the blade on the wheels. Proper tracking prevents the blade from “walking” off the wheels or rubbing too hard against the back flange, which causes premature wear.
With the covers still open and the power still disconnected, rotate the drive wheel by hand. Watch how the blade moves. If it stays centered, the tracking is good. If it starts to slide off, you may need to adjust the tracking bolt on the back of the tensioning wheel. Once the tracking is stable, tighten the tension fully. A good rule of thumb for budget saws is the “pluck” test. The blade should have a clear, high-pitched ring when plucked like a guitar string, with very little side-to-side deflection. Close the guards and plug the machine back in.
Workshop Electrical Setup Checklists for Budget Metalworking
A workshop electrical setup checklist is a tool used to verify that your garage can safely power your equipment without causing a fire hazard. It involves checking wire gauges, breaker sizes, and the proximity of outlets to your machines.
When I set up my current shop, I realized that many people use cheap orange extension cords for their saws. This is a mistake. A long, thin cord causes a voltage drop, which makes the motor run hot and reduces its lifespan. Always use a 12-gauge or 10-gauge cord if you must use an extension. I tracked my electrical costs and found that spending $100 on proper wiring saved me twice that in motor repairs over three years.
- Check Breaker Rating: Ensure the saw is on a circuit rated for at least 15 amps.
- Inspect Power Cords: Look for frays or exposed wires near the plug.
- Grounding: Verify the outlet is properly grounded using a cheap plug-in tester.
- Lighting: Ensure the cutting area is bright enough to see the blade clearly.
- Emergency Stop: Know exactly where the power switch is located for quick access.
Essential Safety Gear Vetting and Workshop Standards
Vetting your safety gear means ensuring every piece of equipment meets industry standards like ANSI Z87.1 for eye protection or OSHA requirements for machine guarding. This prevents life-altering injuries in a residential setting.
In a small garage, you are often working in a confined space where hazards are magnified. I allocate 30% of my startup budget to safety gear. This isn’t just about gloves and glasses; it’s about the environment. For example, garage workshop ventilation is critical when you start grinding or welding. A simple box fan in a window is rarely enough. I use a high-velocity fan that provides at least 1,000 CFM (Cubic Feet per Minute) to pull dust and fumes away from my face.
- Eye Protection: Must be ANSI Z87.1 rated. I prefer wrap-around styles to block side debris.
- Hearing Protection: Metal cutting is loud. Use muffs with a Noise Reduction Rating (NRR) of at least 25.
- Footwear: Leather boots are mandatory. Hot metal chips will melt right through synthetic sneakers.
- Respiratory: Use a P100 rated mask when grinding to avoid inhaling metal dust.
Tracking Tooling-to-Machine Cost Ratios for Long-Term Savings
The tooling-to-machine cost ratio is a formula used to predict how much you will spend on consumables compared to the initial price of the tool. For a bandsaw, this ratio is often higher than beginners expect.
Over the first two years of running my shop, I kept a detailed log of every blade I bought. I found that a $35 bi-metal blade lasted five times longer than a $15 carbon steel blade. While the carbon blade was cheaper upfront, it cost me more in the long run because of the downtime and replacement frequency. This data helped me realize that “budget” doesn’t mean “cheapest.” It means “best value over time.”
| Tool Type | Initial Machine Cost (Avg) | Annual Consumable Cost (Est) | Tooling-to-Machine Ratio |
|---|---|---|---|
| Metal Bandsaw | $250 – $600 | $90 (3 Blades) | 15% – 35% |
| Angle Grinder | $60 – $120 | $150 (Discs/Wheels) | 125% – 250% |
| MIG Welder | $500 – $900 | $200 (Gas/Wire/Tips) | 20% – 40% |
Organizing a Functional Fabrication Space on a Tight Budget
Organizing a fabrication space involves arranging tools in a way that maximizes workflow while maintaining safe clearances. A functional shop should have a clear path from the material storage rack to the cutting station, and then to the welding bench.
I use a “zone” system in my garage. The “Dirty Zone” contains the bandsaw and grinders, where most of the sparks and chips are generated. This area is kept away from the “Clean Zone” where I do final assembly and measurement. My budget metalworking tools are all on mobile bases. This allows me to roll the bandsaw into the driveway for long cuts and then tuck it back against the wall when I’m done. This flexibility is the only way to make a small garage feel like a professional shop.
Actionable Benchmarks for Beginner Tool Lifespan
Benchmarks are measurable standards used to gauge whether your tools are performing as they should. For a bandsaw blade, a benchmark might be the number of cuts it can make through 2-inch steel tubing before it starts to wander.
In my workshop safety logs, I record the date of every blade change. I’ve found that with proper tension and the right feed pressure, a quality bi-metal blade should last for at least 100 to 150 cuts in structural steel. If a blade fails after only 10 cuts, I know I have a problem with my tracking or my tension is too low. Monitoring these metrics prevents you from wasting money on replacement parts due to user error.
- Blade Life: 100+ cuts in mild steel.
- Motor Heat: Should be warm to the touch, but never too hot to hold your hand on after 15 minutes of use.
- Cut Accuracy: The blade should not deviate more than 1/32 of an inch over a 4-inch cut.
- Vibration: The machine should remain stable on the floor without “walking” during a cut.
Troubleshooting Common Blade Issues in a Home Shop
Troubleshooting is the process of identifying the root cause of a mechanical failure. When a bandsaw blade pops off the wheels or makes a clicking sound, it is usually a sign of a specific setup error.
Interestingly, most blade issues are not caused by a “bad blade” but by poor installation. If the blade is clicking, there is likely a chip stuck in the teeth or a crack starting to form. If the blade keeps jumping off the wheels, the tracking is likely misaligned or the tension is too loose. I always keep a “Safety and Maintenance Log” near the saw. When something goes wrong, I write down the symptoms and the fix. This record-keeping has saved me hours of frustration over the years.
Conclusion: Your Path to a Safe and Productive Workshop
Setting up your first shop is a journey of constant adjustment. By focusing on the fundamentals—like mastering a safe blade installation and managing your power limits—you build a foundation that can support more complex projects later. Don’t let the fear of making a mistake stop you. Start by organizing your space, vetting your safety gear, and practicing the mechanical skills that keep your tools running efficiently.
The most successful beginners are the ones who treat their shop like a small business. They track their costs, maintain their equipment, and never compromise on safety standards. If you follow the structured approach I’ve laid out, you’ll find that a $2,000 budget is more than enough to build a space that produces professional-quality work.
FAQ: Essential Tips for Metal Saw Maintenance
What direction should the teeth face on a metal bandsaw blade? For most horizontal saws, the teeth should point toward the motor or the back of the saw. On vertical saws, they must point downward toward the table. If you install them backward, the blade will rub against the metal instead of cutting it, leading to rapid dulling and potential motor damage.
How tight should I tension a new metal-cutting blade? A blade needs enough tension to stay straight under the pressure of the cut. For budget machines without a built-in gauge, the “pluck” test is effective. The blade should sound like a bass guitar string and move no more than 1/8 of an inch when pushed from the side.
Why is my bandsaw blade “walking” off the wheels? This is usually caused by incorrect tracking or worn-out rubber tires on the wheels. Adjust the tracking bolt to tilt the upper wheel until the blade centers itself. Also, check for metal chips that may have gotten trapped between the blade and the wheel.
Can I use a wood-cutting blade to cut metal? No. Wood blades have very few teeth and move at high speeds, which will cause them to shatter or dull instantly when hitting steel. Metal-cutting blades have more teeth (TPI) and the saw runs at a much slower surface feet per minute (SFM) to manage heat.
What is the best TPI for a beginner’s first blade? A 10/14 variable pitch bi-metal blade is the best “all-around” choice. It has a mix of tooth sizes that can handle everything from thin-walled tubing to solid 1-inch bar stock without vibrating excessively or stripping teeth.
How do I know when it is time to change the blade? Signs include the saw taking significantly longer to finish a cut, the blade wandering or cutting at an angle, or a visible loss of the sharp “points” on the teeth. If the saw starts making a loud “thumping” sound, the blade may have a crack and should be replaced immediately.
Is it safe to change a blade while the saw is plugged in? Absolutely not. You should always physically unplug the machine. This ensures that no electrical fault or accidental bump of the power switch can start the motor while your hands are near the blade and wheels.
What safety gear is mandatory for a blade swap? Heavy leather gloves and ANSI-rated safety glasses are the minimum requirements. The gloves protect against the sharp teeth and the potential “spring” of the blade when it is released, while glasses protect against metal chips that may fall out of the housing.
Should I use cutting fluid when using a bandsaw? For most budget garage setups, dry cutting is common, but using a wax stick or a small amount of cutting oil can significantly extend the life of your blade. It reduces friction and helps keep the teeth cool during long cuts in thick material.
How do I dispose of old metal saw blades safely? Coil the blade into three loops using the “butterfly” method and secure it with a zip tie or wire. Place it in a cardboard box or wrap the teeth in heavy tape before putting it in the trash to prevent the blade from springing open and injuring waste management workers.
(This article was written by one of our staff writers, Michael Thompson. Visit our Meet the Team page to learn more about the author and their expertise.)