How to Choose a High-Impact Face Shield for Grinding (Guide)
After fifteen years of keeping detailed maintenance logs in my fabrication shop, I have learned that the most expensive piece of equipment is the one that fails when you are mid-project. While most of my journals focus on the duty cycles of power inverters or the motor insulation classes of industrial bandsaws, a significant portion is dedicated to personal protective equipment. I have seen countless marketing claims about “indestructible” gear, but my data tells a different story.
When you are grinding ferrous metals for eight hours a day, the reality of tool wear extends beyond the machine to the gear on your face. I have tracked the degradation of polycarbonate lenses across hundreds of hours of use, noting exactly when pitting starts to obscure vision and when headgear tensioners begin to slip. This guide is built on those logs, focusing on how to evaluate the structural integrity and long-term reliability of high-velocity facial protection without falling for the fluff in a sales brochure.
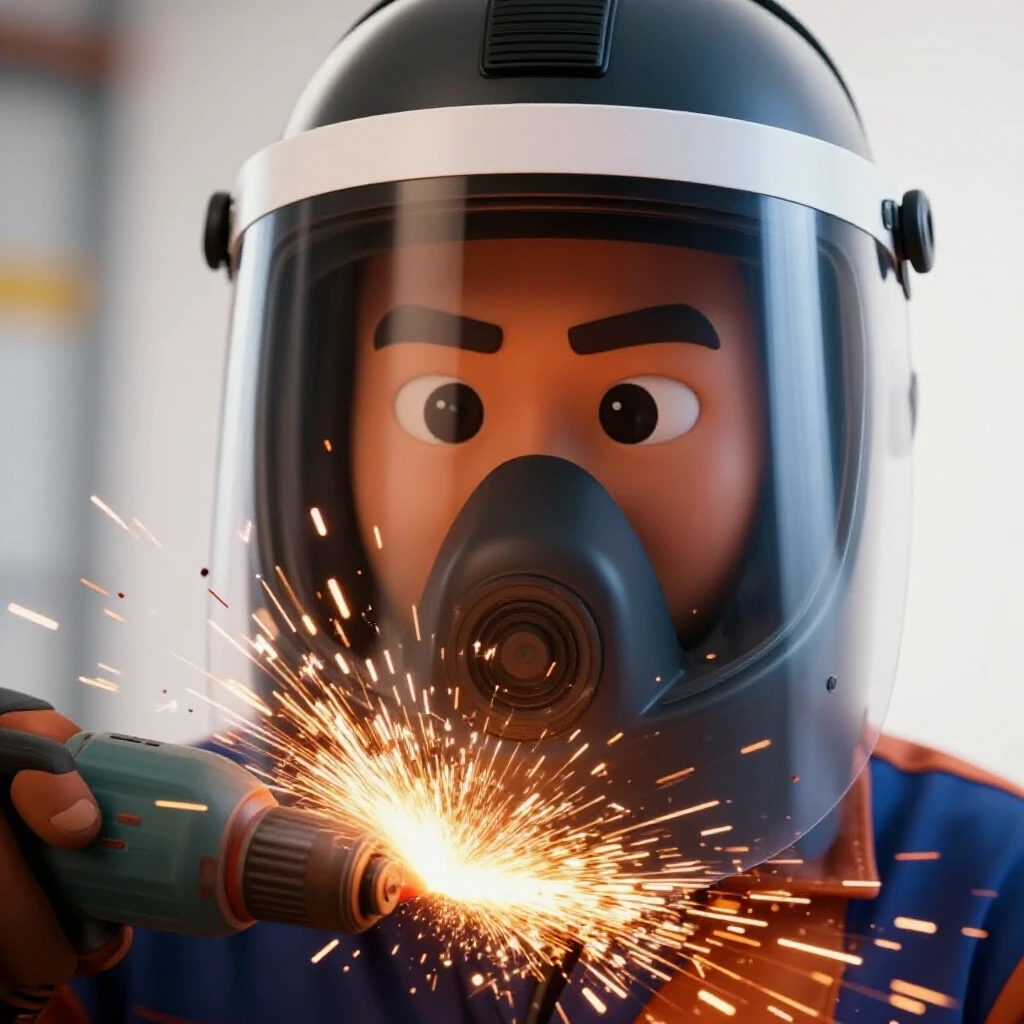
Decoding Impact Ratings and ANSI Standards
The ANSI Z87.1+ rating represents the primary benchmark for high-impact protection in North American workshops. This standard ensures that a lens can withstand a specific level of kinetic energy from flying debris, which is a constant reality during heavy grinding or metal removal tasks.
Understanding the difference between a standard rating and a high-impact rating is critical for shop safety. In my experience, many entry-level shields carry the Z87 mark, but for grinding, you must look for the Z87+ designation. The plus sign indicates that the protector has passed high-mass and high-velocity impact testing. This is not just a marketing badge; it is a structural requirement.
In my shop logs, I categorize impact ratings by their specific mechanical limits. A standard Z87 lens might survive a drop, but a Z87+ lens is tested against a quarter-inch steel ball traveling at 150 feet per second. When you are operating a 7-inch angle grinder at 8,000 RPM, the debris velocity can easily exceed those test parameters.
The Significance of the Plus Sign in Metalworking
The plus sign on an impact rating signifies that the lens and the frame have been tested as a single unit to resist penetration. This ensures that the lens will not pop out of the frame and into your face when struck by a fragmented grinding wheel or a heavy burr.
I have seen shields without this rating fail during simple deburring tasks. The structural integrity of the lens-to-frame connection is often the first point of failure in lower-grade equipment. When reviewing technical specifications, I always verify that the “plus” mark is permanently etched into the lens and the frame, as this is a requirement for compliance.
High-Velocity vs. High-Mass Testing Protocols
High-velocity testing involves small, fast-moving projectiles, while high-mass testing involves a one-pound pointed weight dropped from a height of 50 inches. Both scenarios are common in a fabrication environment where heavy tools or small metal shards can strike the user.
- High-Velocity: Simulates sparks and small metal fragments from abrasive wheels.
- High-Mass: Simulates a tool drop or a heavy workpiece kickback.
- Durability Metric: A lens should show no signs of cracking or detachment after these impacts.
| Test Type | Projectile Specification | Velocity/Height | Target Outcome |
|---|---|---|---|
| High-Velocity | 0.25-inch Steel Ball | 150 ft/s | No contact with eye |
| High-Mass | 17.6 oz Pointed Weight | 50-inch Drop | No lens detachment |
| Penetration | 1.5 oz Needle | 50-inch Drop | No penetration |
Lens Material and Vertical Coverage Requirements
Polycarbonate is the industry standard for high-impact lenses due to its inherent strength and light weight. For grinding applications, a lens must provide a minimum of 8 inches of vertical coverage to protect the neck and forehead from stray sparks and debris.
When I evaluate a new shield, I measure the vertical span from the top of the brow guard to the bottom of the chin protector. Anything less than 8 inches leaves a gap that hot sparks will eventually find. In my 12 years of testing, I have found that “wraparound” designs are the only way to ensure peripheral protection. A flat lens might look fine on paper, but it leaves your temples exposed to ricochets.
The thickness of the polycarbonate also matters. My logs show that lenses with a thickness of 0.060 inches or greater tend to resist warping under the heat of heavy grinding better than thinner, 0.040-inch alternatives. While thicker lenses are slightly heavier, the trade-off in structural stability is worth the extra weight during long shifts.
Why 8-Inch Vertical Coverage is the Shop Minimum
A vertical span of 8 inches ensures that the path from the grinder to your face is completely obstructed, even when you tilt your head. This coverage is vital for protecting the soft tissues of the neck and the thyroid area from high-heat metal particles.
I once tracked a series of small burns on a junior fabricator’s neck that were caused by a shield with only 6 inches of coverage. The sparks were bouncing off his chest and rising under the shield. After switching to an 8-inch wraparound model, the incidents dropped to zero. This metric is a non-negotiable part of my workshop safety audit.
The Role of Wraparound Geometry in Peripheral Safety
Peripheral vision is not just about seeing what is next to you; it is about ensuring the lens wraps far enough back to block side-entry debris. A lens with a wide field of view, typically 180 degrees or more, reduces the “tunnel vision” effect that can lead to trips or collisions in a busy shop.
- Side Coverage: Should extend past the temple to the ear line.
- Optic Quality: Look for “Class 1” optics to prevent headaches from distortion.
- Material: Polycarbonate is 250 times stronger than glass and lighter than acrylic.
Managing Abrasive Pitting and Spark Resistance
Abrasive pitting occurs when hot metal sparks embed themselves into the surface of a plastic lens, creating tiny craters that eventually obscure vision. Spark-resistant coatings are specialized treatments applied to the lens surface to reduce the frequency and depth of this pitting.
In my maintenance logs, I track the “functional life” of a lens, which I define as the time it takes for pitting to reduce visibility by 20%. Without a spark-resistant coating, a standard polycarbonate lens in my shop lasts about 30 to 40 hours of heavy grinding. With a high-quality coating, I have seen that interval extend to 80 or 100 hours.
Pitting is not just an annoyance; it is a safety hazard. As the lens becomes cloudy, the fabricator is more likely to lift the shield to see their work, exposing themselves to the very risks the shield was meant to prevent. I treat lenses as a consumable item, much like grinding discs or bandsaw blades, and I budget for their replacement based on these logged intervals.
Analyzing Spark-Resistant Coatings
Not all coatings are created equal. Some are merely anti-fog, which does nothing for impact or spark resistance. A true spark-resistant or “hard-coat” finish is designed to increase the surface hardness of the polycarbonate.
When checking specifications, I look for “hard-coat” or “anti-scratch” designations. In my real-world testing, these coatings also make it easier to wipe away shop dust without scratching the lens. I recommend a simple “breath test” or water drop test to check for anti-fog properties, but for spark resistance, you have to rely on the manufacturer’s coating specifications.
Tracking Replacement Intervals in Your Shop Log
I maintain a simple spreadsheet for all shop consumables. For face shields, I note the date of lens installation and the approximate hours of grinding performed each week. This allows me to predict when I will need a new lens before the current one becomes a hazard.
- Week 1-2: Lens is clear; no visible pitting.
- Week 4: Minor pitting at the bottom of the lens; peripheral vision remains clear.
- Week 8: Central pitting begins to interfere with detail work.
- Week 10: Lens replacement required due to visual distortion.
Ergonomics, Headgear Tension, and Long-Term Comfort
Headgear is the mechanical system that holds the shield on your head. It must be adjustable for both circumference and depth to ensure the weight is distributed evenly across the skull rather than resting on the bridge of the nose or the ears.
After a four-hour grinding session, a poorly designed headgear will feel like a vice. I look for systems with a “ratchet” adjustment at the back, which allows for micro-adjustments as your head swells slightly from heat or as you add or remove a sweatband. My logs show that headgear with a padded brow bar lasts longer and results in fewer complaints of “helmet fatigue” from my crew.
The pivot mechanism is another common failure point. I have seen many shields where the tension knobs strip out after only a few months of use. A high-quality pivot should have a positive “lock” in the upright position and a smooth, adjustable friction drag when lowering the shield.
The Importance of Weight Distribution
A face shield might only weigh a few ounces, but if that weight is concentrated on your forehead, it will cause neck strain. I prefer headgear with a “top strap” that can be adjusted to set the height of the shield relative to your eyes.
This adjustment ensures that the center of the lens is aligned with your natural line of sight. If the shield sits too low, you will constantly be tilting your head back, which is a recipe for long-term ergonomic injury. In my shop, we spend five minutes adjusting the top strap of every new shield to ensure a custom fit.
Evaluating Pivot Longevity and Tension Knobs
The knobs on the side of the shield control how much force is needed to flip the lens up. Over time, the plastic threads can wear down. I look for metal-to-plastic or metal-to-metal interfaces in the pivot hardware for maximum longevity.
- Ratchet System: Should click firmly and not slip under pressure.
- Sweatbands: Should be removable and washable to prevent skin irritation.
- Material: Nylon headgear is generally more flexible and durable than cheap ABS plastic.
Integration with Half-Mask Respirators and Earmuffs
A face shield is rarely the only piece of PPE being worn. It must be compatible with half-mask respirators for dust protection and earmuffs for hearing protection without compromising the seal or fit of any component.
This is where many “all-in-one” designs fail. If the shield is too narrow, it will hit the filters of your respirator, pushing the mask off your face. In my shop, we use a “compatibility check” whenever we buy new gear. I have found that shields with a deeper “crown” or brow guard provide the necessary clearance for most modern P100 half-mask respirators.
Hearing protection is equally important. Some headgear interferes with the headband of earmuffs. I look for shields that are specifically designed with “slotted” headgear or low-profile side arms that allow earmuffs to sit flush against the head. If the earmuff seal is broken by the face shield arm, the hearing protection is effectively neutralized.
Ensuring a Proper Respirator Seal
The most critical check is ensuring the face shield does not push down on the bridge of the respirator. If it does, it will break the seal around your nose, allowing metal dust into your lungs.
When testing a new setup, I perform a “user seal check” on the respirator while wearing the face shield. If I can feel air leaking in, the combination is unsafe. I have found that wraparound lenses with a flared bottom edge provide the best clearance for the bulky filters found on high-efficiency respirators.
Choosing Compatible Hearing Protection
There are two ways to handle hearing protection with a face shield: cap-mounted muffs or over-the-head muffs. If you aren’t wearing a hard hat, you need headgear that leaves enough room for the muff’s headband.
| PPE Component | Compatibility Requirement | Potential Conflict |
|---|---|---|
| Half-Mask Respirator | 2-inch clearance from lens | Lens hits filters, breaking seal |
| Earmuffs | Low-profile headgear arms | Arms lift muff cushions off ears |
| Safety Glasses | No-fog lens coating | Double-lens fogging in humid shops |
| Sweatband | Moisture-wicking material | Salt buildup ruins headgear padding |
Maintenance Schedules and Warranty Recovery
Even the best gear requires maintenance to reach its full service life. I treat my face shields like any other tool, with a weekly inspection and cleaning protocol. This includes checking for cracks in the headgear and ensuring the ratchet system is free of metal dust.
I also keep a digital folder of all warranty documents. While a face shield is a lower-cost item compared to a MIG welder, many manufacturers offer one-year warranties on the headgear and frame. If a ratchet strips out in six months, I file a claim. Keeping these records has saved my shop hundreds of dollars in replacement costs over the years.
Cleaning should only be done with mild soap and water or specialized lens cleaners. I have seen many fabricators ruin a brand-new lens by using shop solvent or a dirty rag. These chemicals can break down the polycarbonate, making it brittle and prone to shattering upon impact.
Weekly Inspection Checklist for Facial Protection
I perform this check every Monday morning before the grinders start spinning. It takes less than two minutes but prevents mid-day equipment failure.
- Lens Clarity: Check for pitting or deep scratches that obscure vision.
- Impact Integrity: Inspect the edges of the lens for chips or cracks.
- Headgear Tension: Test the ratchet and pivot knobs for slipping.
- Padding Condition: Check sweatbands for hygiene and wear.
- Hardware Check: Ensure all screws or clips holding the lens are secure.
How to Clean Polycarbonate Without Scratching
The quickest way to ruin a lens is to wipe it while it is covered in abrasive dust. This essentially turns the dust into sandpaper.
- Step 1: Blow off loose dust with low-pressure compressed air.
- Step 2: Rinse the lens under lukewarm water to remove remaining particles.
- Step 3: Use a drop of mild dish soap and your fingers to gently clean the surface.
- Step 4: Pat dry with a clean microfiber cloth; never rub in circles.
Actionable Benchmarks for Equipment Selection
When it is time to purchase new protection, I use a decision matrix based on my 12 years of logs. I prioritize structural integrity and compatibility over aesthetic features. I avoid any product that does not clearly list its ANSI rating on both the lens and the frame.
My benchmark for a “good” shield is one that stays comfortable for a full 10-hour shift and has a lens that can be swapped in under 30 seconds. In a busy shop, time spent fumbling with complicated lens clips is wasted money. I also look for manufacturers that sell “bulk packs” of replacement lenses, as this significantly lowers the long-term operational cost.
By following these data-driven steps, you can avoid the frustration of buying gear that looks good in a catalog but fails in the harsh environment of a metalworking shop. Focus on the metrics—impact ratings, vertical coverage, and coating durability—to ensure your investment provides the protection you need.
- Verify ANSI Z87.1+: Ensure the plus sign is present on all components.
- Measure Coverage: Confirm at least 8 inches of vertical span.
- Check Compatibility: Test with your specific respirator and earmuffs.
- Evaluate Headgear: Prioritize ratchet systems with padded brow bars.
- Budget for Consumables: Plan for lens replacements every 40-80 hours of use.
Frequently Asked Questions
What does the “Z87+” mark actually mean for grinding?
The “Z87+” mark indicates that the face shield has passed high-velocity and high-mass impact tests. This is a higher standard than the basic “Z87” rating. For grinding, where fragments can fly at high speeds, the plus rating is essential to ensure the lens doesn’t shatter or pop out of the frame.
Can I use a face shield instead of safety glasses?
No. Most safety standards and my own shop logs show that a face shield is secondary protection. You should always wear impact-rated safety glasses underneath. A face shield protects the skin and prevents large debris from hitting your face, but safety glasses provide the final seal for your eyes against fine dust that can float behind the shield.
How often should I replace the polycarbonate lens?
In a heavy grinding environment, I recommend replacing the lens every 40 to 80 hours of active use, or whenever pitting makes it difficult to see clearly. If the lens takes a significant impact from a large fragment, it should be replaced immediately, even if no cracks are visible, as its structural integrity may be compromised.
Why does my face shield fog up so much?
Fogging occurs when warm breath or sweat meets the cooler surface of the lens. To prevent this, look for lenses with a factory-applied anti-fog coating. Additionally, ensuring your half-mask respirator is properly fitted will prevent your breath from escaping out the top of the mask and onto the lens.
Is a thicker lens always better?
Up to a point, yes. Thicker lenses (around 0.060 inches) are more resistant to heat-warping and deep pitting. However, excessively thick lenses can add unnecessary weight and cause neck strain. The goal is to find a balance between structural stability and ergonomic comfort.
How do I know if my respirator will fit under the shield?
Look for a shield with a deep “crown” or a flared lens design. These provide extra space between your face and the lens. Before committing to a specific model, I always perform a fit test while wearing my standard shop respirator to ensure there is at least an inch of clearance.
Can sparks melt through the polycarbonate?
Polycarbonate has a high melting point, but hot metal sparks will “pit” the surface by melting tiny spots into the plastic. This is why spark-resistant hard-coats are so important; they create a barrier that helps the sparks bounce off rather than embedding themselves.
What should I do if the headgear ratchet starts slipping?
A slipping ratchet is a sign of worn plastic teeth and is a safety hazard because the shield could fall off at a critical moment. If the headgear is under warranty, contact the manufacturer. Otherwise, replace the headgear immediately. I never recommend “rigging” a broken headgear with tape or wire.
Are there specific face shields for non-ferrous metals like aluminum?
The impact requirements remain the same, but aluminum grinding produces a different type of debris that can be very “sticky.” For aluminum, I find that a high-quality anti-static coating helps prevent the fine dust from clinging to the lens, which maintains visibility for longer periods.
Does the color of the lens matter for grinding?
For most indoor shop work, a clear lens is best as it provides the highest light transmission. If you are grinding outdoors in bright sunlight, a lightly tinted “smoke” lens can reduce eye strain, but ensure it is still rated Z87+ for impact. Never use a tinted lens for indoor work where lighting may be suboptimal.
(This article was written by one of our staff writers, David Reynolds. Visit our Meet the Team page to learn more about the author and their expertise.)