How to Prevent Warpage in Large Sheet Metal Projects (Fix)
I remember standing over a 5-by-10-foot aluminum plate early in my career, watching in disbelief as the edges curled up like a dried leaf. I had spent four hours prepping the joints, only to have the entire piece ruined by a series of long, continuous welds. That single mistake cost me several hundred dollars in material and a full day of labor. Over my 14 years in metal fabrication and mechanical engineering, I have learned that large-scale sheet metal work is less about the weld itself and more about managing the physical forces of thermal expansion. When you work with large surface areas, the metal acts as a giant heat sink that doesn’t always behave the way you expect. My goal is to share the hard-won data and shop floor strategies I use to keep large panels flat and structurally sound.
Understanding Thermal Expansion and Metal Stress
Thermal expansion is the physical tendency of metal to change its shape, area, and volume in response to a change in temperature. In fabrication, this means as you add heat with a torch or welder, the metal grows, and as it cools, it shrinks, often pulling the surrounding material with it.
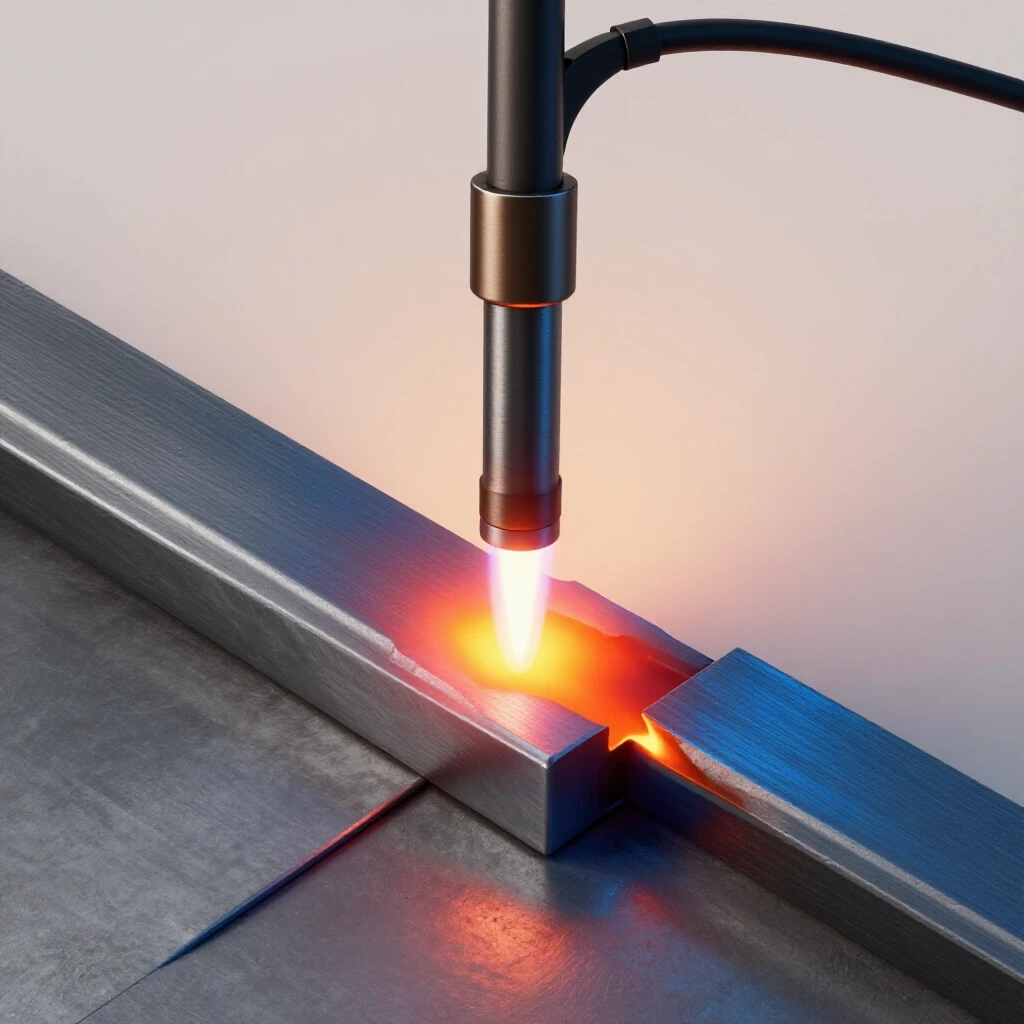
When you apply a weld bead to a large sheet, you are creating a localized area of extreme heat. This area, known as the heat-affected zone (HAZ), becomes a pivot point for the rest of the panel. If the heat is not managed, the cooling weld metal will contract with enough force to bend even thick plates. I have seen 1/4-inch steel plates bow significantly because the fabricator didn’t account for the “pull” of a long fillet weld. To prevent this, you must visualize the weld as a cooling rubber band that is trying to shrink. If that “rubber band” is too long or too hot, it will win the tug-of-war against the flat sheet.
- Tensile Strength: This is the maximum stress a material can withstand while being stretched before breaking.
- Yield Strength: The point at which the metal will permanently deform and not return to its original shape.
- Heat-Affected Zone (HAZ): The portion of the base metal that has not been melted but has had its mechanical properties altered by the heat of welding.
The Importance of the Heat Affected Zone (HAZ)
The heat-affected zone is the area immediately surrounding your weld bead where the metal’s internal structure has been modified by high temperatures. This zone is often the weakest point of a fabrication and the primary source of warping in large panels.
In a large sheet metal project, a wide HAZ acts like a soft spot in the structure. If you linger too long with your welding torch, you increase the size of this zone. A larger HAZ means more metal is expanding and contracting, which leads to more dramatic distortion. I always aim for a narrow, consistent HAZ by maintaining a steady travel speed and using the lowest effective amperage. By controlling the “soak” time—how long the heat stays in one spot—you can significantly reduce the amount of internal stress that causes a panel to buckle or oil-can.
Essential Workshop Safety and Equipment Setup
Workshop safety for large-scale projects involves more than just wearing gloves; it requires a layout that accounts for the physical weight of the materials and the hazards of long-duration welding. A safe shop is a predictable shop where trip hazards and fire risks are managed before the first arc is struck.
When I set up for a large sheet project, I start with a workshop safety checklist. Large sheets are cumbersome and can easily tip or slide if not supported correctly. I use heavy-duty saw horses or a dedicated welding table that is level within 1/16th of an inch. If your base is not flat, your project will never be flat. Additionally, I ensure my welding gas flow rate is calibrated correctly. For MIG welding on large steel panels, I typically set my flow meter between 15 and 20 cubic feet per hour (CFH). Too little gas leads to porosity, which weakens the joint; too much gas creates turbulence that can pull in atmospheric contaminants.
| Safety Category | Recommended Standard/Rating | Purpose |
|---|---|---|
| Smart Welding Helmet | Shade 10-13 (Auto-darkening) | Protects eyes from flash and reduces neck fatigue |
| Welding Gas Flow Rate | 15–20 CFH (75/25 Argon/CO2) | Ensures stable arc and prevents weld porosity |
| Fire Extinguisher | Class ABC (within 10 feet) | Essential for sparks landing on large surface areas |
| Ventilation | 200 CFM (minimum) | Removes toxic fumes from the breathing zone |
| Safety Factor | 4:1 (for support structures) | Ensures work surfaces can handle 4x the project weight |
Strategic Joint Preparation for Large Panels
Joint preparation is the process of cleaning and shaping the edges of the metal before they are joined to ensure deep penetration and a strong bond. For large sheets, proper fit-up is the first line of defense against structural failure and distortion.
I never skip the cleaning phase. Mill scale, oil, and rust act as insulators that force you to use higher heat to get a good weld. By grinding the edges down to shiny metal, I can use lower amperage, which minimizes the heat-affected zone weakness. For sheets thinner than 1/8 inch, a tight butt joint is usually sufficient. However, for anything thicker, I grind a 30-degree bevel on each edge to create a 60-degree V-groove. This allows the weld to penetrate the full thickness of the metal without needing excessive heat. If the gap between sheets is inconsistent, the weld will pull more in the wider areas, leading to a “corkscrew” warp that is nearly impossible to fix.
Why Weld Porosity Destroys Structural Integrity
Weld porosity refers to tiny gas bubbles trapped inside the cooling weld metal, making it look like a sponge under a magnifying glass. These pockets of air are structural defects that can lead to cracks and eventual failure of the entire panel.
In large sheet projects, porosity often occurs because the fabricator is trying to move too fast or has poor gas coverage over a long distance. When a weld is porous, it lacks the density to resist the natural shrinking forces of the metal. This results in a joint that is both warped and brittle. I use a simple visual inspection to spot this: if the weld bead looks “frothy” or has small pinholes, I grind it out immediately. You cannot weld over porosity to fix it; you must remove the defective material and start again with clean metal and proper gas flow.
Practical Strategies for Minimizing Panel Distortion
Minimizing distortion requires a combination of mechanical restraint and controlled heat application to keep the metal from moving during the welding process. This is the most critical phase of any large-scale sheet metal build.
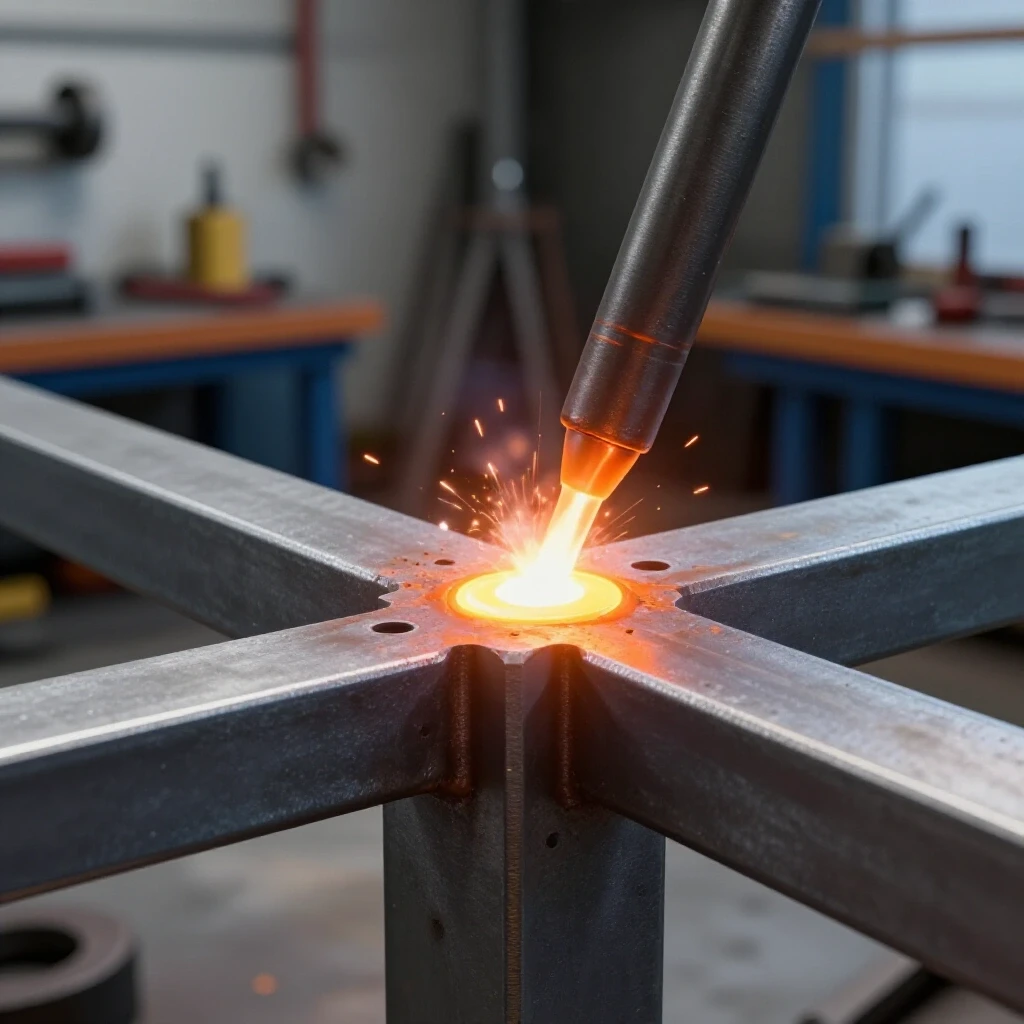
The first tool in my kit is the tack weld. For a 4-by-8-foot sheet, I place 1/2-inch tacks every 6 to 8 inches along the entire seam before doing any final welding. This creates a rigid framework that resists the “pull” of the cooling metal. Once tacked, I use a technique called “skip welding.” Instead of running a continuous 4-foot bead, I weld 1 inch, then move to a completely different part of the sheet to weld another inch. This allows the heat to dissipate across the large surface area rather than concentrating in one spot.
- Sequential Clamping: Use C-clamps or F-clamps to secure the sheet to a thick steel spine or table. This forces the metal to stay flat while it cools.
- Heat Sinks: Place heavy bars of copper or aluminum on either side of the weld joint. These materials pull heat away from the steel much faster than air does.
- Back-Stepping: Start a weld 2 inches away from the end of a seam and weld back toward the starting point. This balances the stress.
- Intermittent Tacking: Use small, strong tacks and allow them to cool completely before starting the main weld pass.
- Pre-Bending: Slightly bend the metal in the opposite direction of the expected warp before welding. As the weld cools, it pulls the metal into a flat position.
Managing Metal Load and Stress Tolerances
Every piece of metal has a limit to how much weight or force it can handle before it bends or breaks. Understanding these structural metal load capacity limits is vital when building large items like workbenches or equipment trailers.
When I design a large structure, I look at the yield strength of the material. For common A36 structural steel, the yield strength is approximately 36,000 PSI. This means if the internal stresses from welding combined with the weight of the project exceed this number, the metal will deform permanently. To stay safe, I always apply a safety factor. If I expect a shelf to hold 500 pounds, I design it to hold 2,000 pounds (a 4:1 safety factor). This accounts for the slight weakening of the metal in the heat-affected zone and any minor defects in the weld profile.
| Material Type | Thickness (Gauge/Inch) | Yield Strength (PSI) | Common Use Case |
|---|---|---|---|
| Cold Rolled Steel | 16 Gauge (0.059″) | 45,000 | Cabinet panels, light covers |
| Hot Rolled Steel | 11 Gauge (0.120″) | 36,000 | Workbenches, trailer frames |
| Aluminum (6061) | 1/8″ (0.125″) | 35,000 | Fuel tanks, toolboxes |
| Stainless Steel (304) | 14 Gauge (0.074″) | 30,000 | Kitchen surfaces, chemical tanks |
Diagnostic Inspection and Quality Control
Diagnostic inspection is the process of checking your work for hidden flaws using both visual and physical testing methods. For a risk-averse fabricator, this is the final gate to ensure a project is safe for use.
After the metal has cooled to room temperature, I perform a “straight-edge test.” I lay a 4-foot precision level across the sheet in multiple directions. If I can slide a piece of paper under the level, the warp is minimal. If I can see daylight, the distortion is significant. I also check for “oil-canning,” where the center of a large sheet pops back and forth when pressed. This is a sign of internal stress. To fix minor oil-canning, I sometimes use a “shrinking” technique with a torch and a wet rag, but this requires extreme care to avoid making the problem worse.
Welding Defect Troubleshooting for Large Projects
Even with the best preparation, defects can happen. Troubleshooting involves identifying the root cause of a failure and implementing a specific fix to prevent it from happening again.
One common issue in garage fabrication safety is undercutting. This happens when the welder “eats” into the base metal at the edge of the weld, leaving a thin, weak spot. On a large sheet, an undercut is a starting point for a structural crack. If I see an undercut, I reduce my travel speed and adjust my torch angle to push more filler metal into the edges of the joint. Another issue is lack of fusion, where the weld sits on top of the metal rather than melting into it. This is usually caused by insufficient heat or dirty metal.
- Undercutting: Caused by high voltage or fast travel speed. Fix by slowing down and adjusting the torch angle.
- Overlap (Cold Lap): Caused by low heat. The weld doesn’t bond to the base metal. Fix by increasing amperage.
- Crater Cracks: Small cracks at the end of a weld. Fix by “back-filling” the crater before breaking the arc.
- Burn-Through: Common on thin sheets. Fix by using a shorter arc length and lower heat settings.
A Shop Safety Audit for Large Fabrications
Before you begin a major project, conducting a shop safety audit ensures that your environment is prepared for the unique challenges of handling large metal sheets.
- Clear the Floor: Ensure there is a 5-foot “no-go zone” around the project to prevent tripping while carrying heavy panels.
- Verify Grounding: Attach the welding ground clamp directly to the workpiece, not the table, to ensure a stable arc and prevent “arc blow.”
- Check Cables: Inspect welding leads for cracks or exposed wires that could spark against a large conductive sheet.
- Test Ventilation: Ensure that air is moving away from your face. Large sheets can trap fumes underneath them, creating pockets of toxic gas.
- Secure the Workpiece: Use heavy-duty clamps to ensure the sheet cannot slide off the supports if you lean on it.
Lessons from the Field: The “Floating Frame” Method
One of the most effective ways I’ve found to prevent warping in large assemblies is the floating frame method. Instead of welding a large sheet directly to a rigid frame in one go, I allow the sheet to “float” by only tacking the corners first.
I once worked on a large industrial hopper where the 10-gauge side panels kept buckling. We realized the rigid frame was preventing the panels from expanding naturally as we welded. We changed our approach: we tacked the centers of the panels first, then worked outward toward the corners. This allowed the expansion to “push” out to the edges rather than being trapped in the middle. By the time we finished the final welds, the panels remained perfectly flat. This taught me that sometimes, the best way to control metal is to give it a little room to breathe before locking it down.
Final Steps for a Structurally Sound Build
Once the welding is complete and the project has cooled, the final steps involve stress relief and verification. I never move a large project immediately after the last weld; I let it sit for at least an hour to allow the internal stresses to stabilize.
I use a hammer and a brass drift to lightly “peen” the weld beads. This mechanical vibration helps to relieve some of the tension created during the cooling process. Finally, I perform a load test if the project is structural. For a workbench, this might mean placing twice the intended weight on it and measuring any deflection. If the structure returns to its original shape after the weight is removed, I know I have stayed within the yield strength of the material and the build is successful.
Frequently Asked Questions
Why does my sheet metal “pop” or oil-can after welding?
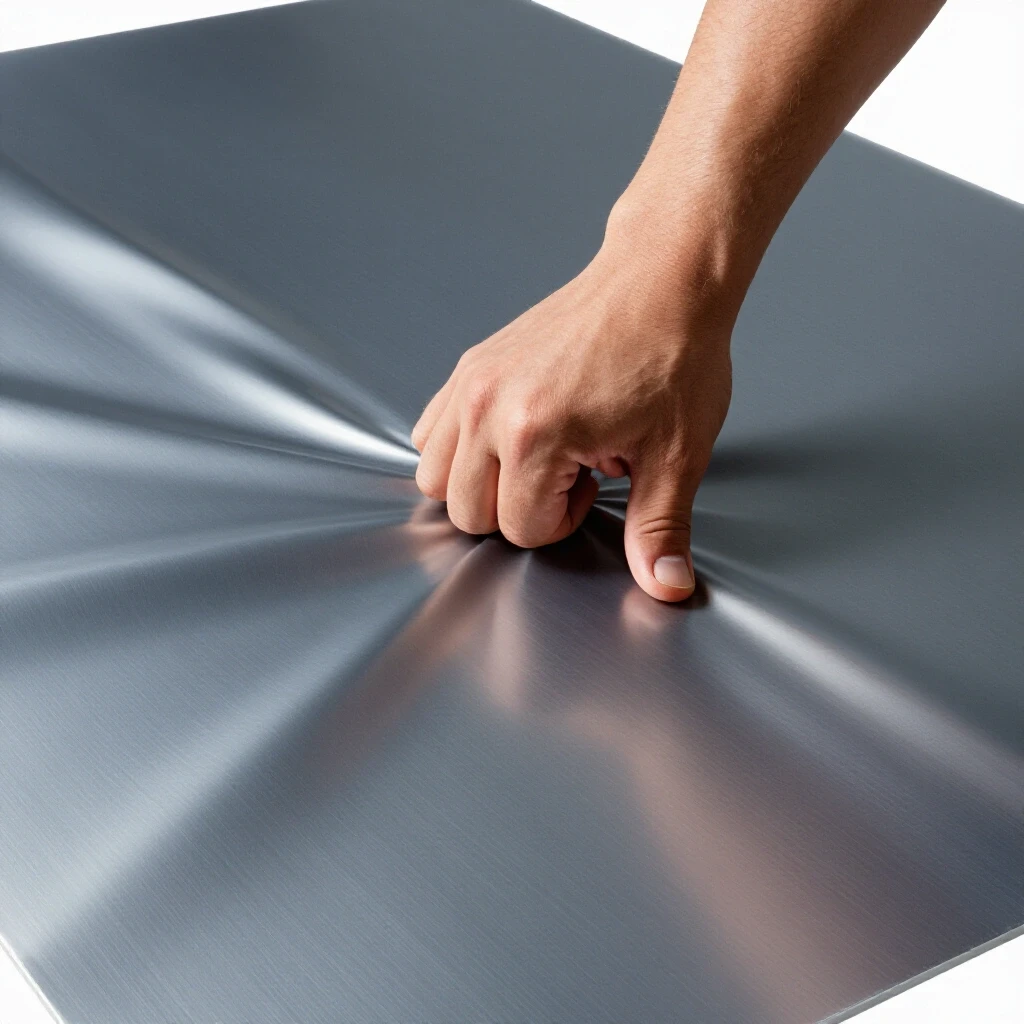
Oil-canning occurs because the weld has shrunk the metal along the seam, creating an area of high tension surrounded by “extra” metal in the center of the sheet. This extra metal has nowhere to go, so it bows up or down. To prevent this, use skip welding and heat sinks to minimize the total heat input.
How many tack welds do I need for a 4×8 foot sheet?
For large sheets, I recommend a 1/2-inch tack weld every 6 to 8 inches. If the material is very thin (less than 16 gauge), you may need tacks as close as every 3 or 4 inches to prevent the edges from warping away from each other during the first pass.
Can I fix a warped sheet with a hammer?
While you can use a hammer and dolly to flatten small areas, “beating” a large warped sheet often introduces more stress and makes the problem worse. It is much better to prevent the warp through clamping and heat management than to try and hammer it flat afterward.
What is the best welding process for minimizing distortion?
TIG (Tungsten Inert Gas) welding offers the most control over heat, but it is slow. MIG (Metal Inert Gas) is faster and often better for large projects if you use a “stitch” or “skip” technique. For the least distortion, use a high-quality MIG setup with a fine-tuned wire speed and voltage.
Is it better to weld on a wood or steel table?
Always weld on a steel table for large projects. Steel tables act as a heat sink, drawing heat away from your workpiece. Wood is a fire hazard and an insulator, which will keep the heat trapped in your sheet metal, significantly increasing the risk of warping.
How do I know if my gas flow is correct?
Listen to the arc. A steady “frying bacon” sound usually indicates good gas coverage. If you see brown soot or tiny bubbles in the weld, your gas flow is likely too low or there is a draft in the room. Set your regulator to 15-20 CFH for most indoor shop work.
What should I do if the metal starts to pull during welding?
Stop immediately. Allow the piece to cool completely. You may need to add more clamps or even cut a few tacks to let the metal relax before continuing. Trying to “fight” the pull by adding more heat will only result in a more severe warp.
Does the direction of the weld matter?
Yes. I always recommend welding from the center of a long seam out toward the edges, or using the back-stepping method. Welding from one end all the way to the other acts like a zipper, pulling the gap closed and twisting the sheet as you go.
(This article was written by one of our staff writers, James Harlan. Visit our Meet the Team page to learn more about the author and their expertise.)