How to Weld Stainless Steel Without Warping or Rust (Fix)
In my fourteen years as a mechanical engineer and fabricator, I have learned that stainless steel is a material that demands respect. It does not behave like the mild steel most of us started with in our garages. I remember a project early in my career where I was building a structural frame for a food processing unit. I ignored the material’s high thermal expansion rate, and by the time I finished the final pass, the entire four-foot frame had bowed by nearly half an inch. It was a costly lesson in material science and structural failure.
When you work with stainless alloys, you are balancing a delicate equation of heat, chemistry, and mechanical stress. The very properties that make it desirable—its strength and corrosion resistance—also make it prone to warping and “sugaring” if handled incorrectly. In this guide, I will share the technical strategies I use to maintain structural integrity and prevent the degradation of the metal’s protective layer. We will look at why these failures happen and how you can use industrial standards to ensure your projects remain stable and rust-free.
Understanding the Physics of Thermal Distortion in Stainless Alloys
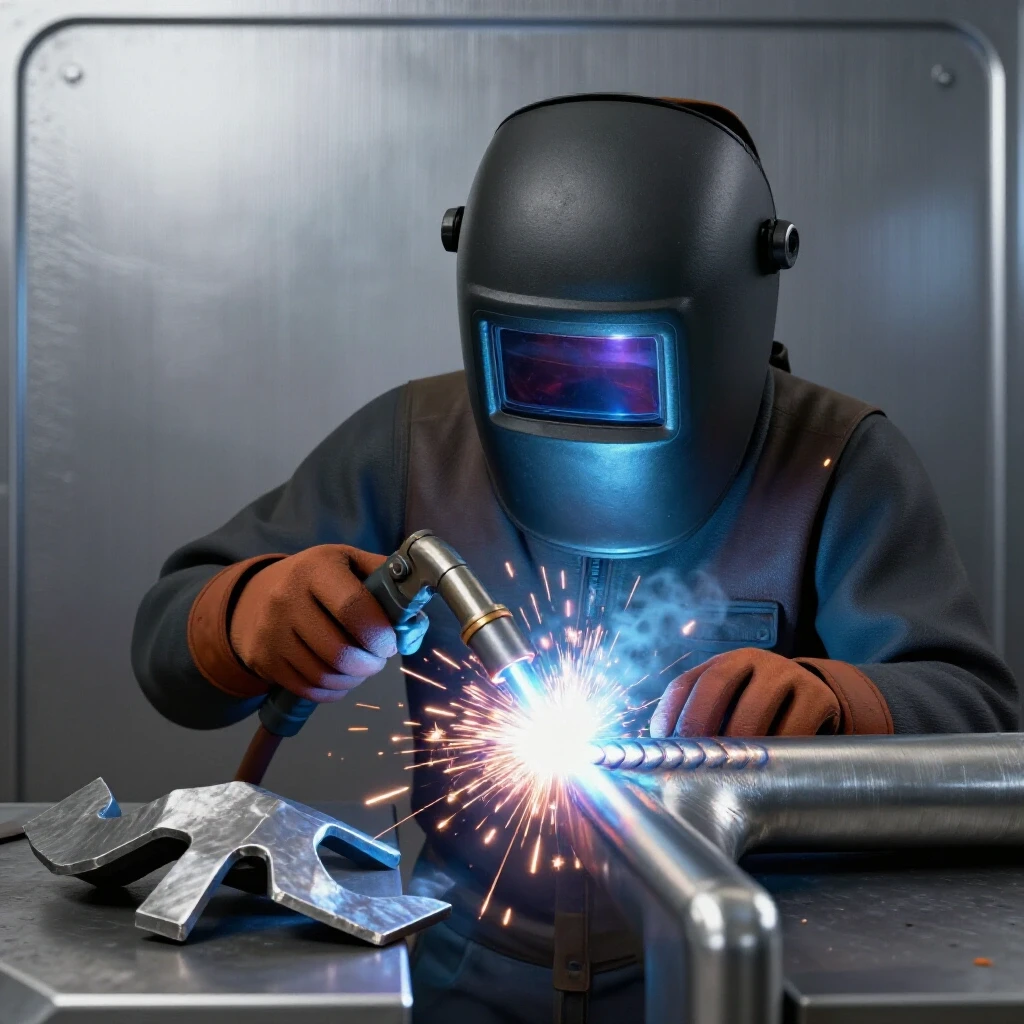
Stainless steel has a high rate of thermal expansion and low thermal conductivity, meaning heat stays concentrated near the weld and causes the metal to expand significantly. This section explains how these physical properties create internal stresses that lead to warping and how to anticipate these movements before you strike an arc.
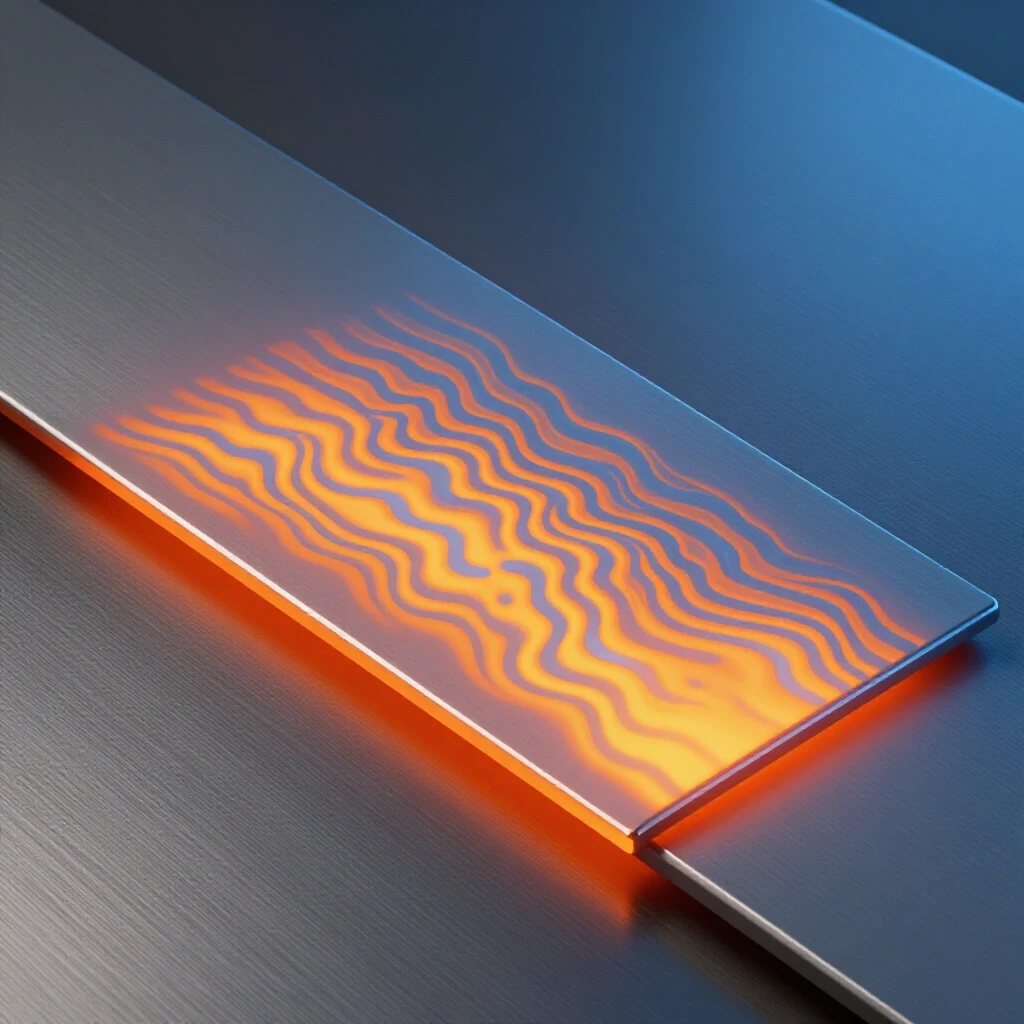
To manage a project effectively, you must understand that 300-series stainless steel expands about 50 percent more than carbon steel when heated. Because it does not conduct heat away from the joint quickly, the area around the weld—the heat affected zone—becomes a focal point for movement. If the metal cannot expand outward, it will bow or twist to relieve the internal pressure.
I often use the analogy of a crowded room. If everyone in the center tries to push outward at once, the walls will eventually bulge. In a weld joint, the “walls” are the cooler parts of your workpiece. When the hot center expands against the cold edges, the material has no choice but to deform. This is why a workshop safety checklist should always include a plan for heat management and fixture stability.
The Role of the Heat Affected Zone in Structural Integrity
The heat affected zone, or HAZ, is the area of base metal that did not melt but had its microstructure altered by the welding heat. In stainless steel, an oversized HAZ can lead to a loss of corrosion resistance and a reduction in the structural metal load capacity of the joint.
When the HAZ stays between 800 and 1,500 degrees Fahrenheit for too long, chromium and carbon combine to form chromium carbides. This process, known as sensitization, leaves the surrounding areas starved of chromium. Without enough chromium to form a protective oxide layer, the steel will rust along the weld path. This is a common welding defect troubleshooting point for intermediate fabricators who wonder why their “stainless” project is turning red.
- Keep the HAZ as small as possible by using higher travel speeds.
- Monitor the color of the weld; a straw or gold color is ideal, while dark purple or grey indicates excessive heat.
- Use chill bars made of copper or aluminum to pull heat away from the HAZ rapidly.
Selecting Joint Designs to Minimize Heat Input
The way you prepare your metal edges determines how much filler material and heat energy are required to create a strong bond. Strategic joint design is a primary tool for reducing distortion and ensuring that the finished structure meets the necessary physical load limits without failing under stress.
In my experience, many garage fabrication safety issues stem from poor fit-up. If you have large gaps between your pieces, you must add more filler metal. More filler metal means more “arc-on” time, which pours more heat into the assembly. I aim for a “light-tight” fit whenever possible. This means the pieces touch so closely that no light passes through the joint before welding.
Comparing Joint Types for Thermal Stability
Different joints react differently to the stresses of cooling. A lap joint, for example, is often easier to fit but can trap moisture and lead to crevice corrosion. A butt joint provides better structural metal load capacity but requires precise edge preparation to prevent the plates from pulling together and overlapping as they cool.
| Joint Type | Distortion Risk | Heat Requirement | Best Application |
|---|---|---|---|
| Butt Joint | High | Moderate | Flat sheets, pressure vessels |
| Lap Joint | Low | Low | Non-structural covers, patches |
| T-Joint (Fillet) | Moderate | High | Structural frames, bracing |
| Corner Joint | Very High | Moderate | Enclosures, decorative boxes |
Implementing Heat Management Techniques
Controlling the temperature of the workpiece is the most effective way to prevent warping and maintain the metal’s internal chemistry. This section covers practical methods like backstepping, skip welding, and the use of pulse settings to keep the overall temperature of the fabrication within safe limits.
One technique I rely on heavily is the backstep method. Instead of welding in one long, continuous bead from left to right, I break the weld into short segments. I start each segment a few inches ahead of the last one and weld back toward the previous bead. This spreads the heat more evenly across the length of the joint and cancels out some of the pulling forces that cause warping.
Using Tacking and Fixturing to Maintain Alignment
Tack welds are small, temporary welds that hold the pieces in place during the main welding process. For stainless steel, these tacks must be more frequent and robust than those used for mild steel. I generally place tacks every two to three inches on thin-gauge material to counteract the high expansion forces.
- Use heavy steel clamps and thick backing plates to physically restrain the metal.
- Place tacks in a balanced sequence, moving from the center outward or jumping from side to side.
- Increase the size of your tacks slightly to ensure they do not “pop” or crack as the main weld bead pulls on them.
Shielding Gas Calibration and Back Purging Protocols
Proper gas coverage is essential to prevent oxidation, which destroys the corrosion resistance of stainless steel and creates brittle points in the weld. This section details the correct welding gas flow rate and the necessity of protecting the back side of the weld from atmospheric contamination.
When you weld stainless, the molten pool must be completely shielded from oxygen. If oxygen reaches the hot metal, it creates a porous, crusty surface known as “sugaring” or “granulation.” This is not just an aesthetic issue; it is a significant structural failure point. I recommend a welding gas flow rate of 15 to 20 cubic feet per hour (CFH) for most TIG operations in a home shop.
The Importance of Back Purging for Hollow Sections
If you are welding tubing or pipe, the air inside the tube will oxidize the back of the weld. To fix this, you must “back purge” the piece by filling the interior with argon gas. This displaces the oxygen and allows the root of the weld to stay clean and shiny.
- Seal the ends of the tube with high-temperature tape or dedicated purging plugs.
- Create a small vent hole at the highest point to allow the air to escape as the argon enters.
- Flow argon into the tube at a low rate (around 5-10 CFH) for several minutes before welding.
- Maintain the purge until the weld has cooled below 500 degrees Fahrenheit.
Post-Weld Cleaning and Passivation Steps
Passivation is a chemical process that restores the protective chromium oxide layer on the surface of the steel. This section explains how to remove surface iron and heat tint to ensure your project remains rust-resistant for years to come, even in harsh environments.
Even if your weld looks perfect, the heat of the arc has likely pulled chromium away from the surface. Furthermore, if you used a standard steel wire brush or grinding wheel, you have embedded tiny particles of carbon steel into the stainless surface. These particles will rust, and that rust will spread into the stainless steel itself. This is why I keep a dedicated set of “Stainless Only” tools in a labeled bin.
Chemical Passivation Methods for the Home Shop
To properly passivate the metal, you must first remove the “heat tint”—the colorful oxidation on the surface. I use a pickling paste, which is a mixture of nitric and hydrofluoric acids. While effective, these chemicals are hazardous and require strict adherence to a workshop safety checklist, including the use of acid-resistant gloves and a face shield.
- Clean the weld area with a dedicated stainless steel wire brush.
- Apply pickling paste according to the manufacturer’s timing (usually 15-45 minutes).
- Neutralize the acid with a specialized solution or a mixture of baking soda and water.
- Rinse thoroughly with deionized or distilled water to remove all chemical residues.
Structural Load Testing and Inspection Standards
Verifying the integrity of your work is the final step in any responsible fabrication project. This section discusses how to perform basic non-destructive testing and how to apply safety factors to ensure your design can handle its intended physical load limits.
In industrial settings, we use X-rays or ultrasonic testing to find internal defects. In a home workshop, you can use a dye penetrant kit. You spray a red dye on the weld, wipe it off, and then apply a white developer. If there are any cracks or pinholes, the red dye will bleed through the white powder. This is an essential part of welding defect troubleshooting that can prevent a catastrophic collapse of a structural frame.
Calculating Safety Margins for Custom Builds
When designing a structure, I never plan for it to hold exactly the weight I intend to put on it. I use a safety factor, which is the ratio of the material’s yield strength to the actual load it will carry. For most hobbyist projects that don’t involve overhead lifting, a 2:1 safety factor is a minimum. If the structure supports people or expensive equipment, I move to a 4:1 or 5:1 margin.
| Component | Material Yield (PSI) | Expected Load (PSI) | Safety Factor |
|---|---|---|---|
| Static Shelf | 30,000 | 5,000 | 6:1 (Very Safe) |
| Work Bench Frame | 30,000 | 10,000 | 3:1 (Standard) |
| Equipment Stand | 30,000 | 15,000 | 2:1 (Minimum) |
Workshop Safety and PPE for Stainless Steel Fabrication
Welding stainless steel produces unique hazards, including hexavalent chromium fumes and intense ultraviolet radiation. This section outlines the specific personal protective equipment (PPE) and ventilation requirements needed to keep your garage fabrication safety standards at an industrial level.
Hexavalent chromium is a known carcinogen produced when welding stainless steel. Unlike mild steel smoke, these fumes are particularly dangerous over long periods. I always use a respirator with P100 filters, even if I have a smoke extractor running. Additionally, the arc from stainless welding is often “sharper” and brighter than carbon steel, requiring a high-quality auto-darkening helmet.
Safety Equipment Checklist
- Welding Helmet: Must have a Shade 10-13 filter. Ensure the sensors are clean to prevent “flashing” your eyes.
- Respirator: Use a low-profile mask that fits under your helmet with P100 (pancake) filters.
- Clothing: Wear flame-resistant (FR) cotton or leather. Avoid synthetic fabrics like polyester, which melt to the skin when hit by sparks.
- Ventilation: Position a fan to pull smoke away from your face, or use a dedicated fume extraction arm.
- Fire Safety: Keep a Class ABC fire extinguisher within ten feet of your welding station and clear all sawdust or oily rags from the area.
Troubleshooting Common Fabrication Failures
Even with careful planning, mistakes happen. This section provides a quick reference for identifying the root causes of common issues like cracking, excessive warping, and surface spotting, along with the corrective actions needed to fix them.
If you finish a weld and see a small crack right in the center of the bead (a “crater crack”), it is usually because you stopped the arc too abruptly. The shrinking metal pulled itself apart as it cooled. To fix this, I always dwell at the end of the weld for a second and add a tiny bit of extra filler metal to create a convex (humped) shape that can resist the shrinking forces.
- Problem: The metal is warping toward the weld.
- Fix: Use smaller beads, increase travel speed, or pre-bend the metal in the opposite direction before welding.
- Problem: Dark, flaky “sugar” on the back of the weld.
- Fix: Improve your back-purging setup or use a solar flux paste on the back side.
- Problem: The weld looks grey and dull.
- Fix: Lower your amperage or increase your gas coverage. You are “cooking” the metal.
Final Steps for a Structurally Sound Build
Building with stainless steel is a rewarding challenge that forces you to think like both a chemist and a structural engineer. By controlling your heat input, protecting your gas shield, and properly passivating the finished surface, you can create projects that are both beautiful and incredibly durable.
Always remember that the quality of your preparation dictates the quality of your results. Take the extra hour to clamp your work to a heavy table, set up a proper back purge, and clean your filler rod with acetone. These small steps are what separate a failed experiment from a professional-grade fabrication. Stay safe, respect the physics of the metal, and keep learning from every bead you lay.
Frequently Asked Questions
Why does my stainless steel rust even though it is supposed to be “stainless”?
Rust occurs when the protective chromium oxide layer is compromised. This is often caused by overheating the metal during welding (sensitization), which ties up the chromium in carbides. It can also happen if you use carbon steel tools, like wire brushes or grinding discs, which leave iron particles embedded in the surface. Proper passivation with an acid solution can restore the protective layer.
What is the best way to stop a long stainless sheet from bowing?
The best approach is to use a combination of “skip welding” and heavy fixturing. Instead of one long bead, make two-inch welds at different locations along the seam, allowing the metal to cool between passes. Clamping the sheet to a thick copper or aluminum “chill bar” will also help by absorbing the excess heat before it can cause the sheet to expand and bow.
Do I really need to back purge if I am only welding thin tubing?
Yes, if you want the joint to be structurally sound. Without a back purge, the inside of the tube will “sugar” or oxidize heavily. This oxidation creates a brittle, porous area that significantly reduces the structural metal load capacity of the joint. For non-critical decorative items, you might skip it, but for anything holding weight or pressure, back purging is mandatory.
What shade should my welding helmet be for TIG welding stainless?
For most TIG applications between 50 and 150 amps, a Shade 10 or 11 is sufficient. If you are welding at higher amperages or in a very dark shop, you may prefer a Shade 12. Because the arc is very bright and crisp, a high-quality helmet with a “true color” lens can help you see the weld pool more clearly, which is vital for managing heat.
Can I use regular MIG gas (75% Argon / 25% CO2) for stainless?
No. Standard “C25” gas has too much carbon dioxide, which will cause carbon pick-up in the weld pool and ruin the corrosion resistance of the stainless steel. For MIG welding stainless, you typically use a “Tri-Mix” gas (Helium/Argon/CO2) or a mixture with very low CO2 (around 2%). For TIG welding, you must use 100% pure Argon.
How do I know if I have overheated the metal?
The color of the weld and the surrounding area is your best indicator. A perfect weld will be silver or light gold. If it turns blue or purple, you are at the upper limit of acceptable heat. If the weld is dark grey, black, or has a “crusty” texture, you have overheated it, and the corrosion resistance is likely compromised.
What is the safest way to clean up “heat tint” at home?
The safest mechanical method is using a dedicated stainless steel wire brush or a specialized “flap disc” designed for stainless. For chemical cleaning, citric acid-based passivation gels are much safer for home use than traditional hydrofluoric acid pickling pastes, though they may take longer to work. Always wear gloves and eye protection.
Why did my tack welds crack as I was welding the main seam?
This is usually caused by “hot shortness,” where the metal becomes brittle at high temperatures. Stainless steel is prone to this. To prevent it, make your tack welds slightly larger and ensure they have a good convex profile. Also, try to avoid placing tacks exactly in the corners where stress is highest.
How much gap should I leave between pieces for a butt weld?
For most thin-to-medium stainless projects, a “zero gap” or “light-tight” fit is best. This allows you to use the minimum amount of heat and filler metal. If you are welding very thick plates (over 1/4 inch), you may need a small gap (about 1/16 inch) and a beveled edge to ensure full penetration, but this will increase the risk of warping.
Is it safe to weld stainless steel in a garage without a professional vent system?
It can be done safely if you take specific precautions. You must use a respirator with P100 filters to protect yourself from hexavalent chromium fumes. You should also have a high-volume fan blowing the smoke away from your face and out of the garage. Never weld in a completely enclosed space without active ventilation.
(This article was written by one of our staff writers, James Harlan. Visit our Meet the Team page to learn more about the author and their expertise.)