Best Way to Organize Nut, Bolt, and Fastener Storage (Fix)
When I first transitioned from a professional industrial maintenance role to building my own garage shop, I made a classic mistake. I spent a significant portion of my initial $2,000 budget on a high-end welder and a decent grinder, but I completely ignored the small things. I figured I would just keep my nuts, bolts, and washers in the cardboard boxes they came in. Within three months, my workbench was a disaster of half-torn packages and mixed-up hardware. I once spent forty-five minutes searching for a single 3/8-inch Grade 8 bolt that I knew I had bought, only to realize I had accidentally kicked the box under a heavy welding table. That lost time was a wake-up call. In a professional setting, we call this “inventory management,” but in a home shop, it is simply about maintaining your sanity and your budget.
Setting up a functional fabrication space on a limited budget requires more than just buying tools. It requires a systematic approach to how you handle the thousands of tiny components that hold your projects together. If you are between the ages of 25 and 45 and looking to build your first shop, you likely feel the pressure of making every dollar count. You do not want to waste money on fancy cabinets, but you cannot afford the “hidden tax” of disorganization, which includes buying duplicates of hardware you already own because you cannot find them. My goal is to show you how to build a hardware management system that aligns with industrial standards while keeping your startup costs under control.
Assessing Your Starter Metal Workshop Layout for Hardware Efficiency
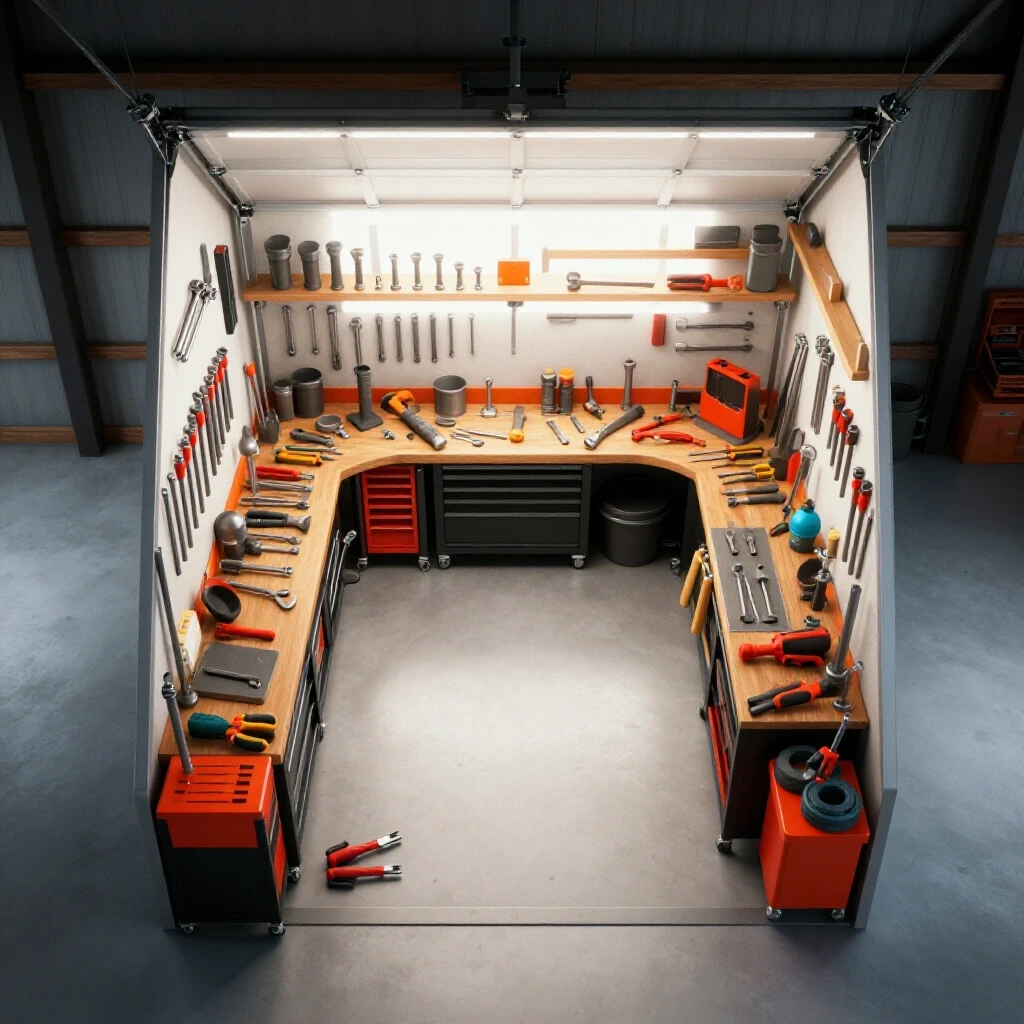
A well-planned shop layout ensures that every tool and fastener has a dedicated home, reducing clutter and improving safety. By analyzing your available square footage and workflow, you can determine where to place hardware bins so they are accessible during assembly but protected from grinding sparks and welding splatter.
When you are working in a confined space like a single or double-car garage, every inch of wall and floor space is a premium. I recommend starting with a physical floor plan. You can use graph paper where one square equals six inches. Mark your “hot zones” where welding and grinding happen, and your “clean zones” where assembly and precision measurement occur. Your hardware storage should live on the border of these two zones. If you place your bolt bins too close to your grinder, the threads will eventually fill with metallic dust, which can lead to galling—a condition where threads lock up and tear during installation.
In my first shop, I allocated about 15% of my wall space to hardware storage. I found that vertical storage is the most cost-effective way to manage small parts without sacrificing floor space for heavy machinery. You should aim for a minimum physical clearance of 36 inches in front of any storage rack to allow for easy access while wearing bulky safety gear like a welding jacket or gloves.
Defining the Hardware Storage Zone
The hardware storage zone is a dedicated area within a workshop specifically designed to house nuts, bolts, and fasteners. This zone must be located away from high-heat sources and moisture to prevent corrosion and contamination. It serves as the central hub for all assembly-related tasks.
When planning this zone, consider the “point of use” principle. You want your most common fasteners—like 1/4-inch and 3/8-inch bolts—at eye level. Heavier items, like large structural lag bolts or boxes of bulk washers, should be kept on lower shelves to maintain a low center of gravity for your storage units. This is a basic safety practice that mirrors OSHA guidelines for industrial shelving. If a rack becomes top-heavy, the vibration from a nearby bench grinder or a heavy hammer drill could cause it to tip.
Integrating Storage into the Workbench Build
A workbench-integrated storage system utilizes the space directly beneath or above a primary work surface to store frequently used fasteners. This approach minimizes movement during fabrication and keeps the work surface clear of loose hardware. It is an ideal solution for shops with limited wall space.
If you are building your own workbench, consider framing the underside to accept standardized removable bins. I tracked the costs of various bench-mounted systems and found that building a simple wooden or metal cleat system to hold plastic or metal bins is about 40% cheaper than buying a pre-made drawer cabinet.
| Storage Method | Estimated Cost (Low-End) | Space Efficiency | Durability in Metal Shop |
|---|---|---|---|
| Plastic Totes on Shelves | $20 – $50 | Medium | Low (can melt/crack) |
| Metal Drawer Units | $150 – $300 | High | High |
| Wall-Mounted Bin Racks | $40 – $80 | High | Medium |
| Magnetic Strips (Small Parts) | $10 – $20 | Low | High |
Choosing Durable Containers for Metalworking Hardware
Selecting the right containers involves balancing cost with the harsh environment of a fabrication shop. Metalworking involves heat, sharp debris, and heavy vibrations, all of which can degrade cheap storage solutions. Durable containers ensure that your fastener inventory remains clean, sorted, and ready for use over many years.
In a metal shop, “cheap” often ends up being expensive. I once bought a set of thin plastic organizers from a discount store. Within six months, the lids had cracked from the weight of the steel bolts, and the plastic had become brittle from the UV light produced by my arc welder. If you are on a strict budget, I suggest prioritizing metal drawers or heavy-duty high-density polyethylene (HDPE) bins. These materials resist the oils and solvents often found on fasteners and can withstand the occasional stray spark.
The Benefits of Metal Drawer Systems
Metal drawer systems are robust storage units made of steel or aluminum, featuring multiple compartments for granular sorting. They offer the highest level of protection against shop debris and provide a stable environment for heavy steel hardware. These systems are the gold standard for long-term workshop organization.
While the initial cost is higher, metal drawers are nearly indestructible in a hobbyist environment. If you are tracking your shop startup costs, you might see a $200 price tag and recoil. However, consider the lifespan. A quality metal cabinet will last 30 years, whereas a cheap plastic one might last three. When you break it down, the metal unit costs about $6.60 per year. I always tell beginners to look for used industrial cabinets at liquidations or auctions; you can often find heavy-duty steel units for pennies on the dollar.
Using Open-Front Bins for High-Turnover Items
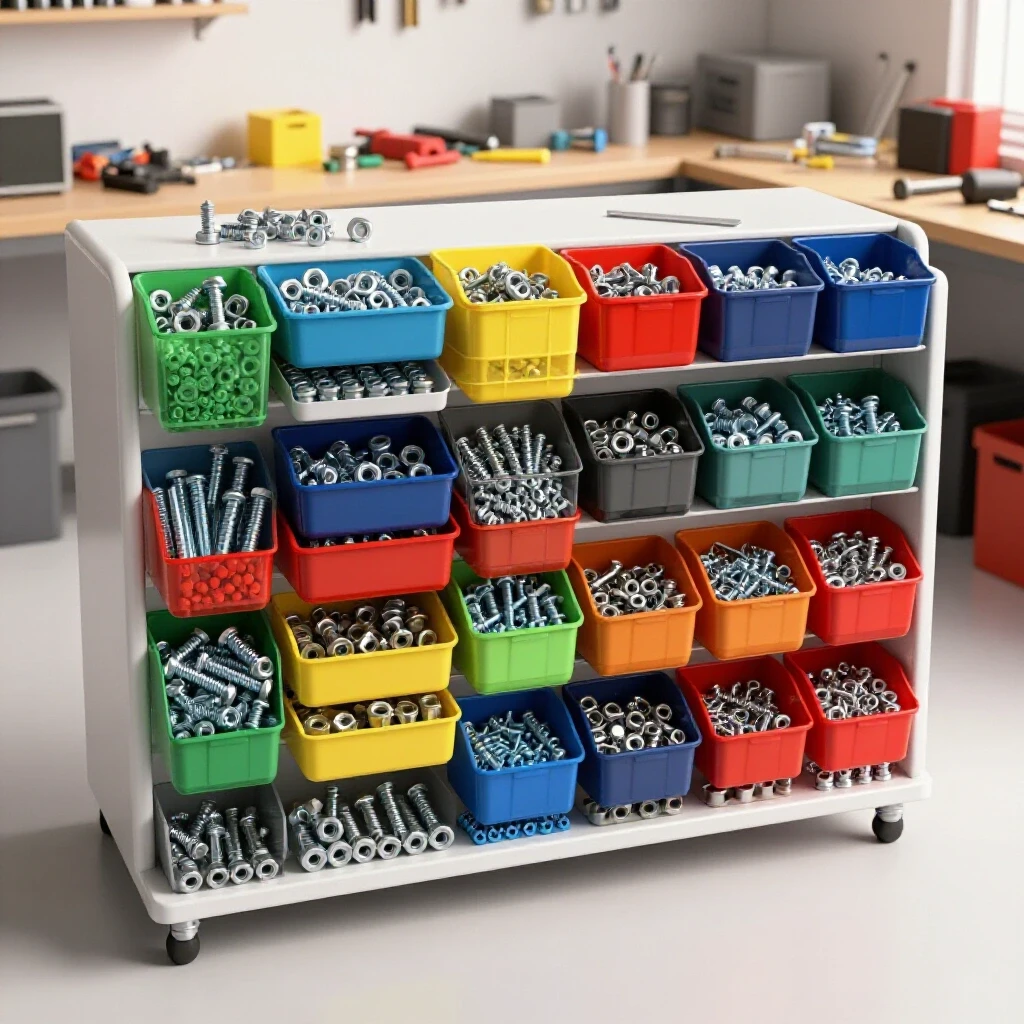
Open-front bins are stackable or rail-mounted containers that allow for quick visual inspection and easy access to contents. They are best suited for fasteners that are used daily, such as common hex nuts or flat washers. Their design facilitates rapid “grab-and-go” workflows during complex builds.
The main advantage of open bins is visibility. You can see exactly how many 1/2-inch nuts you have left without opening a single drawer. The downside is that they collect dust. To combat this, I recommend using a simple shop vacuum with a brush attachment once a week as part of your maintenance routine. This prevents the buildup of “grinding mud”—a mixture of metal dust and moisture—that can ruin the finish on your hardware.
Labeling and Sorting for Rapid Retrieval
Effective labeling and sorting involve categorizing fasteners by size, thread pitch, material grade, and type using clear, legible markers. This systematic approach eliminates guesswork and prevents the accidental use of mismatched hardware, which is critical for structural integrity in metal fabrication.
In the world of the American Welding Society (AWS) and industrial maintenance, using the wrong bolt grade can lead to catastrophic failure. You cannot tell the difference between a Grade 2 and a Grade 8 bolt just by looking at them from across the room. You need a labeling system that tells you exactly what is in the bin. I use a simple physical labeling system: Grade, Diameter, Thread Pitch, and Length.
Understanding Thread Pitch and Diameter
Thread pitch refers to the distance between threads on a bolt, while diameter is the thickness of the bolt shaft. In the US, we deal with both Unified National Coarse (UNC) and Unified National Fine (UNF), alongside Metric standards. Misidentifying these is a common rookie mistake that leads to stripped threads.
Before you start sorting, I recommend buying or making a thread gauge. This is a small tool with various threaded holes and studs that allows you to verify exactly what you have.
- Identify the Standard: Determine if the bolt is Metric or Imperial (Standard).
- Measure Diameter: Use calipers to find the major diameter of the threads.
- Check Pitch: Use a pitch gauge or a known nut to find the thread count per inch (TPI) or metric lead.
- Verify Grade: Look at the head markings (e.g., three lines for Grade 5, six lines for Grade 8).
Color-Coding for Material Types
Color-coding is a visual organization technique where specific colors represent different materials or fastener grades. For example, blue labels might indicate stainless steel, while red indicates high-strength Grade 8 steel. This method provides an instant visual cue that prevents material mixing and galvanic corrosion.
Galvanic corrosion occurs when two dissimilar metals, like aluminum and plain steel, come into contact in the presence of moisture. If you are building an aluminum roof rack for your truck and use standard steel bolts, the aluminum will eventually corrode around the bolt. By color-coding your stainless steel hardware, you ensure that you always grab the right fastener for the material you are working with.
Workshop Electrical and Safety Considerations for Storage
Safety in a metal shop extends to how you store your hardware. Heavy bins must be secured to prevent tipping, and storage units must be positioned to avoid interfering with electrical panels or creating trip hazards. Proper placement also ensures that hardware does not become a fire hazard.
One of the most overlooked safety issues in a new shop is the placement of metal storage racks near electrical outlets. If a rack shifts and touches an exposed wire or a poorly grounded tool, the entire rack could become “live.” Always maintain at least a 6-inch gap between metal shelving and electrical boxes. Furthermore, ensure your storage does not block access to your main breaker panel. OSHA requires a 36-inch deep by 30-inch wide clear space in front of electrical equipment.
Preventing Trip Hazards and Spills
Managing floor space involves keeping walkways clear of protruding bins or low-profile hardware boxes. Spilled fasteners, especially round ones like washers or ball bearings, act like marbles on a hard garage floor and can cause serious falls.
I maintain a “zero-tolerance” policy for loose hardware on the floor. If a bin of nuts spills, the work stops until every single one is picked up. In a metal shop, you are often carrying heavy pieces of steel or hot welded assemblies; a single bolt under your boot can result in a trip that leads to a trip to the emergency room.
Fire Safety and Spark Protection
Fire safety in storage involves protecting flammable packaging or plastic bins from the intense sparks generated by cutting and welding. Since many fasteners are stored in plastic or cardboard, they must be shielded or placed in “dead zones” where sparks cannot reach.
When I set up my current shop, I performed a “spark test.” I turned off the lights and ran my angle grinder for ten seconds to see exactly where the sparks traveled. I found that sparks could bounce off the floor and travel up to 15 feet. As a result, I moved my plastic hardware bins behind a fire-resistant curtain. If you cannot move your storage, consider using metal lids or switching to all-steel cabinets.
Budgeting for Fastener Inventory and Tracking Costs
Budgeting for hardware involves allocating funds for both the storage system and the initial “seed” stock of fasteners. By tracking these expenses in a manual ledger, you can avoid overspending on specialty items and ensure you have the essential sizes for most projects.
When you are starting out, the temptation is to buy those “1,000-piece assortments.” In my experience, those kits are usually 90% sizes you will never use. Instead, I recommend allocating about 10% of your initial tool budget to a “hardware fund.” Buy the fasteners you need for a specific project, but buy them in “shop quantities” (boxes of 50 or 100) rather than individual pieces. The unit price drops significantly when you buy in bulk.
| Tool Category | Recommended Budget % | Purpose |
|---|---|---|
| Core Machinery (Welder, Grinder) | 50% | Primary fabrication capability |
| Safety Gear (Helmet, Jacket, Vent) | 20% | Personal protection and air quality |
| Precision Tools (Calipers, Squares) | 10% | Ensuring accuracy and fitment |
| Hardware & Storage | 10% | Organization and assembly stock |
| Consumables (Abrasives, Gas) | 10% | Operating costs for the first year |
Avoiding the “Hidden Tax” of Individual Purchases
Buying fasteners individually at a local hardware store is the most expensive way to stock a shop. These “convenience prices” can be 500% higher than bulk prices. By planning your projects and buying bulk boxes, you keep more money in your pocket for better tools.
For example, a single 3/8-inch Grade 5 bolt might cost $0.80 at a big-box store. A box of 50 from an industrial supplier might cost $12.00. That brings the price per bolt down to $0.24. Over the course of a year, these savings can easily pay for a new set of drill bits or a high-quality welding hood. I keep a physical logbook where I track what I paid for bulk hardware so I can compare prices when it is time to restock.
Tracking Usage to Prevent Overstocking
Tracking usage involves noting which fastener sizes are consumed most frequently and adjusting your inventory accordingly. This prevents your budget from being tied up in “dead stock”—hardware that sits in a bin for years without being used.
I use a simple “reorder card” system. When I open the last box of a particular bolt size, I pull a small card I’ve tucked into the back of the bin and put it on a hook by my shop door. This tells me exactly what I need to buy on my next trip to the supplier, preventing me from guessing and ending up with three boxes of the same size.
Actionable Benchmarks for Shop Organization
To help you stay on track, here are some measurable goals for your first six months of shop setup. These benchmarks are based on my 12 years of helping beginners move from chaos to a functional workspace.
- Month 1: Define your hardware zone and install at least one vertical storage unit.
- Month 2: Catalog all existing hardware and move them from cardboard boxes to durable bins.
- Month 3: Label every bin with Grade, Size, and Thread Pitch.
- Month 4: Establish a “reorder point” for your top five most-used fasteners.
- Month 5: Conduct a safety audit to ensure storage is not interfering with electrical or fire safety.
- Month 6: Review your hardware spending to identify bulk-buying opportunities.
Conclusion
Building a metalworking shop is a marathon, not a sprint. It is easy to get caught up in the excitement of buying a new welder, but the true efficiency of your space is determined by how well you manage the small details. By establishing a structured system for your nuts, bolts, and fasteners early on, you save yourself hundreds of hours of frustration and potentially thousands of dollars in wasted materials and duplicate purchases.
Remember that your shop will evolve. The system you build today for a few hundred bolts will eventually need to expand as your projects grow in complexity. Start with the basics: choose durable containers, label them clearly, and keep them in a safe, accessible location. If you follow these industrial-inspired principles, you will create a workspace that is not only productive but also a professional environment you can be proud of.
Frequently Asked Questions
What is the most durable storage material for a metal shop?
Steel is the most durable material because it resists heat, impact, and chemical exposure. If steel is out of your budget, high-density polyethylene (HDPE) is a strong alternative that can withstand significant weight without cracking, though it must be kept away from direct welding sparks.
How do I identify bolt grades if the labels are gone?
Look at the head of the bolt. For Imperial (SAE) bolts, no markings usually mean Grade 2, three radial lines mean Grade 5, and six radial lines mean Grade 8. For Metric bolts, the grade is usually stamped as a number like 8.8, 10.9, or 12.9.
Should I store nuts and bolts together in the same bin?
For common sizes, storing the matching nut and bolt in the same compartment can save time. However, if you have a high volume of hardware, it is better to separate them to make inventory counting easier and to prevent the bins from becoming too heavy to move safely.
How can I prevent my fasteners from rusting in a damp garage?
Keep your hardware in closed drawers or bins with tight-fitting lids. You can also place silica gel packets in the drawers to absorb moisture. For long-term storage, a light mist of thin machine oil or a dedicated corrosion inhibitor can protect the steel from oxidation.
Is it worth buying used storage cabinets?
Yes, used industrial cabinets are often much higher quality than new consumer-grade ones. Look for heavy-gauge steel construction and ball-bearing drawer slides. Just ensure the drawers operate smoothly and there is no structural rust that could compromise the unit’s strength.
Where should I place my fastener storage in a small garage?
Place it in a “clean zone” away from your welding table and grinder. Ideally, it should be near your assembly area or workbench. Ensure there is enough clearance to stand in front of the storage without blocking the main walkway or electrical panels.
How do I know if a storage rack is overloaded?
Check for visible bowing in the shelves or difficulty opening drawers. Most commercial shelving has a weight rating per shelf. In a metal shop, hardware adds up quickly; a small bin of large bolts can easily weigh 20-30 pounds. Always place the heaviest items on the bottom shelves.
What are the “essential” fastener sizes for a beginner metalworker?
While it depends on your projects, a good starter set includes 1/4-20, 5/16-18, 3/8-16, and 1/2-13 hex bolts in various lengths (1″ to 3″), along with matching nuts, flat washers, and lock washers. These cover the majority of general fabrication and repair tasks.
Can I use magnetic strips for all my hardware?
Magnetic strips are great for holding a few specific items you are currently using, but they are not a primary storage solution. They can magnetize your fasteners, which causes them to attract metal dust and filings, making them difficult to clean and potentially ruining the threads.
How do I handle “mystery” hardware that I find in my shop?
If you cannot identify a fastener’s grade or thread pitch with 100% certainty, do not use it for structural or safety-critical applications. Set up a “junk bin” for these items to be used for non-critical tasks like temporary jigs or shop fixtures.
(This article was written by one of our staff writers, Michael Thompson. Visit our Meet the Team page to learn more about the author and their expertise.)