How to Build a Floor-Mount Tire Changing Stand (DIY Plan)
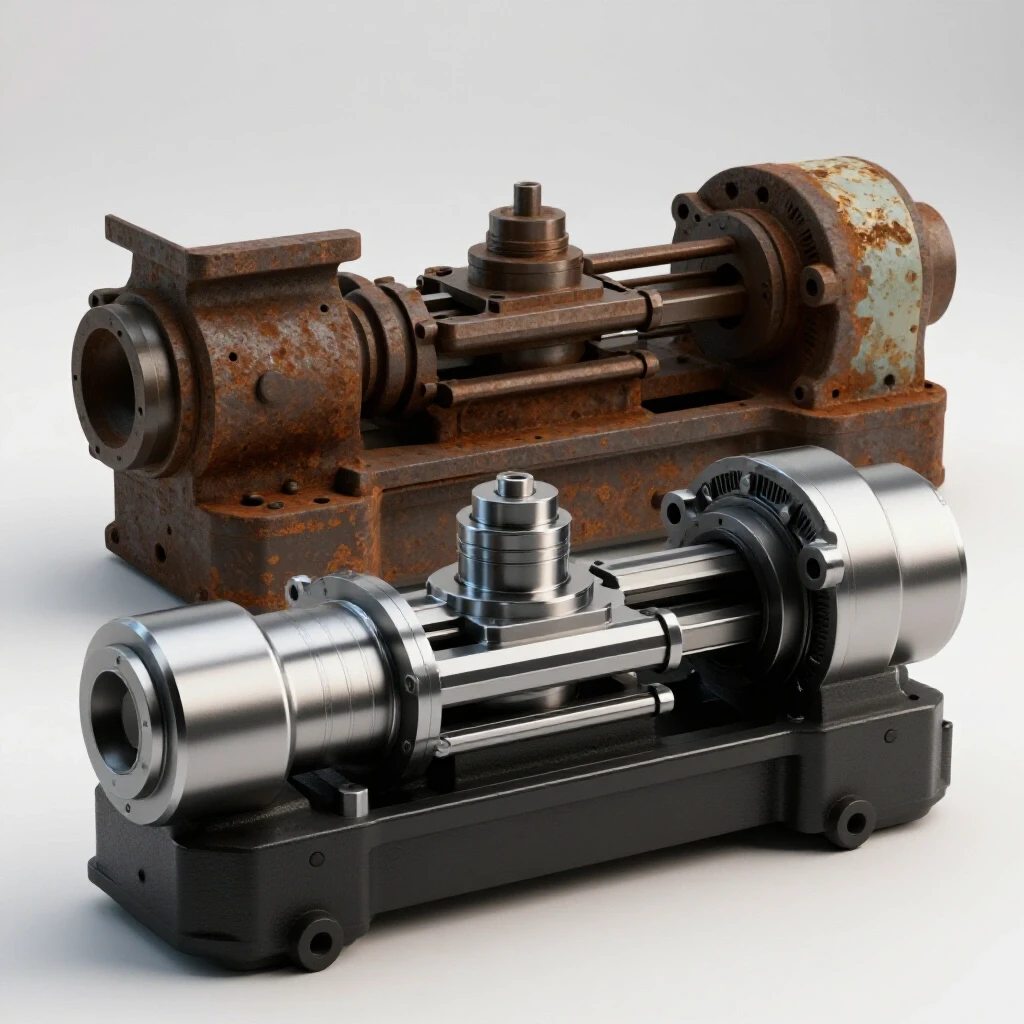
During my eighteen years spent hunched over rusted cast iron and seized gears, I have learned that the most valuable tools in a workshop are often the ones you build yourself to the same standards as a pre-war lathe. There is a specific satisfaction in taking heavy-gauge steel and transforming it into a piece of functional shop infrastructure. When I rescued my first 1940s South Bend lathe, it was a frozen mass of orange oxidation. Restoring it taught me that precision isn’t just for the final product; it must be built into the very foundation of your workspace.
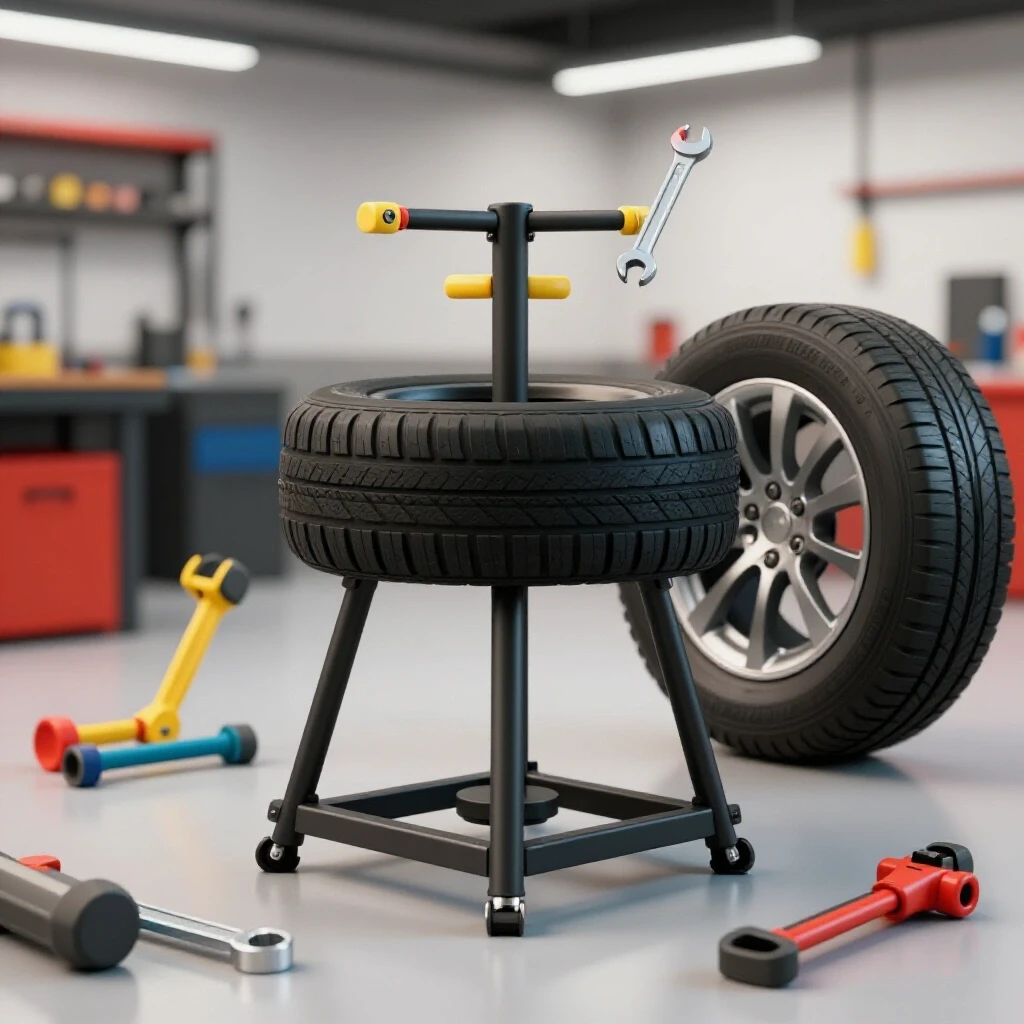
Creating a robust, manual wheel service station follows these same principles of vintage machinery restoration. You are not just sticking pieces of metal together. You are engineering a tool that must withstand significant torque and physical stress. Whether you are dealing with a stubborn bead on a vintage tractor rim or a standard trailer wheel, the rigidity of your equipment determines your success. This guide applies the methodical approach of a machine restorer to the fabrication of a permanent, floor-anchored tire service fixture.
Evaluating Materials and Structural Integrity for Heavy Shop Fixtures
Before sparks fly, you must assess your raw materials with the same scrutiny used when inspecting a vintage casting for hairline fractures or internal stress. Choosing the right steel sections ensures that your manual wheel-clamping device remains rigid under the high leverage required to break a bead.
I often source my materials from scrap yards or old machinery frames. However, using salvaged steel requires a deep understanding of structural health. You must check for “pitting,” which are small holes caused by long-term corrosion that can weaken the metal’s core. If you are using square tubing, look inside the ends with a bright light to check for internal rust that could compromise your welds.
| Material Type | Recommended Dimensions | Application | Why it Matters |
|---|---|---|---|
| Square Tubing | 2″ x 2″ (1/4″ wall) | Main Vertical Post | Provides torsional rigidity |
| Flat Plate | 1/2″ Thick | Floor Base Plate | Prevents flexing during high-torque use |
| Round Bar | 1″ Diameter (Cold Rolled) | Pivot Pins | Resists shearing forces under leverage |
| Angle Iron | 3″ x 3″ (3/8″ thick) | Base Reinforcement | Distributes load across floor anchors |
Assessing Salvaged Steel for Hidden Defects
When restoring classic cast iron or building new shop tools, “good enough” usually leads to failure. I once spent three weeks cleaning a 1920s drill press base only to find a freeze crack hidden under layers of grease. When selecting steel for your floor-anchored station, use a ball-peen hammer to tap the metal. A clear, ringing tone usually indicates solid internal structure, while a dull “thud” can signal internal laminations or heavy internal scaling.
- Check for Straightness: Lay your steel on a known flat surface, like a machinist’s grade surface plate or a verified straight edge.
- Measure Wall Thickness: Use calipers to ensure the tubing hasn’t thinned due to years of oxidation in a scrap pile.
- Identify Steel Grade: Look for markings like A36 (standard structural steel), which is ideal for welding and offers predictable strength.
Removing Machinery Rust and Preparing Surfaces for Fabrication
Preparing old metal for a new life requires removing every trace of oxidation to ensure a sound weld and a professional finish. In vintage machinery restoration, we never just paint over rust; we strip it back to the molecular level to prevent “creeping” corrosion.
For a project this size, I recommend a combination of mechanical and chemical cleaning. While a wire wheel on an angle grinder is fast, it can “burnish” the rust, essentially polishing the oxidation into the metal rather than removing it. For the best results, I use an electrolysis bath for smaller components and a high-quality chelating agent for larger sections.
The Science of Electrolysis in the Workshop
Electrolysis is a process that uses a low-voltage electrical current to move rust from your workpiece to a “sacrificial” piece of scrap metal. It is a gentle way to clean parts without removing any of the healthy base metal. This is vital when you are trying to preserve the dimensions of a pivot pin or a threaded rod.
- The Setup: Use a plastic tub, a 12V DC power source (like a manual battery charger), and washing soda (sodium carbonate) as the electrolyte.
- The Anode: Use a piece of scrap steel (not stainless) as the sacrificial part.
- The Connection: Connect the negative lead to your workpiece and the positive lead to the scrap anode.
- The Result: After 12 to 24 hours, the rust will turn into a black sludge that easily wipes away, leaving a clean, grey surface ready for welding or priming.
Precision Alignment of the Vertical Axis and Clamping Plate
A manual wheel station is only as good as its alignment. If the center post is not perfectly perpendicular to the base, the clamping force will be uneven, potentially marring the rim or making it impossible to seat a tire bead correctly.
When I align the headstock of a lathe, I use precision levels and dial indicators. You should apply that same mindset here. Use a machinist’s level—one capable of measuring 0.0005 inches per foot—to ensure your base is level before welding the vertical post. If your shop floor is uneven (as many old garages are), you must use shims to create a true horizontal plane for your build.
Squaring the Center Post for Maximum Stability
The center post acts as the spine of your assembly. It must handle the lateral force of the bead-breaker arm without bowing. To achieve classic tool alignment, I use a “four-point” welding sequence.
- Place the post on the base plate and check for squareness on all four sides using a precision square.
- Tack weld only the corners first.
- Re-check for squareness; the heat from the tack welds can pull the metal out of alignment.
- Once verified, complete the welds in short 1-inch sections, jumping from side to side to distribute the heat evenly.
Engineering the Bead Breaker Arm and Pivot Geometry
The bead breaker is a lever that converts your physical strength into thousands of pounds of downward force. In machine disassembly tips, we often talk about “mechanical advantage.” Here, the placement of your pivot pin is the most critical factor.
A common mistake is placing the pivot too high or too low, which causes the “shoe” (the part that touches the tire) to slip off the rubber. I prefer a multi-position pivot. By drilling a series of holes in the vertical post, you can adjust the arm height for different rim widths. This mimics the adjustability found in vintage industrial machinery, allowing the tool to adapt to the task at hand.
Designing Robust Pivot Points and Bushings
For the pivot, I avoid using a simple bolt. Instead, I use a 1-inch cold-rolled steel pin and weld “bosses” (extra thick rings of steel) onto the arm to increase the surface area of the bearing point. This prevents the holes from “egging out” over time.
- Clearance: Aim for a 0.002-inch to 0.005-inch clearance between the pin and the hole. This allows for smooth movement while maintaining enough “meat” to handle the load.
- Lubrication: Drill and tap a hole for a grease zerk. In the world of restoring classic cast iron, we know that metal-on-metal contact is the enemy. Regular greasing ensures your stand will last for decades.
Sourcing and Modifying Fasteners for Obsolete Patterns
If you are incorporating parts from older equipment into your stand, you may encounter obsolete thread patterns. Before the standardization of threads, manufacturers often used their own proprietary pitches. When I restored a 19th-century drill press, I had to learn how to identify and replicate these “bastard” threads.
For this project, you might find an old heavy-duty handwheel from a scrapped mill to use as your clamping nut. If the threads don’t match your center post, you have two choices: chase the threads on a lathe to a modern standard or fabricate a new threaded insert.
Using a Thread Pitch Gauge and Micrometer
To identify a mystery thread, you need a thread pitch gauge and a micrometer. 1. Count the TPI: Use the gauge to find how many threads per inch are present. 2. Measure the Diameter: Use the micrometer to find the major diameter. 3. Cross-Reference: Check a vintage thread database (like the Machinery’s Handbook) to see if it’s a standard like Whitworth or an obsolete SAE pattern.
| Thread Type | Common Era | Characteristics |
|---|---|---|
| UNC (National Coarse) | Modern | Standard for most shop builds; easy to source. |
| Whitworth (BSW) | Pre-1950s | 55-degree angle; common on British machinery. |
| SAE Extra Fine | Vintage | Used in high-vibration areas; harder to find today. |
Hand Scraping the Base for Floor Stability
While it might seem like overkill for a shop fixture, hand scraping the base plate can provide a level of stability that bolts alone cannot achieve. Hand scraping is the process of removing high spots on a metal surface using a hand tool to create a perfectly flat plane.
In machinery hand scraping, we aim for a specific “points per inch” (PPI) count. For a floor-mounted tool, achieving 10–12 PPI ensures that the base plate makes maximum contact with the concrete floor. This reduces vibration and prevents the stand from “walking” or rocking when you are putting your full weight into the bead breaker.
How to Check for Flatness
- Apply a thin layer of “Engineers’ Blue” (a non-drying pigment) to a known flat surface.
- Lower your base plate onto the blue surface and rub it slightly.
- Lift the plate and look at the underside. The blue spots are the “high points.”
- Use a carbide-tipped scraper to gently shave off the blue spots.
- Repeat until the blue marks are evenly distributed across the entire surface.
Final Assembly and Testing for Precision
Once the components are fabricated, cleaned, and painted, the final assembly must be handled with care. This is the stage where machine restorers often find small errors that can lead to big problems. I always perform a “dry fit” without grease to ensure every pivot moves freely and every thread engages smoothly.
When anchoring the stand to the floor, use heavy-duty wedge anchors. I recommend 5/8-inch diameter anchors at least 4 inches deep into the concrete. This provides the “earth-bound” rigidity needed for manual tire work.
Checklist for Final Operational Readiness
- Check Vertical Plumb: Ensure the center post hasn’t warped from welding heat.
- Verify Pivot Movement: The bead breaker arm should move through its full arc without binding.
- Inspect Weld Integrity: Look for any signs of cracking or “undercut” in your beads.
- Test Clamping Force: Ensure the top nut or handwheel can secure a rim without stripping threads.
- Grease All Points: Apply a high-pressure lithium grease to all moving joints.
Preserving Your Build for the Next Generation
A tool built to these standards is not just a temporary fix; it is a legacy item. To protect your work from the humid environment of a workshop, use a high-quality machinery enamel. I prefer the traditional “Machine Tool Grey” or “Deep Forest Green” used by manufacturers like Cincinnati or Kearney & Trecker. These paints are resistant to oils and chemicals, ensuring your stand remains easy to clean.
For the unpainted surfaces—like the threaded center post and the pivot pins—apply a thin coat of paste wax or a specialized rust preventative. This is a trick I use on my lathe ways to prevent oxidation without the mess of heavy oil.
Maintenance Schedule for Shop Equipment
- Monthly: Check the floor anchors for tightness. Vibration can occasionally loosen them.
- Quarterly: Re-grease the pivot pins and inspect the “shoe” of the bead breaker for wear.
- Annually: Strip and re-apply rust preventative to threaded sections.
Building your own workshop equipment is more than a way to save money. It is an exercise in engineering and a tribute to the craftsmanship of the past. By applying the rigorous standards of vintage machinery restoration to a simple manual tire tool, you create something that is not only functional but also a testament to your skills as a maker and restorer.
Frequently Asked Questions
What is the best way to remove heavy rust from salvaged steel without a sandblaster? I highly recommend an electrolysis bath. It is cost-effective and uses household items like washing soda and a battery charger. It removes rust from every crevice without harming the base metal, which is crucial for maintaining the structural integrity of your steel.
How do I know if a piece of scrap steel is strong enough for the main post? Look for square tubing with at least a 1/4-inch wall thickness. Avoid anything that feels light or has significant internal scaling. A solid piece of structural A36 steel is the benchmark for most heavy-duty shop fixtures.
Can I use a standard bolt as a pivot pin for the bead breaker? While a Grade 8 bolt can work, I prefer using a 1-inch cold-rolled steel round bar. Bolts are threaded, and those threads can act as “stress risers,” leading to failure under high torque. A smooth pin with a grease zerk is much more durable.
How do I prevent the vertical post from warping during welding? Heat management is key. Use a “stitch welding” technique where you lay down short beads on opposite sides of the post. This balances the thermal expansion and contraction, keeping your post plumb.
Why is hand scraping necessary for a floor-mounted tool? It isn’t strictly “necessary,” but it provides superior stability. A scraped base plate has more surface contact with the floor, which prevents the stand from rocking. It is the difference between a “good” tool and a “precision” tool.
What should I do if I find a crack in a salvaged metal part? If it’s structural steel, you can often “vee out” the crack with a grinder and weld it back together. However, if it’s a cast-iron component, you must use specialized nickel rods and pre-heat the metal to prevent further cracking.
How do I align the center post if my floor is not level? Use a machinist’s level to find the “high spot” of your floor. Use steel shims under the base plate of your stand until the top of the post is perfectly plumb in two directions (90 degrees apart).
What kind of paint is best for workshop machinery? A high-solids machinery enamel is best. It dries to a hard, durable shell that resists chips and chemical spills. Brands that cater to tractor or industrial equipment restoration are usually the most reliable.
Is it worth restoring an old manual tire tool instead of building one? If you find a vintage cast-iron stand from the 1950s, it is absolutely worth restoring. Those castings are often much heavier and more rigid than anything you can buy today. The restoration process is the same: strip, align, and lubricate.
How do I source replacement parts for obsolete manual equipment? Join online communities dedicated to vintage machinery. Many members have “parts machines” or can provide the original blueprints so you can fabricate a replacement part yourself on a lathe or mill.
What are the risks of using thin-walled tubing for this project? Thin-walled tubing can “kink” or collapse under the extreme leverage of a bead breaker. Always over-engineer your shop tools. If you think 1/8-inch is enough, go with 1/4-inch.
How can I identify the grade of a mystery bolt found in a scrap bin? Look at the head markings. A Grade 5 bolt has three radial lines, while a Grade 8 bolt has six. For high-stress areas like pivot points, always use Grade 8 or a high-strength alloy steel pin.
(This article was written by one of our staff writers, Richard Beaumont. Visit our Meet the Team page to learn more about the author and their expertise.)