How to Build a Sturdy Benchtop Jigsaw Table Mount (DIY Plan)
I have spent over a decade in fabrication shops, and if there is one thing I have learned, it is that a tool is only as good as its foundation. I remember early in my career, I tried to build a simple mounting plate for a shop tool using thin sheet metal and a few haphazard welds. By the time I finished, the plate looked more like a Pringle than a flat surface. Watching a carefully measured project warp under the heat of a welder is a frustration every builder knows. When you are constructing a heavy-duty inverted saw station, that flat surface is the difference between a square cut and a ruined piece of stock.
Custom fabrication projects often fail not because of poor intent, but because of a lack of structural planning. Metal has a memory, and it reacts to heat in ways that can ruin your day if you are not prepared. To build a truly stable mounting system for an inverted jigsaw, you need to understand how to manage material thickness, calculate kerf allowances, and sequence your welds to fight the natural pull of the metal. This guide breaks down the process of creating a rigid, benchtop-mounted fixture that remains flat and functional for years of shop use.
Designing for Rigidity: Selecting the Right Plate and Frame
Choosing the correct material is the first step in ensuring your mounting platform does not flex or vibrate during operation. For a stationary tool mount, mass is your friend because it absorbs vibration and provides a stable reference plane for your workpieces.
I typically recommend using 1/4-inch to 3/8-inch A36 steel plate for the main surface. While aluminum is lighter, steel offers the weight and stiffness required to keep the tool from “walking” across the bench. If you choose aluminum, you must increase the thickness to at least 1/2-inch to achieve similar rigidity. The plate should be sized between 12 and 18 inches square. Anything smaller lacks surface area for larger workpieces, while anything larger becomes difficult to keep perfectly flat without excessive internal bracing.
| Material Type | Thickness | Weight per Sq. Ft. | Rigidity Rating |
|---|---|---|---|
| A36 Steel | 1/4 inch | 10.21 lbs | High |
| A36 Steel | 3/8 inch | 15.32 lbs | Very High |
| 6061 Aluminum | 3/8 inch | 5.29 lbs | Medium |
| 6061 Aluminum | 1/2 inch | 7.06 lbs | High |
Building on this selection, you must also plan for the perimeter frame. A flat plate, no matter how thick, can still bow over time. I use 1-1/2 inch angle iron or 1-inch square tubing to create a substructure. This frame acts as a skeleton, providing the necessary resistance against the “oil-can” effect where the center of the plate might flex under the pressure of the saw blade.
Calculating Kerf and Layout for Precise Throat Slots
The throat plate is the most critical part of an inverted tool mount because it dictates how much support your material has near the blade. If the slot is too wide, thin materials will tear or chatter; if it is too narrow, the blade will rub and overheat.
In fabrication, “kerf” refers to the width of the material removed by the cutting process. When you are layout out your throat slot, you must account for the thickness of the jigsaw blade plus the “set” of the teeth. Most heavy-duty jigsaw blades have a kerf of approximately 0.040 to 0.060 inches. To ensure a clean fit, I aim for a slot width that provides a 1/16th inch total clearance. This allows the blade to move freely while still providing enough surface area to support the workpiece close to the cut line.
- Mark the center of your plate using a carbide scriber for maximum precision.
- Measure the footprint of your jigsaw’s base plate to determine where the mounting holes will sit.
- Calculate the blade stroke. You need to ensure the slot is long enough to accommodate the blade’s forward and backward motion if you are using a saw with orbital action.
- Use a drill press to create “stop holes” at each end of the slot layout to prevent stress fractures and provide a clean radius for the blade path.
Interestingly, many builders forget that the slot needs to be perfectly perpendicular to the front edge of the table. If your slot is skewed even by a few degrees, your miter gauge or fence will never produce a square cut. Always reference your layout from a single machined edge of the plate to maintain consistency.
Managing Thermal Distortion During Rib Fabrication
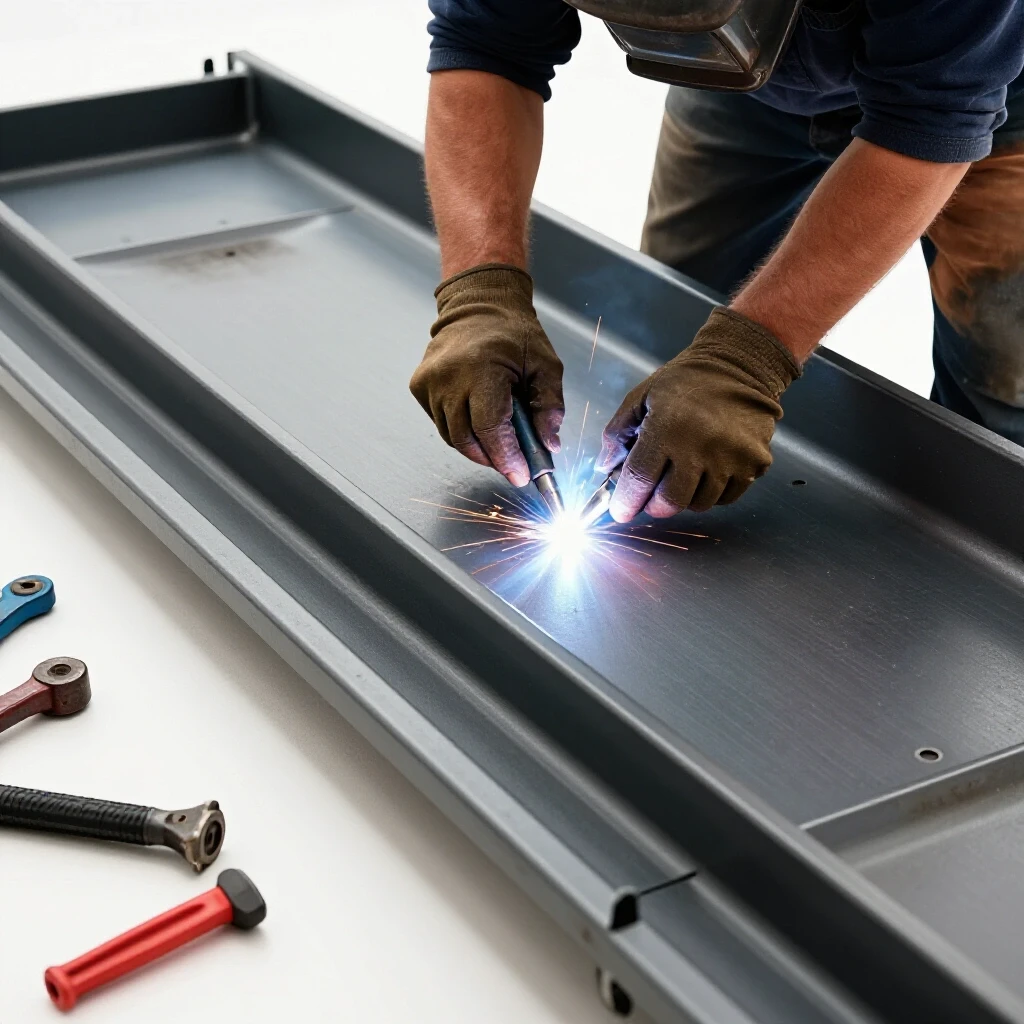
The biggest challenge in custom fabrication projects is heat management. When you weld a stiffening rib to the bottom of a flat plate, the weld bead shrinks as it cools, pulling the edges of the plate toward the weld.
To combat this, I rely on a technique called “back-stepping” and the use of strategic tack welds. Instead of running a continuous bead along the entire length of the angle iron frame, I place 1/2-inch tacks every 3 to 4 inches. This distributes the heat and allows the metal to stabilize before the final passes are made. If you weld the entire perimeter in one go, the plate will almost certainly bow upward, creating a high spot in the center of your table.
| Welding Factor | Impact on Flatness | Mitigation Strategy |
|---|---|---|
| Weld Volume | More metal = more pull | Use the smallest effective fillet weld. |
| Heat Input | High heat increases warping | Use lower amperage and faster travel speeds. |
| Sequence | One-sided welding causes bowing | Weld in a “staggered” pattern on opposite sides. |
| Clamping | Prevents movement during cooling | Keep the plate clamped to a thick fixture table. |
As a result of these thermal forces, I always clamp my work surface to a heavy welding table or a piece of thick I-beam before I strike an arc. I leave the clamps in place until the metal is cool enough to touch with a bare hand. This forces the metal to cool in a flat orientation, resisting the natural urge to curl.
Building Workshop Jigs for Accurate Square Mounting
A sturdy mounting system requires the jigsaw to be perfectly centered and square to the table surface. I find that building a simple wooden or metal jig to hold the saw in place during the layout phase prevents the “drift” that happens when you try to eyeball the alignment.
To create an accurate mounting pattern, I use a transfer punch set. After drilling the throat slot, I place the jigsaw (with the blade removed) upside down on the bottom of the plate. I align the blade guide with the center of the slot and then use the transfer punches to mark the exact centers of the saw’s base plate mounting holes. This ensures that the bolts will line up perfectly with the factory holes in the tool.
- Step 1: Clean the steel plate with a degreaser to ensure your layout marks stay visible.
- Step 2: Apply layout fluid (Dykem) to the area where the saw will mount.
- Step 3: Use a square to verify that the saw body is parallel to the table edges.
- Step 4: Center-punch the marks before drilling to prevent the drill bit from walking.
For those working in a garage or driveway, using a drill guide or a small benchtop drill press is essential. A hand drill often results in angled holes, which will make it impossible to mount the saw flush against the plate. Even a 2-degree tilt in the mounting bolt can cause the blade to sit at an angle, ruining your chances of making a vertical cut.
Structural Tacking and Final Assembly Sequences
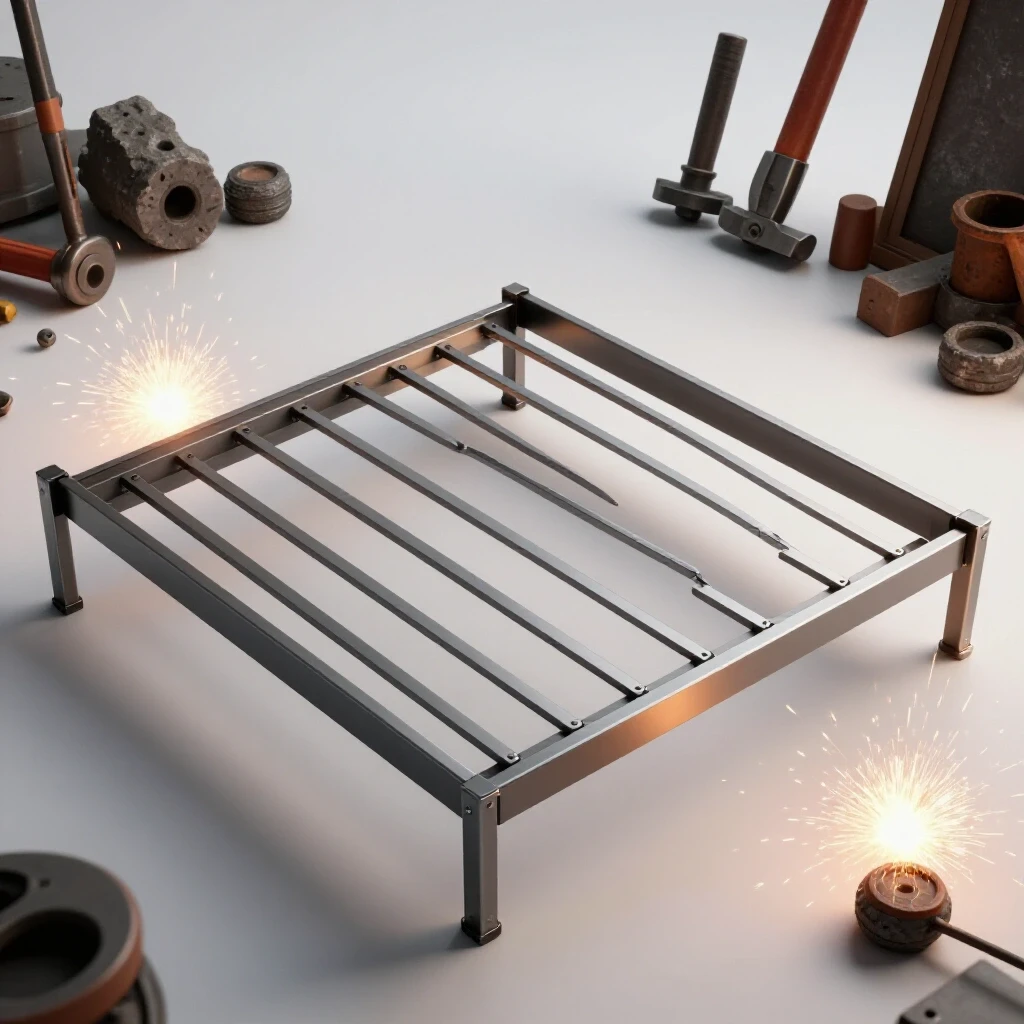
Once your plate is prepped and your frame is cut to size, the assembly phase begins. This is where most builders rush and end up with a twisted fixture. I follow a strict “rule of thirds” when tacking my frames: I place a tack at the ends, then one in the middle, and then fill in the gaps.
For a 12×18 inch platform, I recommend the following tacking sequence: 1. Tack the four corners of the perimeter frame to the underside of the plate. 2. Check the plate for flatness using a machinist’s straightedge. 3. Add tacks at the midpoint of each side. 4. Flip the assembly and check for squareness across the diagonals. The measurements should be within 1/16th inch of each other.
Building on this, the final welding should be done in short increments. I prefer to weld 1 inch at a time, moving from one corner to the diagonally opposite corner. This “cross-pattern” is the same principle used when tightening lug nuts on a car wheel. It balances the stresses across the entire structure. If you notice the plate starting to pull, stop immediately and let it cool. You can often “counter-bend” a slightly warped plate by placing a small weld on the opposite side to pull it back, but it is much easier to prevent the warp in the first place.
Finishing and Mounting to the Workbench
After the welding is complete and the assembly has cooled, it is time to address the surface. Even with careful heat management, there may be some minor irregularities. I use a large, flat sanding block or a flap disc on an angle grinder to smooth out the top surface, focusing on the area around the throat slot.
To secure the fixture to your workbench, you need robust bolt-down tabs. I use 1/4-inch thick tabs welded to the corners of the frame. These tabs should have 3/8-inch holes to allow for heavy lag bolts. Interestingly, I have found that adding a thin layer of rubber or a gasket between the metal frame and the wooden workbench helps dampen vibrations, making the tool much quieter and smoother to operate.
- Deburr all edges: Use a file or a deburring tool to remove sharp metal slivers from the throat slot and the perimeter.
- Paint or Seal: Steel will rust quickly in a humid garage. I use a self-etching primer followed by a durable enamel paint, leaving the top surface bare but protected with a coat of paste wax.
- Check for Blade Clearance: Re-install the jigsaw and cycle the blade by hand to ensure it does not hit the sides of the slot at any point in its stroke.
Correcting Heat Distortion: The Last Resort
If you find that your plate has bowed despite your best efforts, do not panic. Professional fabricators use “flame straightening” or “mechanical quenching” to fix these issues. For a DIY builder, the simplest method is to use a heavy shop press or a large C-clamp and a couple of blocks of wood to gently “over-bend” the plate in the opposite direction of the warp.
Another trick I use is “bead-pulling.” If the plate is bowed upward in the center, I will run a very short, hot weld bead on the underside of the plate directly beneath the high spot. As that bead cools, it will shrink and pull the center of the plate downward. It takes practice to know exactly how much heat to apply, so always start with small, 1/2-inch beads and check your progress frequently with a straightedge.
Common Pitfalls for Garage Builders
In my 13 years of fabrication, I have seen the same mistakes repeated time and again. One of the most common is using material that is too thin. A 1/8-inch plate might seem easier to cut, but it will vibrate like a tuning fork the moment you turn on the jigsaw. This vibration leads to “blade wander,” where the blade bends and cuts at an angle through thick wood.
Another mistake is ignoring the “mill scale” on hot-rolled steel. This dark grey coating is an insulator and can lead to poor weld penetration and a messy surface finish. I always use a grinding disc to clean the steel down to bright metal anywhere I plan to weld. This ensures a strong, structural bond that won’t crack under the stress of tool vibration.
- Mistake: Welding the frame entirely on the outside.
- Correction: Use “stitch welds” on the inside of the frame to hide the beads and reduce the amount of heat on the visible top surface.
- Mistake: Forgetting dust extraction.
- Correction: When designing your subframe, leave enough space to attach a vacuum hose near the throat slot.
FAQ: Mastering Your Metal Fixture Build
How do I ensure the jigsaw blade is 90 degrees to the table? Use a small machinist’s square placed on the finished table surface against the side of the blade. If it is not square, you can use thin metal shims (like pieces of a soda can) between the jigsaw base and the mounting plate to tilt the tool until it is perfectly vertical.
Can I use a wooden frame instead of metal? While you can, a wooden frame will not provide the same rigidity or heat resistance. Metal-to-metal contact between the saw and the mount is superior for dissipating the heat generated by the saw motor during long cuts.
What is the best way to cut the throat slot in thick steel? I recommend using a drill press to start the hole and then a jigsaw with a high-quality cobalt metal-cutting blade. Take it slow and use cutting fluid. Alternatively, a steady hand with a 1/16-inch cutoff wheel on an angle grinder works well for the straight sections.
How thick should the stiffening ribs be? I find that 1/8-inch or 3/16-inch wall thickness for your angle iron or square tubing is plenty. The goal is to provide vertical stiffness, not to add unnecessary weight.
Why did my plate warp even though I used clamps? You likely removed the clamps too early. Metal continues to shrink until it reaches room temperature. If you unclamp while the metal is still “warm” (above 150°F), the remaining shrinkage will pull the plate out of alignment.
Do I need to weld all the way around the frame? No. In fact, doing so is counterproductive. Stitch welds (1 inch of weld followed by 3 inches of space) provide more than enough structural integrity for a tool mount while significantly reducing heat distortion.
What should I do if the jigsaw base isn’t flat? Many consumer-grade jigsaws have stamped steel bases that are not perfectly flat. In this case, you should mount the saw using only the four corner points and use shims to ensure the saw body is stable and the blade is square to the table.
Can I use aluminum plate with a steel frame? Yes, but you must use mechanical fasteners (bolts or rivets) to join them, as you cannot weld aluminum to steel. Be aware of galvanic corrosion; a coating of primer between the two metals will prevent this.
How do I maintain the surface of the steel table? Keep it clean and dry. I use a product called “Boeshield T-9” or simple paste wax. This prevents rust and allows your workpieces to slide smoothly across the surface during a cut.
What size bolts should I use to mount the saw? Most jigsaws use M4 or M5 screws for their base plates. Replace the factory screws with longer, high-strength (Grade 8.8 or 10.9) socket head cap screws to reach through your new mounting plate.
How do I handle the vibration of the saw? The mass of the 1/4-inch plate does most of the work. If vibration is still an issue, you can add “dampening pads” (small pieces of butyl rubber) between the saw base and the plate, but ensure this doesn’t compromise the squareness of the blade.
Is a 12×18 inch table big enough for furniture projects? For most small to medium projects, yes. If you find you need more support, it is better to build “outfeed rollers” or side extensions rather than making the primary mounting plate much larger, which increases the risk of warping during fabrication.
(This article was written by one of our staff writers, Robert Kline. Visit our Meet the Team page to learn more about the author and their expertise.)