How to Build Slag Proof Metal Workbench Drawers (DIY Plan)
I have spent the better part of two decades standing over rusted cast iron, breathing in the scent of aged gear oil and penetrating fluid. There is a specific kind of quiet satisfaction in taking a machine that has been left to rot in a damp barn and bringing it back to a state where it can hold a tolerance of half a thousandth of an inch. My journey began with a 1930s South Bend lathe that was so seized I thought the carriage was part of the bed casting. Through that project, I learned that restoration is not just about making things look new; it is about respecting the original engineering while adapting our workspace to keep these machines safe.
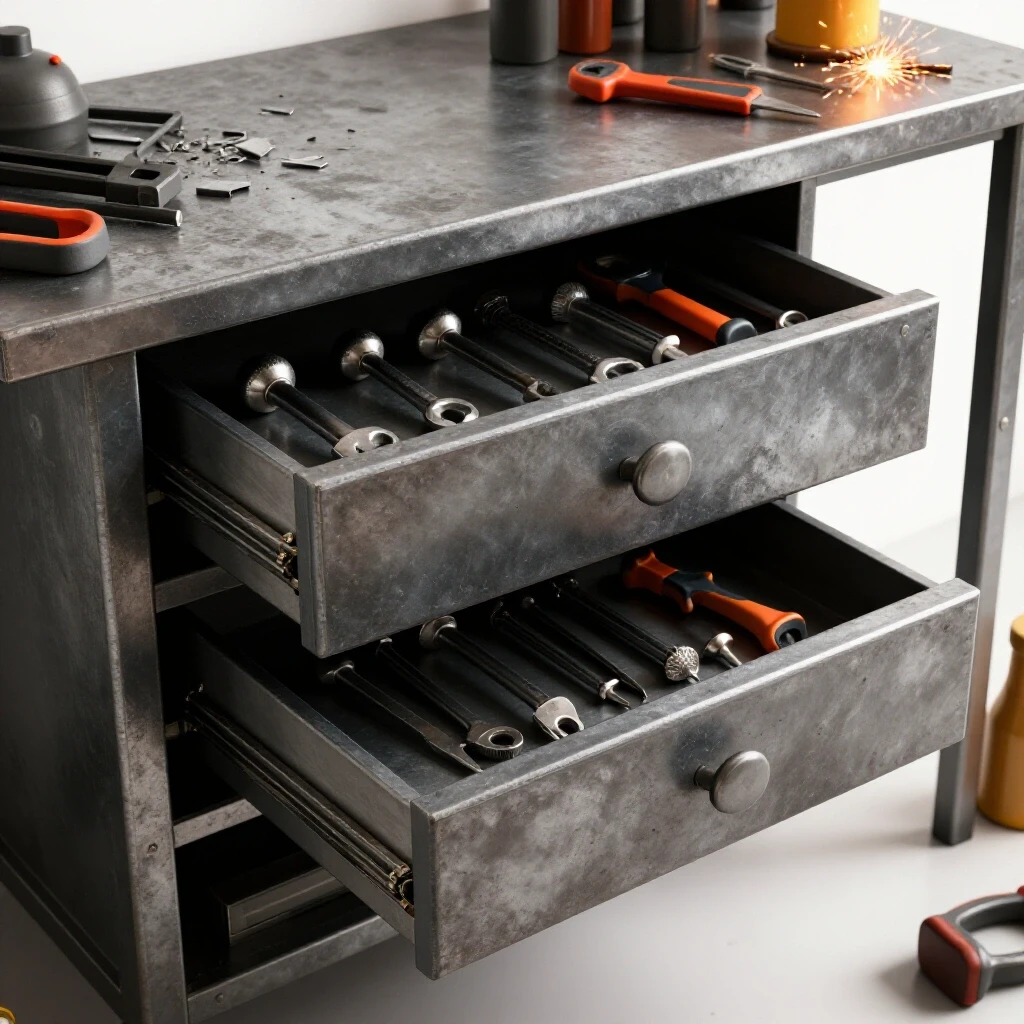
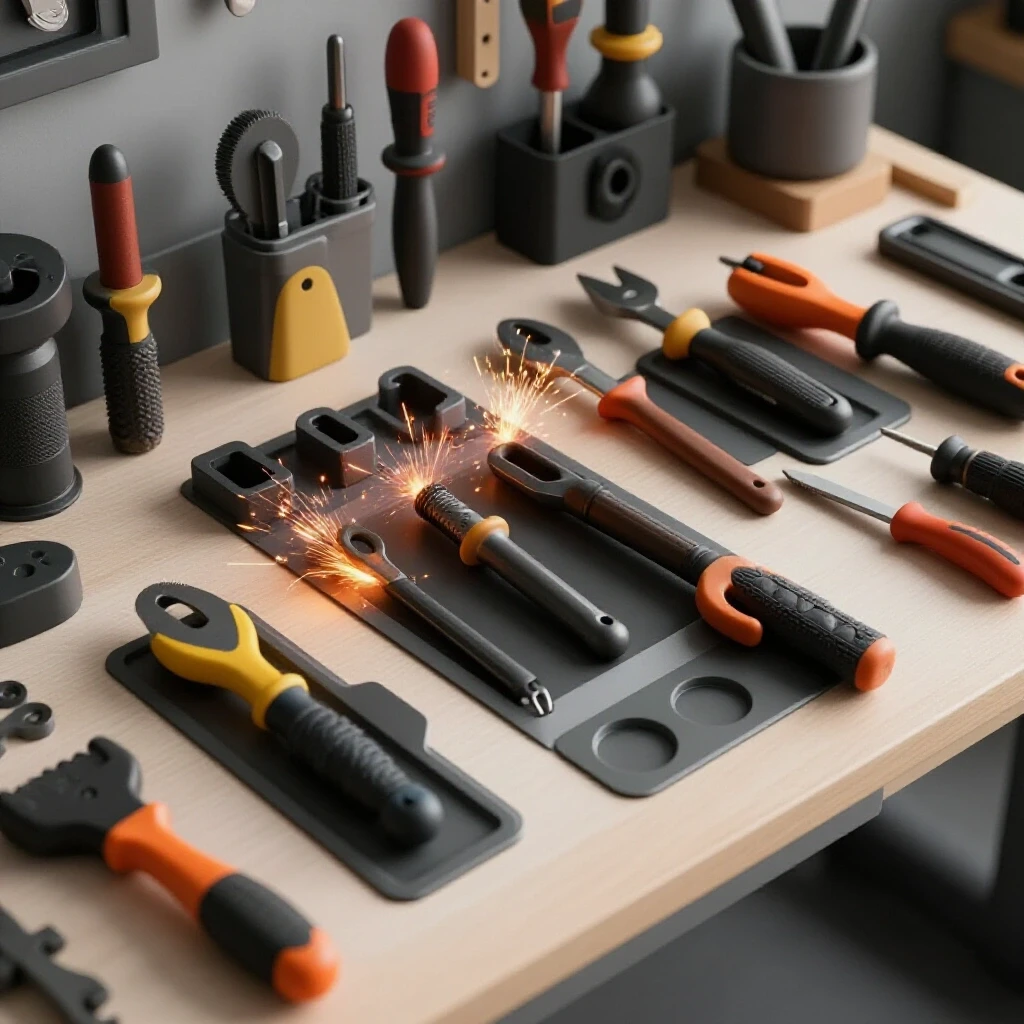
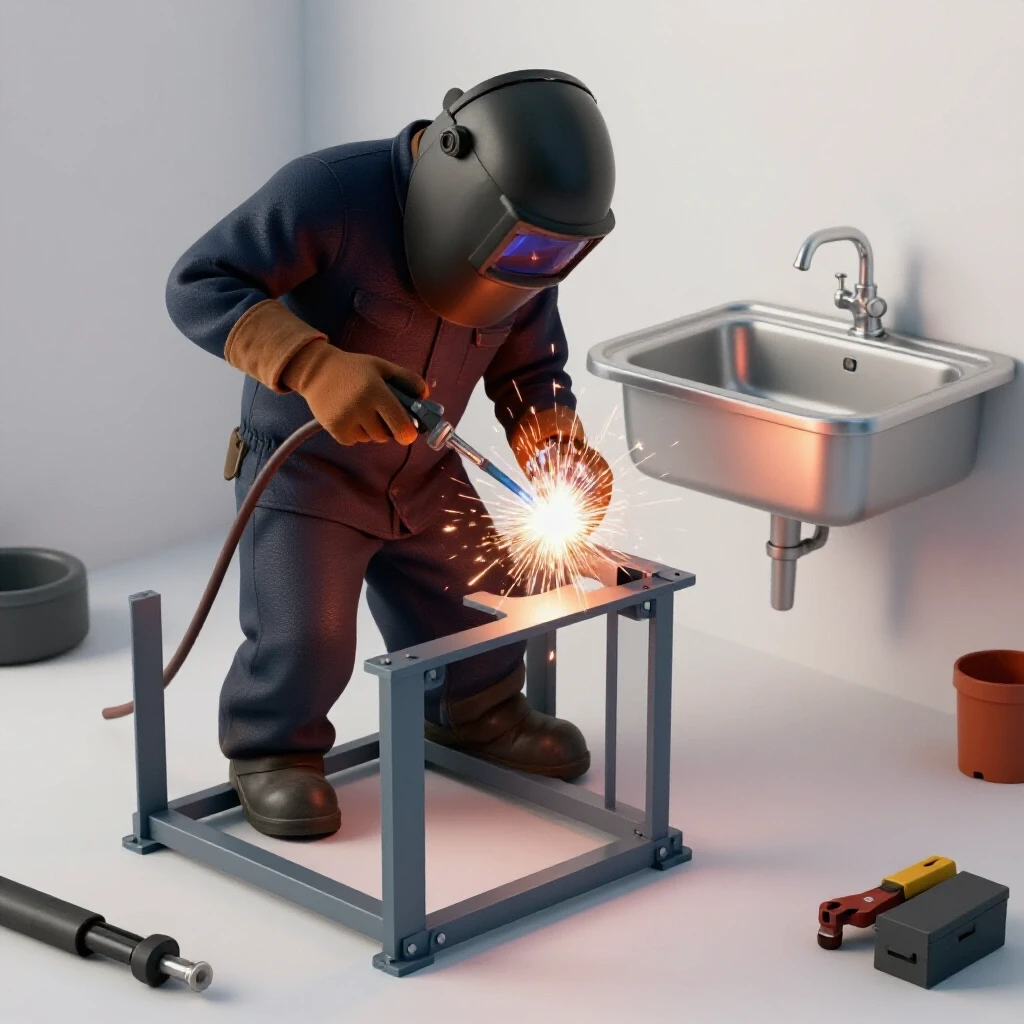
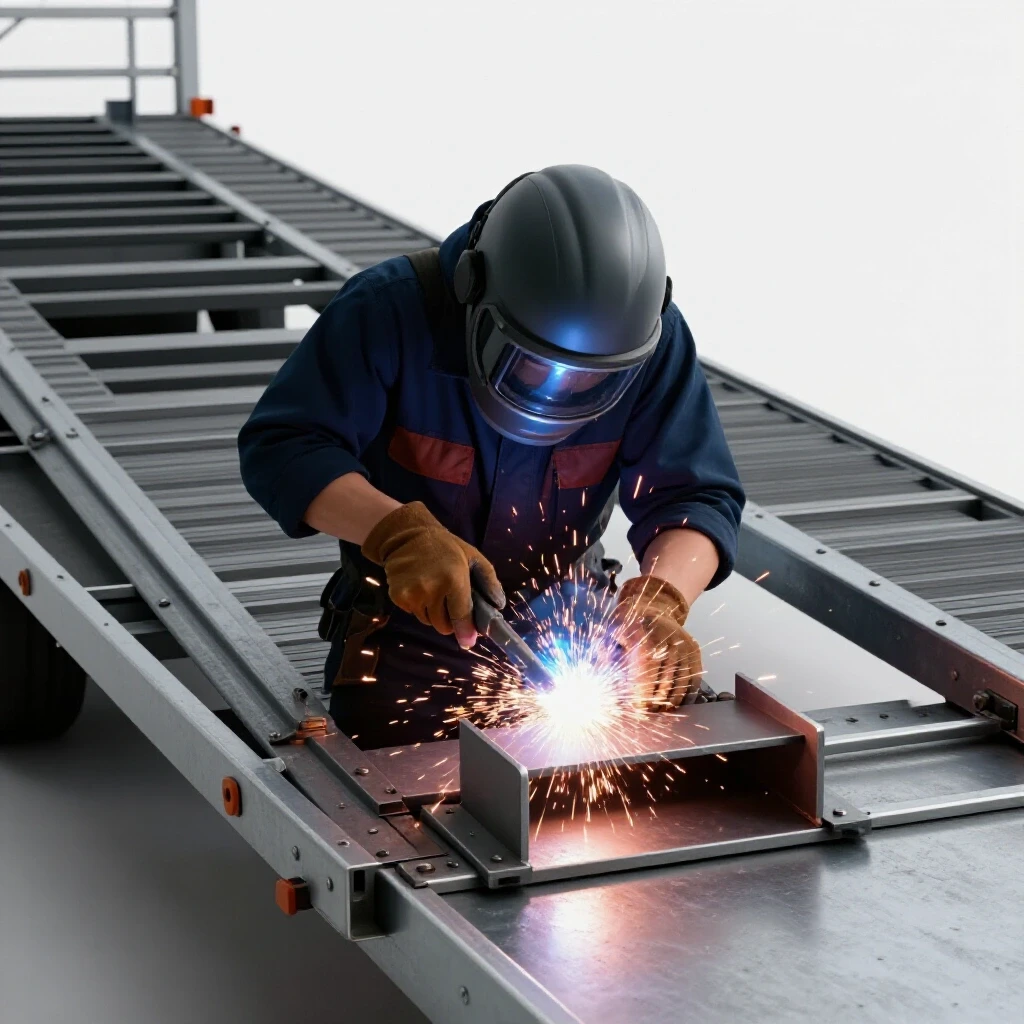
One of the biggest challenges I faced early on was protecting my precision measurement tools and newly machined parts from the harsh environment of a working metal shop. When you are grinding ways or welding a repair on a cracked casting, the air is filled with abrasive grit and hot slag. I realized quickly that standard toolboxes were not enough. I needed to build heavy-duty, steel-walled storage units designed specifically to shed debris and block particulate ingress. These enclosures ensure that a freshly scraped surface or a vintage micrometer stays pristine, even when the welder is sparking just a few feet away.
Evaluating the Structural Integrity of Vintage Machine Castings
Before you begin any restoration, you must determine if the base metal is worth the hundreds of hours you will invest. Cast iron is durable but brittle, and decades of neglect can hide hairline fractures under layers of grease and scale.
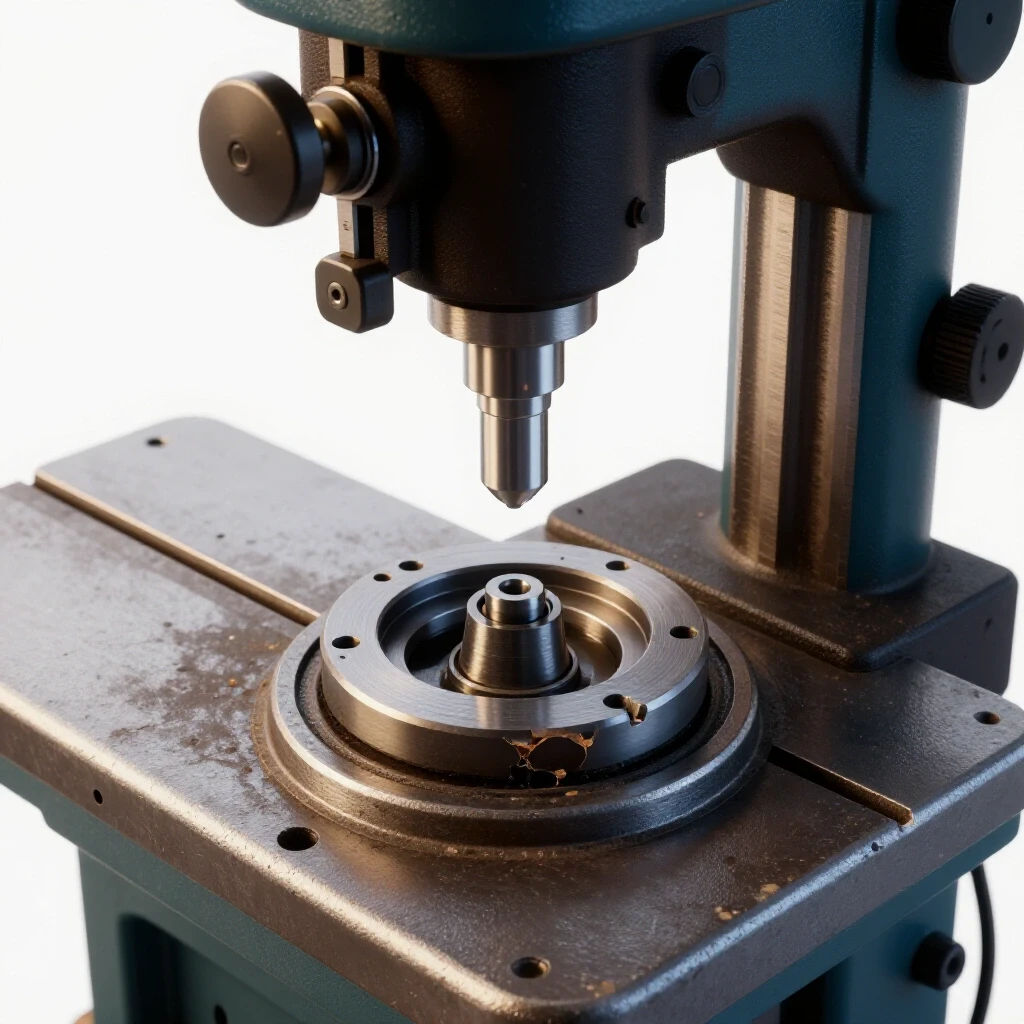
I start by cleaning a small section of the main casting to see the “skin” of the metal. If the rust is “flaking,” it usually means the corrosion is deep. If it is just a fine “patina,” the metal is likely sound. I use a small ball-peen hammer to gently tap the casting in various spots. A healthy casting will ring like a bell, while a cracked one will give a dull, thudding sound. This simple acoustic test has saved me from wasting months on a drill press base that was structurally compromised.
- Clean the surface with a wire brush to reveal the true metal.
- Check for “cold shuts” or casting flaws from the original factory.
- Look for “stitch” repairs from previous owners that might indicate old failures.
- Measure the thickness of the metal to ensure it can still support the machine’s weight.
Mapping the Disassembly Sequence for Complex Assemblies
Taking a machine apart is easy, but doing it in a way that allows for successful reassembly is a technical skill. I have learned the hard way that a pile of unlabeled bolts is a recipe for disaster, especially when dealing with obsolete thread patterns.
I document every single step with a high-resolution camera and a dedicated notebook. I use a “sub-assembly” approach, where I remove one entire component, like a headstock or a gearbox, and finish its restoration before moving to the next. This keeps the workspace manageable and prevents parts from getting lost. I also use “witness marks”—small, discreet punches made with a center punch—to show exactly how two parts aligned before they were separated.
- Photograph the machine from 360 degrees before touching a wrench.
- Label every wire and terminal if the machine has an electric motor.
- Use cardboard “bolt maps” where you poke bolts through a sheet of cardboard in the same pattern they were on the machine.
- Note the orientation of every shim and spacer, as these are critical for final alignment.
Why Seized Cast Iron Screws Crack Under Force and How to Release Them
The most frustrating part of any rescue is a frozen fastener. When steel bolts sit in cast iron for 50 years, they often undergo galvanic corrosion, essentially welding themselves together at a molecular level.
If you apply too much leverage with a breaker bar, you will almost certainly snap the bolt or, worse, crack the casting. I use a “thermal release plan” that involves heat and chemistry. I apply a 50/50 mix of automatic transmission fluid and acetone to the threads and let it sit for 24 hours. Then, I use an oxy-acetylene torch to heat the casting around the bolt, not the bolt itself. As the casting expands, it breaks the bond of the rust, allowing the bolt to be turned out with minimal force.
- Patience: If a bolt doesn’t move, wait another day and apply more fluid.
- Vibration: Gently tapping the head of the bolt with a hammer can help the fluid penetrate.
- Induction Heat: For delicate areas, an induction heater is safer than an open flame.
- Left-hand Drills: If the head snaps, use these to extract the remains without damaging the internal threads.
Fabricating Debris-Resistant Steel Enclosures for Shop Protection
To protect your restored precision tools, you must build storage that can withstand the “slag” and “grind” of a metalworking environment. These steel drawer units are built using welded construction and specific geometric features to shed waste.
I use 14-gauge cold-rolled steel for the drawer boxes to provide the necessary weight and rigidity. The key feature is the “shedding lip”—a 45-degree downward bend on the top edge of the drawer front. This lip overlaps the frame of the workbench, acting as a physical shield that prevents hot sparks or grinding dust from falling into the drawer. I also integrate perimeter seals made of high-temperature silicone to block fine particulates from entering through the gaps.
| Feature | Material/Specification | Purpose |
|---|---|---|
| Drawer Walls | 14-Gauge Steel | Provides structural mass and fire resistance. |
| Joint Type | Full-Seam Weld | Prevents fine dust from leaking through corners. |
| Protective Lip | 45-Degree Overhang | Deflects slag and liquids away from the opening. |
| Slide Rating | 200 lb. Ball Bearing | Ensures smooth movement under heavy tool loads. |
| Sealing Method | Silicone Gasket | Blocks airborne particulates and humidity. |
Removing Machinery Rust Without Damaging Base Metal
Aggressive grinding or sandblasting can destroy the factory “planed” surfaces of a machine. For precision parts, I prefer chemical or electrochemical methods that only target the iron oxide.
Electrolysis is my preferred method for large castings. By placing the part in a bath of water and washing soda and applying a low-voltage DC current, the rust is literally pulled off the part and deposited onto a sacrificial anode. This process is “self-limiting,” meaning it stops once the rust is gone and will not eat away the healthy metal. For smaller, more delicate parts, I use water-based chelating agents that soak the rust away over 12 to 24 hours.
- Electrolysis Setup: Use a 12V manual battery charger and a plastic tub.
- Anode Choice: Use scrap steel, never stainless steel, as it can produce toxic hexavalent chromium.
- Rinsing: After the bath, rinse with hot water and dry immediately to prevent “flash rust.”
- Protection: Apply a thin coat of paste wax or machine oil immediately after drying.
Servicing Legacy Babbitt and Sleeve Bearings
Many pre-war machines do not use modern ball bearings; they use “Babbitt” bearings, which are a soft white metal alloy poured directly into the casting.
If a Babbitt bearing is worn, it will cause “chatter” in your finish. I evaluate these by checking the “clearance” with a dial indicator. A typical clearance for a lathe spindle is between 0.001 and 0.002 inches. If the gap is too large, I may need to “scrape” the bearing or, in extreme cases, melt out the old metal and pour a new one. Pouring Babbitt requires heating the casting and the alloy to specific temperatures (around 700 degrees Fahrenheit) to ensure a solid bond without voids.
- Measure the existing play in the spindle using a 0.0001-inch dial indicator.
- Check the oil grooves to ensure they are clear and capable of delivering lubricant.
- Use “Plastigage” to check the actual bearing gap during a dry fit.
- Scrape the high spots using a hand scraper until you achieve 15-20 points per inch (PPI) of contact.
Hand Scraping Flat Surfaces to Factory Tolerances
Hand scraping is the “black art” of machinery restoration. It is the process of using a hand tool to remove microscopic amounts of metal to make a surface perfectly flat or to create oil pockets.
When I restored a 1940s milling machine, the table was bowed by 0.005 inches. I used a precision straightedge and “Prussian Blue” dye to find the high spots. By carefully scraping away only the blue marks, I slowly brought the surface back to a flat plane. This process is slow and physically demanding, but it is the only way to achieve the precision required for high-end metalworking.
- Blueing: Apply a very thin layer of dye to your reference surface.
- Rubbing: Place the part on the reference and move it slightly to transfer the dye.
- Scraping: Use a carbide-tipped scraper at a low angle to “flick” off the high spots.
- Pattern: Work in a “cross-hatch” pattern to ensure even metal removal.
Sourcing and Cutting Obsolete Thread Patterns
One of the biggest hurdles in restoring 19th and early 20th-century tools is the lack of standardized fasteners. You might find a bolt that looks like a 1/2-inch but has 12 threads per inch (TPI) instead of the modern 13 TPI.
I keep a library of vintage thread charts, such as the Whitworth or the older Sellers standards. If a bolt is missing, I often have to “single-point” cut a new one on a lathe. This involves setting the lathe’s gearbox to the specific TPI and using a custom-ground tool bit to match the thread profile. It is a slow process, but it preserves the historical integrity of the machine and ensures a perfect fit.
- Use a thread pitch gauge to identify the TPI of the existing hole.
- Measure the major diameter with a micrometer to determine the bolt size.
- Check the “thread angle” (60 degrees for modern, 55 degrees for Whitworth).
- If the thread is too obscure, consider making a “tapered tap” to clean up the existing threads.
Aligning Machine Tolerances for Precision Operation
Once the machine is clean and the parts are repaired, the final step is alignment. A lathe that isn’t level will turn a “taper,” meaning the cylinder it cuts will be wider at one end than the other.
I use a “Master Precision Level” with a sensitivity of 0.0005 inches per foot. I place the level across the ways and at various points along the bed, adjusting the leveling feet until the bubble is centered in every position. This “detwists” the bed of the machine. After leveling, I perform a “two-collar test,” where I turn two diameters on a steel bar without using a tailstock to verify that the spindle is perfectly parallel to the ways.
- Leveling: Always use a precision ground level, not a carpenter’s level.
- Stability: Ensure the floor can support the weight without shifting over time.
- Testing: Use a “test bar” of known straightness to check spindle alignment.
- Adjustment: Use thin brass shims for micro-adjustments between the headstock and the bed.
Actionable Framework for Machine Rescue Projects
To stay organized during a long-term project, I use a tracking sheet that monitors every component from disassembly to final testing. This prevents the “restoration fatigue” that often causes projects to be abandoned.
- Phase 1: Stabilization. Remove loose rust, drain old fluids, and lubricate all moving parts to prevent further decay.
- Phase 2: Component Teardown. Break the machine into its primary groups (e.g., Apron, Tailstock, Quick-change gearbox).
- Phase 3: Cleaning & Stripping. Use the electrolysis bath or chelators to reach bare metal.
- Phase 4: Inspection & Repair. Measure all wear surfaces and fabricate replacement parts as needed.
- Phase 5: Painting & Protection. Use oil-resistant machinery enamel to protect the castings.
- Phase 6: Reassembly & Alignment. Rebuild the sub-assemblies and perform the final precision leveling.
Conclusion: The Path to a Functional Restoration
Restoring a piece of mechanical history is a marathon, not a sprint. It requires a blend of chemical knowledge, mechanical engineering, and a great deal of patience. By building a workspace that includes grit-shielded storage and debris-resistant enclosures, you protect both your investment and your precision tools. Whether you are pouring a new Babbitt bearing or scraping a lathe bed back to a mirror finish, the goal is always the same: to honor the craftsmanship of the past by making it functional for the future.
FAQ: Common Challenges in Machinery Restoration
How do I know if a machine is too far gone to save? If the main casting has a structural crack through a bearing web or if the ways have more than 0.020 inches of wear, the cost and time of the repair may exceed the machine’s value. However, for rare or high-quality machines, almost anything can be fixed if you have the patience to scrape the surfaces back to flat.
What is the best way to prevent flash rust after cleaning? Immediately after removing a part from a chemical bath or electrolysis, dry it with compressed air or a heat gun. Once dry, wipe it down with a “long-term” rust preventative or a simple mix of 50% mineral spirits and 50% machine oil.
Can I use modern grease in old sleeve bearings? Usually, no. Most vintage sleeve bearings were designed for “total loss” oiling systems. Grease can trap metal particles and act as an abrasive paste. Always refer to the original manual, but a high-quality non-detergent ISO 46 or ISO 68 machine oil is a safe bet for most old spindles.
How do I find manuals for machines that haven’t been made in 80 years? Online communities and digital archives are your best resource. Websites like VintageMachinery.org or the “Manuals” section of various machinist forums often have scanned copies of original catalogs and service parts lists.
What is the safest way to move a 2,000-pound cast iron machine? Never use the handles or handwheels as lifting points. Use heavy-duty polyester slings rated for the weight and an engine hoist or a gantry crane. Keep the load as low to the ground as possible and use “machinery skates” or solid steel rollers to move it across the floor.
Why is my electrolysis bath turning black? That is normal. The “black” is a mixture of carbon from the steel and “magnetite,” a stable form of iron oxide. It means the process is working. Just make sure to clean your sacrificial anodes regularly to maintain a good electrical connection.
How often should I check the alignment of my restored machine? I check the level of my primary machines every six months. Concrete floors can shift with the seasons, and even a tiny movement can introduce a “twist” into a long lathe bed, ruining your precision.
Is it necessary to use original paint colors? While not strictly necessary for function, using the original “machinery gray” or “forest green” found in hidden areas of the casting adds to the historical value. Most restorers prefer a high-solids, oil-resistant enamel that can withstand coolant and chips.
What do I do if I find a “pitted” surface on a precision way? If the pitting is deep, you may need to have the ways ground by a professional shop. However, if the pits are small, they can actually act as oil reservoirs. As long as the surrounding “high” metal is scraped flat, the machine will still operate accurately.
How do I make a silicone seal slag-proof? Ensure the silicone gasket is “recessed” behind a steel lip. The steel takes the hit from the hot spark or slag, while the silicone provides the airtight seal against fine dust. Never leave the gasket material exposed to a direct line of fire from a welder or grinder.
(This article was written by one of our staff writers, Richard Beaumont. Visit our Meet the Team page to learn more about the author and their expertise.)