How to Choose Safe PPE for Welding and Fabrication (Review)
Setting up a metalworking shop in a garage or small shed is a milestone for any maker. I remember standing in my own empty 12-by-20-foot space back in 2013, clutching a spreadsheet and a very thin wallet. I had exactly $2,000 to turn that concrete box into a functional fabrication area. The anxiety was real because every dollar spent on the wrong tool was a dollar I couldn’t spend on safety or materials. Over the last 15 years, I have learned that the most expensive mistakes aren’t the tools that break, but the ones that don’t fit your workflow or compromise your physical well-being.
Building a workshop is a marathon of small, calculated decisions. You have to balance the power draw of an inverter welder against the lighting in your garage, all while ensuring you don’t melt your shoes or damage your eyesight. My approach is rooted in my time as an industrial maintenance technician, where we tracked every penny and followed strict standards. In this guide, we will walk through how to build your space from the ground up, focusing on the gear that keeps you safe and the layout that keeps you productive.
Establishing a Functional Metalworking Footprint
A functional workshop layout requires more than just placing tools against a wall. It involves calculating the physical space needed for material handling, the swing radius of a chop saw, and the “clean zone” required for layout work. Proper planning prevents the need to move heavy machinery later.
When I started, I didn’t account for the length of a standard 20-foot stick of steel. I quickly realized that if my saw was in the corner, I couldn’t cut anything longer than four feet. You need to map out your “work triangles”—the path between your workbench, your cutting station, and your welding area. Ideally, these should be close enough to save steps but far enough apart that sparks from a grinder don’t land on your welding gas cylinders or flammable chemicals.
Assessing Electrical Capacity for Welding Loads
Electrical capacity refers to the maximum amount of current your shop’s wiring can safely handle, measured in Amps. For metalworking, you must understand the difference between 15A and 20A circuits and how duty cycles affect your home’s breaker panel.
Most residential garages are wired with 15-amp circuits, which are fine for a drill or a small grinder. However, even a budget-friendly welder will often trip a 15-amp breaker if you are running it at higher settings. I recommend a dedicated 20-amp circuit for your main fabrication tools. If you are planning to run a 220V machine, you will need a professional to install a dedicated NEMA 6-50 or 14-50 outlet.
| Tool Class | Typical Amp Draw (110V) | Recommended Circuit |
|---|---|---|
| Angle Grinder (4.5″) | 5A – 7A | 15A Shared |
| Bench Grinder | 3A – 5A | 15A Shared |
| Entry-Level Welder | 15A – 20A | 20A Dedicated |
| Chop Saw | 12A – 15A | 20A Dedicated |
| Shop Vacuum | 8A – 11A | 15A Shared |
Defining Clean Zones and Spark Boundaries
A clean zone is a designated area in the shop where no grinding, welding, or cutting occurs. This area is reserved for precision measuring, marking, and final assembly, ensuring that metal dust and grit do not interfere with accurate layouts.
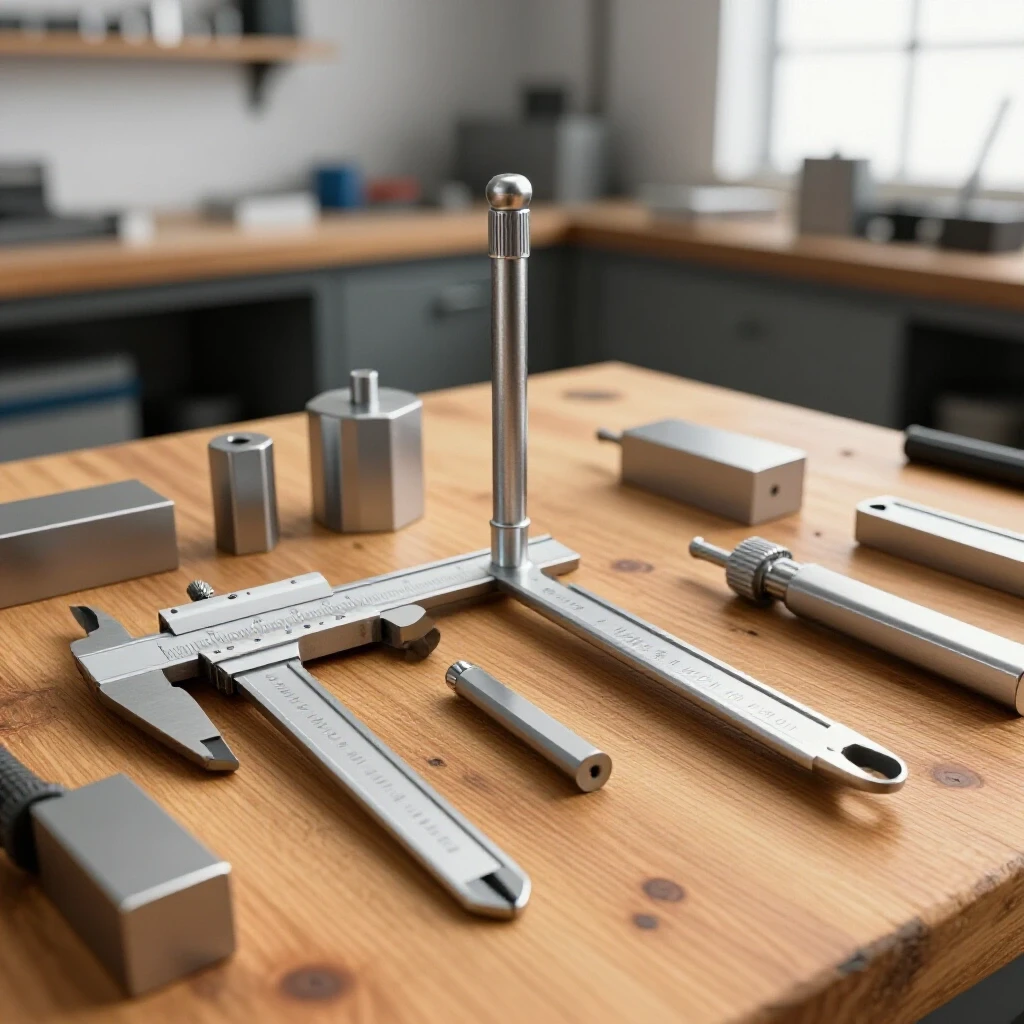
In a small garage, a spark boundary is usually a five-foot radius around your welding table. I use fire-resistant welding blankets to “curtain off” areas where I store wood or chemicals. Metal dust, or “swarf,” is conductive. If it gets into your computer, stereo, or even the cooling fans of your welder, it can cause a short circuit. Keeping your precision tools like calipers and squares in a closed drawer is a habit that will save you hundreds of dollars in replacements.
Prioritizing Essential Fabrication Equipment
Prioritizing equipment means spending your limited budget on tools that offer the most versatility and safety first. It involves distinguishing between “must-have” items for basic structural work and “nice-to-have” items that can be added as your skills and budget grow.
I suggest a “30/70 rule” for beginners. Allocate 30% of your total startup budget to high-quality safety gear and precision measuring tools. The remaining 70% goes toward your machines. It is tempting to buy the most expensive welder and then wear a cheap, flimsy mask, but that is a recipe for frustration. A good weld starts with a clear view of the puddle and a steady hand, both of which require proper protection.
Sequencing Your Tool Acquisitions
Tool sequencing is the logical order in which you buy equipment to ensure you can complete a project from start to finish. For most, this begins with cutting and prep tools before moving to the actual joining equipment.
- Phase 1: Prep and Safety. This includes your helmet, gloves, an angle grinder, and a solid workbench. You can’t weld what you can’t cut and clean.
- Phase 2: Joining. This is where you invest in your primary welding machine and the necessary shielding gas or flux-core wire.
- Phase 3: Finishing. This includes bench grinders, wire wheels, and perhaps a small drill press for making clean holes.
Why Quality Abrasives Outperform Budget Options
Abrasives are the consumable wheels used for cutting and grinding metal. Quality abrasives are rated for specific speeds (RPM) and consist of bonded materials that resist shattering, providing a safer and more efficient cutting experience.
I once bought a bulk pack of the cheapest cutting discs I could find online. They wore down so fast that I spent more time changing discs than actually working. Worse, cheap discs are prone to “exploding” if they bind in the metal. Look for discs that have a clear RPM rating that matches your grinder. If your grinder spins at 11,000 RPM, your disc must be rated for at least that much. This is a non-negotiable safety standard.
Selecting Protective Gear for Thermal and Optical Hazards
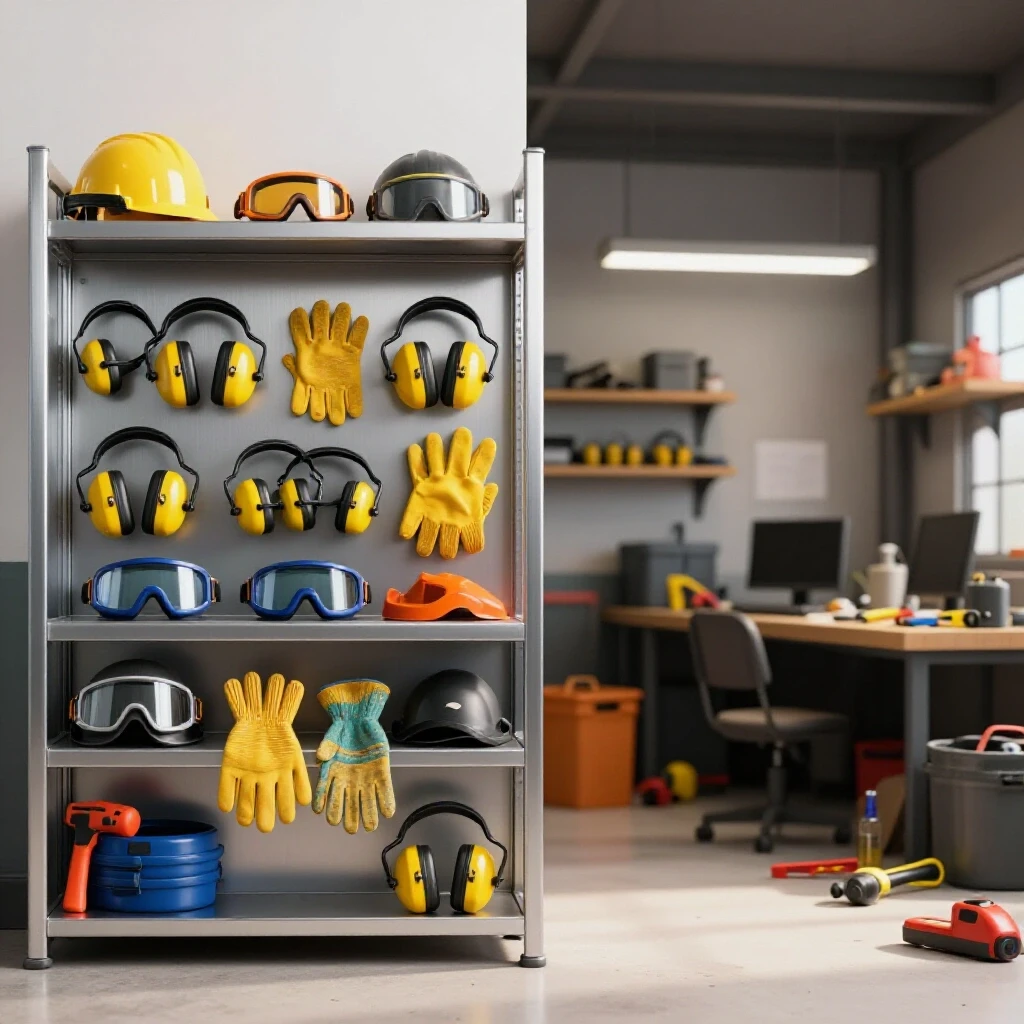
Protective gear for metalworking is designed to shield the body from ultraviolet (UV) radiation, infrared (IR) light, and extreme heat. Choosing the right gear involves matching the material properties to the specific hazards of the welding or grinding process.
When you are welding, you are essentially holding a small sun in your hand. The light produced can burn your skin just like a sunburn and can cause permanent damage to your eyes in milliseconds. This is why we look for gear that meets ANSI (American National Standards Institute) requirements. For eye protection, the standard is ANSI Z87.1. If your gear doesn’t have that stamp, it doesn’t belong in your shop.
Optical Safety and Viewing Filters
Viewing filters are the darkened lenses in welding helmets that block harmful light rays. They are categorized by “shade numbers,” which indicate how much light they filter out; higher numbers provide more protection for higher-amperage welding.
For a beginner, an auto-darkening helmet is a worthwhile investment. It stays clear until it senses the arc, then switches to a dark shade instantly. This allows you to keep both hands on your torch and see exactly where you are starting your weld. I recommend a helmet with at least two or four sensors to ensure it doesn’t “flicker” if one sensor is blocked by a piece of metal.
| Welding Process | Amperage Range | Recommended Shade |
|---|---|---|
| Grinding | N/A | Shade 3 or 4 |
| MIG Welding | 60A – 160A | Shade 10 – 11 |
| TIG Welding | 50A – 150A | Shade 10 – 11 |
| Stick Welding | 80A – 200A | Shade 11 – 12 |
| Plasma Cutting | 30A – 60A | Shade 8 |
Hand Protection and Tactile Requirements
Hand protection involves choosing gloves made from specific leathers like cowhide, pigskin, or goatskin. Each material offers a different balance of heat resistance and “tactility,” or the ability to feel and manipulate small parts.
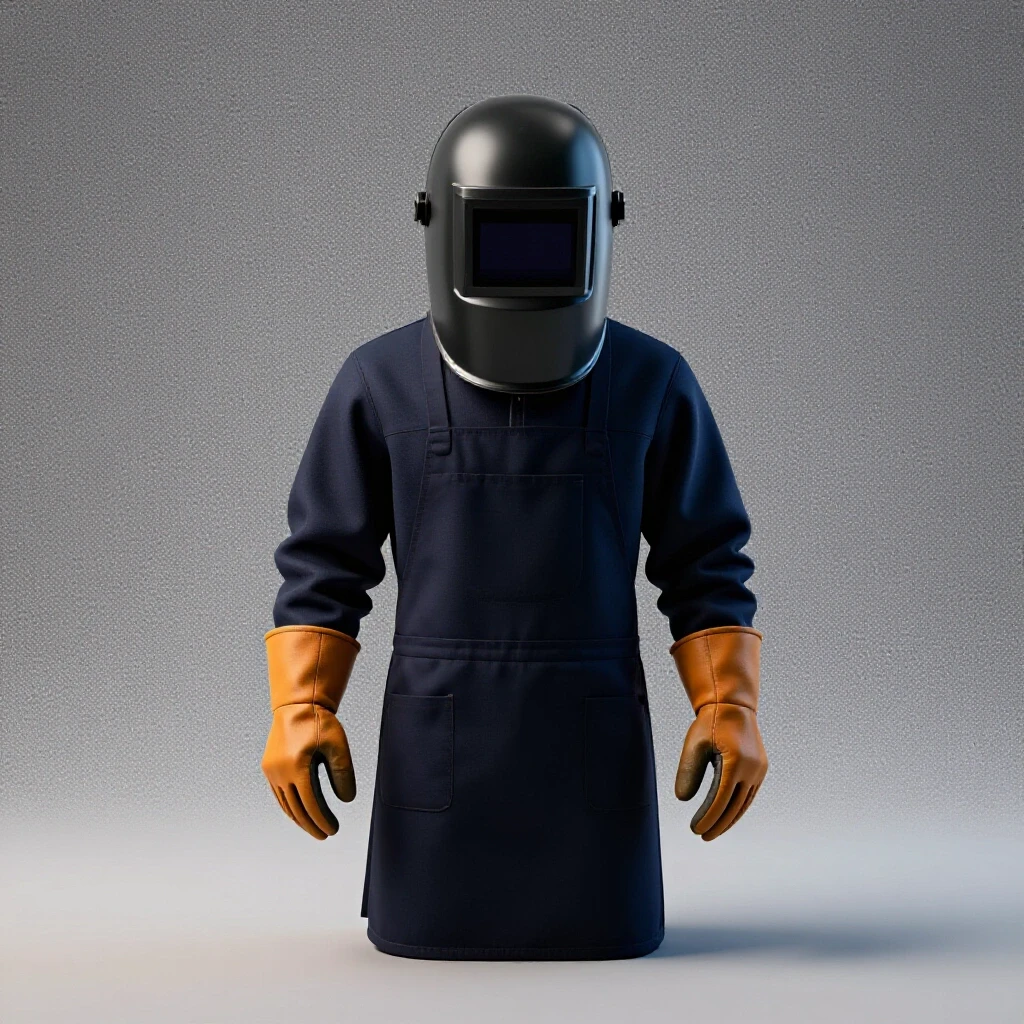
For heavy-duty work like stick welding or high-heat MIG, thick cowhide gloves are the standard. They provide a massive heat barrier but are quite stiff. If you are doing precision work, goatskin gloves are much thinner and allow for better movement. Never use synthetic or “mechanic” style gloves for welding; the heat will melt the plastic fibers directly into your skin.
Body Coverage and Flame-Resistant Materials
Body coverage refers to the clothing worn to protect against sparks and UV radiation. Flame-resistant (FR) cotton and leather are the primary materials used, as they do not support combustion and provide a barrier against “spatter.”
I prefer a hybrid approach: a flame-resistant cotton jacket with leather sleeves. This keeps you cool in a hot garage while providing heavy-duty protection for your arms, which are closest to the sparks. Your pants should be 100% heavy denim or FR cotton with no frays or holes. Sparks love to find a hole in your jeans and start a small fire while you are focused on your weld.
Managing Air Quality and Workshop Ventilation
Workshop ventilation is the process of removing hazardous fumes and dust from your breathing zone. This involves using fans, hoods, or respirators to ensure that the air you breathe meets safe quality standards.
Welding produces fumes that are a mix of metallic oxides and gases. In a confined garage, these can reach toxic levels quickly. A common mistake is thinking a standard pedestal fan is enough. While it moves air, it often just swirls the fumes around. You need a system that pulls the air away from your face and exhausts it outside.
Calculating Required Air Exchanges
Air exchange is the measurement of how many times the total volume of air in a room is replaced within an hour. For a metal shop, you want a high rate of exchange to prevent the buildup of fine metal dust.
To calculate the needs for your shop, first find the volume (Length x Width x Height). For a 20×20 garage with 10-foot ceilings, that is 4,000 cubic feet. To clear the air every five minutes, you would need a fan capable of moving 800 Cubic Feet per Minute (CFM).
- Formula: (Shop Volume / 5 minutes) = Required CFM.
- Example: 2,400 cubic feet / 5 = 480 CFM fan.
- Placement: Place the exhaust fan as close to the welding table as possible, pulling the smoke away from your body.
Respiratory Protection Options
Respiratory protection includes masks and respirators designed to filter out particulate matter and gases. These range from simple disposable N95 masks to half-mask respirators with specialized P100 filters.
If you are welding galvanized steel or working in a space with poor airflow, a half-mask respirator that fits under your welding helmet is essential. Look for “pancake” style P100 filters, which are thin enough to clear the chin of most helmets. These filters catch 99.9% of airborne particles, including the tiny metal bits that your lungs cannot expel.
Designing a Safe and Efficient Layout
A safe layout organizes the shop into logical zones that minimize hazards. This includes placing heavy tools near power sources, keeping pathways clear, and ensuring that emergency exits are never blocked by material storage.
In my first shop, I made the mistake of putting my metal rack right behind my welding area. Every time I needed a piece of steel, I had to step over my welding cables. Eventually, I tripped and dropped a heavy piece of angle iron. Now, I keep my material storage near the garage door. This makes it easier to unload steel from my truck and keeps the welding area clear of clutter.
Workbench Construction and Grounding
A welding workbench is a specialized table made of steel that provides a flat surface for assembly and a solid electrical ground for the welding circuit. A well-built table is the heart of the fabrication shop.
Your table should be heavy enough that it doesn’t move when you are hammering on it. I built mine using 2-inch square tubing for the frame and a 3/8-inch thick steel plate for the top. A thick top resists warping from the heat of the welding arc. Ensure your table is level; if your table is crooked, every project you build on it will be crooked too.
Managing Cords and Trip Hazards
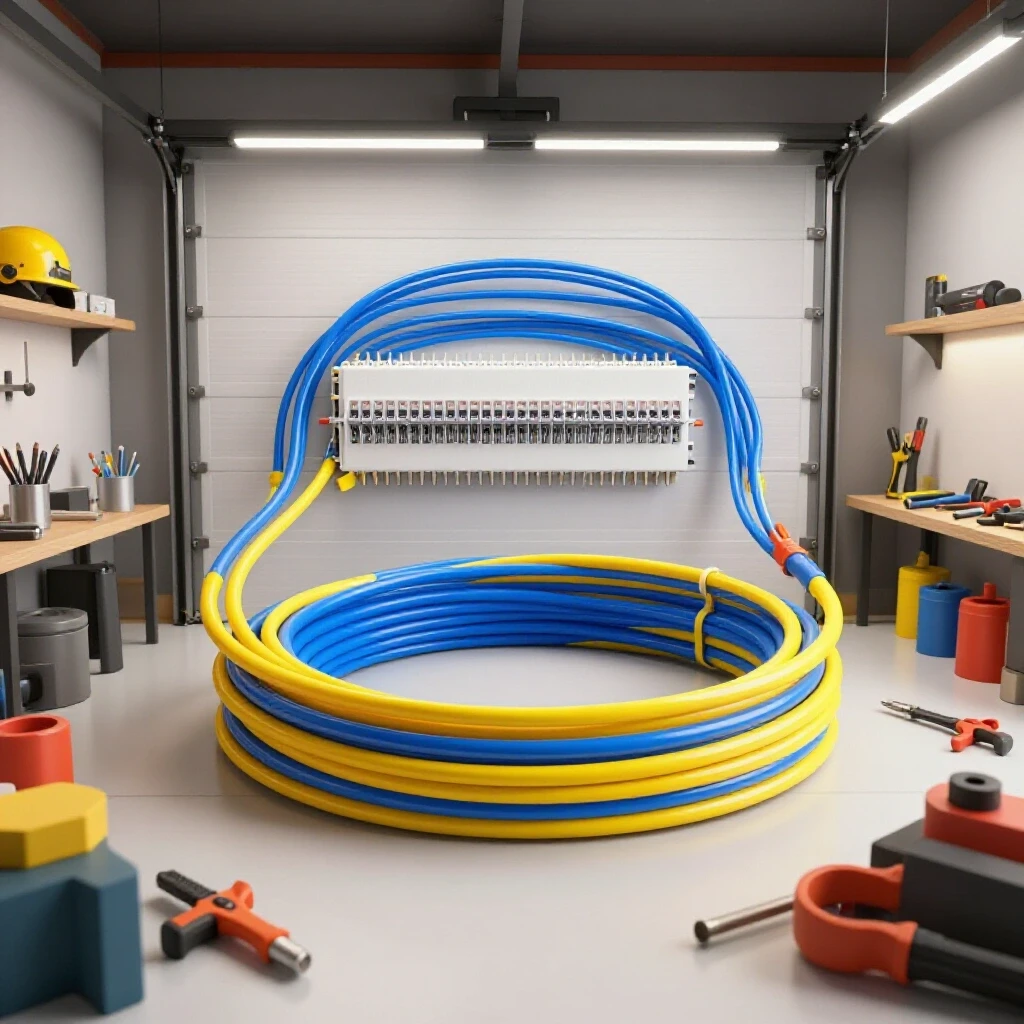
Cord management involves the organized routing of electrical leads and air hoses to prevent accidents. In a small shop, this often means using overhead reels or wall-mounted hooks to keep the floor clear.
- Rule 1: Never use thin household extension cords for power tools. Use 12-gauge or 10-gauge cords to prevent voltage drop and overheating.
- Rule 2: Coil your welding leads when not in use. A tangled “nest” of cables is a major trip hazard and can lead to damaged insulation.
- Rule 3: Mark your floor with “yellow zones” around permanent machinery to remind yourself to keep those areas clear of scrap metal.
Practical Tracking and Budgeting Frameworks
Tracking and budgeting involves keeping a detailed log of every purchase, from the largest machine to the smallest box of electrodes. This helps you understand your “burn rate” and ensures you have enough funds for maintenance and consumables.
When I was starting out, I used a simple spreadsheet to track my costs. I realized that I was spending more on grinding wheels and welding wire than I had anticipated. By tracking these costs, I was able to adjust my project pricing and save up for a better bandsaw much faster.
The Tooling-to-Machine Cost Ratio
The tooling-to-machine ratio is the relationship between the price of a power tool and the ongoing cost of the accessories needed to use it. Beginners often underestimate the cost of “consumables.”
For every $100 you spend on a welder, expect to spend another $30 to $50 on “startup consumables” like a gas cylinder, wire, and replacement tips. For an angle grinder, the tool might cost $80, but a good selection of high-quality discs will cost another $40. Understanding this ratio prevents the “empty tool” syndrome, where you have the machine but can’t afford to actually use it.
Annual Maintenance Checklist for Small Shops
Maintenance is the scheduled inspection and cleaning of your tools to ensure they remain safe and functional. In a metal shop, this focuses on removing dust, checking electrical connections, and lubricating moving parts.
- Monthly: Blow out the inside of your welder with compressed air to remove conductive metal dust.
- Quarterly: Inspect the lenses of your welding helmet for pits or cracks; replace if visibility is compromised.
- Bi-Annually: Check all electrical plugs for signs of heat or melting.
- Annually: Verify the calibration of your measuring tools (squares and calipers) against a known standard.
Conclusion
Building your first metalworking shop is an exercise in discipline and prioritization. By focusing on a solid electrical foundation, a logical layout, and high-quality protective gear, you create a space where you can focus on the craft rather than worrying about your safety or your budget. Remember that a workshop is a living thing; it will grow and change as your skills evolve. Start with the essentials, keep your space clean, and always put your physical protection at the top of your shopping list. The goal isn’t just to build projects, but to build them in a way that allows you to keep enjoying the hobby for years to come.
FAQ
What is the minimum shade lens I need for MIG welding? For most home MIG welding tasks between 60 and 160 amps, a shade 10 or 11 is recommended. If you find your eyes feel “tired” or “sandy” after a session, you may need to increase the shade or check the fit of your helmet to ensure no light is leaking in from the back.
Can I use a standard N95 mask for welding fumes? A standard N95 is better than nothing, but it is not ideal for metal fumes. You should look for a P100 rated respirator, which is specifically designed to filter out the very fine metallic particles produced during welding. Ensure the respirator is a “low profile” model so it fits comfortably under your welding helmet.
Why shouldn’t I use leather gloves for everything? While leather is great for heat, it can be bulky. For tasks like precision layout or using a drill press, thick welding gloves can actually be dangerous because they reduce your grip and dexterity. Switch to thinner work gloves for non-welding tasks, but ensure they are made of natural fibers like leather or heavy cotton.
Is it safe to weld on a wooden workbench if I put a piece of sheet metal on top? It is not recommended. Heat can transfer through the metal and char the wood underneath, potentially starting a fire that you can’t see. A proper welding table should have an all-metal frame. If you must use wood, use a very thick fire-resistant barrier and never leave the shop immediately after welding; stay for at least 30 minutes to watch for smoke.
How often should I replace my welding helmet lens? The clear “cover plates” on the outside of your helmet should be replaced as soon as they become pitted or scratched enough to interfere with your vision. If you can’t see the weld puddle clearly, you will make mistakes. These plates are inexpensive and are meant to be replaced frequently.
What is the most important safety item for a beginner? Beyond the welding helmet, a high-quality pair of safety glasses that you wear under your helmet is the most important. Many injuries happen when the welding helmet is up and you are chipping slag or grinding. ANSI Z87.1 rated glasses are a mandatory constant in the shop.
Do I really need a dedicated circuit for a small welder? Yes. A welder draws a significant amount of “inrush” current when you start the arc. If you are on a shared circuit with lights or a refrigerator, you will likely trip the breaker. A dedicated 20-amp circuit ensures the welder gets the steady power it needs for a stable arc.
How do I know if my ventilation is working? A simple way to test is the “smoke trace.” If you see welding smoke rising into your face or lingering in the air for more than a few seconds, your ventilation is inadequate. The smoke should be visibly pulled away from your work area and toward your exhaust fan.
What fabric is safest for shop clothes? 100% cotton or wool are the safest natural fibers. Synthetic fabrics like polyester, nylon, or spandex are extremely dangerous in a metal shop because they will melt and stick to your skin when hit by a spark. Always check the labels on your work shirts and pants.
Can I use an auto-darkening helmet for grinding? Only if it has a specific “Grind Mode.” This mode prevents the helmet from darkening when it sees the sparks from a grinder. If you don’t have this mode, you will need to switch to a clear face shield for grinding tasks to ensure you can see what you are doing.
(This article was written by one of our staff writers, Michael Thompson. Visit our Meet the Team page to learn more about the author and their expertise.)