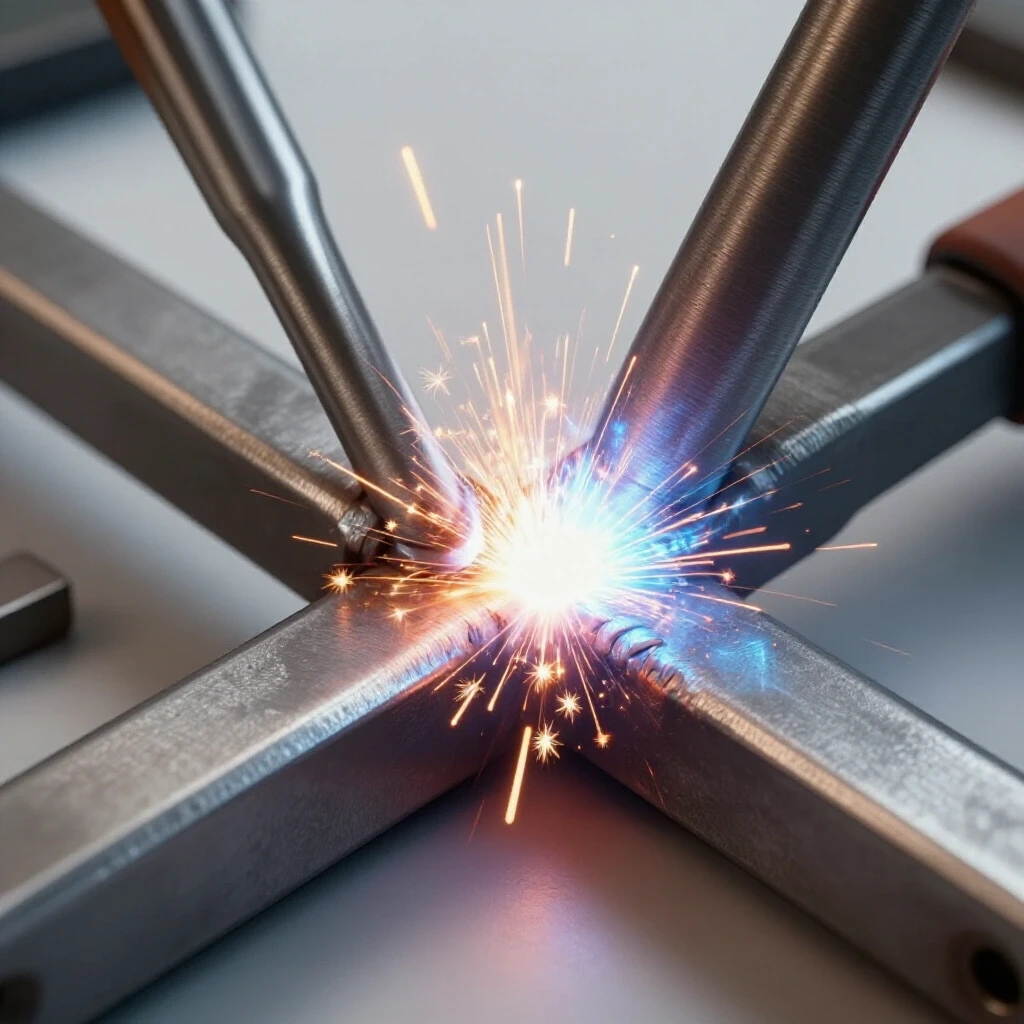
How to Choose Your First MIG or TIG Welder (Buying Guide)
The first time I struck an arc, I felt a mix of pure excitement and total frustration. I was in my small garage, hunched over a scrap piece of mild steel, trying to figure out why my weld looked like a pile of burnt popcorn. My hand was shaking, my travel speed was erratic, and I had no idea if the machine was set correctly or if I simply lacked the talent. Over the last 12 years, I have learned that talent is just a word for focused, repetitive practice. Selecting the right equipment for your initial foray into metalwork is not about finding the most expensive tool. It is about choosing a machine that provides the consistent feedback you need to build muscle memory.
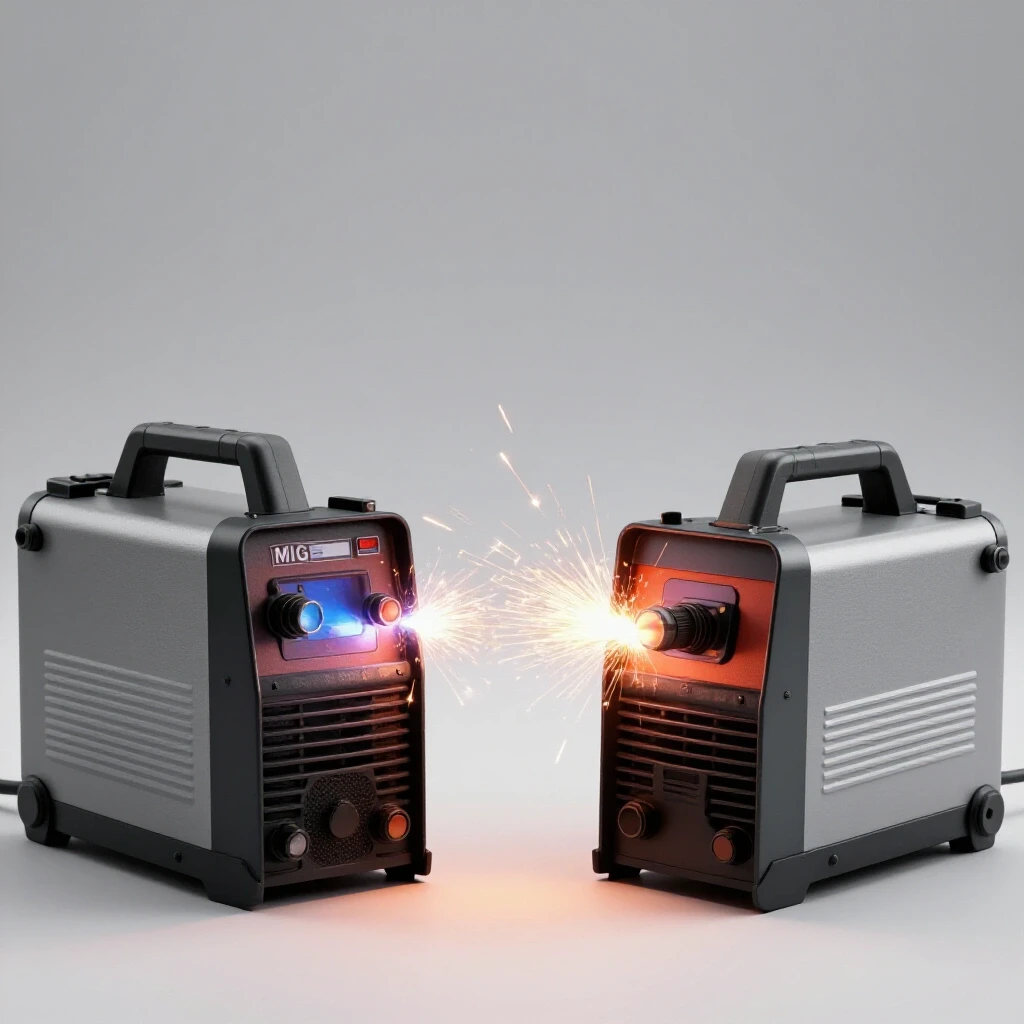
When you start learning metal fabrication, your brain is trying to process a dozen variables at once. You are watching the puddle, managing your torch angle, and trying to maintain a steady hand. If your machine is inconsistent, you will never know if a bad bead was your fault or the tool’s fault. I track every session in a logbook because data does not lie. By choosing a power source that matches your specific goals, you create a stable foundation for your physical skill progression.
Evaluating Your Primary Metalworking Goals
Before you bring a new power source into your shop, you must define what you intend to build. This decision dictates whether you need the high-speed efficiency of a wire-fed system or the surgical precision of a handheld electrode.
Whether you want to build sturdy workbenches or intricate aluminum art, your choice of process will shape your learning curve for the next two years. Metal inert gas (MIG) welding is often compared to using a high-heat glue gun. It is excellent for beginners because it allows you to focus almost entirely on your torch hand. Tungsten inert gas (TIG) welding, however, requires “four-limb” coordination. You use one hand for the torch, one for the filler rod, and one foot for the heat control pedal. I often tell my students that if they want to see results quickly, they should start with a wire-fed machine. If they enjoy the meditative, slow process of fine craftsmanship, they should look toward TIG.
Identifying the Right Process for Your Projects
Choosing between a wire-fed system and a manual rod-fed system depends on your patience and the thickness of the materials you plan to join.
If your projects involve mostly mild steel tubing or plate under 1/4 inch, a MIG machine is a workhorse. It uses a motor to push a spool of wire through the torch, which means you can weld for long periods without stopping. This is vital for building “seat time,” which is the total hours you spend with the arc active. In contrast, TIG welding is slower but offers much more control over the heat input. This is the process you need if you plan to work with very thin materials or if you want those aesthetically pleasing “stack of dimes” weld beads. In my own journey, I spent the first two years mastering MIG to understand how metal flows before I ever touched a TIG torch.
The Mechanics of Machine Output and Power
The power coming out of your wall outlet is the fuel for your arc, and understanding how your machine converts that power is essential for consistent penetration.
Most home shops have standard 110-volt outlets, but many welding machines also offer 220-volt compatibility. Amperage is the measurement of the volume of electricity flowing through your circuit. Think of it like water flowing through a pipe; more amperage means more heat. For most hobbyist projects involving 1/8-inch to 1/4-inch steel, you will need a machine that can output at least 140 to 200 amps. If you choose a machine that is underpowered, you will struggle with “cold lap,” where the weld sits on top of the metal instead of melting into it.
Balancing Amperage and Material Thickness
Matching your machine’s power to the thickness of your workpiece prevents structural failure and allows for a smoother learning metal fabrication experience.
A common mistake I see beginners make is trying to weld thick plate with a low-amperage machine. This results in a lack of fusion, meaning the two pieces of metal are not actually joined at a molecular level. To build professional-grade skills, you need to understand the relationship between heat and metal thickness. For every 0.001 inch of steel thickness, you generally need about one amp of power. Using a machine that can handle 220-volt input gives you a “buffer,” ensuring the machine is not working at its absolute limit, which leads to more stable arc characteristics.
| Material Thickness | Recommended Amperage (Steel) | Recommended Amperage (Aluminum) | Travel Speed (IPM) |
|---|---|---|---|
| 1/16″ (16ga) | 50–70A | 60–80A | 12–15 |
| 1/8″ (11ga) | 90–120A | 110–130A | 8–12 |
| 3/16″ | 130–160A | 150–180A | 6–10 |
| 1/4″ | 170–200A | 190–220A | 4–8 |
Developing Muscle Memory Through Tool Ergonomics
The physical design of your torch and cables significantly impacts your ability to maintain a steady hand and a consistent arc gap.
When you are practicing for hours, the weight and flexibility of your torch matter. A stiff, heavy cable will pull on your wrist, causing fatigue and shaky movements. I recommend looking for machines that come with “size 17” or “size 9” TIG torches if you go the TIG route, as these are smaller and easier to maneuver. For MIG, a torch with a comfortable grip and a flexible lead allows you to wrap the cable around your forearm. This technique, which I call “the anchor,” uses your body to support the weight of the torch so your fingers can focus on fine movements.
Torch Design and Cable Flexibility
High-quality leads and ergonomic grips reduce physical strain, allowing you to focus on mastering torch control during long practice sessions.
If the torch feels like a heavy club in your hand, your welds will reflect that lack of finesse. Look for torches that use standard consumables. Consumables are the parts that wear out, like the copper contact tips in a MIG gun or the tungsten electrodes in a TIG torch. Having a machine that uses widely available parts means you won’t be sidelined when a tip wears out. In my early days, I used a machine with proprietary parts, and I once lost a whole weekend of practice because I couldn’t find a replacement nozzle locally.
Mastering Torch Control and Travel Speed
Consistency in welding comes from the marriage of hand-eye coordination and a deep understanding of how fast the metal is melting.
Travel speed is the rate at which you move the torch across the joint. If you move too fast, the bead will be thin and weak. If you move too slow, you will build up too much heat and potentially blow a hole through the metal. I use a simple metric for my students: aim for a travel speed of 8 to 12 inches per minute (IPM). You can practice this without even turning the machine on. Take a stopwatch, draw a line on a piece of metal, and practice moving your torch along that line so that it takes exactly 10 seconds to travel two inches. This builds the physical rhythm required for trade school practice drills.
The Geometry of a Consistent Bead
Understanding the angles of your torch and the distance of your arc is the secret to achieving professional-looking results.
There are two main angles to track: the work angle and the travel angle. The work angle is usually 90 degrees to the joint, while the travel angle is typically a 10 to 15-degree tilt in the direction you are moving (for TIG) or away from the direction (for MIG drag). Maintaining a consistent arc gap—the distance between your electrode and the metal—is equally vital. For TIG, you want to keep that gap around 1/8 inch. If the gap fluctuates, the heat fluctuates. This is why I emphasize bracing your hand against a steady rest or using your pinky finger as a “slider” to maintain height.
| Joint Type | Work Angle | Travel Angle | Arc Gap / Stick-out |
|---|---|---|---|
| Butt Joint | 90° | 10–15° (Push or Drag) | 3/32″ to 1/8″ |
| Lap Joint | 45° | 10–15° (Push or Drag) | 1/8″ |
| T-Joint (Fillet) | 45° | 10–15° (Push or Drag) | 1/16″ to 3/32″ |
| Corner Joint | 90° | 10–15° (Push or Drag) | 1/8″ |
Establishing a Structured Practice Routine
You cannot improve what you do not measure, so creating a system to track your progress is the fastest way to overcome skill plateaus.
When I was learning, I would weld for hours and feel like I wasn’t getting any better. It wasn’t until I started a welding technique progression log that I saw the patterns. I began recording my voltage, wire speed, and how my hand felt during the run. This shifted my mindset from “trying to weld” to “conducting an experiment.” I suggest starting with “bead-on-plate” exercises. This involves running straight lines on a flat piece of scrap metal until every bead looks identical to the one before it.
Logging Your Progress and Parameters
A detailed practice log helps you identify exactly which variables are causing your welds to fail or succeed.
To build a professional-level skill set, you need to be your own toughest critic. After every few passes, stop and look at the metal. Is the bead too wide? You might be moving too slowly. Is there a lot of spatter? Your voltage might be too high for your wire speed. By keeping a log, you can return to successful settings days or weeks later without guessing.
- Date and Session Duration: Track how much “arc time” you actually get.
- Material and Thickness: Note the specific alloy and gauge.
- Machine Settings: Record Amperage, Voltage, and Wire Feed Speed.
- Electrode/Wire Type: Note the diameter (e.g., .030″ wire or 3/32″ tungsten).
- Visual Assessment: Rate the bead on a scale of 1-10 for straightness and penetration.
- Physical Cues: Note if you felt tense, if your vision was clear, or if you struggled with the torch weight.
Preparing Clean Zones for Maximum Fusion
Welding is 90% preparation and 10% actual welding; failing to clean your metal is the most common cause of poor bead quality.
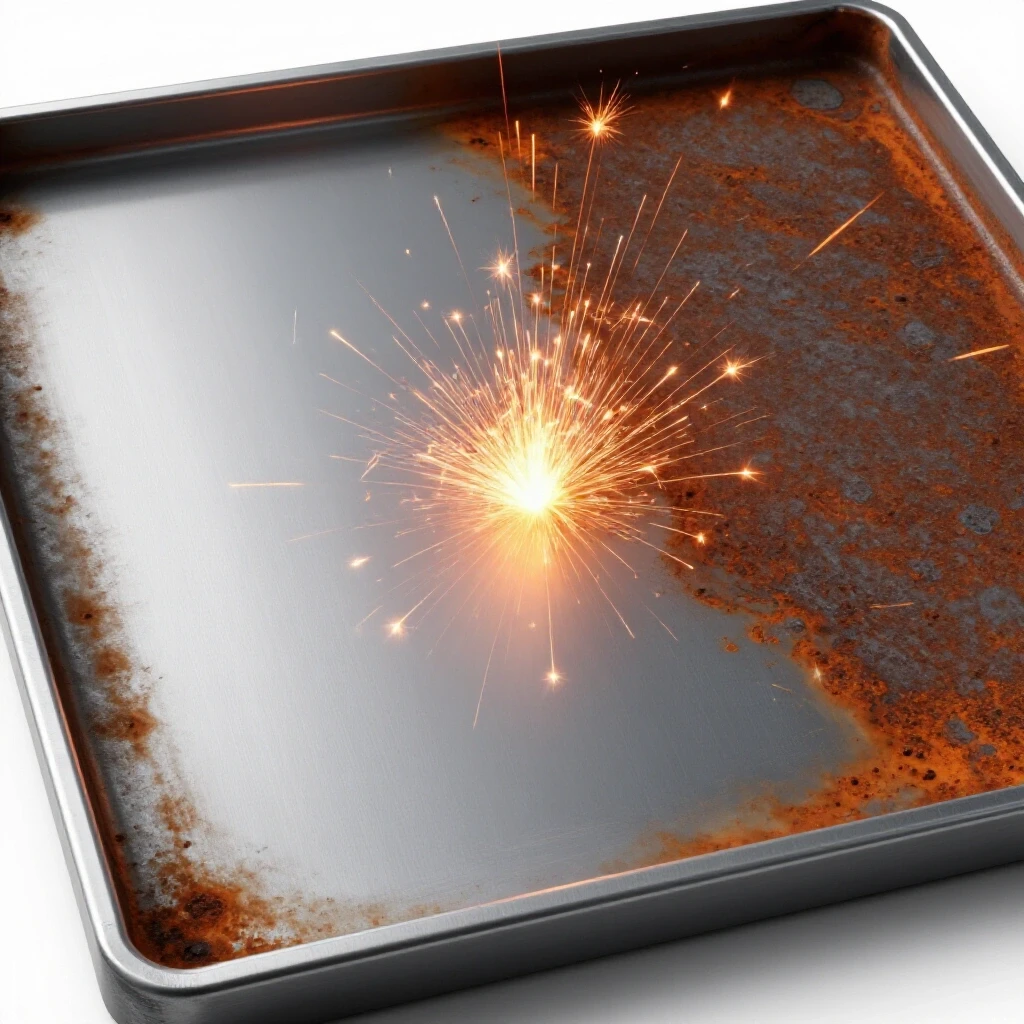
Metal from the mill often has a layer of “mill scale” or oil on it. If you try to weld through this, the arc will wander, and the weld will be full of tiny holes called porosity. I teach a “one-inch clean zone” rule. This means you should use a flap disc or a wire wheel to grind the metal until it is shiny and bright for at least one inch away from the weld area. This ensures that the arc has a clean path to ground and that no contaminants are being sucked into the molten puddle.
Understanding Metal Behavior and Heat Input
As you weld, the metal expands and contracts, which can warp your project if you do not manage the heat correctly.
Heat input is a calculation of how much energy you are putting into a specific area. If you stay in one spot too long, the metal recrystallizes in a way that makes it brittle. In my early projects, I would weld a long seam all at once, only to find the entire part had twisted like a pretzel. Now, I use “tack welds”—small spots of weld that hold the pieces in alignment—and move around the project to distribute the heat evenly. This is a crucial part of learning metal fabrication that separates the beginners from the intermediates.
Actionable Physical Practice Progression Steps
To move from a beginner to an intermediate fabricator, you must follow a logical sequence of drills that build on one another.
Don’t jump straight into building a car trailer. Start with the basics of movement. I have developed a four-stage progression that I used to refine my own skills. Each stage must be mastered before moving to the next. This prevents the frustration of trying to solve complex problems before you have the basic hand control to execute them.
- Stage 1: Dry Runs. Practice moving the torch across a joint without the machine turned on. Focus on your breathing and your “anchor” points.
- Stage 2: Bead-on-Plate. Run 20 straight beads on a flat plate. Aim for consistent width (approx. 1/4 inch) and height.
- Stage 3: Padding. Run beads side-by-side, overlapping each one by 50%. This teaches you how to read the “toe” of the previous weld.
- Stage 4: Simple Joints. Start with a lap joint, then move to a T-joint. These require different torch angles and heat management.
Self-Assessing Joint Defects and Visual Pass-Fail Limits
Developing a “trained eye” allows you to diagnose your own mistakes and correct them in real-time.
When you finish a weld, don’t just move on. Clean it with a wire brush and look at it under a bright light. Look for “undercut,” which is a groove melted into the base metal right next to the weld. This is usually caused by too much heat or a bad torch angle. Look for “overlap,” where the weld metal is just sitting on the surface. This means you didn’t have enough heat. I use slow-motion video on my phone to record my hands while I weld. Watching the footage back often reveals a shaky hand or a sudden change in travel speed that I didn’t notice while I was under the hood.
Conclusion and Next Steps
Building the physical skills for fabrication is a journey of a thousand small corrections. The machine you choose is your partner in this process. By selecting a unit that offers stable output and comfortable ergonomics, you remove the variables that cause frustration. Remember that every professional was once a beginner struggling to hold a steady arc. Focus on your body mechanics, keep a detailed log of your parameters, and don’t be afraid to spend hours on simple bead-on-plate drills. The consistency you build today on scrap metal will be the foundation of every high-quality project you build in the future. Your next step is to set up a dedicated practice area, grab a stack of 1/8-inch mild steel coupons, and start your first logbook entry.
Frequently Asked Questions
What is the best amperage range for a first machine?
For most home fabrication projects, a machine with a range of 30 to 200 amps is ideal. This allows you to weld very thin sheet metal (at low amps) and structural steel up to 1/4 inch or 3/8 inch (at high amps). Having a machine that can run on both 110V and 220V power is a significant advantage as your skills grow.
Should I learn MIG or TIG first?
If you want to build projects quickly and easily, MIG is the better starting point. It is easier to learn the basics of travel speed and puddle control. If you are interested in high-precision work, thin materials, or non-ferrous metals like aluminum, TIG is the way to go, but be prepared for a much longer learning curve.
How do I know if my travel speed is correct?
A good rule of thumb is to look at the shape of the ripples in your weld bead. If the ripples are “pointed” like a V, you are moving too fast. If they are very crowded and the bead is wide and flat, you are moving too slow. You want the ripples to be consistent half-moons.
Why does my TIG tungsten keep sticking to the metal?
This is usually caused by having an arc gap that is too small or a shaky hand. As a beginner, try to maintain a 1/8-inch gap. If you touch the tungsten to the molten puddle, you must stop, regrind the tungsten, and start over. Contaminated tungsten will cause an unstable arc.
Is gas-shielded MIG better than flux-core?
For learning and high-quality results, gas-shielded MIG (using 75% Argon / 25% CO2) is much better. It produces less smoke, less spatter, and allows you to see the puddle more clearly. Flux-core is useful for outdoor welding in the wind, but it is much harder to produce clean, professional-looking welds with it.
How important is the “Duty Cycle” for a hobbyist?
Duty cycle is the amount of time a machine can weld at a specific amperage within a 10-minute period. For a beginner, a 20% or 30% duty cycle is usually plenty. You will likely spend more time fitting, measuring, and cleaning your metal than you will actually welding.
What is the “Clean Zone” and why is it necessary?
The clean zone is the area of bare, shiny metal where the weld will be placed. You must remove all rust, paint, and mill scale. Welding over contaminants causes porosity (bubbles in the weld) and poor penetration, which can lead to the weld failing under stress.
How can I stop my hand from shaking while welding?
The best way to steady your hand is to find a way to “brace” yourself. Use your non-welding hand to support your torch hand, or rest your elbow on the table. You can also use a “TIG finger” (a heat-resistant sleeve) to slide your hand directly on the hot metal for better stability.
What diameter wire or tungsten should I start with?
For MIG, .030-inch solid wire is a great all-purpose choice for 1/8-inch to 1/4-inch steel. For TIG, a 3/32-inch 2% ceriated or lanthanated tungsten electrode is the industry standard for most hobbyist applications on both steel and aluminum.
Can I weld aluminum with a basic MIG machine?
Most basic MIG machines can weld aluminum if you use a “spool gun.” Aluminum wire is very soft and will bird-nest (tangle) inside a standard long torch lead. A spool gun puts the wire spool right on the torch, which makes feeding much more reliable.
(This article was written by one of our staff writers, Thomas Langley. Visit our Meet the Team page to learn more about the author and their expertise.)