How to Correctly Sequence Machining Operations (DIY Guide)
I have spent the last 14 years in various corners of the metalworking world, from the grease-stained floors of small repair shops to the high-stakes environment of industrial structural inspection. During that time, I have learned one universal truth: metal has a memory, and it rarely forgets a mistake. Early in my career, I spent three days machining a heavy mounting bracket for a hydraulic press. I performed all my precision boring first, then moved to the welding bench to attach the support gussets. As the metal cooled, the internal stresses pulled the entire part out of alignment by nearly an eighth of an inch. My precision bores were now useless ovals. That mistake cost my shop thousands in material and labor, but it taught me that the order in which we remove or join metal is just as important as the tools we use.
For the intermediate fabricator working in a home shop, the stakes are often personal. You are investing your limited spare time and hard-earned money into projects that need to be safe and functional. Whether you are building a custom motorcycle frame or a heavy-duty workbench, understanding the physics of material removal and the sequence of your steps is the only way to prevent structural failure. This guide focuses on the logic of planning your work to maintain accuracy, manage heat, and ensure that every joint and cut contributes to a stable, reliable finished product.
The Logic of Metal Removal: Why Order Matters for Structural Stability
Planning the progression of your work involves organizing tasks like squaring, roughing, and finishing to ensure the workpiece remains rigid and accurate. By following a logical path, you minimize the risk of the part shifting or vibrating during critical cuts, which prevents premature tool wear and structural inaccuracies.
In my experience, the biggest error a hobbyist makes is trying to achieve a final dimension too early. Metal is under constant internal tension from the mill or the forge. When you cut into it, those tensions are released, and the part moves. If you have already finished a critical surface, that movement ruins your precision. I always advise starting with the most aggressive material removal and ending with the most delicate. This keeps the part as “beefy” as possible for as long as possible, providing the structural rigidity needed to resist the forces of the cutting tool.
Defining the Datum: The Foundation of Every Measurement
A datum is a fixed starting point or reference surface from which all other measurements on a part are taken. Establishing a clean, square, and flat datum is the very first step in any machining process because it ensures that every subsequent hole, slot, or face is perfectly aligned with the others.
Without a reliable datum, you are essentially building a house on a crooked foundation. I start every project by “squaring up” my stock. On a manual mill, this means machining two perpendicular faces that I can then use as a reference for my calipers and height gauges. If your reference surface is the rough, scaly exterior of a piece of hot-rolled steel, your measurements will never be repeatable. I have seen many fabricators struggle with parts that do not fit together, only to realize their “starting corner” was actually at an 89-degree angle instead of 90.
Managing Internal Stress and Material Yield Strength
Yield strength is the amount of stress a material can withstand before it begins to permanently deform. Understanding this limit is vital for workshop safety, as it helps you determine the structural metal load capacity and avoid designs that might fail under tension or compression during use.
When you machine a part, you are essentially fighting against the material’s yield strength. If you remove too much material in the wrong order, the remaining structure may not be strong enough to support the forces of the machining process itself. This is especially true with materials like A36 structural steel, which has a yield strength of approximately 36,000 PSI. If you thin out a structural wall before drilling a large diameter hole, the pressure of the drill bit can actually bow the material, leading to a hole that is off-center or out of round.
| Material Type | Yield Strength (PSI) | Machinability Rating | Common Use Case |
|---|---|---|---|
| A36 Carbon Steel | 36,000 | 72% | General structural frames |
| 1018 Cold Rolled | 54,000 | 78% | Shafts, pins, and precision parts |
| 6061-T6 Aluminum | 40,000 | 50% | Lightweight brackets and spacers |
| 4140 Alloy Steel | 60,000+ | 65% | High-stress bolts and gears |
Strategic Roughing and Finishing to Prevent Warpage
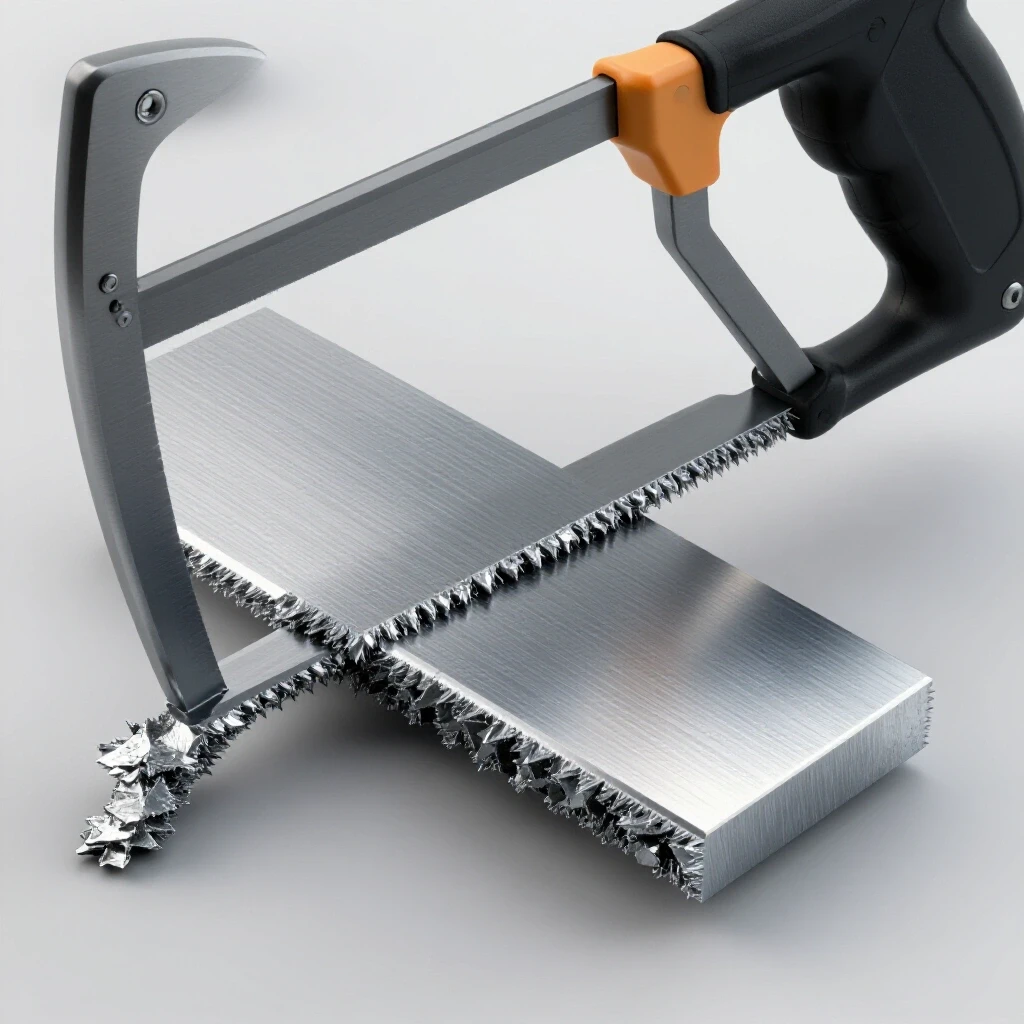
Roughing is the process of quickly removing the bulk of the excess material, while finishing involves taking light, precise cuts to reach the final dimension and surface quality. Separating these two stages allows the material to “settle” and release internal heat before the final, most accurate work is performed.
I follow a strict “Rough Everything First” rule. If I have a block of steel that needs three holes, a slot, and a shoulder, I will rough out all of those features to within 0.030″ or 0.050″ of the final size before I ever touch a finishing tool. This approach is a core part of my workshop safety checklist because it reveals any hidden flaws in the material—like inclusions or hard spots—before I have invested hours into precision work. It also allows the part to reach a stable temperature. Cutting generates friction, and friction creates heat. A part that is hot to the touch will be slightly larger than a cold part; if you finish it while hot, it will shrink and be undersized once it cools.
- Roughing: Use high feed rates and deeper cuts to remove mass.
- Stress Relief: Let the part cool to room temperature after roughing.
- Finishing: Use higher spindle speeds and shallow cuts (0.005″ to 0.010″) for accuracy.
- Deburring: Always remove sharp edges between steps to prevent hand injuries.
Integrating Welding and Machining Safely
The relationship between welding and machining is complex because welding introduces extreme heat that creates a heat affected zone (HAZ) where the metal’s properties change. Sequencing these tasks correctly prevents the warping and brittleness that often lead to structural joint failure in DIY projects.
In my 14 years of inspection, I have seen more failures due to poor weld-machine sequencing than almost anything else. If you machine a precision fit and then weld near it, the heat will distort that fit. The Heat Affected Zone (HAZ) is an area around the weld that didn’t melt but reached high enough temperatures to change its grain structure, often making it harder and more brittle. To mitigate this, I generally recommend “Weld First, Machine Second” for structural components. This allows you to machine the critical surfaces after all the thermal movement has finished. However, you must be careful—machining into a weld can be difficult because the HAZ may be harder than the base metal, potentially chipping your cutting tools.
- Pre-heat: For thicker sections, pre-heating the metal to 200-400°F can reduce the severity of the HAZ.
- Tack Welding: Use small, strategic tacks to hold parts in alignment before final welding.
- Cooling: Never quench a structural weld in water; let it air cool to prevent brittle fractures.
- Stress Relieving: For critical parts, a low-temperature bake in a kiln can help “relax” the metal after welding.
Diagnostic Inspection and Verification Techniques
Diagnostic inspection involves using tools like calipers, micrometers, and non-destructive testing (NDT) kits to verify that a part meets its design requirements. This step is essential for identifying welding defect troubleshooting needs and ensuring the structural integrity of the completed fabrication.
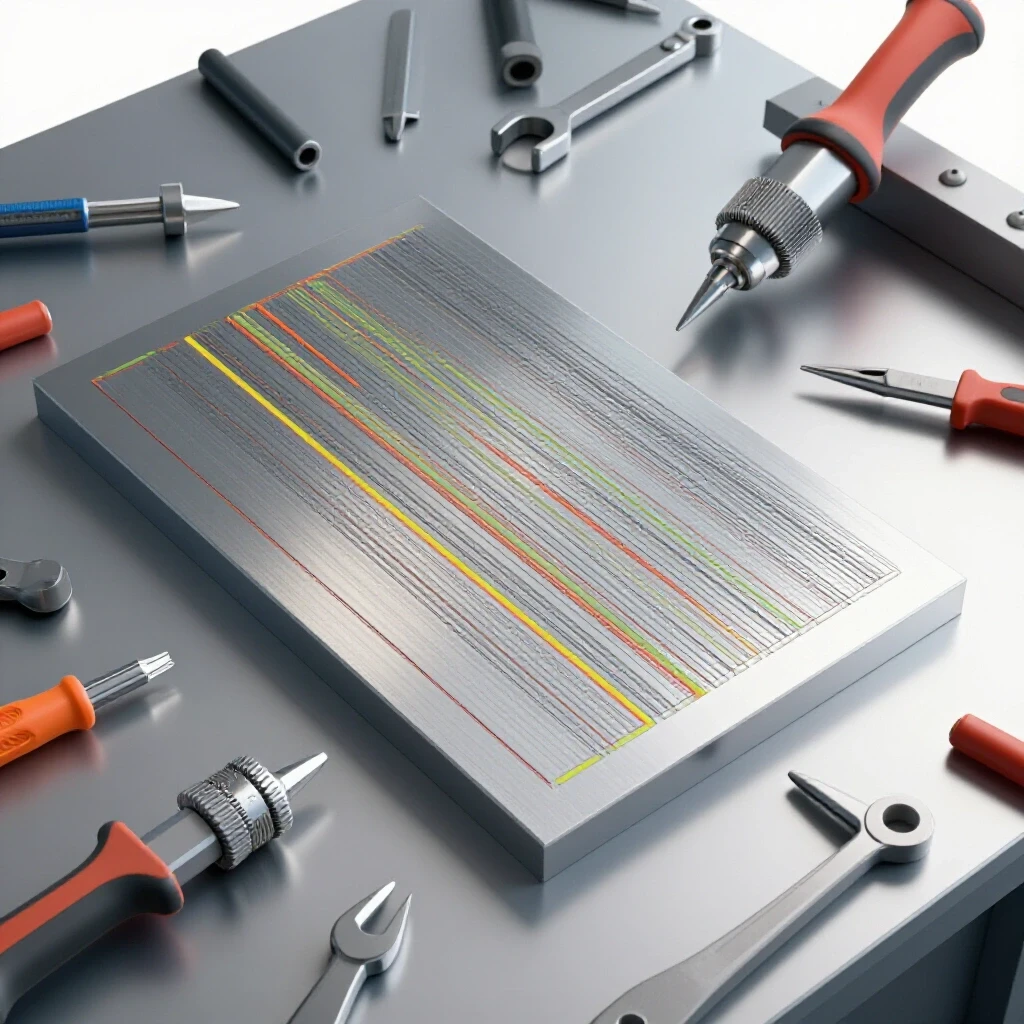
You cannot manage what you do not measure. I treat inspection as a continuous process, not just a final step. After every major operation, I check my dimensions against my drawings. For structural welds, I use a basic dye penetrant kit—a simple NDT method where a red dye is sprayed on the weld, wiped off, and then a white developer is applied. If there are any cracks or porosity (tiny holes) in the weld, the red dye will “bleed” through the developer, showing me exactly where the joint is weak. This is a vital skill for garage fabrication safety, as it catches hidden defects before they can fail under load.
- Visual Inspection: Look for undercut, overlap, or surface porosity in welds.
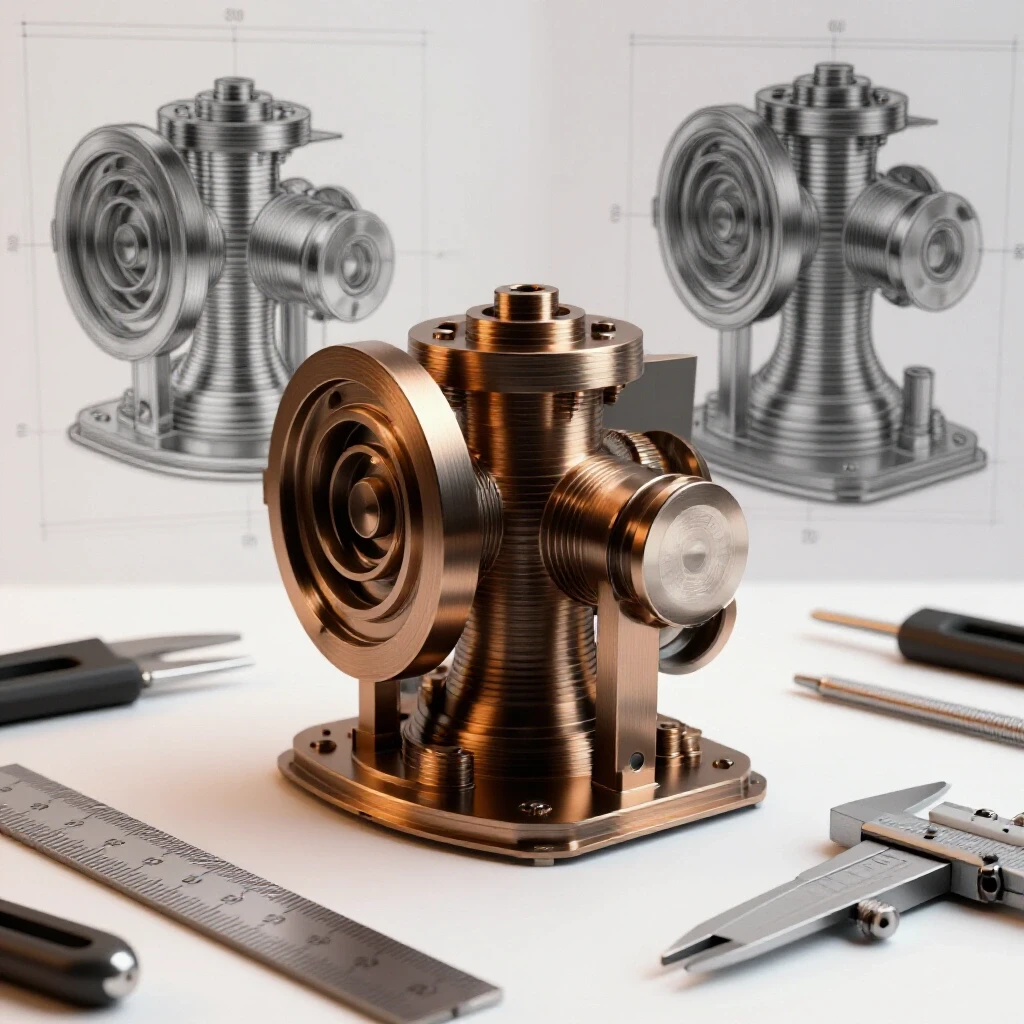
- Dimensional Check: Use calibrated micrometers to verify tolerances within 0.001″ where necessary.
- Dye Penetrant Testing: Check for surface-reaching cracks in high-stress joints.
- Squareness Check: Ensure the part hasn’t pulled out of alignment during the welding phase.
Workshop Safety and PPE for the Risk-Averse Fabricator
Workshop safety protocols are the set of rules and protective gear used to prevent injury from heat, flying debris, and toxic fumes. For the home fabricator, this includes using the correct PPE shade ratings and ensuring proper ventilation to maintain a healthy workspace.
I have had several “near-miss” incidents early in my career that taught me to never compromise on safety gear. When you are machining, safety glasses are a baseline, but a full-face shield is better when clearing long, stringy chips from a lathe. When welding, your skin must be entirely covered to prevent UV burns. I recommend a high-quality auto-darkening helmet with a Shade 10 to 13 filter, depending on your amperage. Furthermore, managing your welding gas flow rate is not just about weld quality; it is about safety. A flow rate that is too low (under 15 CFH) can cause atmospheric contamination and weld porosity, leading to structural failure. A rate that is too high (over 25 CFH) wastes gas and can actually create turbulence that pulls air into the weld.
| Task | Recommended PPE | Safety Standard / Rating |
|---|---|---|
| Manual Milling/Lathe | Safety Glasses + Face Shield | ANSI Z87.1 |
| MIG/TIG Welding | Auto-Darkening Helmet | Shade 10-13 (ANSI Z87.1+) |
| Grinding/Sanding | P100 Respirator + Shield | NIOSH Approved |
| Heavy Lifting | Steel-Toed Boots | ASTM F2413 |
Preventing Common Fabrication Failures
Structural failure often occurs because a fabricator underestimated the load path or ignored the heat-affected zone weakness. By analyzing how forces move through a joint, you can design structures with a safety margin that protects against unexpected stress.
When I design a heavy frame, I always look for the “load path”—the route that weight takes from the top of the structure down to the floor. If that path is interrupted by a weak weld or a thin piece of metal, that is where the failure will happen. I aim for a 2:1 safety factor for general projects and a 4:1 safety factor for anything that involves lifting or overhead loads. This means if a bracket needs to hold 500 lbs, I design it to hold 2,000 lbs. This margin accounts for the reality that my home shop welds might not be as perfect as industrial robotic welds.
- Avoid Stress Risers: Do not leave sharp internal corners; use a radius to distribute stress.
- Check for Porosity: Ensure your shielding gas is at 15-20 CFH to prevent “Swiss cheese” welds.
- Verify Material: Never use unknown “scrap” metal for structural parts; always use known grades like A36.
- Monitor Heat: If the metal turns a dark purple or blue, you are likely overheating it and reducing its strength.
Step-by-Step Sequence for a Precision Machined and Welded Part
- Material Prep: Select known stock and clean all mill scale or rust.
- Establish Datum: Machine the first two reference surfaces square.
- Rough Machining: Remove 90% of the waste material from all features.
- Welding: Perform all structural welding, using clamps to minimize movement.
- Cooling/Stress Relief: Allow the part to reach room temperature naturally.
- Re-Establish Datum: Check if the reference surfaces moved; light-cut them if necessary.
- Final Machining: Take high-speed, shallow passes to reach final dimensions.
- Inspection: Use NDT and precision measuring tools to verify the build.
- Finishing: Apply paint or oil to prevent corrosion on the freshly machined steel.
By following this sequence, you are working with the material’s natural tendencies rather than against them. It takes more patience, but the result is a project that fits together perfectly the first time and stays together for years to come. In my experience, the most successful fabricators are not the ones with the most expensive tools, but the ones who respect the physics of the shop floor and plan their moves with the care of a chess player.
Frequently Asked Questions
Why should I machine my parts after welding instead of before? Welding involves extreme heat that causes metal to expand and then contract as it cools. This thermal movement can pull a part out of alignment by significant margins. If you machine your precision holes or surfaces before welding, they will likely warp and become unusable. Machining after welding ensures that your final dimensions are accurate relative to the finished, cooled structure.
What is the “Heat Affected Zone” and why does it matter for my project? The Heat Affected Zone (HAZ) is the area of base metal surrounding a weld that was heated enough to change its microstructure but not enough to melt. This area often becomes more brittle or harder than the rest of the metal. In structural projects, the HAZ is frequently the point where cracks begin, so it is important to avoid placing high-stress loads directly on the edge of a weld.
How do I know if my welding gas flow rate is correct? For most DIY MIG or TIG welding on steel, a flow rate of 15 to 20 CFH (Cubic Feet per Hour) is the standard. If the flow is too low, you will see “porosity” (tiny bubbles) in the weld, which significantly weakens it. If the flow is too high, it creates turbulence that can actually suck air into the weld pool, also causing defects. Use a dedicated flow meter to verify the rate at the torch.
What is a “safety factor” and how do I calculate it for my build? A safety factor is the ratio of a structure’s absolute strength to its intended load. For example, a 4:1 safety factor means the part is designed to hold four times the weight it will actually carry. You calculate this by determining the yield strength of your material and ensuring the cross-sectional area of your joints can handle the multiplied load without deforming.
Can I use any scrap metal for a structural project? It is highly discouraged to use unknown scrap for structural components. Different steels have different yield strengths and carbon contents. If you unknowingly use a high-carbon steel and weld it like mild steel, the weld may crack instantly due to “hydrogen embrittlement.” Always purchase known grades like A36 or 1018 for parts that must support weight or ensure safety.
What is the most common machining mistake that leads to part failure? The most common mistake is failing to “de-stress” the part by roughing it out before the final cuts. If you remove a large amount of material in one final pass, the internal stresses of the metal will cause the part to warp as soon as you release it from the vise. Always remove the bulk of the material first, let the part “rest,” and then take a very light finishing cut.
How can I tell if a weld has internal defects without an X-ray? While you cannot see deep inside a weld without X-ray or ultrasound, you can use a “Dye Penetrant Inspection” kit to find surface cracks. Additionally, look for visual cues like “undercut” (a groove melted into the base metal next to the weld) or “overlap” (where the weld sits on top of the metal without fusing). These are major red flags for structural weakness.
Do I really need a Shade 13 welding lens? The correct shade depends on the brightness of your arc, which is determined by your welding amperage. For most home shop welding (under 200 amps), a Shade 10 or 11 is usually sufficient. However, if you are working at higher amperages or have sensitive eyes, a Shade 12 or 13 provides more protection against “arc eye” and long-term retinal damage. Always use the darkest shade that still allows you to see the weld puddle clearly.
(This article was written by one of our staff writers, James Harlan. Visit our Meet the Team page to learn more about the author and their expertise.)