How to Find and Follow AWS Welding Code Guidelines (Guide)
I remember the first time I tried to weld a T-joint in my garage. My hands were shaking, the arc was popping like popcorn, and the final result looked more like a mountain range of gray sludge than a structural joint. I spent months frustrated, wondering why my beads were inconsistent and my penetration was shallow. It wasn’t until I stopped “guessing” and started looking at industry standards that my skills finally began to level up.
Learning metal fabrication is a physical journey that requires intense hand-eye coordination and muscle memory. It is easy to feel lost when you are working alone in a shop. However, professional standards provide a roadmap. These documents, often referred to as welding codes, are not just for engineers in high-rise construction. They are the ultimate guide for any fabricator who wants to move from “hobbyist” to “professional grade.” By understanding how to access and apply these established rules, you can stop wasting metal and start building real skill.
Navigating the World of Professional Welding Standards
Industry standards act as a comprehensive rulebook that defines how a weld should be made, inspected, and tested to ensure safety. For a self-taught fabricator, these documents provide the exact targets you need to hit, such as bead size and penetration depth, removing the guesswork from your daily practice sessions.
When you are looking for guidance, the American Welding Society (AWS) is the primary source for structural and fabrication rules in the United States. Finding these documents usually starts at the AWS website or through a local vocational school library. For most of us working on projects like car frames, workbenches, or utility trailers, the most relevant documents are the D1.1 (Structural Steel) and D1.3 (Sheet Steel) codes.
Accessing these materials can be an investment, but they are the gold standard for a reason. They contain what we call Welding Procedure Specifications (WPS). A WPS is essentially a recipe for a perfect weld. It tells you exactly what gas to use, what wire speed to set, and what travel speed to maintain. Instead of turning knobs at random, you can follow a proven formula used by the pros.
Identifying the Right Code for Your Project
Choosing the correct standard depends entirely on the thickness of your metal and the type of material. If you are working on a heavy truck frame made of half-inch steel, you would look toward structural steel guidelines. If you are building a custom fuel tank from thin aluminum, you would seek out the specific aluminum or sheet metal standards.
- D1.1 Structural Steel: Used for steel 1/8 inch (3mm) and thicker. This is the “big book” for most heavy fabrication.
- D1.3 Sheet Steel: Used for steel thinner than 1/8 inch. Essential for bodywork and light fabrication.
- D1.2 Structural Aluminum: The go-to guide for aluminum projects.
- A5.0 Series: These documents focus on filler metals, helping you choose the right wire or rod for your base metal.
Mastering Body Mechanics and Torch Control
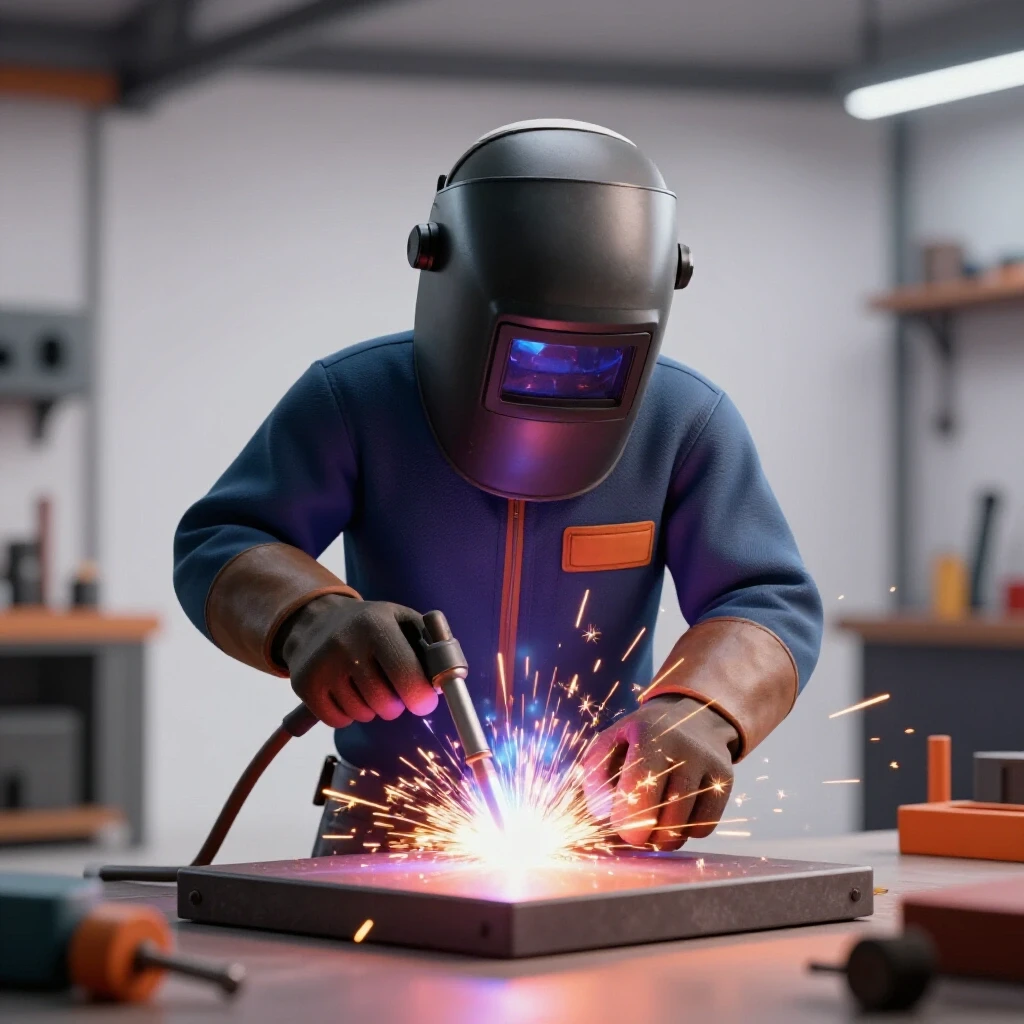
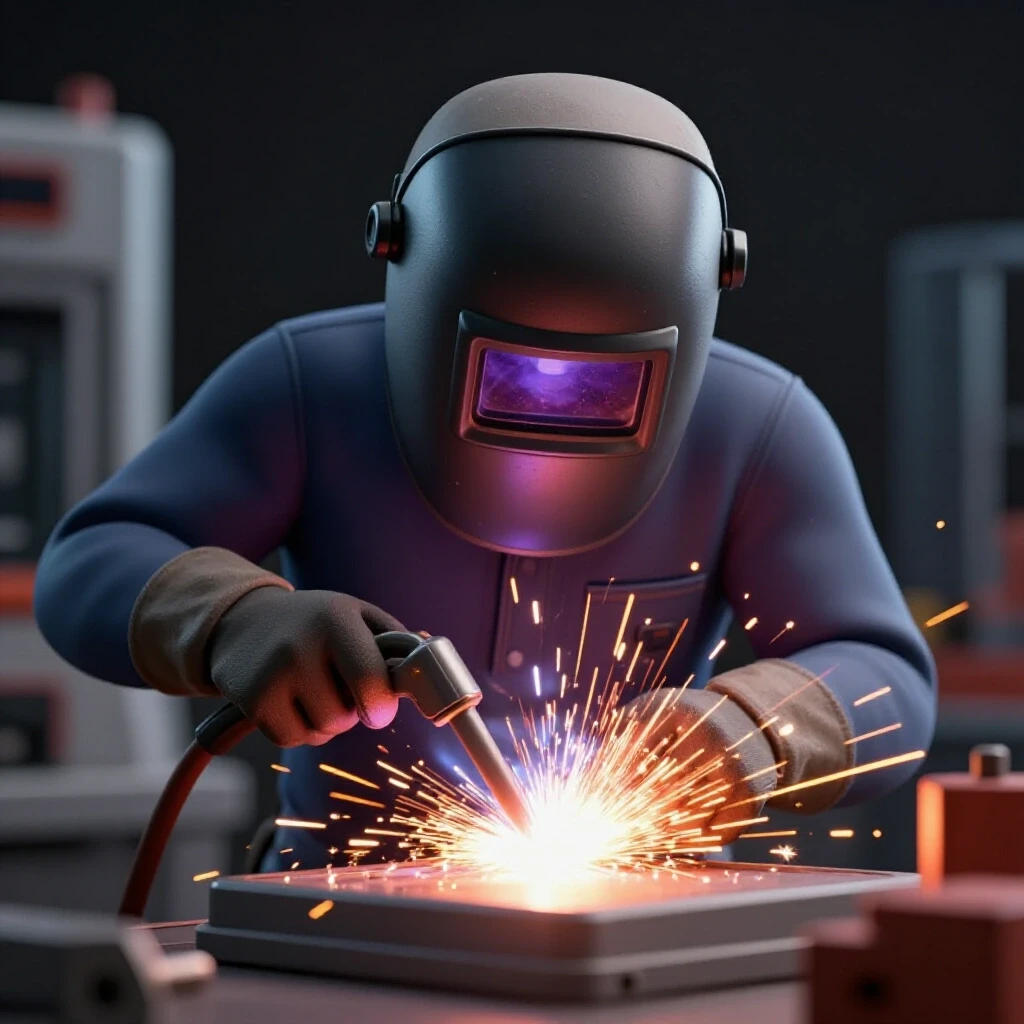
Physical consistency in welding starts with your body, not the machine. To follow professional guidelines, you must be able to maintain a steady arc length and travel speed, which requires a stable physical “stance” and a relaxed but firm grip on the torch or electrode holder.
When I teach students, I emphasize that you are the most important part of the machine. If your feet are tangled or your arm is hovering in the air without support, your weld will be shaky. I always look for a “three-point stance.” This means my feet are planted shoulder-width apart, and my non-welding hand or elbow is braced against the table or a steady rest. This bracing allows for micro-adjustments in the wrist rather than swinging the whole arm.
The Physics of Torch Angles
The angle at which you hold your torch significantly impacts how the heat enters the metal. In professional standards, we often discuss “travel angle” and “work angle.” The work angle is usually 90 degrees to the joint, while the travel angle (the tilt in the direction you are moving) is typically 10 to 15 degrees.
| Angle Type | Standard Range | Impact on Weld |
|---|---|---|
| Work Angle | 45 or 90 degrees | Determines bead centeredness and leg length. |
| Travel Angle (Drag) | 10–15 degrees | Increases penetration and produces a narrower bead. |
| Travel Angle (Push) | 10–15 degrees | Decreases penetration and produces a wider, flatter bead. |
Setting Machine Parameters Based on Technical Data
Setting your welder based on professional guidelines involves more than just looking at the chart inside the machine door. It requires understanding how voltage, wire feed speed, and amperage interact to create a stable arc that meets the requirements of a proven procedure.
A common mistake I see is “cold lapping,” where the metal looks like it is stuck on top of the plate without actually melting into it. This usually happens because the voltage is too low for the travel speed. By referencing a professional procedure, you can find a “starting window” for your settings. For example, if a procedure calls for 19 volts and 220 inches per minute (IPM) of wire speed for 1/4 inch steel, you know exactly where to begin your test runs.
Calculating Heat Input
For those looking to reach an intermediate level, understanding heat input is vital. Heat input is the amount of energy put into the metal per inch of weld. If you move too slowly, you put in too much heat, which can warp the metal or weaken its internal structure. If you move too fast, you don’t get enough penetration.
The basic formula used in many technical guides is: Heat Input = (Amps x Volts x 60) / Travel Speed (inches per minute)
By tracking your travel speed with a stopwatch during practice, you can calculate if you are staying within the recommended “envelope” for the material you are using.
The Importance of Clean Zones and Material Prep
Professional standards are very strict about material cleanliness because most weld defects, like porosity or cracking, start with surface contamination. Establishing a “clean zone” means removing all mill scale, rust, oil, and paint from the area where the weld will be placed.
In my shop, I follow the “one-inch rule.” I grind the metal back to shiny silver at least one inch away from the joint on all sides. Mill scale is a thin layer of oxidized iron that forms during the steel-making process. It has a higher melting point than the steel itself. If you don’t remove it, your arc has to fight through that layer, leading to an unstable puddle and poor fusion at the “toes” (the edges) of the weld.
- Mechanical Cleaning: Use a flap disc or wire wheel to reach bright metal.
- Chemical Cleaning: For aluminum or stainless steel, use acetone to remove invisible oils.
- De-burring: Always remove sharp edges after cutting, as these can trap air and cause gas pockets in your weld.
Executing Consistent Bead Patterns through Drills
Building muscle memory requires repetitive, structured drills that focus on one variable at a time. Instead of trying to build a complex project right away, professional training involves “bead-on-plate” exercises where you simply run straight lines until they look identical.
I suggest starting with a 6-inch by 6-inch plate of 1/4 inch thick steel. Draw straight lines with a soapstone marker every half-inch. Your goal is to run a bead that stays perfectly on the line, maintains a consistent width, and has a uniform “ripple” pattern. If your ripples are spaced far apart, you are moving too fast. If they are bunched up and the bead is tall, you are moving too slow.
Travel Speed Metrics for Practice
Tracking your speed is the fastest way to improve. In many structural procedures, a travel speed of 8 to 12 inches per minute (IPM) is standard for manual welding.
- Mark a 6-inch line on your plate.
- Set a timer or have a friend watch the clock.
- Try to finish that 6-inch weld in exactly 45 seconds (which is 8 IPM).
- Adjust your hand speed until you can hit that timing consistently within 2 or 3 seconds every time.
Assessing Your Work Against Professional Benchmarks
Self-assessment is the bridge between a beginner and a master. Professional codes provide “acceptance criteria,” which are clear rules on what a good weld looks like. By comparing your practice pieces to these standards, you can identify exactly what you need to fix.
Common defects include undercut (a groove melted into the base metal next to the weld), overlap (weld metal rolling over without fusing), and porosity (tiny holes like a sponge). Most codes allow for zero visible porosity and very minimal undercut. If you see a groove at the edge of your weld, it usually means your travel speed was too fast or your torch angle was off.
Visual Inspection Checklist
- Bead Width: Is it uniform from start to finish?
- Reinforcement: Is the weld too tall (more than 1/8 inch above the surface)?
- Fusion: Did the edges of the weld melt smoothly into the base metal?
- Cracks: Are there any visible lines in the center or at the end of the weld (the crater)?
Tracking Your Progress with Practice Logs
The most successful fabricators I know keep a detailed log of their shop time. This isn’t just about writing down that you practiced; it is about recording the specific variables so you can replicate your successes and diagnose your failures.
When I was learning to TIG weld stainless steel, I hit a plateau for three weeks. I couldn’t figure out why my welds were turning grey and crispy (a sign of overheating). By looking back at my logs, I realized I had increased my amperage but hadn’t increased my travel speed to compensate. The data showed me the answer that my eyes couldn’t see in the moment.
Sample Practice Log Template
| Date | Material/Thickness | Process/Settings | Travel Speed (IPM) | Notes/Results |
|---|---|---|---|---|
| 10/12 | 1/4″ Mild Steel | MIG – 19.5V / 230 IPM | 9 IPM | Good penetration, slight undercut at end. |
| 10/14 | 1/4″ Mild Steel | MIG – 19.0V / 230 IPM | 8 IPM | Better edges, bead is a bit too tall. |
| 10/15 | 1/4″ Mild Steel | MIG – 19.2V / 230 IPM | 8.5 IPM | Best result yet. Consistent ripples. |
Practical Next Steps for the Self-Taught Fabricator
To truly master these skills, you need to move from random practice to a structured curriculum. Start by downloading a sample Welding Procedure Specification (WPS) from an online vocational resource. Treat that document like a set of instructions for a model kit. Your goal is to produce a weld that matches the description in the document exactly.
Invest in a cheap digital calipers to measure your weld sizes and a speed square to check your joint fit-up. If you have a smartphone, record your hands while you weld. Watching your torch angle in slow motion will reveal shakes or tilts that you don’t notice while you are under the hood. This kind of objective feedback is how you break through plateaus and reach a professional level of consistency.
Summary of Skill Milestones
- Week 1-2: Focus on stance and “dry runs” (moving the torch without an arc) to build smooth arm motion.
- Week 3-4: Bead-on-plate drills focusing on consistent travel speed (8-12 IPM).
- Week 5-8: Fillet welds (T-joints) focusing on work angles and preventing undercut.
- Week 9+: Multi-pass welds and out-of-position (vertical and overhead) practice.
Frequently Asked Questions
How can I find AWS standards without spending a lot of money?
While full code books are expensive, the AWS offers many “Standard Welding Procedure Specifications” (SWPS) for a lower cost. Additionally, many public libraries or community college libraries have copies you can view for free. You can also find “Safety in Welding” (Z49.1) as a free download on the AWS website, which is a great place to start.
What is the most common reason for failing a visual inspection?
Undercut and improper weld size are the most frequent issues. Undercut is usually caused by excessive heat or an improper torch angle that “washes away” the base metal without replacing it with filler. Improper weld size usually comes from inconsistent travel speed.
Do I need to be a certified welder to follow these guidelines?
No. Anyone can follow the guidelines to improve their work. Certification is a formal process where an inspector verifies you can follow the code, but the techniques described in the documents are beneficial for every fabricator, regardless of their career goals.
How do I know which travel angle to use?
As a general rule, use a “drag” or “pull” angle for processes that produce slag (like Stick or Flux-Core) to keep the slag from being trapped in the weld. Use a “push” angle for MIG or TIG on thin materials to keep the bead flat and prevent burn-through.
What is a “WPS” and why should I care?
A Welding Procedure Specification (WPS) is a formal document that describes how a weld is to be performed. For a learner, it is a “cheat sheet” that provides the exact settings and techniques needed to create a high-quality weld, saving you hours of trial and error.
How often should I track my travel speed?
In the beginning, track it every session. Once you can “feel” the correct speed and your beads look consistent, you can check it once a week to ensure you aren’t developing “speed creep,” where you gradually start moving faster and faster without noticing.
Why does my weld have tiny holes in it?
This is called porosity. It is usually caused by poor material cleaning, a lack of shielding gas (check for drafts or empty tanks), or holding the torch too far away from the metal (excessive stick-out).
Can I use structural steel codes for my car projects?
Yes, the principles in D1.1 (Structural Steel) regarding penetration, fusion, and defect prevention apply to most automotive steel fabrication. However, for thin body panels, the D1.3 (Sheet Steel) code is more appropriate.
What is the “toes” of a weld?
The “toes” are the points where the face of the weld meets the base metal. A good weld should have toes that blend smoothly into the plate. If there is a sharp notch or a cliff-like drop-off, the weld is more likely to crack under stress.
How long does it take to build professional muscle memory?
It varies, but most vocational programs require several hundred hours of “hood time” before a student is ready for a certification test. Consistency is more important than total hours; thirty minutes of focused, logged practice every day is better than an eight-hour marathon once a month.
(This article was written by one of our staff writers, Thomas Langley. Visit our Meet the Team page to learn more about the author and their expertise.)