How to Label and Organize Small Parts in Your Shop (Guide)
When I built my first garage workshop in 2013, I had exactly $2,000 and a lot of ambition. I quickly learned that while a shiny new welder or a sturdy drill press feels like the heart of the shop, the veins are the thousands of small fasteners, washers, and specialized hardware pieces that hold every project together. In those early days, I wasted hours digging through a “miscellaneous” coffee can for a single 1/4-20 bolt. That frustration didn’t just slow me down; it led to safety shortcuts and “good enough” fixes that I later regretted. Establishing a professional-grade system for hardware management is the difference between a chaotic hobby space and a functional fabrication shop.
For a beginner, the financial anxiety of setting up a shop is real. You want to spend your money on the big tools, but if you don’t budget for a durable physical sorting system, you will end up overspending on hardware you already own but can’t find. My approach, rooted in my years as an industrial maintenance technician, focuses on creating a system that survives the harsh reality of a metal shop—oils, metal dust, and constant vibration.
Establishing a Systematic Hardware Sorting Framework
A systematic hardware sorting framework is the organized method of categorizing and storing fasteners, fittings, and small components to ensure they are protected from the environment and easily retrievable during a build. This process involves grouping items by function, size, and material grade to maintain a predictable workflow.
In an industrial setting, we followed strict protocols for part retrieval because downtime costs thousands of dollars per hour. In your home shop, the cost is your limited free time. I recommend starting with a basic categorization of your most-used items. For metalworking, this usually means separating your Grade 5 and Grade 8 steel bolts, stainless steel fasteners, and aluminum rivets.
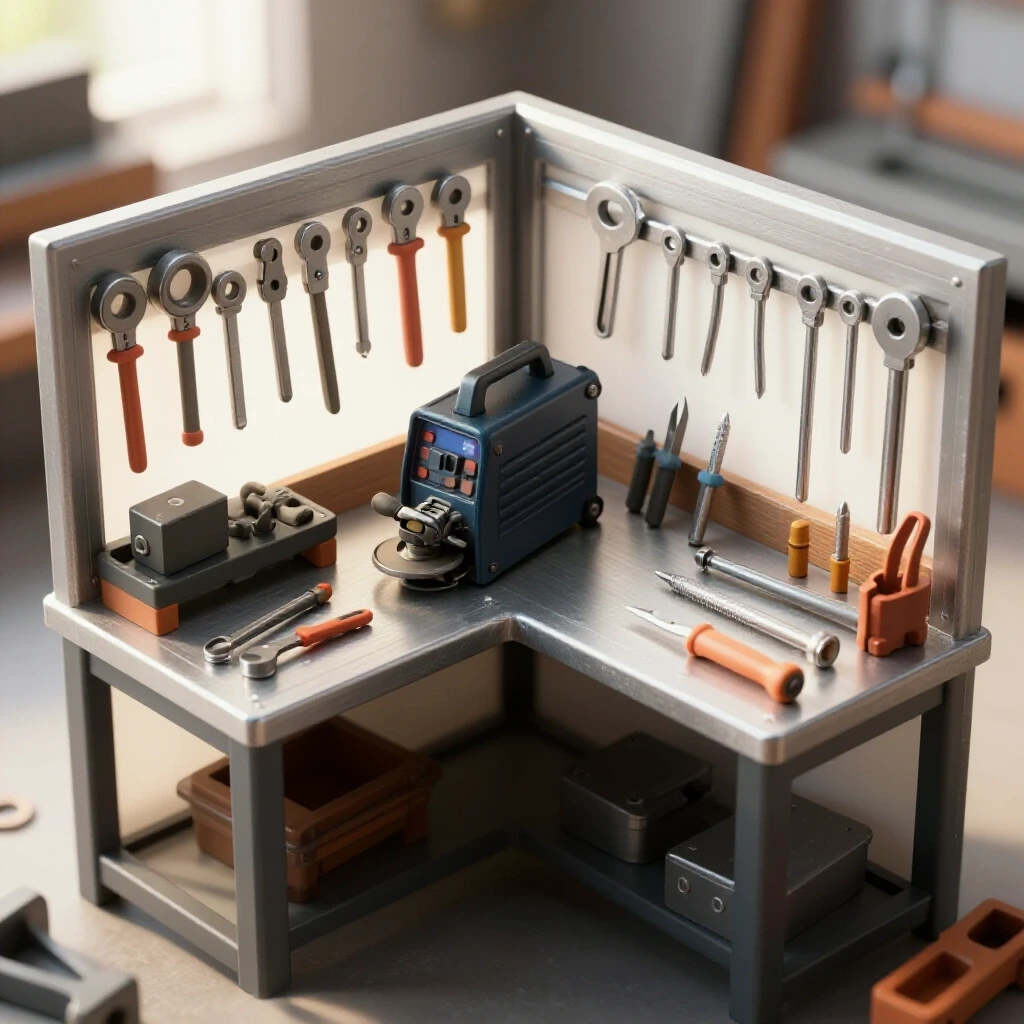
When you are planning your starter metal workshop layout, think about the “point of use.” I keep my welding consumables—nozzles, contact tips, and magnets—within arm’s reach of the welding table. My drill bits, taps, and dies live right next to the drill press. This reduces the “shop shuffle,” which is the wasted movement of walking across a garage to find a single set screw. By mapping out these zones early, you can avoid the clutter that leads to tripping hazards and lost tools.
Selecting Durable Containers for Metalworking Environments
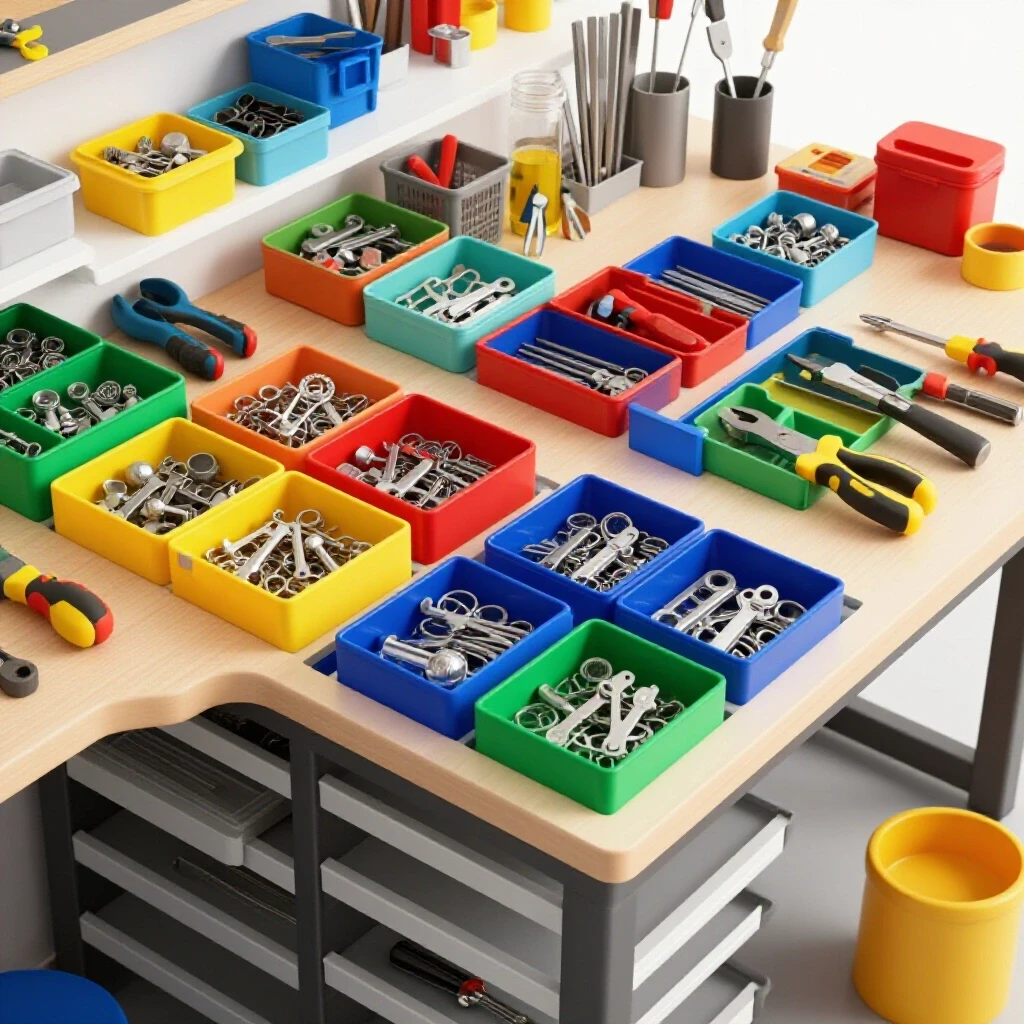
Durable containers are storage units made from high-density materials like steel or heavy-duty polymers designed to withstand the weight of metal hardware and the corrosive nature of shop chemicals. These bins must resist cracking under vibration and remain stable when stacked or mounted to a wall.
One of the biggest mistakes I see beginners make is using thin, brittle plastic organizers designed for craft supplies. In a metal shop, these will shatter the first time you drop a heavy box of 1/2-inch nuts on them. I prefer heavy-duty polyethylene bins or steel drawer cabinets. Steel cabinets are excellent because they don’t degrade when exposed to UV light or the sparks from a nearby angle grinder.
When choosing a container system, consider the weight capacity. A small bin full of solid brass fittings or steel bolts can easily weigh 10 to 15 pounds. If your shelving or bin rack isn’t rated for that load, you risk a structural failure. I follow a simple rule: the heavier the part, the lower it sits in the rack. This keeps the center of gravity low and prevents the storage unit from tipping over, which aligns with basic OSHA workshop safety principles regarding material storage.
| Container Type | Best Use Case | Durability Rating | Cost Estimate |
|---|---|---|---|
| Steel Drawer Cabinets | Precision fasteners, taps, and dies | High | $50 – $150 |
| Open-Front Poly Bins | Bulk hardware, grinding wheels, clamps | Medium-High | $2 – $10 per bin |
| Metal Parts Cases | Portable kits for mobile repairs | High | $30 – $60 |
| Magnetic Trays | Temporary storage during assembly | Medium | $5 – $15 |
Industrial Labeling Methods That Resist Shop Contaminants
Industrial labeling refers to identification techniques that use chemical-resistant markers, embossed metal tags, or engraved plates to ensure that part descriptions remain legible despite exposure to cutting fluids, grease, and metal filings. These methods prioritize long-term durability over aesthetic appearance.
In a fabrication space, standard paper labels are useless. Within months, the adhesive will fail due to temperature swings, or the ink will smudge from the oil on your fingers. I’ve seen beginners try to use masking tape and a ballpoint pen, only to find a pile of unidentifiable gray tape on the floor a year later. Instead, I use two primary methods: the “Oil-Resistant Marker” technique and “Mechanical Identification.”
For most plastic bins, a high-quality industrial paint marker is the best budget-friendly option. These markers use a permanent enamel-based ink that bites into the plastic. If you need to change the label later, a quick wipe with acetone or brake cleaner will remove it. For a more permanent solution, I use a metal embossing tool to create aluminum tags. These tags can be riveted or wired directly to a bin or drawer handle. They are immune to heat, oil, and even fire, making them the gold standard for a shop that sees heavy grinding and welding.
- Use high-contrast colors (white ink on black bins or black ink on yellow bins).
- Label both the front of the bin and the shelf space it occupies.
- Include the size, thread pitch (e.g., 1/4-20 vs 1/4-28), and material type.
- Avoid using abbreviations that you might forget in six months.
Strategic Placement of Fastener Stations in Your Layout
Strategic placement involves the deliberate positioning of hardware storage units within the workshop to align with the sequence of fabrication tasks, thereby minimizing the distance a worker must travel to access essential components. This layout strategy enhances both safety and productivity.
When I was refining my garage workshop ventilation and layout, I realized that my hardware was all in one corner, while my assembly table was in another. This meant I was constantly walking back and forth with handfuls of bolts. To fix this, I implemented a “Zone-Based Storage” system. I keep my most frequently used fasteners in a central “hardware hub” and specialized items in “satellite stations.”
For example, my “Welding Satellite” contains copper anti-spatter spray, extra ground clamps, and various sizes of tack-welding spacers. My “Machining Satellite” holds T-nuts, hold-down clamps, and shim stock. This keeps the work area clear of unnecessary clutter while ensuring the right parts are there when I need them. When you are drafting your first shop layout, leave at least 36 inches of clearance in front of your storage racks. This ensures you can pull out drawers fully without bumping into a machine or creating a pinch point.
Budgeting for Inventory: Essential vs. Non-Essential Hardware
Budgeting for inventory is the process of allocating financial resources to purchase a foundational stock of fasteners and hardware, prioritizing the most commonly used sizes to ensure project continuity without over-investing in specialized items.
It is tempting to buy those massive “1,000-piece hardware assortments” you see online. However, as an industrial tech, I can tell you that 80% of those kits are sizes you will never use. You’ll end up with 200 tiny M3 screws and zero 3/8-16 bolts when you actually need them. Instead of buying kits, I recommend building your own “Shop Standards.”
I suggest allocating about 10% of your initial startup budget to a “Foundational Hardware Stock.” For a $2,000 shop, that’s $200. Focus on Grade 5 zinc-plated hex bolts in common sizes like 1/4-20, 5/16-18, and 3/8-16. These are the workhorses of general fabrication. By buying these in bulk boxes of 50 or 100 from an industrial supplier, you pay pennies per piece compared to the high prices at a local hardware store.
- Identify the 5 most common bolt sizes used in your planned projects.
- Purchase bulk quantities of matching nuts, flat washers, and lock washers.
- Store them in labeled, dedicated bins immediately upon arrival.
- Track your usage in a simple notebook to see which sizes you need to restock.
Protecting Small Parts from Corrosion and Metal Dust
Corrosion protection for small parts involves using physical barriers, desiccants, or chemical coatings to prevent oxidation and the accumulation of abrasive metal dust on threaded fasteners and precision components. This is critical in shops where welding and grinding create high levels of airborne particulates.
Metalworking is a dirty process. Every time you use an angle grinder, you are sending a cloud of fine steel dust into the air. If your hardware bins are open-topped, that dust will settle into the threads of your bolts. Over time, moisture in the air will cause that dust to rust, effectively “welding” your hardware together in the bin.
To prevent this, I use bins with lids or drawer-style cabinets for anything precision-related. For bulk items in open bins, I keep a thin coat of light machine oil or a dedicated corrosion inhibitor on the parts. Another trick I learned in the field is to place a small silica gel packet in drawers containing high-carbon steel taps or expensive fasteners. This absorbs the humidity that naturally fluctuates in a garage environment, keeping your inventory pristine and ready for use.
Organizing Specialized Fabrication Components
Specialized fabrication components are non-fastener items such as grease fittings, O-rings, electrical terminals, and snap rings that require specific storage conditions to maintain their integrity and functionality. These items often require subdivided containers due to their small size and variety.
Beyond bolts and nuts, a metal shop requires a home for “consumables.” These are the items you use up, like sanding discs, TIG welding tungsten, and silver solder. I treat these with the same level of organization as my fasteners. I use clear-lidded “organizer suitcases” for electrical terminals and heat shrink tubing. This allows me to see my inventory levels at a glance without opening every box.
One of the best budget metalworking tools you can “build” is a custom rack for your grinding and cutting discs. Instead of stacking them in a pile where the edges can get chipped, I use a simple vertical peg system. This keeps the discs separated and prevents the abrasive surfaces from rubbing against each other, which can lead to premature failure or even shattering during use—a major safety hazard.
Maintaining Your Organization System Over Time
Maintaining an organization system is the ongoing practice of returning parts to their designated locations, updating labels as inventory changes, and cleaning storage units to prevent the buildup of shop grime. A system only works if it is consistently followed.
I’ve seen many shops start out organized and descend into chaos within six months. The key to preventing this is the “Five-Minute Reset.” At the end of every shop session, I spend five minutes putting away any stray hardware. If I find a bolt on the floor and I’m not sure what it is, I don’t throw it in a “junk drawer.” I take the time to measure it with a thread gauge and put it back in the correct bin.
I also recommend a “Quarterly Audit.” Every three months, I wipe down the fronts of my bins with a degreaser and check my stock levels. This is when I update my cost-tracking spreadsheet. By knowing exactly what I have, I avoid the “emergency trip” to the store, which usually results in buying overpriced hardware and wasting an hour of fabrication time.
- Never put “mystery hardware” back into a labeled bin without verifying the size.
- Keep a thread pitch gauge chained to your main hardware cabinet.
- Replace illegible labels immediately.
- Clean out metal dust from the bottom of bins at least twice a year.
Essential Tools for Hardware Identification and Management
Hardware identification tools are precision instruments used to determine the diameter, thread pitch, and length of fasteners, ensuring they are stored in the correct locations and used appropriately in mechanical assemblies.
You cannot rely on your eyes to distinguish between a 1/4-20 and a 1/4-28 bolt, especially when they are covered in shop grime. A set of thread gauges is a non-negotiable tool for any beginner. I prefer the “nut and bolt checker” wall-mounted plates. They are inexpensive and provide a physical hole to thread the fastener into, giving you a 100% accurate identification every time.
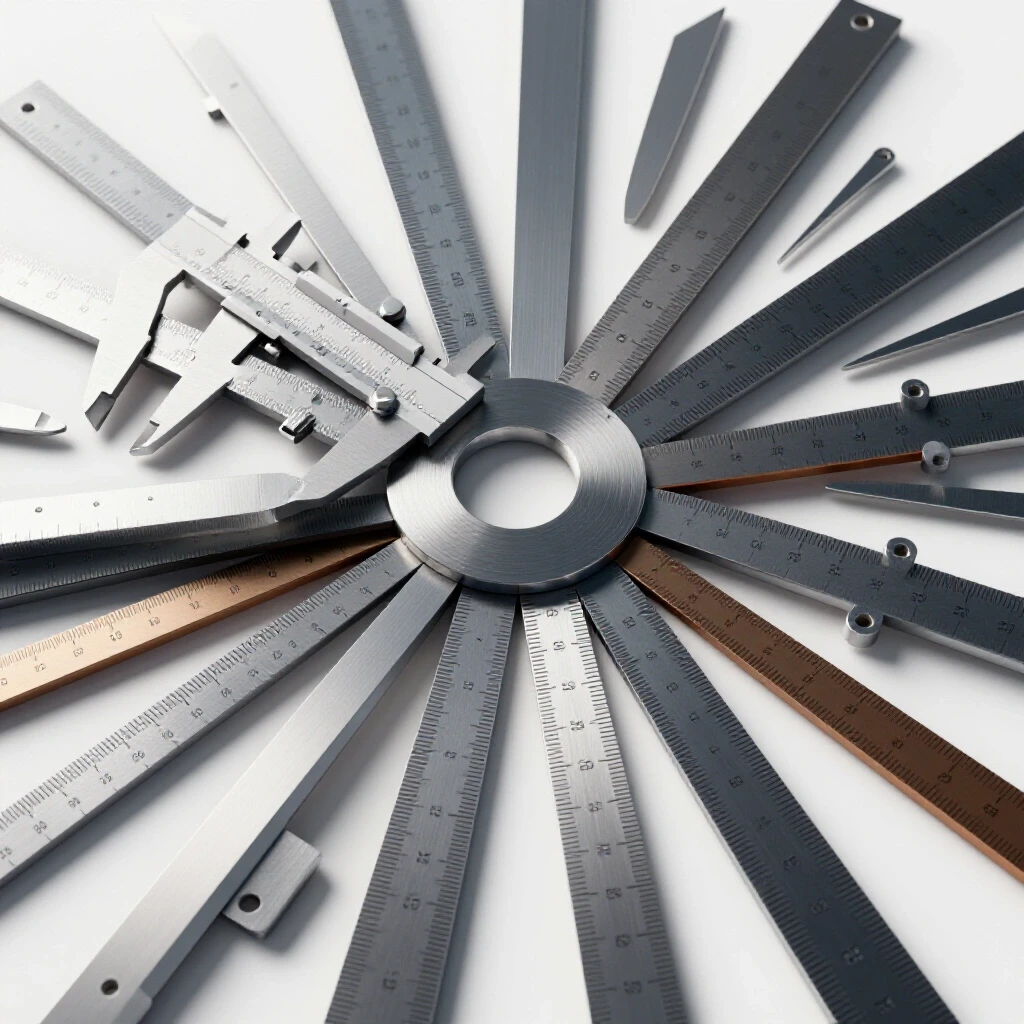
Another essential is a decent pair of digital calipers. While you don’t need a $200 set for sorting bolts, a $30 pair will allow you to measure the length and diameter of unlabelled stock or specialized fittings. When you combine these tools with a structured labeling system, you eliminate the guesswork that leads to stripped threads and failed assemblies.
- Thread Pitch Gauge: A folding tool with serrated leaves for matching thread teeth.
- Nut and Bolt Checker: A plate or cable with male and female threaded studs.
- Digital Calipers: For measuring bolt shank diameter and overall length.
- Paint Pens: For permanent, high-visibility labeling on plastic and metal.
- Small Parts Scale: Useful if you need to count bulk fasteners by weight.
Conclusion
Building a functional metalworking space on a budget is a marathon, not a sprint. It is easy to get caught up in the excitement of buying a new welder or a plasma cutter, but the foundation of a professional shop is its organization. By investing in durable bins, using industrial-grade labeling, and placing your hardware stations strategically, you are setting yourself up for years of productive, safe fabrication.
Remember, every minute you spend searching for a washer is a minute you aren’t building. Start small, buy quality storage that can grow with your skills, and treat your hardware with the same respect you show your power tools. Your future self, standing in a clean, efficient, and safe workshop, will thank you for the discipline you show today.
FAQ
Why shouldn’t I use a standard label maker for my shop bins? Standard label makers use thermal paper and mild adhesives that are not designed for industrial environments. The heat in a garage can cause the labels to turn black or peel off, and the oils common in metalworking will dissolve the ink. Industrial paint pens or embossed metal tags are far more durable.
What is the best way to store drill bits and taps? These are precision cutting tools and should never be stored loosely in a bin where they can knock against each other. Use a “drill index” or a dedicated wooden block with sized holes. This protects the sharp cutting edges from becoming dull or chipped.
How do I know if a plastic bin is strong enough for metal parts? Look for bins made of High-Density Polyethylene (HDPE) or reinforced Polypropylene. These are often labeled as “industrial” or “heavy-duty.” A good test is to squeeze the sides; if the plastic feels brittle or flexes excessively, it likely won’t hold up to the weight of steel fasteners.
Should I organize bolts by length or by diameter first? Always organize by diameter and thread pitch first. For example, all 3/8-16 bolts should be in one area, then subdivided by length (1 inch, 2 inch, etc.). This makes it much easier to find a replacement if you realize your current bolt is too short.
How can I prevent my hardware from rusting in an unheated garage? Use closed drawers or bins with tight-fitting lids to limit airflow. You can also use VCI (Vapor Corrosion Inhibitor) emitters or silica gel packets inside the drawers. For bulk hardware, a very light mist of specialized rust preventative oil is effective.
Is it worth buying Grade 8 hardware for everything? Not necessarily. Grade 8 is stronger but also more expensive and brittle. For most non-structural shop projects, Grade 5 zinc-plated hardware is more than sufficient and much more budget-friendly. Save the Grade 8 for automotive or high-stress structural applications.
Where can I find affordable industrial-grade storage? Keep an eye on local industrial auctions, school shop liquidations, or used office furniture stores. Often, heavy-duty steel “parts cabinets” can be found for a fraction of their retail price if you are willing to clean them up and relabel them.
What is the “80/20 rule” for shop hardware? The 80/20 rule suggests that 80% of your projects will use only 20% of your hardware sizes. For most home metalworkers, this means stocking up on 1/4-20, 5/16-18, and 3/8-16 fasteners, as these will cover the vast majority of your assembly needs.
How do I handle “leftover” hardware from a specific project? If the hardware is a standard size you already stock, put it back in the appropriate bin immediately. If it is a unique, one-off size, decide if it is truly worth keeping. If you don’t have a specific use for it within six months, it’s often better to scrap it than to let it clutter your organized system.
Can I use magnetic strips to store small parts? Magnetic strips are great for tools like wrenches or screwdrivers, but they are poor for small parts. They can magnetize your fasteners, which becomes a major headache when you try to assemble parts later, as the bolts will attract every bit of metal dust in your shop.
(This article was written by one of our staff writers, Michael Thompson. Visit our Meet the Team page to learn more about the author and their expertise.)