How to Reduce Fuel Gas Usage on Oxy-Acetylene Torches (Tips)
When I first opened my manufacturing shop sixteen years ago, I spent most of my time looking at the blue and orange glow of the torch. I didn’t spend enough time looking at my bank statements. Like many side-hustlers, I assumed that if I was busy, I was making money. It wasn’t until I received a massive bill for a gas refill that I realized my “profitable” weekend project had actually cost me money. Many small shop owners face this same anxiety, wondering why their bank balance doesn’t reflect their hard work.
Transitioning from a hobbyist to a professional fabricator requires a shift in mindset. You are no longer just melting metal; you are managing a complex system of inputs, where every second the torch is lit represents a measurable cost. To build a sustainable business, you must master the math behind your workshop. This means understanding how to track every cubic foot of gas and every ounce of filler rod to ensure your pricing covers more than just the raw materials.
Establishing the Financial Foundation of a Small Fabrication Shop
A shop rate is the total dollar amount you must charge per hour to cover all business expenses and generate a fair profit. It is the most critical number in your business, acting as the baseline for every quote you send to a customer.
Before you can worry about specific project costs, you have to know what it costs to keep the lights on. Many side-hustlers make the mistake of only charging for their time and materials. They forget about the “hidden” costs like shop insurance, software subscriptions, and the gradual wear on their equipment. If you don’t account for these, your side-hustle is actually a subsidized hobby for your customers.
Defining and Allocating Workshop Overhead
Overhead represents all the costs required to operate your shop that cannot be directly billed to a specific project. This includes rent or mortgage, utilities, insurance, and even the small items like grinding discs, rags, and cleaning supplies that disappear over time.
To calculate your overhead, total these expenses for a year and divide them by the number of billable hours you realistically expect to work. If your annual overhead is $12,000 and you work 1,000 hours a year on your side business, your overhead burden is $12 per hour. This amount must be added to your labor rate and material costs for every single job.
Mapping Machinery Amortization and Tool ROI
Amortization is the process of spreading the cost of an expensive tool over its expected useful life. Instead of viewing a $2,000 torch setup as a one-time loss, you treat it as a recurring expense that the business must “pay back” through its work.
I recommend a five-year depreciation cycle for most high-quality fabrication tools. If a tool costs $3,000 and lasts five years, it costs the business $600 per year, or $50 per month. When you calculate your ROI, you aren’t just looking for the tool to pay for itself; you are looking for it to increase your hourly output enough to justify the investment.
| Expense Category | Annual Cost (Example) | Hourly Impact (1,000 hrs/yr) |
|---|---|---|
| Shop Rent/Space | $6,000 | $6.00 |
| Utilities & Power | $1,800 | $1.80 |
| Insurance & Licensing | $1,200 | $1.20 |
| Equipment Amortization | $2,000 | $2.00 |
| Total Overhead Burden | $11,000 | $11.00/hour |
Why Consumable Efficiency Directly Impacts Your Bottom Line
Consumables are items that are used up during the fabrication process, such as fuel gases, shielding gases, and welding wire. Unlike a fixed piece of equipment, these costs vary wildly depending on how efficiently you operate your tools and how you set up your equipment.
In my early years, I treated gas cylinders like an infinite resource. I eventually learned that gas is one of the highest variable costs in a small shop. If you can reduce the amount of fuel you use to complete a cut, you are directly increasing your hourly profit margin. This requires a disciplined approach to how you manage the flow and duration of your thermal cutting processes.
Maximizing Gas Economy through Precision Torch Settings
Optimizing the flow of fuel through your equipment involves matching your torch settings to the specific thickness of the metal you are working with. Using a tip that is too large or pressure that is too high results in wasted gas that literally disappears into the air without improving the cut.
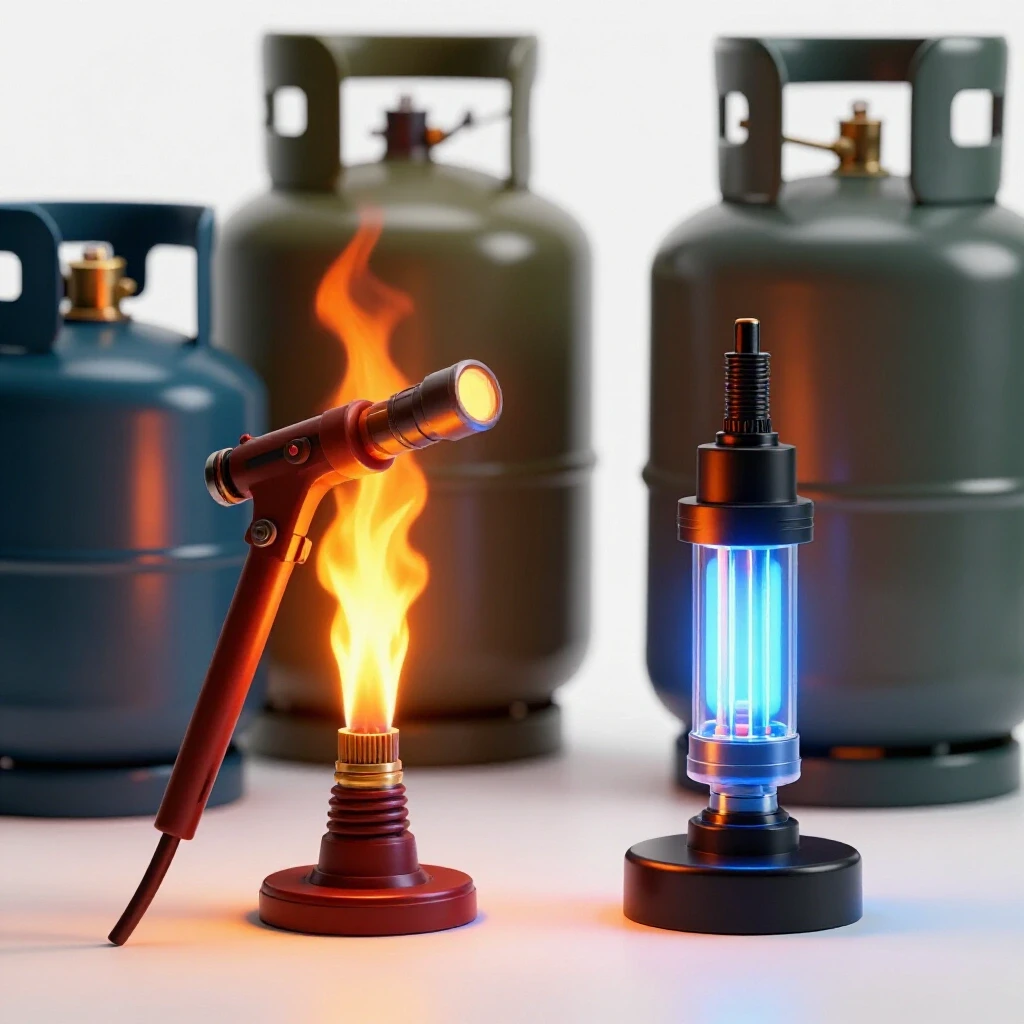
To improve efficiency, focus on the stoichiometry of your flame. A neutral flame, where the oxygen and acetylene are perfectly balanced, provides the most heat for the least amount of fuel. If your flame is too “carburizing” (too much acetylene), you are wasting fuel and potentially contaminating the metal. Conversely, an oxidizing flame (too much oxygen) can lead to poor cut quality, forcing you to spend more time—and more gas—fixing the mistake.
Minimizing Preheat Duration to Protect Margins
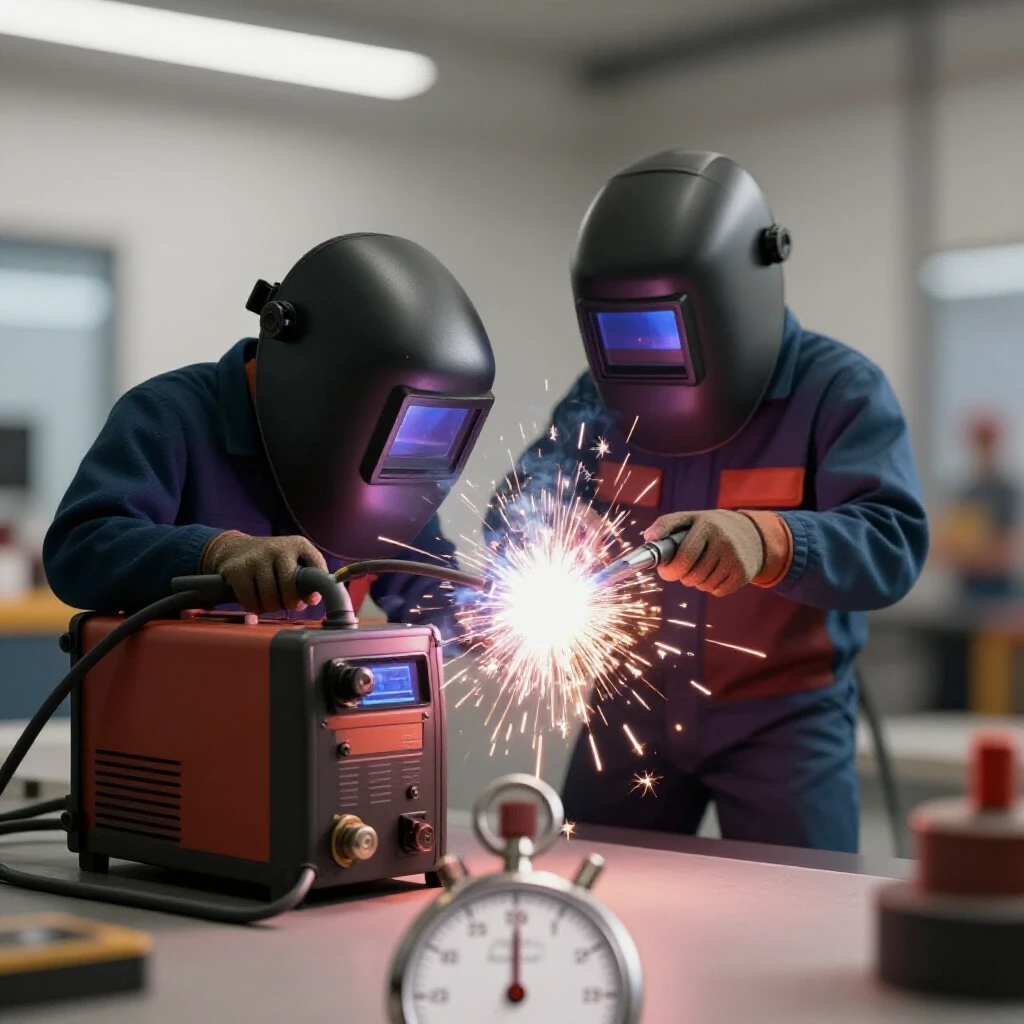
The preheat cycle is the time spent heating the metal to its ignition temperature before the cutting oxygen is engaged. This is often the most wasteful part of the process because the torch is running at high capacity while no actual cutting is taking place.
I have found that many fabricators wait far too long for the metal to “cherry up.” By learning to recognize the exact moment the steel is ready to react with the oxygen, you can shave seconds off every start. In a job with fifty individual cuts, saving five seconds of preheat per cut adds up to over four minutes of saved gas. This might seem small, but over a month of production, it significantly lowers your consumable burden factor.
Developing Accurate Fabrication Job Costing Models
Fabrication job costing is the practice of estimating the total cost of labor, materials, and consumables before starting a project. A good model prevents “under-bidding” and ensures that the price you quote to a customer includes a healthy profit for the shop.
Accuracy in bidding comes from data, not intuition. I keep a log of how long specific tasks take, such as cutting a linear foot of 1/2-inch plate or welding a standard T-joint. When a customer asks for a quote, I don’t guess; I refer to my historical data. This allows me to provide a price that is fair to the customer but also protects my business from unexpected losses.
Factoring in the Consumable Burden for Thermal Cutting
The consumable burden is a percentage or flat rate added to a job to cover the cost of gases and other used-up materials. For shops using thermal cutting processes, this burden can represent 5% to 15% of the total job cost depending on the complexity of the work.
Instead of trying to track every cubic foot of gas for every small job, I use a “burden factor” based on my monthly gas spend. If I spend $200 a month on gas and perform 40 hours of cutting, my gas cost is $5 per hour of “torch-on” time. I make sure to include this $5 in my estimates, alongside my labor and overhead, to ensure the customer is paying for the fuel I use.
| Job Component | Cost Basis | Calculation | Total |
|---|---|---|---|
| Raw Material | $150.00 | + 20% Markup | $180.00 |
| Shop Labor | $75.00/hr | 4 Hours | $300.00 |
| Overhead Burden | $15.00/hr | 4 Hours | $60.00 |
| Consumable Burden | $8.00/hr | 2 Hours (Torch-on) | $16.00 |
| Total Quote | $556.00 |
Strategies for Bulk Metal Sourcing and Inventory Management
Sourcing materials effectively means finding the balance between having what you need on hand and not tying up all your cash in “dead” inventory. Buying in bulk can lower your per-unit cost, but only if you use that material quickly enough to justify the upfront expense.
I recommend building relationships with local steel service centers rather than buying from big-box hardware stores. Service centers often have “remnant” or “drops” piles where you can buy smaller pieces of high-quality steel at a significant discount. For a side-hustle, these remnants are gold mines for increasing profit margins, as you can charge the customer the full market rate for the material while paying only a fraction of the cost.
Analyzing Post-Job Profits and Cost Variance
Post-job analysis is the process of comparing your actual costs and time spent against your original estimate. This is the only way to know if your shop rate is accurate and if your production methods are as efficient as you think they are.
If a job took six hours but you quoted four, you have a “negative variance.” You need to investigate why. Was the metal dirtier than expected, requiring more preheat time? Did you use a cutting tip that was too small, slowing down your travel speed? By identifying these variances, you can adjust your future quotes and improve your technical efficiency to prevent the same mistake from happening twice.
- Review the Time Log: Compare actual labor hours to the estimate.
- Check Consumable Usage: Did you go through more gas or wire than expected?
- Evaluate Material Waste: Calculate the “yield” from the raw stock you purchased.
- Adjust the Model: Update your bidding spreadsheet with the new data.
- Calculate Effective Hourly Rate: Divide the total profit by the actual hours worked.
Essential Tools for Tracking Workshop Economics
Managing the financial side of a fabrication business is much easier with the right digital tools. These resources help you move away from paper scraps and “gut feelings” toward data-driven decision-making.
- QuickBooks or FreshBooks: These are excellent for professional invoicing and tracking your overhead expenses for tax purposes.
- Excel or Google Sheets: I still use a custom spreadsheet for job estimation because it allows me to build specific formulas for gas consumption and material markups.
- Time Tracking Apps (like Toggl): Use these to track exactly how much time you spend on “torch-on” tasks versus prep and assembly.
- Inventory Trackers: Simple apps can help you log your current stock of gas cylinders and steel so you never run out in the middle of a rush job.
Key Takeaways for Long-Term Profitability
Building a profitable side-hustle in metalworking is about more than just skill with a torch; it is about the discipline of tracking costs. By optimizing your equipment to use less fuel and accurately accounting for every minute of your time, you can turn a struggling shop into a consistent income stream.
The most successful shop owners I know are the ones who aren’t afraid of the numbers. They treat their gas cylinders like cash and their time like a non-renewable resource. If you can master the economics of your workshop, you will find that the technical side of fabrication becomes much more rewarding.
Frequently Asked Questions
How can I tell if I am using too much fuel gas during a cut? Look at the edges of your cut. If the top edge is rounded or melted, you are likely using too much preheat or your travel speed is too slow, both of which waste gas. A clean, square edge with vertical drag lines indicates an efficient use of fuel and oxygen.
What is the most common mistake when setting torch pressures? Many people set their pressures too high, thinking it will cut faster. In reality, excessive pressure creates turbulence in the oxygen stream, which actually slows down the cut and wastes gas. Always refer to a manufacturer’s tip chart for the specific thickness of the metal you are cutting.
Is it better to charge a flat fee or an hourly rate for fabrication? For side-hustlers, I recommend a “fixed-price quote” based on your calculated hourly rate. Customers prefer knowing the total cost upfront, but you must ensure your quote includes your labor, overhead, and a 10-15% “buffer” for unexpected issues.
How do I calculate a material markup that customers will accept? A standard markup is 20% to 50% above your cost. This covers the time you spent sourcing the material, the fuel to pick it up, and the cost of storing it in your shop. Most customers understand that you provide convenience by having the material ready.
Why does preheat time vary so much between different projects? The thickness of the metal and the ambient temperature play huge roles. However, the biggest factor is often the cleanliness of the steel. Rust, paint, and mill scale act as insulators, requiring more fuel and time to reach ignition temperature. Cleaning your cut line beforehand can significantly reduce gas usage.
How often should I update my shop rate? I recommend reviewing your shop rate every six months. Inflation affects the cost of gas, electricity, and raw steel. If your costs go up and your rate stays the same, your profit margin is the only thing that shrinks.
What is “kerf,” and how does it affect my material costs? The kerf is the width of the material removed by the cutting process. While it doesn’t directly use gas, an inefficient torch setup can create a wider kerf, wasting more metal. Over dozens of cuts, a wide kerf can force you to buy more raw stock than necessary.
Should I charge for the time spent cleaning the shop? Yes, but not as a direct line item. Shop cleaning and maintenance should be part of your “overhead burden.” By including it in your hourly rate, you ensure that every customer contributes a small amount to the upkeep of the space where their project is built.
What is the best way to track gas usage without expensive meters? The most practical way for a small shop is to track “cylinder life.” Record how many hours of torch time you get out of a full set of tanks. Over time, you will develop a very accurate average cost per hour for your specific equipment and cutting style.
Can using the wrong tip size really hurt my profits? Absolutely. Using a tip that is too large for the material thickness requires more gas to maintain the flame and creates a wider cut than necessary. It is like using a sledgehammer to drive a finishing nail; it’s inefficient and increases your consumable costs unnecessarily.
(This article was written by one of our staff writers, Michael Hargrove. Visit our Meet the Team page to learn more about the author and their expertise.)