How to Replace Worn Gearbox Bearings in Metal Lathe (Fix)
There is a specific, heavy silence that fills a workshop when you first stand before a machine that hasn’t run in forty years. It is the weight of history, often layered under a thick crust of dried “dinosaur” grease and surface oxidation. For nearly two decades, I have spent my weekends and late nights coaxing these iron giants back to life. There is no shortcut to quality when you are dealing with a vintage lathe gearbox. The internal components, responsible for every thread you cut and every finish you achieve, rely on the integrity of their rotational supports. When those supports fail, the machine loses its soul, vibrating and groaning under the slightest load.
Restoring these mechanical assemblies is a test of patience. You cannot rush a seized shaft or a rusted bearing race without risking the brittle cast iron that houses them. Over the last 18 years, I have learned that the most rewarding moments aren’t just when the machine finally spins, but when you feel the absolute smoothness of a perfectly seated set of new bearings. This guide is born from those years of grease-stained manuals and the quiet satisfaction of bringing precision back to a neglected piece of industrial history.
Evaluating the Internal Health of a Vintage Gearbox
Diagnostic assessment is the process of identifying mechanical wear and structural failure within a machine’s transmission system before disassembly begins. By using sensory observation and precise measurement tools, a restorer can determine the extent of internal damage, such as pitted races or worn bushings, ensuring that the subsequent repair plan addresses the root causes of noise and vibration.
Before I ever reach for a wrench, I spend time listening to the machine. I use a mechanic’s stethoscope—or even a long screwdriver held against my ear—to probe the gearbox housing while the shafts are rotated by hand. A healthy gearbox should sound like a soft, rhythmic whir. If I hear a “growl” or a sharp “click,” I know a rolling element has failed or a gear tooth is chipped. I also check for radial and axial play. By placing a dial indicator on the shaft and applying firm pressure, I can measure the exact amount of movement. If the needle jumps more than 0.002 inches, the internal supports are likely beyond their service life.
Identifying the type of support system used is the next step. Older lathes often utilize one of three designs: * Tapered Roller Bearings: Found in mid-century machines, these handle both side and end loads. * Deep-Groove Ball Bearings: Common in high-speed gearboxes for radial support. * Babbitt or Bronze Sleeves: Typical in pre-war equipment, requiring a thin film of oil to prevent metal-on-metal contact.
Strategies for Safe Disassembly of Heavy Cast-Iron Components
Mapping the disassembly sequence is a methodical approach to taking apart complex machinery while preserving the integrity of individual parts. This stage involves documenting every fastener, gear position, and shim thickness to ensure that the machine can be returned to its original factory tolerances without the risk of cracking old, brittle castings or losing obsolete hardware.
When I begin a teardown, I treat the gearbox like a puzzle. I take photographs from every angle and use a dedicated notebook to sketch the internal gear trains. One of the biggest mistakes I see beginners make is using a standard hammer on cast iron. Cast iron is incredibly strong in compression but very brittle; a misplaced blow can shatter a gearbox wall. I always use brass or dead-blow hammers and custom-made “drift” punches to move shafts.
Dealing with seized components requires a “Thermal Release Plan.” If a shaft is stuck due to decades of dried oil, I apply a 50/50 mix of automatic transmission fluid and acetone. If that fails after 24 hours, I use a propane torch to gently heat the housing around the bearing, not the shaft itself. This causes the housing to expand slightly, breaking the bond of the rust. I never use an oxy-acetylene torch for this, as the intense heat can warp the precision-ground surfaces.
Managing Obsolete Fasteners and Pins
Many vintage lathes use taper pins to lock gears to shafts. These pins are slightly wider on one end than the other. I have spent hours trying to drive a pin out the wrong way before realizing my mistake. I always use a caliper to measure both sides of the pin; the difference might only be 0.015 inches, but it is the difference between a successful removal and a mushroomed pin that is permanently stuck.
Chemical and Mechanical Rust Remediation on Precision Surfaces
Rust removal is the careful elimination of iron oxide from machine parts using chemical baths or mechanical abrasion without removing the underlying base metal. This process is critical for gearbox internals where even a few thousandths of an inch of material loss can lead to excessive backlash, oil leaks, and poor gear engagement during operation.
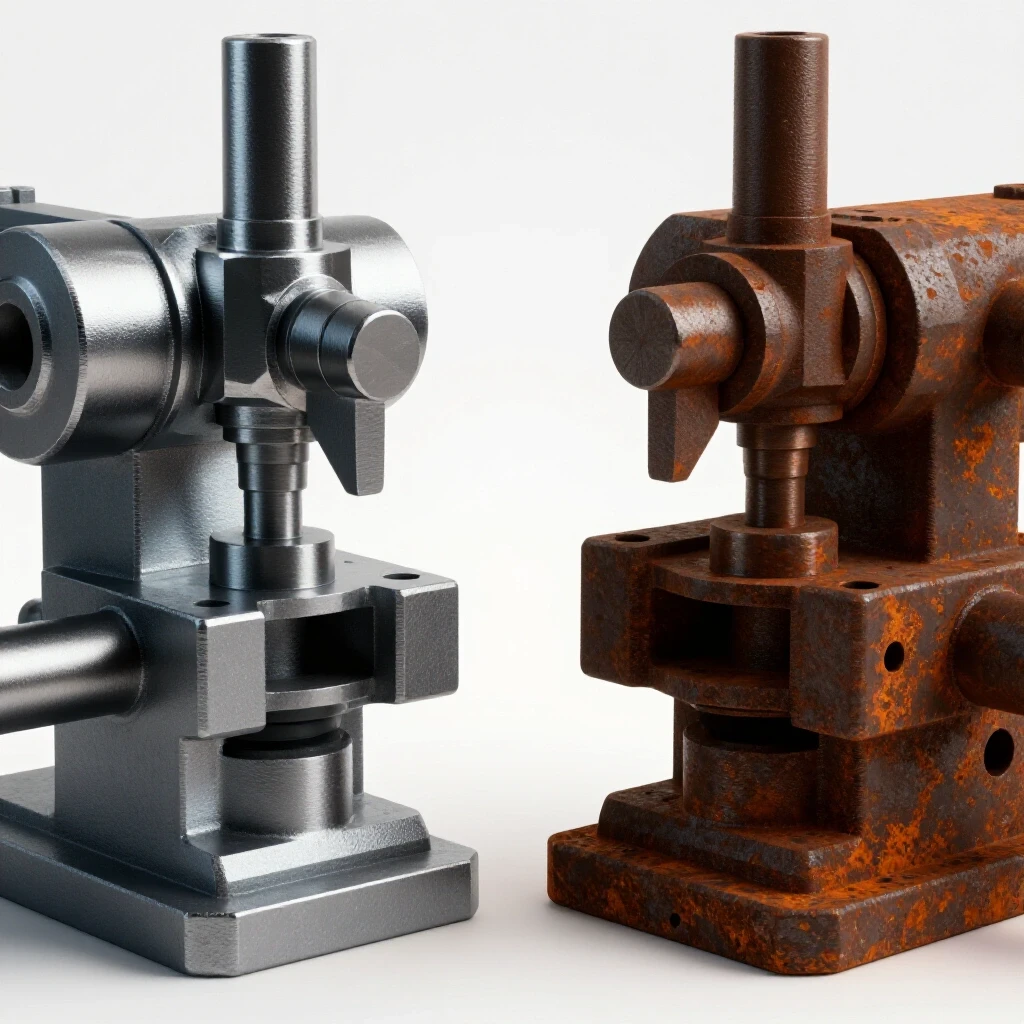
Once the gears and shafts are out, the battle against corrosion begins. For heavy structural pieces, I prefer an electrolysis bath. This involves a plastic tub, a sacrificial piece of scrap steel (the anode), and a solution of washing soda and water. By connecting a 12V DC power source—the negative lead to the tool and the positive to the scrap—the rust is literally lifted off the metal and moved to the scrap piece. This is the safest way to clean complex shapes without losing the crisp edges of the gear teeth.
For precision-ground surfaces like bearing seats, I avoid harsh abrasives. Instead, I use a modern water-based chelator. These liquids chemically bond only with the iron oxide, leaving the healthy steel untouched. I once restored a 1940s lathe where the gearbox was filled with “swarf” (metal chips) and rust; after a 48-hour soak in a chelator, the original machining marks on the shafts were still visible.
| Method | Best For | Risk Level | Time Required |
|---|---|---|---|
| Electrolysis | Large castings, heavy rust | Low (Safe for base metal) | 12-24 Hours |
| Chemical Chelators | Precision shafts, gears | Very Low | 6-48 Hours |
| Wire Brushing | Non-precision surfaces | Moderate (Can round edges) | Minutes |
| Sandblasting | External housings only | High (Grit ruins bearings) | Minutes |
Identifying and Extracting Obsolete Bearing Configurations
Bearing extraction is the technical process of removing worn-out rotational elements from their housings or shafts using specialized pulling tools or hydraulic presses. Successful extraction requires applying force only to the “interference fit” race to prevent damage to the surrounding cast iron or the precision-ground shafting that must be reused.
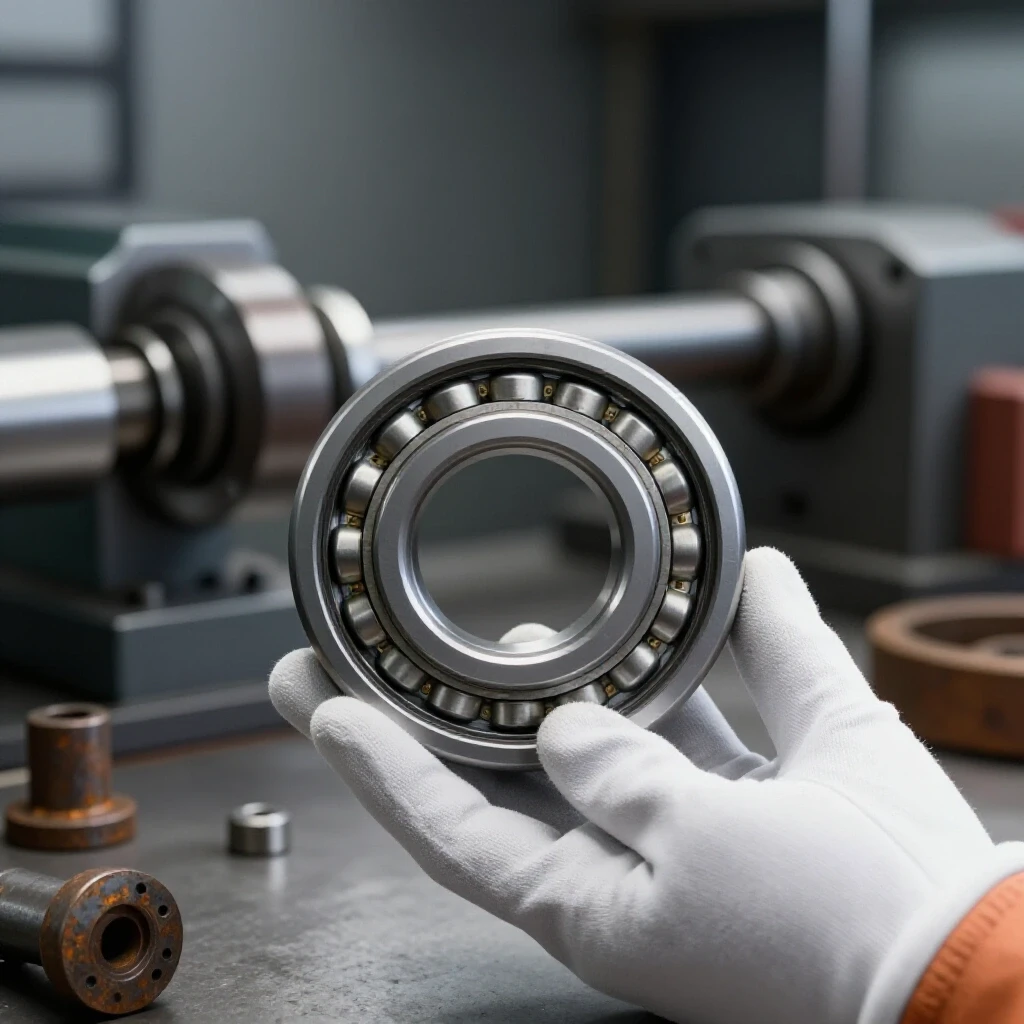
After the parts are clean, I inspect the bearing races. If I see “brinelling”—which looks like tiny dents in the race—or “spalling,” where the metal is flaking away, the bearing is dead. Removing these often requires a bearing puller that grips the inner race. If the bearing is pressed into a blind hole in the gearbox, I use a slide hammer with an internal expansion collet.
Sourcing replacements for 60-year-old machines can be tricky. Many vintage bearings use “non-standard” widths or bore sizes. I always keep a high-quality digital caliper and a micrometer handy. I measure the outer diameter (OD), inner diameter (ID), and width (W) to at least three decimal places. If an exact match isn’t available, I sometimes have to machine a “sleeve” or “bush” to adapt a modern, high-precision bearing to the old housing.
The Nuance of Sleeve and Babbitt Bearings
In very old lathes, you might find babbitt bearings—a soft white metal alloy poured directly into the casting. If these are worn, you don’t “replace” them in the traditional sense. You must either shim the bearing caps to tighten the clearance or melt out the old metal and pour a new bearing. This is a lost art that requires heating the casting to 500 degrees Fahrenheit and carefully pouring the molten alloy to avoid air bubbles.
Precision Installation and Clearance Calibration
Clearance calibration is the final adjustment of the fit between moving parts to ensure there is enough room for a lubricating oil film while maintaining rigid alignment. In a lathe gearbox, this involves setting the “preload” on bearings to within 0.001 to 0.002 inches, ensuring the gears mesh smoothly without excessive noise or heat buildup.
Installing the new components is where the restoration truly comes together. I never “drive” a bearing on with a hammer. Instead, I use a thermal fit. I put the new bearings in the freezer for two hours, which shrinks them by a few ten-thousandths of an inch. Simultaneously, I gently warm the gearbox housing. Often, the bearing will simply “drop” into place with zero force required.
Once installed, I check the “end play.” This is the amount the shaft moves back and forth. For most manual lathes, I aim for a clearance of 0.001 to 0.002 inches. If the fit is too tight, the gearbox will overheat and seize. If it is too loose, the gears will not mesh correctly, leading to “backlash”—the play between gear teeth that causes inaccuracies in your work.
- Standard Bearing Clearances: 0.0005″ to 0.0015″ for high-precision spindles.
- Gearbox Shaft Clearances: 0.002″ to 0.004″ for general transmission shafts.
- Oil Film Thickness: Usually requires at least 0.001″ for proper lubrication flow.
Realigning the System and Final Testing
System realignment is the process of verifying that all shafts and gears within the gearbox are perfectly parallel and level relative to the machine’s bed. Using precision levels and dial indicators, the restorer ensures that the mechanical energy is transferred efficiently, preventing premature wear on the newly installed bearings and ensuring the lathe cuts true.
Before I close the gearbox cover, I perform a “bluing” test on the gear teeth. I apply a thin layer of Engineer’s Blue (a non-drying pigment) to one gear and rotate the assembly. I look for the wear pattern on the mating gear. If the blue is only on one side of the tooth, the shaft is misaligned. I use thin brass shims under the bearing carriers to adjust the alignment until the contact pattern is centered on the teeth.
Finally, I fill the gearbox with the correct lubricant. Never use modern automotive gear oil in a vintage lathe; the sulfur additives can “eat” the bronze bushings. I use an ISO 68 or ISO 100 weight non-detergent machine oil, which is designed to allow particulates to settle at the bottom of the sump rather than circulating through the bearings.
Post-Restoration Checklist
- Hand Rotation: Does the input shaft turn the output shaft freely in all gear ranges?
- Temperature Check: After 15 minutes of running, is the gearbox housing warm (good) or hot (bad)?
- Noise Floor: Is the “growl” gone, replaced by a consistent mechanical hum?
- Oil Leaks: Are the new felt seals or gaskets holding pressure?
Frequently Asked Questions
How do I know if my gearbox bearings are worn without taking it apart?
You can perform a “pry bar test.” With the machine off, use a wooden or brass bar to gently apply leverage to the main shafts. If you can see or feel the shaft shifting within the housing, or if you hear a “clunk,” the bearings have likely lost their preload or the races are worn. Additionally, if the gearbox housing becomes too hot to touch after a short period of use, it indicates excessive friction from failing components.
What should I do if a bearing is “frozen” to a shaft?
Avoid the temptation to use a heavy sledgehammer. Apply a high-quality penetrating oil and let it sit for at least 24 hours. If it remains stuck, use a “bearing splitter” tool, which slides behind the bearing and provides a flat surface for a puller to grab. If all else fails, you can carefully use a Dremel with a cutoff wheel to slice through the outer race and cage, then carefully notch the inner race until it cracks and releases its grip.
Can I use sealed bearings to replace the old open-style ones?
In many cases, yes. Sealed bearings keep dust out and grease in, which can be an upgrade. However, if your gearbox uses a “splash lubrication” system—where the gears throw oil around to feed the bearings—a sealed bearing will actually starve for oil and fail quickly. Always check if there are oil galleries or “drip cups” designed to feed the original bearings before switching to a sealed unit.
How do I identify a bearing if the part numbers are rubbed off?
You must rely on precision measurements. Use a micrometer to measure the Bore (ID), the Outside Diameter (OD), and the Width. Most bearings follow metric or imperial standards (e.g., a “6205” bearing). Once you have those three dimensions, you can look them up in a bearing interchange table. Also, pay attention to any suffixes like “RS” (Rubber Seal) or “ZZ” (Metal Shield).
Why is my gearbox still noisy after replacing the bearings?
If the bearings are new and the noise persists, the issue is likely “gear pitting” or improper gear mesh. Over decades, the teeth on the gears can develop small craters. No amount of new bearings will fix a worn gear profile. You may also have “backlash” issues where the shafts are too far apart, causing the teeth to hit each other rather than rolling smoothly together.
Is it worth restoring a gearbox with heavy internal rust?
It depends on the “pitting.” If the rust is only on the surface of the gears, it can be cleaned. However, if the rust has eaten deep pits into the bearing seats or the gear teeth, the machine may never be quiet or precise again. If the structural integrity of the cast iron is sound, almost anything else can be fixed or fabricated, provided you have the patience.
What is the best way to make new gaskets for an old gearbox?
I prefer using high-quality cork or oil-resistant paper gasket material. Lay the material over the gearbox face and gently tap around the edges with a small ball-peen hammer. The sharp edges of the casting will “cut” the gasket perfectly to shape. For the bolt holes, use a dedicated hollow punch set to ensure clean openings that won’t tear when the bolts are tightened.
How often should I change the oil in a restored vintage gearbox?
For a newly restored machine, I change the oil after the first 10 hours of use. This “break-in” period will flush out any remaining bits of grit or assembly lube. After that, once a year or every 500 hours of operation is standard. Always check the “sight glass” or dipstick before every use to ensure that the oil hasn’t leaked out or become contaminated with coolant.
Can I use a hydraulic press on a cast iron gearbox?
You must be extremely careful. Always support the casting as close to the bearing bore as possible. If you support the gearbox at the edges and press in the center, you can easily “dish” or crack the casting. I prefer using threaded rods and heavy washers to “pull” bearings into place, as this puts less stress on the overall structure of the iron.
What if I find a “tapered” shaft?
Many vintage machines use tapered journals for the main spindle. These do not use rolling element bearings; instead, they rely on a perfect fit between two tapered metal surfaces. If these are scored, they must be “hand-scraped” back to a perfect fit using a precision scraper and marking blue. This is a high-level skill that requires checking the contact points (aiming for 10–20 points per square inch) until the shaft seats perfectly.
(This article was written by one of our staff writers, Richard Beaumont. Visit our Meet the Team page to learn more about the author and their expertise.)