How to Restore a Used Drill Press for Your Shop (DIY Steps)
When I built my first shop in a cramped single-car garage back in 2013, I had exactly $2,000 to my name for tools. I quickly realized that buying brand-new, entry-level machinery often meant settling for thin sheet metal and plastic components that couldn’t handle the heat of serious fabrication. Instead, I turned to the used market, finding a 1970s heavy-duty cast iron machine that had been sitting in a damp basement for a decade. It was covered in surface rust and the motor hummed ominously, but the bones were solid.
Restoring older machinery is a rite of passage for any budget-conscious metalworker. It allows you to own professional-grade equipment for a fraction of the retail cost while teaching you the internal mechanics of your tools. In my twelve years as an industrial maintenance technician, I’ve learned that a methodical approach to cleaning, lubricating, and aligning these machines is the difference between a frustrating hobby and a productive fabrication space. This guide focuses on bringing a pre-owned drilling machine back to life using standard hand tools and a realistic budget.
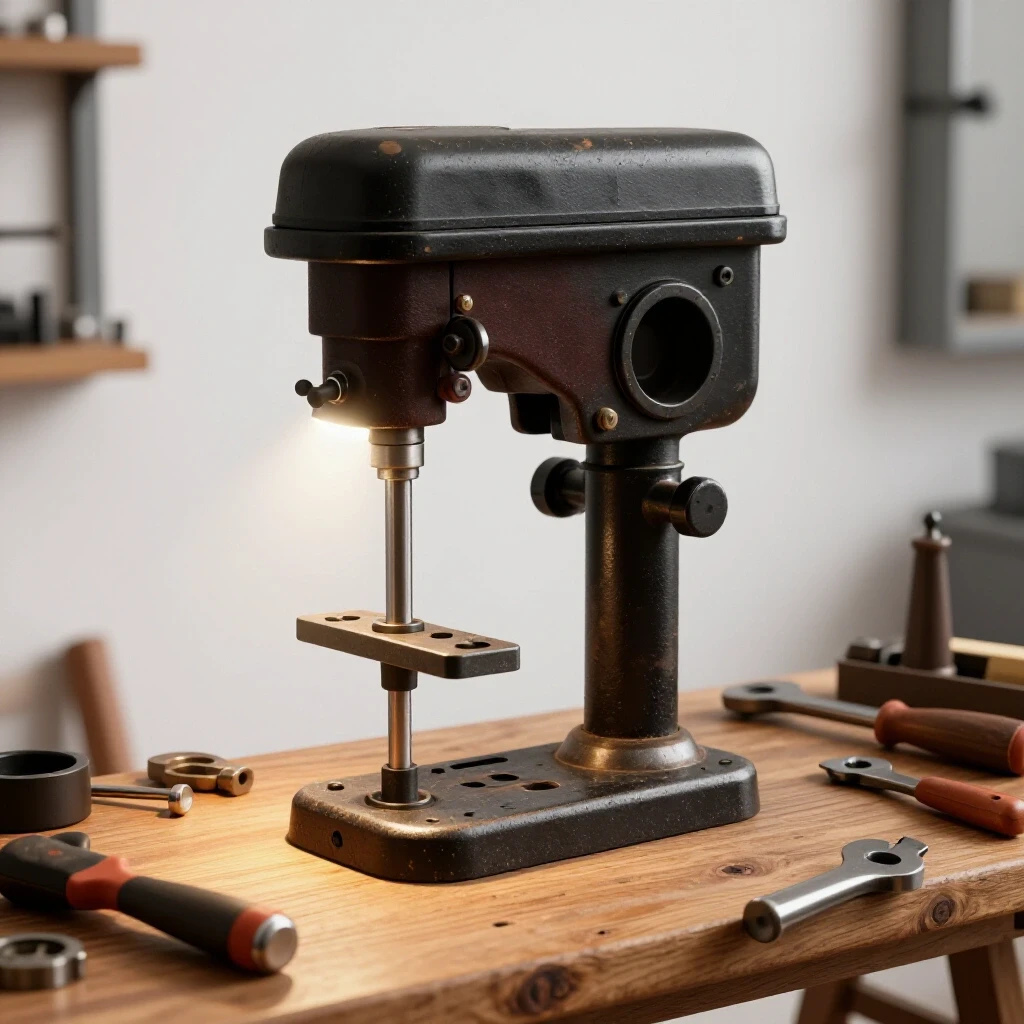
Evaluating a Second-Hand Machine for Your Metalworking Space
Before spending a single dollar, you must determine if a used machine is a diamond in the rough or a pile of scrap metal. This initial assessment involves checking for structural integrity, motor health, and missing parts that might be expensive to replace. A thorough inspection prevents you from sinking money into a tool that will never run true.
Buying used is a strategic move to maximize your starter metal workshop layout. A vintage floor-standing model often weighs three times more than a modern “budget” version, providing the dampening needed for drilling through thick plate steel. However, you must be wary of “deal-breakers” like cracked main castings or a bent spindle.
- Check the Casting: Look for cracks in the head casting or the table. Cast iron is brittle; if a previous owner dropped the machine, a hairline fracture could make it unsafe or impossible to align.
- The Spindle Test: Extend the quill (the part that moves up and down) and try to wiggle it side-to-side. Any significant movement suggests worn bearings or a loose housing.
- Motor Data Plate: Verify the voltage. Most residential garages are wired for 110V. If the machine is 3-phase or 440V, you will need an expensive phase converter, which usually exceeds a beginner’s budget.
- Missing Parts: Check if the original handles, table lock, and belt guard are present. Finding replacements for 40-year-old machines can be a time-consuming scavenger hunt.
| Component | What to Look For | Status |
|---|---|---|
| Main Column | No deep pitting or heavy gouges | Critical |
| Table | Flatness and lack of “arc of shame” (drill holes) | Important |
| Motor | Quiet operation, no burnt smell | Essential |
| Quill/Spindle | Smooth travel, no side-play | Critical |
| Pulley System | No cracks in the aluminum or cast pulleys | Maintenance |
Mechanical Breakdown and Component Cleaning
Once the machine is in your shop, the real work begins with a controlled teardown. This process involves removing the motor, pulleys, and quill assembly to clean away decades of congealed grease and metal shavings. Proper documentation during this stage is vital to ensure you can put everything back together without leftover parts.
I always recommend taking photos of every bolt and wire before you turn a wrench. In my early days, I assumed I would remember how a tension spring was oriented, only to spend three hours guessing later that night. Use a dedicated workbench and organized bins to keep your hardware sorted.
- Disconnect Power: This is your first safety step. Never work on a machine that is plugged in. In an industrial setting, we use lockout/tagout procedures; at home, simply keeping the plug in your sight is a mandatory habit.
- Remove the Drive Belt: Loosen the motor tension and slide the belt off. Inspect it for cracks. If it feels brittle or has flat spots, plan to replace it with a modern link-belt to reduce vibration.
- Disassemble the Quill: Most machines have a pin or screw that holds the quill in the head. Carefully lower the quill while holding the return spring housing. Be cautious—the spring is under tension and can snap back with significant force.
- Degreasing: Use a mild citrus-based degreaser and a stiff nylon brush. Avoid harsh chemical strippers that can damage the original paint or irritate your lungs in a confined garage workshop ventilation setup.
- Rust Removal: For surface rust on the column and table, use a Scotch-Brite pad and a light penetrating oil. Work in circular motions. Your goal is to remove the “fuzz” of rust without grinding away the precision-machined surface of the metal.
Restoring the Drive System and Spindle Assembly
The heart of the machine is the spindle and the bearings that allow it to spin at high speeds. Over time, grease dries out and turns into a sticky paste, or worse, a grinding compound mixed with metal dust. Cleaning and re-lubricating these parts will restore the smooth, quiet operation required for accurate metalwork.
Restoring the drive system is often the most rewarding part of the process. You are moving from a machine that “grinds” to one that “whispers.” In my shop logs, I’ve noted that a well-lubricated vintage machine often outperforms a new $500 model in terms of runout and torque.
- Bearing Inspection: Spin the bearings by hand. If you feel any “crunchiness” or resistance, they need to be replaced. Bearings are standard industrial parts; you can usually find replacements by the number stamped on the side for under $20.
- Lubrication Choice: Do not use WD-40 as a long-term lubricant; it is a solvent and will evaporate. Use a high-quality lithium grease for bearings and a light machine oil (like 3-in-1 or ISO 32) for the sliding surfaces of the quill.
- Pulley Alignment: Use a straightedge to ensure the motor pulley and the spindle pulley are perfectly horizontal with each other. Misalignment leads to belt wear and unnecessary vibration.
- Spring Tension: Reinstall the return spring with just enough tension to pull the quill back up. Over-tightening the spring is a common rookie mistake that leads to premature failure and a “jumpy” feel during operation.
Squaring and Calibrating the Machine for Accuracy
A drill press that doesn’t drill a straight hole is just a heavy paperweight. Calibration involves ensuring the table is perfectly 90 degrees to the spindle in both directions. This step is crucial for affordable fabrication tools, as it allows you to produce professional results with modest equipment.
I refer to this as “tramming” the table. Even if the machine looks perfect, the table may have sagged over the years or been knocked out of alignment. Using a simple square and a dial indicator (if your budget allows) will ensure your holes are perpendicular to your workpiece every time.
- The Square Test: Place a known-accurate machinist square on the table and bring the spindle down. Check for light gaps between the square and a straight rod held in the chuck.
- Adjusting the Table: Most machines have a pivot bolt under the table. Loosen it slightly, tap the table into position with a rubber mallet, and tighten it back down.
- Checking Runout: Runout is the amount of “wobble” at the tip of the drill bit. You can test this by putting a straight pin in the chuck and spinning it by hand. If the tip circles rather than spinning on a center point, your chuck may need to be reseated or replaced.
- Securing the Column: Ensure the bolts mounting the column to the base are torqued down. A loose base can cause the entire machine to flex under the pressure of a large drill bit, ruining your accuracy.
Electrical Safety and Shop Integration Benchmarks
Old machines often come with frayed cords, brittle insulation, or switches that are filled with conductive metal dust. Before you integrate the tool into your workshop electrical setup checklists, you must ensure the wiring meets basic safety standards to prevent shocks or fires.
In my experience, about 40% of used tools from the 1970s have unsafe wiring. Replacing a power cord and a switch is a low-cost insurance policy for your home. When planning your garage workshop ventilation and power, remember that a drill press under load can draw significant current, especially when boring large holes in steel.
- Replace the Power Cord: Use a 14-gauge, three-wire grounded cord. Ensure the ground wire (green) is securely fastened to the metal frame of the machine. This is a non-negotiable safety step.
- Switch Cleaning: If the switch feels “mushy,” replace it with a modern paddle-style safety switch. These are easier to hit in an emergency and prevent the machine from restarting automatically after a power outage.
- Circuit Requirements: A standard 1/2 horsepower motor will run fine on a 15A circuit, but if you have other tools like a shop vac or lights on the same line, you might trip the breaker. Aim for a dedicated 20A circuit for your heavy machinery.
- Lighting: Add a dedicated LED work light to the machine. Being able to see your center-punch marks clearly is essential for safety and precision.
| Tool Class | Typical Amp Draw | Recommended Circuit |
|---|---|---|
| Benchtop Drill Press | 5A – 8A | 15A Shared |
| Floor Drill Press | 8A – 12A | 20A Dedicated |
| Small Welder | 15A – 20A | 20A/30A Dedicated |
| Shop Vacuum | 6A – 10A | 15A Shared |
Budget Allocation and Long-Term Value
Setting up a shop on a budget requires discipline. I recommend allocating about 30% of your total startup funds to safety gear and measuring tools, while the remaining 70% goes toward the machines themselves. A restored used drill press typically costs about $100 to $150 total, including the purchase price and restoration supplies.
By following this path, you avoid the “buy it twice” trap. Many beginners buy a $150 new plastic drill press, realize it can’t drill through 1/2-inch steel, and then have to buy a better one a year later. A restored cast-iron machine will likely last another 40 years with basic maintenance.
- Track Every Cent: Use a spreadsheet to log your purchase price, replacement bearings, belts, and cleaning supplies. This helps you see the true cost of your “affordable” tools.
- Prioritize Safety Gear: Never skimp on eye protection. Ensure your safety glasses are ANSI Z87.1 rated. In a metal shop, hot chips fly at high speeds; cheap plastic won’t protect you.
- Tooling Costs: Remember that the machine is only half the battle. High-quality cobalt drill bits for metal will cost nearly as much as the machine itself, but they are essential for drilling stainless or thick carbon steel.
- Maintenance Log: Start a small notebook for each machine. Record when you oiled it, what size belt you used, and any odd noises you hear. This industrial-style record-keeping prevents major breakdowns.
Final Assembly and Initial Test Workflows
The final step is putting it all back together and performing a “test flight.” This is where you verify that your cleaning and calibration efforts have paid off. Always start with a low-speed test to ensure nothing is loose or vibrating excessively.
When I finished my first restoration, I was nervous to flip the switch. But because I had checked the wiring and tightened every bolt, it started up smoother than it ever had. Developing a standard testing workflow ensures that your machine is ready for actual fabrication work.
- The “No-Load” Run: Turn the machine on without a bit in the chuck. Listen for high-pitched squealing (bad bearings) or thumping (bad belt).
- The Hole Accuracy Test: Use a center punch to mark a piece of scrap steel. Drill a small pilot hole, then a larger 1/2-inch hole. Check the hole with a caliper to see if it is “oversized,” which would indicate spindle runout.
- Speed Adjustment: Practice changing the belts on the pulleys to reach different speeds. For metal, you generally want slower speeds (200-500 RPM) to avoid burning up your drill bits.
- Workholding: Never hold metal by hand while drilling. The bit can “catch,” spinning the metal like a lawnmower blade. Always use a drill press vise bolted to the table.
Frequently Asked Questions
How do I know if a used motor is still good? Check for a strong “burnt” smell or visible smoke when it starts. If the motor hums but doesn’t spin, the start capacitor might be dead, which is a $15 fix. If it spins freely and stays cool to the touch after five minutes of running, it is likely in good health.
Can I use a drill press meant for wood to drill metal? Yes, but you must be able to slow the speed down. Wood requires high RPMs, while metal requires slow speeds and high torque. If your machine’s lowest speed is above 600 RPM, you will struggle to drill larger holes in steel without ruining your bits.
What is the best way to clean rust without a sandblaster? For a budget metalworking tool, a combination of penetrating oil (like PB Blaster) and a maroon Scotch-Brite pad is best. For heavier rust, a wire wheel on a bench grinder or a hand-held drill works well, but avoid using aggressive grinding discs that can remove the base metal.
Is it worth replacing the chuck on an old machine? If the chuck has significant runout or the jaws are chipped, yes. A new keyed chuck with a Morse Taper (MT2 is common) can be bought for $40-$60 and will significantly improve your drilling precision.
How often should I lubricate my restored machine? In a hobbyist shop, a few drops of light machine oil on the quill every month is usually enough. The internal bearings are often “sealed for life,” but if they are the greaseable type, a small pump of grease once a year is plenty.
What safety gear do I need specifically for drilling metal? At a minimum, you need ANSI Z87.1 safety glasses and a full-face shield if you are using large bits. Never wear gloves while operating a drill press, as the rotating spindle can catch the fabric and pull your hand into the machine.
How do I stop the table from rusting after I clean it? Once the cast iron is clean and shiny, apply a coat of paste wax (like Johnson’s or Minwax). Let it dry and buff it off. This creates a moisture barrier that prevents rust without making the surface oily or sticky.
What is “Morse Taper” and why does it matter? A Morse Taper is a tapered shank system that holds the chuck in the spindle using friction. It allows you to swap out chucks or use large “taper shank” drill bits directly in the machine. Knowing your machine’s taper size (usually MT1 or MT2) is essential for buying the right accessories.
Why is my drill bit smoking even at low speeds? You likely aren’t using cutting fluid. When drilling metal, you need a lubricant to reduce friction and carry away heat. Even a few drops of motor oil or dedicated cutting paste will double the life of your bits and produce a cleaner hole.
How can I tell if the spindle is bent? Open the chuck and put a long, straight drill bit or a piece of “drill rod” inside. Spin the spindle by hand. If the tip of the rod moves in a circle, the spindle or the chuck is bent. A bent spindle is usually a reason to pass on a used machine.
Do I need to bolt the drill press to the floor? If it is a tall floor model, yes. These machines are top-heavy and can tip over if a long piece of metal catches or if someone bumps into them. Use concrete anchors to secure the base for maximum safety.
How do I fix a quill that sticks and won’t return? This is usually caused by old, dried grease. Clean the outside of the quill with solvent and apply a very light coat of oil. If it still sticks, the return spring might be broken or the housing might be packed with sawdust and metal chips.
(This article was written by one of our staff writers, Michael Thompson. Visit our Meet the Team page to learn more about the author and their expertise.)