How to Restore a Vintage Metal Lathe for Precision (Guide)
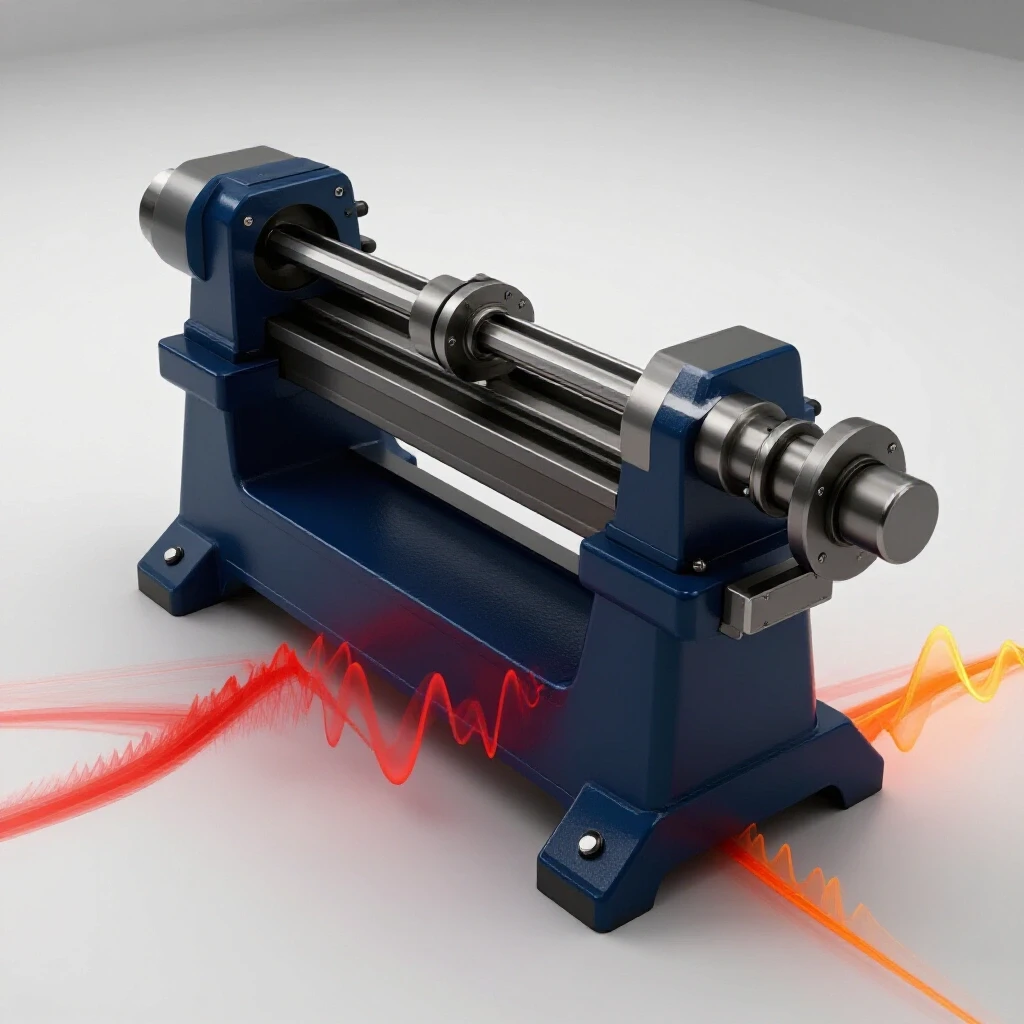
Walking into a cold workshop to face a 1,200-pound heap of rusted cast iron can feel like looking at a mountain you aren’t sure you can climb. I have spent 18 years standing in that exact spot, staring down the frozen handwheels and pitted ways of over 40 different machines. There is a specific kind of silence that surrounds a tool that hasn’t turned a shaft in fifty years. My job, and yours, is to break that silence. Bringing an old metal-turning machine back to life isn’t just about making it look pretty with a fresh coat of gray paint. It is a slow, methodical process of uncovering the precision that the original makers hid under decades of neglect and oxidation.
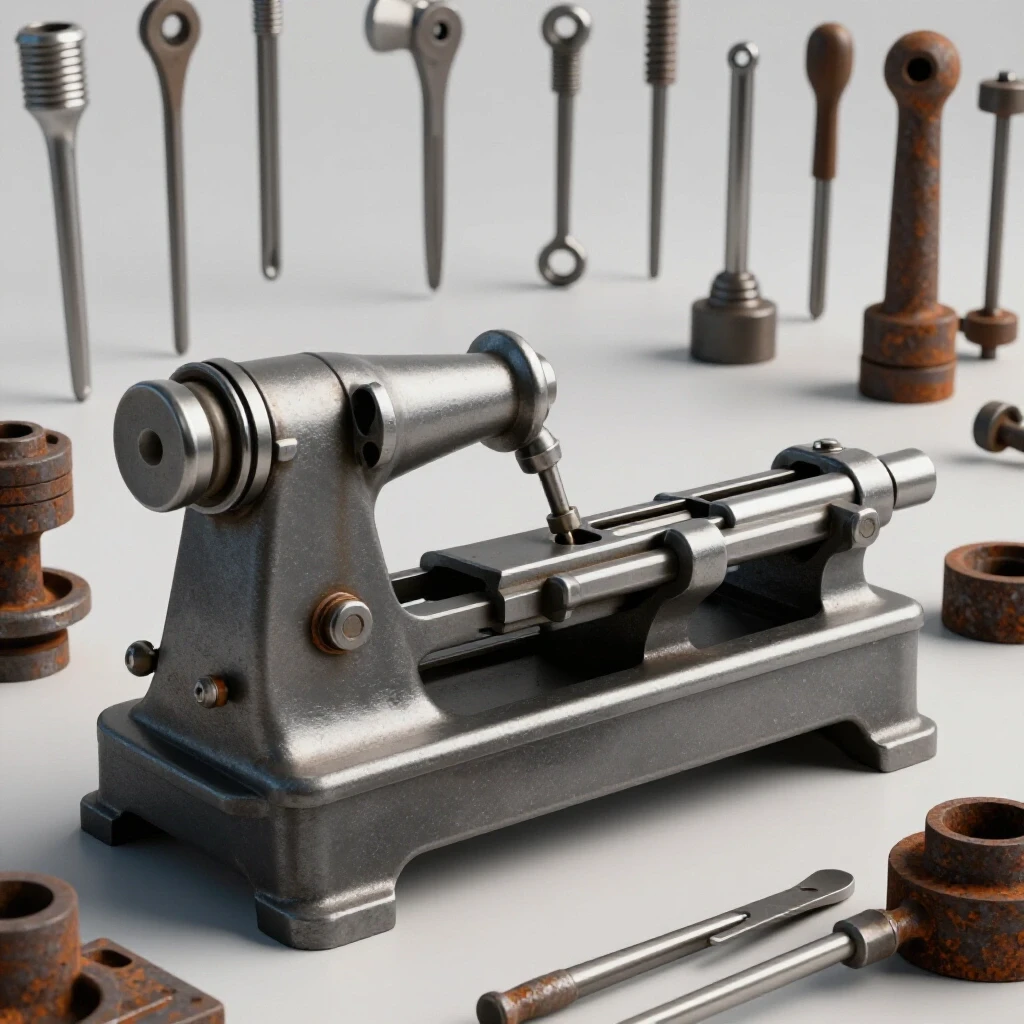
In my experience, the most dangerous tool in a restorer’s kit isn’t a torch or a grinder; it is impatience. I remember a 1934 gear-head lathe I found in a leaky shed near the coast. The salt air had turned the carriage into a solid block of orange scale. If I had forced it, I would have snapped a casting that no longer exists in any catalog. Instead, it took three weeks of soaking, gentle tapping, and heat before I heard that first, beautiful “click” of a moving part. That project taught me that we aren’t just mechanics; we are conservators of industrial history. Our goal is to reach those factory-floor tolerances using hand tools, basic chemistry, and the same mechanical logic used by the engineers who first poured the iron.
Determining the Viability of a Potential Machine Rescue
Evaluating a vintage tool involves looking past surface rust to identify structural integrity and the presence of irreplaceable components. This phase requires a systematic check of the main castings for cracks, a survey of the gear train for broken teeth, and an assessment of the bed for deep scoring.
Before you spend a dime or break a sweat, you have to know if the “bones” of the machine are sound. I always start with the “ring test.” I take a small brass hammer and gently tap the main bed castings. A healthy casting should have a clear, bell-like ring. If you hear a dull “thud,” you might be looking at a hairline crack or a casting that has become “punky” from internal stress or poor storage.
Next, I look at the ways—the flat or V-shaped tracks the carriage slides on. Surface rust is fine, but deep “potholes” from corrosion or heavy gouges from a dropped chuck are red flags. I also check the change gears. If the machine uses a manual gear set rather than a quick-change gearbox, ensure those gears are present. Finding a 127-tooth transposing gear for an obsolete 1920s lathe is a quest that can take years and cost more than the machine itself.
Strategic Disassembly and the Thermal Release Plan
Disassembling a seized machine requires a logical sequence to prevent further damage to fragile or stuck components. This process involves documenting every fastener, using specialized penetrating oils, and applying controlled heat to expand outer parts without warping the underlying shafts.
The biggest mistake I see beginners make is reaching for the biggest pipe wrench they own. When a screw is seized in cast iron, the iron usually wins by cracking. I use a 50/50 mix of automatic transmission fluid (ATF) and acetone as my go-to penetrant. It has a lower viscosity than almost anything you can buy off the shelf. I apply it daily for a week before even trying to turn a stubborn bolt.
If the penetrant fails, I move to a thermal release plan. Cast iron is porous and holds oil, but it also expands at a predictable rate. I use a propane torch to heat the area around the stuck bolt, not the bolt itself. The goal is to expand the “hole” so the bolt can move. Interestingly, sometimes “shocking” the bolt with a bit of dry ice after heating the casting can break the molecular bond of the rust. I always keep a dedicated notebook or a digital tablet nearby to photograph every sub-assembly before the first screw comes out.
Comparing Chemical and Mechanical Rust Removal Methods
Cleaning vintage iron requires choosing a method that removes oxidation without etching the base metal or destroying critical dimensions. This stage balances the speed of mechanical abrasion against the gentle, thorough nature of chemical baths and electrolysis.
When I started, I used wire wheels for everything. I quickly learned that a high-speed wire wheel can actually “burnish” rust into the pores of the metal, making it harder to remove later. Now, I prefer a more “preservation-first” approach. For large castings, I use electrolysis. It’s a simple setup using a manual battery charger, a plastic tub of water, and washing soda (sodium carbonate).
| Method | Best Use Case | Risk Level | Time Investment |
|---|---|---|---|
| Electrolysis | Large, complex castings with internal cavities | Low (Non-destructive) | 12–24 hours |
| Evapo-Rust (Chelation) | Small precision parts, gears, and fasteners | Very Low | 4–12 hours |
| Wire Wheel/Scrubbing | Non-critical external surfaces | Medium (Can round edges) | Minutes |
| Scrapers/Razor Blades | Flat ways and precision slides | Low (If used flat) | Hours |
For precision surfaces like the bed ways, I never use abrasives. I use a brand-new razor blade held at a high angle to “shave” the rust off. It sounds tedious, but it preserves the flat metal underneath. If you use a sander on the ways, you are effectively destroying the machine’s ability to turn a straight cylinder.
Restoring Spindle Integrity and Bearing Clearances
The spindle is the heart of the machine, and its bearings dictate the level of precision the tool can achieve. Restoration involves cleaning the bearing surfaces, checking for “runout” (wobble), and adjusting or repouring Babbitt or sleeve bearings to specific clearances.
Most pre-war lathes use either bronze sleeve bearings or Babbitt bearings. Babbitt is a soft, white-metal alloy (usually tin-based) that was poured directly into the headstock. If your bearings are scored, you might need to scrape them back to a round profile. I use a specialized “bearing scraper” to remove high spots, aiming for a fit that allows a thin film of oil to support the spindle.
For bronze sleeves, we are looking for a clearance of about 0.001 to 0.002 inches. Anything tighter and the friction will cause the spindle to seize as it heats up. Anything looser and you will get “chatter” marks on your workpiece. I check this using a dial indicator. I place the indicator on top of the spindle and use a wooden lever to gently lift it. The movement on the needle tells me exactly how much “slop” I need to shim out.
Achieving Precision Through Hand Scraping and Alignment
Hand scraping is the process of using a manual tool to remove microscopic amounts of metal to create a perfectly flat or patterned surface. This technique is essential for restoring the “truth” of the machine’s geometry, ensuring the carriage moves parallel to the spindle axis.
Once the machine is clean and the bearings are set, we face the hardest part: the ways. Over decades, the carriage wears a “valley” into the bed, usually near the headstock where most work is done. To fix this, I use a process called hand scraping. I apply a thin layer of “Engineer’s Blue” (a non-drying pigment) to a known-flat reference plate and rub it on the ways. The blue pigment stays on the high spots.
I then use a hand scraper to flick away those blue spots. We measure this in “Points Per Inch” (PPI). For a standard vintage lathe, I aim for 10 to 15 points per square inch. This isn’t just about flatness; those little scraper marks actually act as tiny oil reservoirs that prevent the carriage from “sticking” to the bed through suction. It is a rhythmic, meditative process that can take dozens of hours, but it is the only way to return a worn machine to factory-new accuracy.
Standard Metrics for Machine Alignment
| Metric | Target Tolerance | Tool Required |
|---|---|---|
| Spindle Runout | < 0.0005 inches | Test Indicator |
| Bed Level (Twist) | 0.0005 inches per foot | Precision Master Level |
| Tailstock Alignment | < 0.001 inches over 6″ | Test Bar / Indicator |
| Cross-Slide Backlash | 0.003 – 0.005 inches | Dial Indicator |
Sourcing and Fabricating Obsolete Components
Finding parts for a machine built in 1920 requires a mix of detective work and basic machining skills. This phase involves identifying obsolete thread pitches, searching specialized forums, and occasionally making replacement parts from scratch.
You will eventually find a bolt that is missing or a handle that is snapped. Be warned: vintage machines often used “house standards” before the industry settled on Unified National threads. You might find a 1/2-inch bolt with 12 threads per inch (TPI) instead of the modern 13 TPI. Always use a thread pitch gauge before trying to force a modern hardware store bolt into an old casting.
If a part is missing, I turn to the community. Websites like VintageMachinery.org are gold mines for scanned manuals. If I have to make a part, I look for “scrap” cast iron from the same era to ensure the metallurgy matches. Interestingly, some restorers are now using 3D scanning to create molds for casting replacement handles in brass or iron. It’s a bridge between the 19th and 21st centuries that keeps these machines running.
Final Assembly and the “Two-Collar” Precision Test
The final assembly is a systematic rebuilding of the machine, followed by a series of tests to verify its accuracy. This involves careful lubrication, adjusting the “gibs” (sliding brass strips), and performing a test cut to ensure the machine turns straight.
As I put the machine back together, I use a high-quality ISO 32 or ISO 68 way oil. Never use automotive oil or WD-40; they don’t have the “tackifiers” needed to stay on vertical surfaces. Once the lathe is spinning, I perform the “Two-Collar Test.” I take a solid bar of aluminum, about 8 inches long, and turn two small “collars” on each end without moving the tool’s depth setting.
I measure both collars with a micrometer. If they are the same diameter within 0.0005 inches, the lathe is aligned. If they aren’t, it means the headstock or the bed is twisted. I adjust the leveling feet of the lathe—using a precision machinist’s level that can detect a 0.0005-inch rise over a foot—until the twist is gone. It is a game of inches, or rather, ten-thousandths of an inch.
Essential Restoration Tracking Framework
To stay organized during a long-term project, I use a simple four-column sheet for every sub-assembly (Headstock, Tailstock, Carriage, Apron):
- Part Name/ID: (e.g., Lead Screw Bushing)
- Condition: (e.g., Heavy scoring, 0.004″ wear)
- Action Taken: (e.g., Polished on mandrel, shimmed with 0.002″ brass)
- Fastener Specs: (e.g., 3/8-16 Square Head, 1.5″ length)
This framework prevents the “box of mystery parts” syndrome that kills so many restoration projects. When you are six months into a build, you won’t remember which way that specific thrust washer faced.
Frequently Asked Questions
How do I know if a lathe bed is too worn to be saved? If you see a visible “step” or ridge at the top of the V-way that you can catch with your fingernail, the wear is likely over 0.005 inches. While this can be fixed by hand scraping or professional grinding, it is a massive undertaking. If the wear is just a dulling of the surface, it can usually be corrected with patience.
Can I use a modern VFD to run a vintage 3-phase motor? Yes, and I highly recommend it. A Variable Frequency Drive (VFD) allows you to run a 3-phase industrial motor on standard 220V single-phase household power. It also gives you electronic speed control and “soft start” capabilities, which protects those century-old gears from the shock of a sudden startup.
What is the best way to remove “Gunk” without damaging the paint? If you are trying to preserve the original “survivor” paint, use mineral spirits and a stiff nylon brush. Avoid “purple” degreasers or oven cleaners, as they are often caustic and will strip 100-year-old japanning or oil-based paint right off the iron.
How do I handle a seized taper pin in a handle? Taper pins are the bane of the restorer. They only go out one way. Clean both sides of the pin and measure the diameters; the smaller side is the one you hit. Use a “starter punch” (a short, stubby punch) rather than a long drift punch to avoid bending the pin inside the hole.
Is it safe to use a wire wheel on the spindle threads? I advise against it. Spindle threads are the most critical interface on the machine. Use a brass wire brush and a picked tool to clean the “valleys” of the threads. A steel wire wheel on a bench grinder can round over the crests of the threads, leading to a loose-fitting chuck.
How do I pour new Babbitt bearings if the old ones are shot? Pouring Babbitt requires heating the headstock and the spindle (or a mandrel) to about 250°F, damming the ends with “Babbitt putty” or clay, and pouring the molten alloy (around 700°F) in one continuous motion. It is a smoky, hot, and somewhat dangerous process that requires full PPE, but it is the only way to truly restore some pre-1920 machines.
What should I do if I find a crack in a non-structural casting? For non-structural parts like gear guards, a process called “metal stitching” or using a high-strength epoxy like Belzona can work. For structural parts, you need a professional who specializes in “cold-casting” repairs or high-nickel cast iron welding, which involves pre-heating the entire part in a kiln.
How do I check for “bed twist” without a $300 level? While a precision level is the gold standard, you can use the “four-point” method. Place a heavy, straight bar in the chuck and another in the tailstock. Bring them together and see if they meet perfectly in both the vertical and horizontal planes at different points along the bed. It isn’t as accurate as a level, but it will get you in the ballpark.
The path to restoring a vintage machine is rarely a straight line. You will find broken parts you didn’t see at first, and you will spend four hours on a single stuck screw. But there is a profound satisfaction in the moment you first engage the back gears and the machine begins to hum. You aren’t just making a tool; you are honoring the craftsmanship of the past by ensuring it has a functional future. Start by cleaning one small part—maybe the tailstock handwheel—and let that small victory fuel the rest of the journey.
(This article was written by one of our staff writers, Richard Beaumont. Visit our Meet the Team page to learn more about the author and their expertise.)