How to Run Vertical and Overhead Welds Safely (DIY Guide)
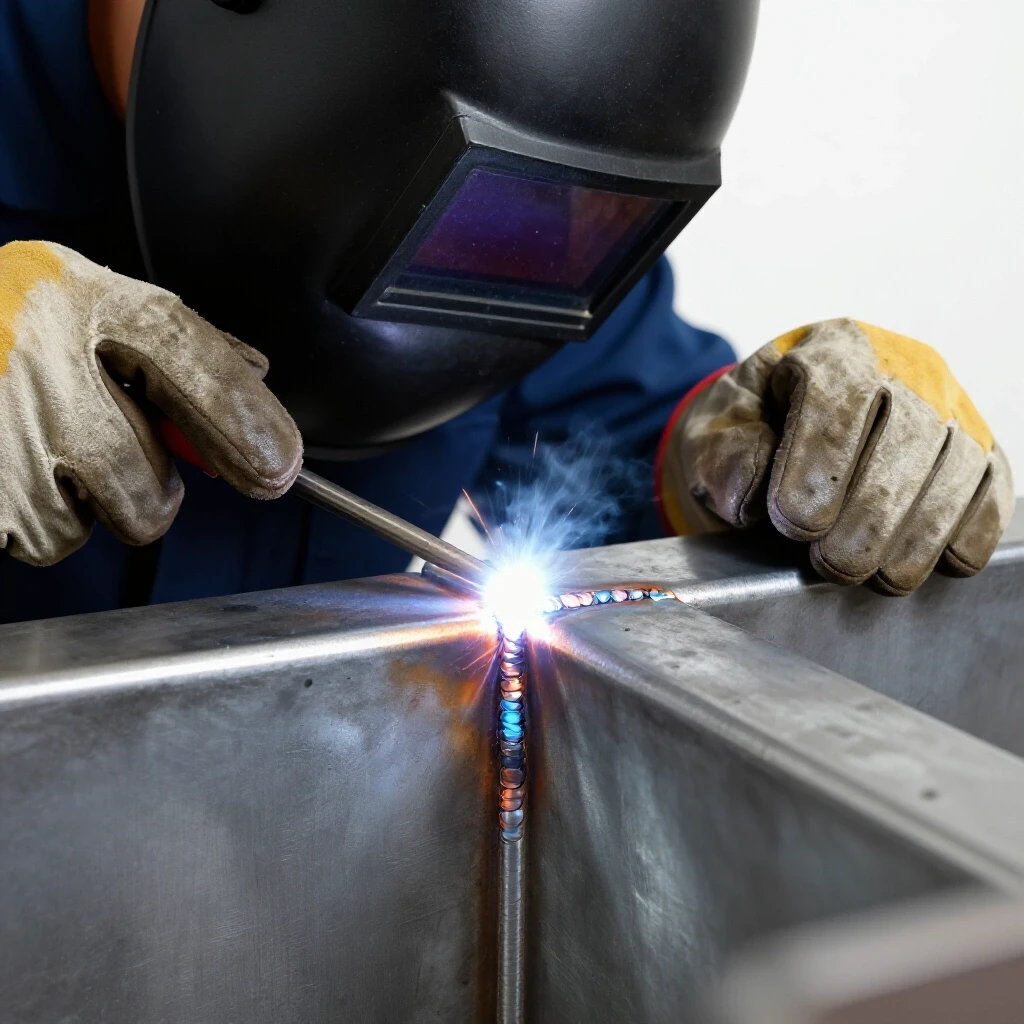
When I first started welding in my small garage, I thought I had a handle on things because my flat-position beads looked decent. Then I tried to weld a bracket onto a vertical frame, and everything changed. The molten metal didn’t stay where I put it; instead, it slumped toward the floor, leaving a messy, porous glob. It was a humbling moment that many self-taught fabricators face when moving beyond the workbench.
Learning to control a molten puddle against the pull of gravity is one of the most significant hurdles in a metalworking journey. It requires a shift in how you perceive heat and fluid dynamics. You are no longer just dragging a puddle; you are fighting physics while keeping yourself safe from falling sparks. Through years of tracking my own progress and teaching others, I have found that success comes down to body mechanics and structured practice.
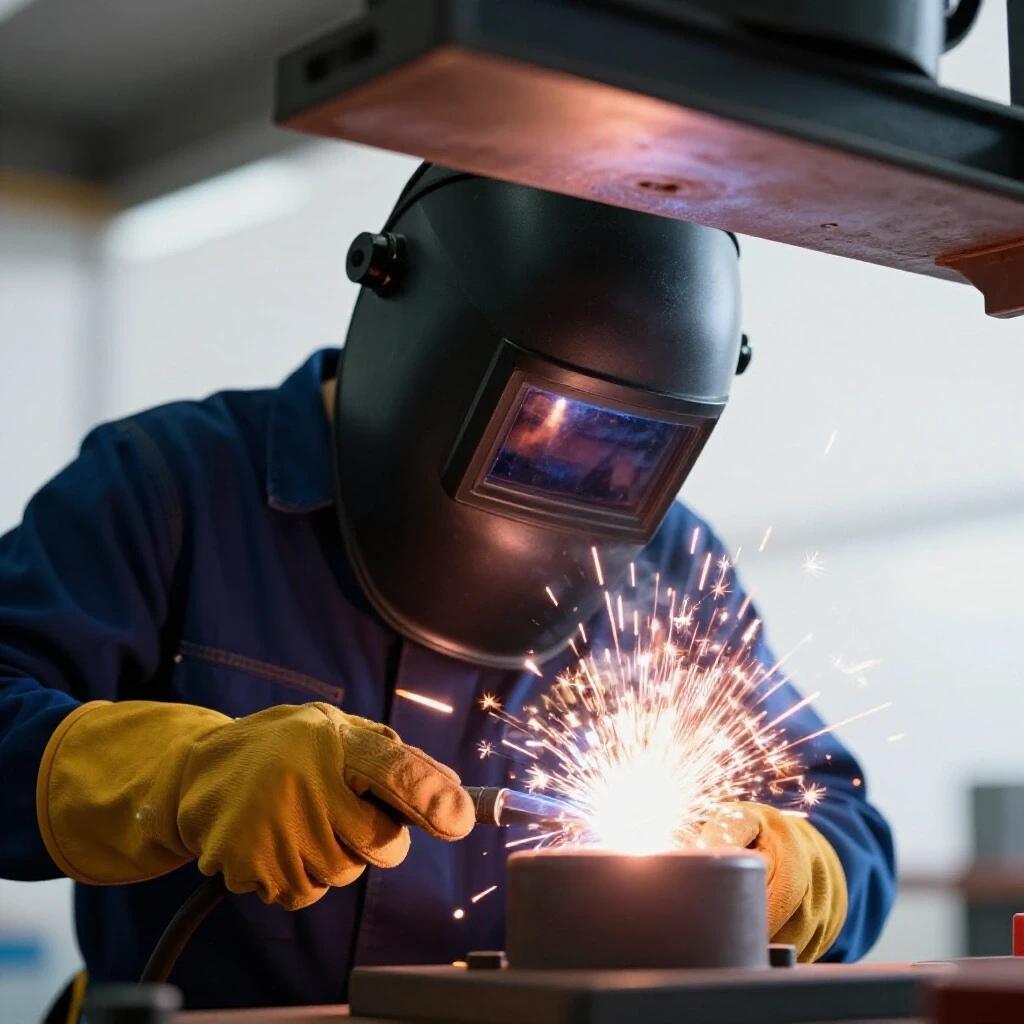
In this guide, we will break down the physical cues and technical adjustments needed to handle out-of-position work. We will focus on mild steel using standard shop equipment like MIG or Stick welders. By the end, you will have a roadmap to move from frustrating “grapes” on your metal to consistent, professional-looking results.
Understanding Gravity’s Impact on the Weld Pool
This section explores how gravity pulls on molten metal and why heat control is different when welding vertically or overhead. Understanding these forces allows you to anticipate how the puddle will sag and how to counteract that movement with your torch or electrode.
When you weld in a flat position, gravity helps the metal settle into the joint. When you move to vertical or overhead positions, gravity becomes your opponent. It wants to pull the liquid metal out of the joint and onto your sleeve. To manage this, you must learn to manipulate the “freeze rate” of the puddle, which is the speed at which the metal turns back into a solid.
The key is to use a smaller puddle and lower heat input than you would use on a flat bench. If the puddle gets too large, it becomes too heavy for surface tension to hold it in place. I remember spending weeks practicing “bead-on-plate” drills vertically just to see how long I could keep the puddle round before it dripped. This kind of observation is essential for building an intuitive sense of metal behavior.
- Surface Tension: This is the force that keeps the liquid metal “stuck” to the base material.
- Fluidity: A hotter puddle is more fluid and harder to control out of position.
- The Shelf: In vertical-up welding, the previous layer of solidified metal acts as a ledge to support the next drop of molten steel.
Essential Gear and Surface Preparation
Proper safety equipment and material preparation are the foundations of working safely when sparks are falling toward you. This stage focuses on protecting your body from burns and ensuring the metal is clean enough to prevent defects that gravity might worsen.
Safety takes on a new meaning when you are tucked under a project or reaching upward. In a flat position, sparks usually bounce away from you. In overhead work, they fall directly onto your head, neck, and arms. I always tell my students that a single hot spark in a boot can ruin a week of practice. You need a dedicated “clean zone” on your metal, free of mill scale and rust, to ensure the arc stays stable.
| Item | Requirement | Why it Matters |
|---|---|---|
| Welding Jacket | Full leather or heavy flame-resistant cotton | Prevents falling sparks from burning through clothing. |
| Leather Bib | Attached to the bottom of the helmet | Protects the neck and chest area from overhead spatter. |
| Respirator | P100 rated, low profile | Essential for confined spaces or when head is close to fumes. |
| Material Prep | 2-inch clean zone around the joint | Prevents puddle instability and porosity. |
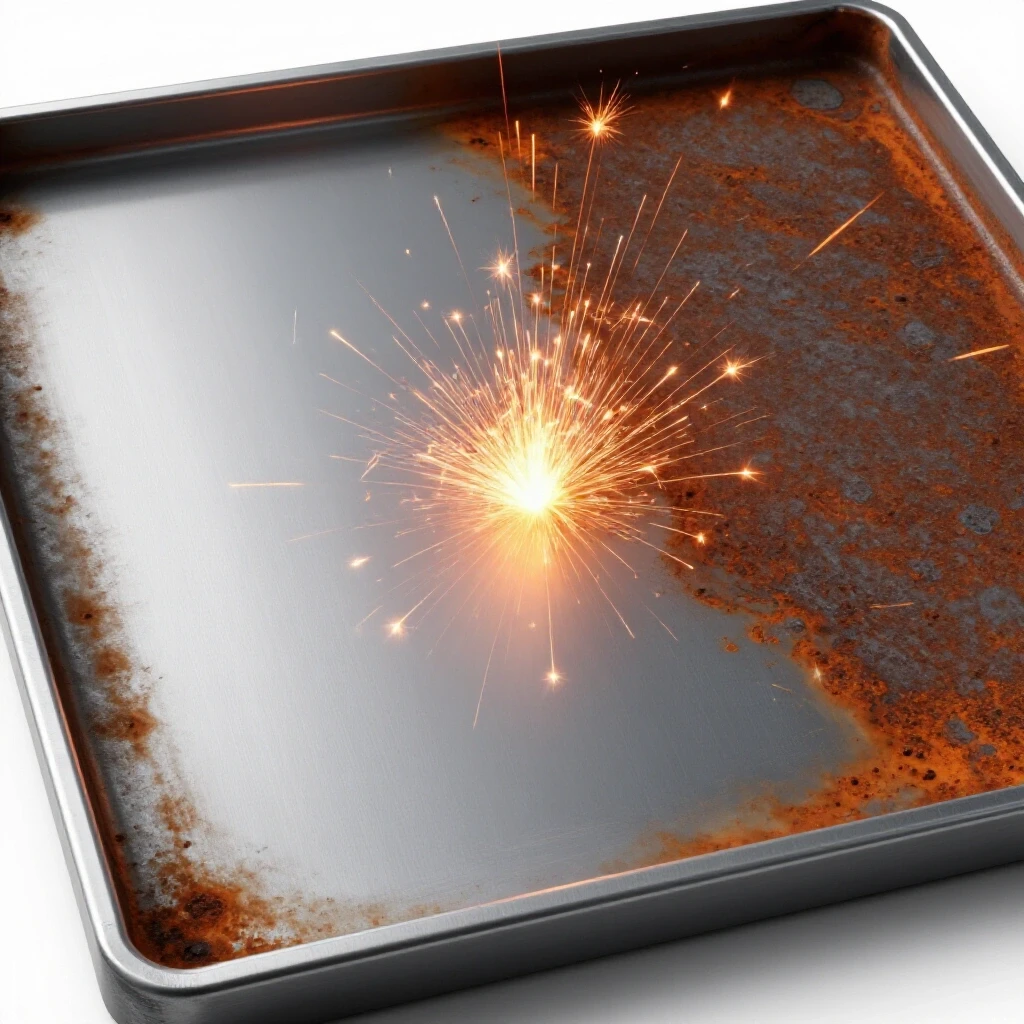
Building a habit of cleaning your metal to shiny silver is non-negotiable. Contaminants like oil or rust create gas bubbles. In vertical welding, these bubbles can cause the puddle to “pop” and spray molten metal toward your face. Always use a flap disc or wire wheel to prep your joints before you even turn on the machine.
Body Positioning and Torch Stability
Success in out-of-position welding depends heavily on how you brace your body and manage the weight of your welding leads. This section details the ergonomics of maintaining a steady hand when your arms are extended or your posture is awkward.
One of the biggest mistakes I see beginners make is “air-drumming”—trying to weld without bracing their arms against something solid. When you are welding overhead, the weight of the torch and the heavy cable will quickly fatigue your muscles. This fatigue leads to shaky hands and inconsistent arc lengths. I found that my consistency doubled once I started looping the welding lead over my shoulder to take the weight off my wrist.
- Three-Point Contact: Try to have your feet planted and at least one hip or shoulder leaning against a stable surface.
- Cable Management: Drape the lead over a hook or your shoulder to prevent it from pulling on your hand.
- Dry Runs: Always move the torch along the entire joint without the arc on to ensure you won’t get stuck or snagged halfway through.
By practicing your range of motion before you strike an arc, you identify where your arm might hit a table leg or where the cable might get caught. This “mental rehearsal” is a core part of mastering torch control. If you can’t move smoothly through the joint while cold, you won’t be able to do it while hot.
Setting Parameters for Out-of-Position Welding
Adjusting your machine settings is critical because the high-heat parameters used for flat welding will cause out-of-position puddles to sag. This section covers how to tune your amperage and voltage to find the “sweet spot” for gravity-defying beads.
When I transition from flat to vertical-up, I typically drop my amperage by 10% to 15%. If I’m using a MIG welder, I might also slightly decrease the wire feed speed. The goal is to create a puddle that is just hot enough to fuse with the base metal but cool enough to solidify quickly. This balance prevents “undercut,” which is a groove melted into the base metal that isn’t filled by the weld.
| Parameter | Flat Position Baseline | Vertical/Overhead Adjustment |
|---|---|---|
| Amperage (Stick) | 125A (1/8″ E7018) | 110A – 115A |
| Voltage (MIG) | 19.5V (.035″ Wire) | 17.5V – 18.5V |
| Wire Speed (MIG) | 250 IPM | 200 – 220 IPM |
| Travel Speed | 10–12 IPM | 6–8 IPM (Slow and controlled) |
Using these weld travel speed tips, you can see that out-of-position work is generally a slower, more deliberate process. You are waiting for the metal to freeze slightly before moving the torch forward. If you move too fast, you won’t get penetration; if you move too slow with high heat, the whole puddle will fall out.
The Vertical-Up Progression Strategy
Vertical-up welding involves building a “shelf” of metal and stacking the puddle on top of it as you move upward. This section details the specific hand motions and timing required to build a structural bead without sagging.
Vertical-down welding is often tempting for beginners because it feels faster and easier. However, vertical-up is the standard for learning metal fabrication because it ensures deep penetration. The secret is the “Z-weave” or the “inverted T” motion. You dwell on the sides of the joint to ensure the edges are melted, then move quickly across the center to avoid building up too much heat in the middle.
- The Shelf: Focus on the bottom of the joint first. Create a small “puck” of metal.
- Dwell Time: Count “one-one-thousand” at each side of the weld to let the metal fill in.
- Arc Gap: Keep a tight arc. For Stick welding, stay within 3/32″ to 1/8″ of the plate. A long arc creates more heat and more mess.
I spent months logging my vertical-up sessions. I would record the amperage, the rod type, and then take a photo of the result. When I hit a plateau where my beads looked like “Christmas trees” (pointy at the top), I realized my travel speed was too fast in the center. Slowing down and watching the puddle edges changed everything.
Mastering the Overhead Fluid Puddle
Overhead welding is often the most intimidating stage, but it is surprisingly similar to flat welding if your parameters are correct. This section explains how to manage the arc and work angles to keep the metal in the joint and off your gear.
The biggest hurdle with overhead work is psychological. You expect the metal to fall, so you tend to move too fast. Interestingly, if your arc length is tight and your settings are right, surface tension will hold the metal up quite well. You should maintain a 10–15 degree drag angle, just like in flat welding, but be even more diligent about your arc gap.
- Arc Length: If your arc is too long, gravity will win, and the metal will spray. Keep it as tight as possible without sticking the electrode.
- View Angle: Position your head so you are looking at the leading edge of the puddle. Don’t put your face directly under the arc.
- Heat Management: If the base metal gets too hot, the puddle will lose its “grip.” You may need to stop and let the piece cool between passes.
In my trade school practice drills, we would weld small overhead plates and then quench them to check for internal voids. I learned that consistency in overhead work comes from a steady, rhythmic travel speed. If you can maintain a 10 IPM pace while keeping your hand rock-steady, the beads will look almost like they were done on a flat bench.
Analyzing Defects and Tracking Skill Growth
Objectively measuring your work is the only way to overcome technique plateaus. This section provides a framework for self-assessing your welds and logging your practice data to ensure you are actually improving.
When you finish a practice run, don’t just throw the scrap metal in the bin. Clean it with a wire brush and look at it under a bright light. Are the edges of the weld smooth (good tie-in), or is there a notch in the plate (undercut)? Is the bead height consistent, or does it look like a roller coaster? These visual cues tell you exactly what your hands were doing wrong five minutes ago.
- Visual Inspection: Check for undercut, overlap (cold lap), and porosity.
- Uniformity: Measure the width of the bead at three points. It should be within 1/16″ of the same width throughout.
- Penetration: If possible, cut the practice piece in half and look at the cross-section to see how deep the weld went.
- Log Everything: Note the date, position, settings, and one thing you will try to change in the next pass.
Practice Logging Template
| Date | Position | Amps/Volts | Travel Speed | Result/Notes |
|---|---|---|---|---|
| 10/12 | Vertical Up | 110A | 7 IPM | Slight undercut on left side; need to dwell longer. |
| 10/13 | Overhead | 115A | 9 IPM | Bead looks flat; arc gap was good. |
| 10/14 | Vertical Up | 108A | 6 IPM | Best bead yet; tight weave helped. |
Conclusion
Mastering out-of-position work is a journey of small, incremental gains. It is not about a “secret trick” but about the disciplined refinement of your body mechanics and a deep understanding of how heat affects metal. By slowing down your travel speed, lowering your heat input, and bracing your body for stability, you can produce results that are both safe and professional.
As you continue your welding technique progression, remember to be patient with yourself. Plateaus are a natural part of the learning curve. When you feel frustrated, go back to the basics: clean your metal, check your angles, and ensure your “clean zone” is perfect. The ability to weld in any orientation is what separates a hobbyist from a true fabricator. Keep practicing, keep logging your data, and soon the gravity that once felt like an enemy will just be another factor you’ve learned to manage.
FAQ
Why does my vertical-up weld keep sagging or “dripping”?
Sagging usually happens because your heat is too high or your travel speed is too slow in the center of the weld. When the puddle stays liquid for too long, gravity pulls it down. Try lowering your amperage by 5-10% and using a “Z-weave” motion. This allows the center of the puddle to cool slightly while you dwell on the sides to ensure penetration.
Is it safer to weld vertical-down or vertical-up for beginners?
Vertical-down is easier to perform and looks prettier to a beginner, but it is often less safe for structural projects because it lacks penetration. The molten slag can run ahead of the puddle, causing “cold lap” where the metal doesn’t actually fuse. For learning proper metal fabrication, I always recommend practicing vertical-up first to build true heat control skills.
What is the most important PPE for overhead welding?
While a full leather jacket is vital, the most overlooked piece of gear is a leather neck bib or a “shroud” for your welding helmet. Overhead sparks tend to bounce off your chest and go right under the bottom of your helmet. A bib creates a physical barrier that prevents these sparks from reaching your neck and face.
How do I stop my hand from shaking during long vertical runs?
Shaking is usually caused by muscle fatigue or lack of bracing. Use the “three-point contact” rule: keep both feet planted and lean your shoulder or hip against a stable surface. Additionally, wrap the welding lead around your forearm or over your shoulder to take the weight of the cable off your wrist.
What should my torch angle be for overhead MIG welding?
For overhead MIG, you generally want a 0 to 15-degree drag angle. If you lean the torch too far (a steep angle), the gas coverage becomes inefficient, and the arc force might push the metal out of the joint. Keep the torch almost perpendicular to the plate, with just a slight tilt in the direction of travel.
How can I tell if I have “undercut” in my vertical weld?
Undercut looks like a small “gutter” or groove melted into the base metal right at the edge of the weld bead. It means you didn’t stay on the side of the joint long enough for the filler metal to fill the hole the arc melted. To fix this, increase your “dwell time” on the sides of your weave and ensure your arc length is tight.
Can I use the same settings for flat and overhead welding?
Usually, no. Overhead and vertical positions require slightly lower heat to keep the puddle small and manageable. If you use your “flat” settings, the puddle will likely become too fluid and fall out. Start by dropping your voltage or amperage by about 10% and adjust based on how the puddle reacts.
Why is cleaning the metal so important for out-of-position work?
In flat welding, you can sometimes “boil out” impurities, but in vertical or overhead work, any contamination causes the puddle to act erratically. Rust or mill scale releases gases that cause “spitting.” This spitting can throw molten metal onto your gear and cause porosity, which significantly weakens the weld.
What is “arc blow” and does it happen more in out-of-position welding?
Arc blow is when the arc wanders or “blows” away from the joint due to magnetic fields. It can feel more common in out-of-position work because you are already struggling with control. If this happens, try changing the location of your ground clamp or switching to a shorter arc length to regain control of the puddle.
How often should I log my practice sessions?
I recommend logging every single practice session when you are learning a new position. Recording the amperage, wire speed, and a quick note about what went wrong (or right) helps you spot patterns. Without a log, it is very difficult to measure progress objectively or identify why you hit a technique plateau.
(This article was written by one of our staff writers, Thomas Langley. Visit our Meet the Team page to learn more about the author and their expertise.)