How to Safely Test Used Power Tools Before Buying (Guide)
When I built my first garage shop in 2013, I had less than $2,000 to my name and a heavy dose of industrial maintenance experience. I knew that every tool I brought into that cramped space had to earn its keep without putting me in the hospital. For a beginner metalworker, the temptation to grab every piece of affordable fabrication tools available is strong. However, a tool that fails during its first heavy cut is not a bargain; it is a liability.
My background in industrial maintenance taught me that machines talk to you before they fail. They vibrate, they smell, and they show physical signs of stress. When you are looking at equipment for your starter metal workshop layout, you must approach each item with a critical eye. You are not just checking if it “turns on.” You are verifying that its safety systems, electrical paths, and mechanical tolerances meet a standard that keeps your hands and eyes safe.
In this guide, I will walk you through the exact steps I use to verify the integrity of pre-owned equipment. We will look at everything from the copper in the cords to the sound of the bearings. By following a structured inspection process, you can build a capable shop while staying within your workshop electrical setup checklists and safety boundaries.
Establishing a Safe Foundation for Tool Evaluation
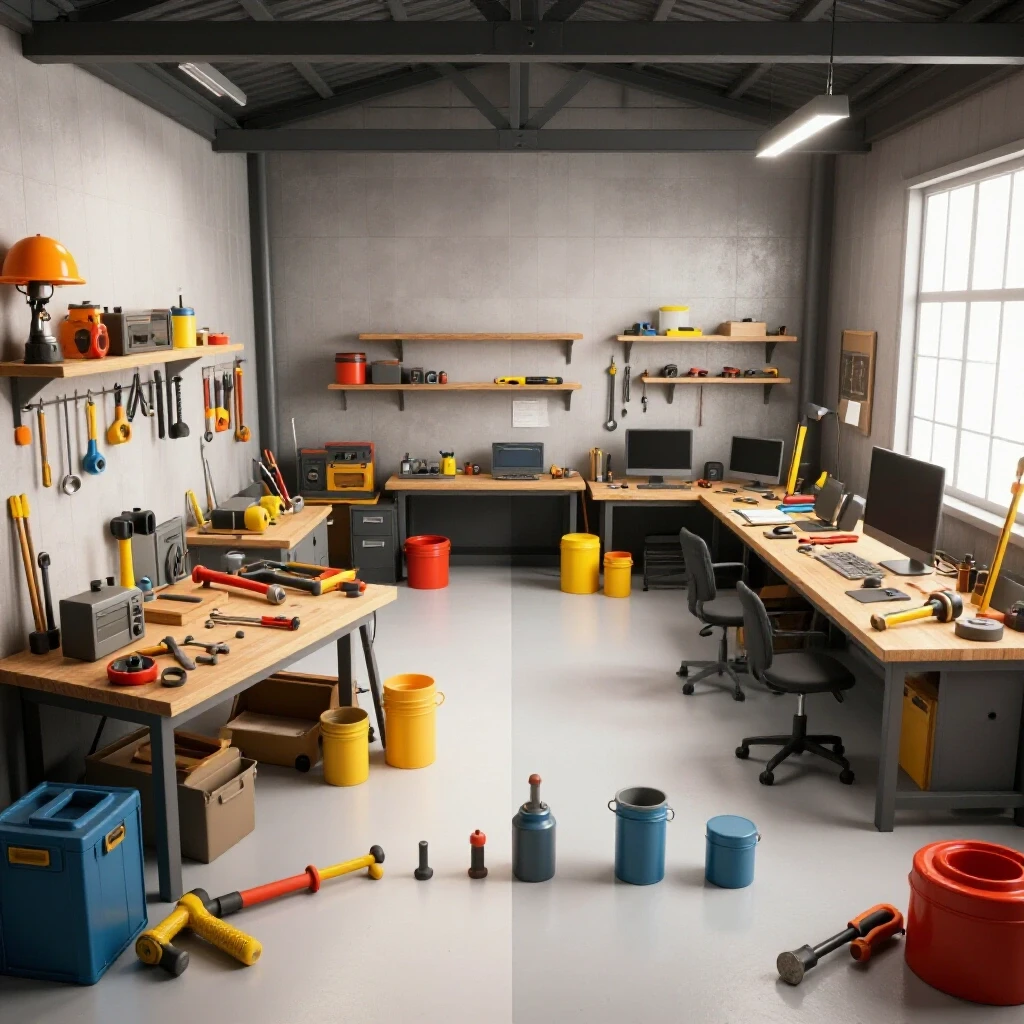
Before you even touch a power switch, you must understand the environment where the tool will live. A metalworking shop has unique requirements for power and airflow that differ from a standard woodworking space. You need to ensure your garage can handle the load and provide a stable platform for testing.
Building a functional shop requires more than just tools; it requires a layout that respects the physical limits of your electrical system and the air you breathe. This section covers the baseline requirements for a safe workspace, focusing on power draw and ventilation needs for common metalworking tasks.
Understanding Your Workshop Electrical Limits
Most residential garages are wired with a single 15-amp or 20-amp circuit. When you are assessing beginner welder power requirements or heavy-duty grinders, you must know what your breakers can handle. A 15-amp circuit is often insufficient for a 110v welder or a large bench grinder under load.
I always recommend mapping your breakers before bringing in heavy machinery. If you plug a high-draw tool into an overloaded circuit, you risk heat buildup in the walls. This is why a dedicated 20-amp circuit for your primary fabrication tools is often the first “tool” you should install.
Ventilation and Air Exchange Requirements
Metalworking produces fine dust, metallic fumes, and sparks. Garage workshop ventilation is not just about comfort; it is about keeping your lungs clear of particulates. OSHA guidelines for small spaces suggest multiple air exchanges per hour, especially when grinding or welding.
If your shop lacks a dedicated exhaust system, you must plan your layout so that heavy spark-producing tools are near an open door or a high-CFM (cubic feet per minute) fan. I track my ventilation performance by ensuring I can clear a visible haze in under three minutes.
| Tool Class | Typical Amp Draw (Start/Run) | Minimum Circuit | Ventilation Priority |
|---|---|---|---|
| Bench Grinder (8-inch) | 12A / 5A | 15A | Medium |
| Angle Grinder (4.5-inch) | 10A / 6A | 15A | High |
| Entry-Level MIG Welder | 25A / 20A | 20A (Dedicated) | Critical |
| Drill Press | 8A / 4A | 15A | Low |
| Chop Saw | 15A / 12A | 20A | High |
Visual Inspection of Tool Housings and Guards
The first step in verifying the safety of any machine is a thorough visual exam. You are looking for signs of “industrial trauma.” This includes cracks in the metal casing, missing safety guards, or evidence that the tool was dropped or used improperly.
A visual inspection serves as your first line of defense against catastrophic mechanical failure. By examining the structural integrity of the tool’s body and its protective features, you can identify red flags that make a tool too dangerous to even plug in for a test.
Checking for Structural Cracks and Stress
Metalworking tools often face high torque and vibration. I look closely at the “stress points” where the motor mounts to the frame. On used drill presses or band saws, check the cast iron components for hairline fractures. If you see a crack in a structural part, the tool is a safety hazard.
- Inspect the base for “rocking” which indicates a warped frame.
- Check all mounting bolts to ensure they are tight and not stripped.
- Look for “blueing” on metal parts, which suggests the tool was overheated.
Verifying Safety Guards and Shields
The American Welding Society (AWS) and OSHA emphasize the importance of guards on rotating equipment. If a bench grinder is missing its spark shields or tool rests, it is incomplete. I never assume I can just “be careful” without a guard.
For angle grinders, the guard must be adjustable and securely fastened. Check the “dead man” switch or the locking mechanism. If the switch sticks in the “on” position, the tool is a liability in a confined starter metal workshop layout.
Assessing Electrical Integrity and Cord Safety
Electrical faults are the leading cause of shop fires and shocks. When you are looking at budget metalworking tools, the power cord is often the most abused part. You must verify that the path from the wall outlet to the motor is insulated and grounded.
This process involves a detailed look at the power delivery system, from the plug prongs to the internal wiring connections. Ensuring the electrical path is secure protects both the operator and the workshop’s electrical infrastructure from shorts and surges.
Inspecting the Power Cord and Plug
I start by running the cord through my hand (unplugged, of course). I am feeling for nicks, electrical tape repairs, or “bubbles” in the insulation. A cord with exposed wire is an immediate fail.
- Verify the ground pin (the round third prong) is present.
- Check the “strain relief” where the cord enters the tool body.
- Look for melted plastic near the plug, which indicates a poor connection or overheating.
Using a Multimeter for Continuity Testing
If you want to be methodical, use a multimeter. Set it to the continuity or ohms setting. Touch one probe to the ground pin of the plug and the other to the metal frame of the tool. You should hear a beep.
This confirms that if an internal wire shorts out, the electricity will go to the ground rather than through your body. This is a standard industrial maintenance check that every beginner should learn. It takes ten seconds and can save your life.
Dynamic Testing: Observing the Tool Under Power
If the tool passes the visual and electrical checks, it is time to turn it on. This is where you listen and feel for internal issues. A healthy motor has a specific “song,” while a failing one will groan, click, or scream.
Dynamic testing allows you to evaluate the tool’s internal health while it is in motion. By monitoring the sound, smell, and vibration of the machine during startup and operation, you can detect bearing wear or motor winding issues.
The Startup and Shutdown Sequence
When you flip the switch, the tool should reach full speed quickly without hesitation. If it hums or needs a “push” to start, the capacitor or the starter windings are failing.
- Listen for “Chirping”: This usually means the bearings are dry or worn.
- Watch for Sparks: A few small sparks near the motor brushes are normal, but a “ring of fire” around the commutator means the motor is near the end of its life.
- The Coast-Down Test: Turn the tool off and listen as it slows down. It should be smooth. Any grinding or rattling noises during the coast-down suggest mechanical interference.
The Vibration and Heat Test
Let the tool run for two to three minutes. Place your hand near the motor housing (carefully). It should be warm, but not hot enough to burn you. Excessive heat suggests the motor is working too hard due to internal friction.
Vibration is the enemy of precision in metalworking. If a bench grinder vibrates so much that it “walks” across the table, the wheels are likely out of balance or the shaft is bent. In a small garage workshop, excessive vibration can also loosen other nearby fixtures.
Evaluating Precision and Mechanical Alignment
In metal fabrication, “close enough” is rarely good enough. You need tools that can hold a square edge or drill a straight hole. Testing the mechanical alignment of pre-owned machinery ensures your projects will actually fit together.
This section focuses on the “truth” of the machine. By measuring run-out and checking squareness, you verify that the tool can perform the tasks required for accurate fabrication without requiring constant adjustment or rework.
Checking for Spindle Run-out
Run-out is when a rotating part does not spin in a perfect circle. On a drill press, you can test this by inserting a long, straight drill bit. Spin it by hand and watch the tip. If the tip wobbles, the spindle or the chuck is bent.
For a beginner, a tool with high run-out is frustrating. It will break small drill bits and produce oval holes. I aim for a run-out of less than 0.005 inches for most hobbyist metalwork, though industrial standards are even tighter.
Verifying Squareness and Table Level
Use a machinist’s square to check the relationship between the tool’s table and its cutting surface. On a band saw, the blade must be 90 degrees to the table. On a chop saw, the fence must be square to the blade.
If the tool cannot be adjusted to square, it will ruin your material. I always bring a small 6-inch square and a flashlight when inspecting tools. The flashlight helps me see if any light peaks through the gap between the square and the tool surface.
| Inspection Step | What to Look For | Red Flag |
|---|---|---|
| Housing | Clean castings, no cracks | Hairline fractures in iron |
| Cord | Flexible, intact insulation | Electrical tape or missing ground |
| Motor | Smooth, fast startup | Humming or “lazy” start |
| Bearings | Quiet “whirring” sound | Grinding or high-pitched squealing |
| Alignment | Square to 90 degrees | Visible wobble or “run-out” |
Organizing Your Inspection Workflow
To avoid analysis paralysis, I use a structured checklist for every tool I inspect. This keeps me focused on the data rather than the excitement of a potential new purchase. I recommend keeping a digital log or a small notebook to track these findings.
- Preparation: Bring a flashlight, a multimeter, a machinist square, and a pair of safety glasses.
- External Check: Look for cracks, missing guards, and the condition of the handles.
- Electrical Check: Inspect the cord, plug, and test for ground continuity.
- Manual Rotation: Spin the motor or blade by hand (unplugged) to feel for “catch points.”
- Power-On Test: Listen for startup speed and bearing noise.
- Operational Test: Check the switch, the emergency stop, and any speed controls.
- Heat/Smell Check: Run for 2 minutes; check for the smell of ozone or burning plastic.
- Precision Check: Measure for squareness and spindle wobble.
- Safety Gear Integration: Ensure you have the 30% of your budget allocated for PPE to use this specific tool.
- Final Verdict: Does this tool fit into your workshop electrical setup checklists without modification?
Common Rookie Mistakes to Avoid
In my 15 years of shop evolution, I have seen many beginners make the same errors. One of the biggest is ignoring the “smell test.” If a tool smells like burnt toast when it runs, the insulation on the motor windings is failing. No amount of cleaning will fix that.
Another mistake is buying a tool that is too large for your circuit. I once bought a massive 220v industrial grinder only to realize my garage was only wired for 110v. I had to spend more on electrical upgrades than the tool was worth. Always check the data plate on the motor for voltage and amperage requirements before you commit.
Finally, do not overlook the “missing parts” trap. Beginners often think they can easily find a replacement guard or a specific handle for an older machine. In reality, many older brands have gone out of business, making replacement safety parts nearly impossible to find. If the safety gear is missing, walk away.
Conclusion and Next Steps
Building a safe and functional workshop on a budget is a marathon, not a sprint. By meticulously verifying the safety of every pre-owned tool, you protect your finances and your physical well-being. My journey from a $2,000 garage setup to a professional-grade space was built on the foundation of structured record-keeping and a refusal to compromise on equipment integrity.
Your next step is to create a “priority list” of tools based on your specific metalworking goals. Once you have that list, prepare your inspection kit. Having your multimeter, square, and checklist ready will give you the confidence to make data-backed decisions. Remember, the goal is a shop that works for you, not a collection of hazards that keep you from creating.
Frequently Asked Questions
What is the most dangerous sign to look for in a used motor?
The most dangerous sign is a “ground fault,” where the internal electricity leaks to the metal casing of the tool. You can test for this using a multimeter to check continuity between the power prongs and the tool’s frame. If the tool is not properly grounded, you could receive a lethal shock the moment you touch it while it is plugged in.
Can I replace a power cord if it is damaged?
While cords can be replaced, a damaged cord often indicates the tool was treated poorly in other ways. If you choose to replace a cord, you must use a cable with the same or higher “gauge” (thickness) and a proper three-prong grounded plug to maintain safety standards.
Why is spindle run-out such a big deal for beginners?
Spindle run-out causes vibration and inaccuracy. For a beginner, this makes it very difficult to achieve tight fits in metal joinery. It also puts uneven stress on cutting tools like drill bits and end mills, leading to frequent breakage and increased costs over time.
How do I know if my garage circuit can handle a specific tool?
Check the data plate on the tool’s motor for the “Amp” rating. A standard household circuit is usually 15 amps. You should only load a circuit to 80% of its capacity for continuous use. Therefore, a tool drawing 12 amps is the practical limit for a 15-amp circuit.
Is it okay to use a tool if the safety guard is missing?
No. Safety guards are engineered to contain fragments if a grinding wheel or blade shatters. In a home shop, where you are often working in close quarters, the risk of injury from a “grenading” tool is significantly higher. Always ensure guards are present and functional.
What does a “burnt” smell indicate during a test?
A burnt, acrid smell usually indicates that the motor windings have overheated and the protective lacquer is melting. This is a sign of imminent motor failure. The tool may run briefly, but it will eventually short out or catch fire under a heavy load.
How can I tell if bearings are shot without taking the tool apart?
Listen for a high-pitched squeal or a low-frequency growl. You can also feel for “play” by trying to wiggle the shaft or spindle. If there is any side-to-side movement, the bearings are worn and will cause vibration and heat.
Does the age of the tool matter for safety?
Age itself isn’t a dealbreaker, but older tools often lack modern safety features like “no-volt release” switches (which prevent the tool from restarting automatically after a power outage). If you buy older equipment, you must be extra diligent in checking the electrical insulation and grounding.
What should I do if a tool vibrates excessively?
First, check if the vibration is coming from the tool itself or the surface it is sitting on. If the tool is the source, it usually means something is out of balance. For grinders, this is often the wheels. For saws, it could be a bent blade or a failing motor mount.
Why is the “coast-down” time important?
The time it takes for a tool to stop spinning can tell you a lot about its mechanical health. A very sudden stop might mean something is binding or rubbing. An extremely long coast-down with a rattling sound might mean the bearings are so worn they no longer have any grease to provide dampening.
(This article was written by one of our staff writers, Michael Thompson. Visit our Meet the Team page to learn more about the author and their expertise.)